How to Plan Your First Solo Hike!
Preparation, Navigation, Packing List, and Safety

The author, Nicole Snell, owns Girls Fight Back! and Outdoor Defense, aimed at empowering people to feel safe outdoors. Photo courtesy Nicole Snell
Hiking solo can be a great joy—and part of what has made it joyful for me is education and preparedness. Preparation makes you powerful and gives you options! I wasn’t always as experienced as I am now, and the training I’ve received and lessons I’ve learned along the way have given me the level of comfort and confidence I have. I’ve made mistakes—including running out of water on a trail—and I’ve sought out advice and assistance from people more experienced than me to solve current problems or avoid them entirely in the future. Now, as a professional self-defense instructor, I share self-defense techniques so fear doesn’t stop us from doing what we love.
You’re probably reading this because you are either interested in solo hiking or you’re already doing it. Whether the thought of hiking solo excites you or makes you hesitant, whether you’re worried about animal predators or human ones, I’m here to provide you with a healthy dose of encouragement and education so you can feel prepared to take on your first (or 50th) solo hiking adventure with confidence!
One of the main reasons I’ve found that keeps people from hiking solo is they’re concerned for their safety. And the majority of the time, people are worried about feeling unprepared to handle human predators, not animals. Knowing how to keep yourself safe while solo hiking is an important part of your outdoor education—and the confidence boost that comes with having self-defense skills can change your life.
Self-defense education is so much more than just learning physical techniques. When we understand how to manage our safety in a variety of ways that include both verbal and physical strategies, it can open up the world to us. Whether we're walking down the street or taking a solo hike, self-defense is an essential life skill that helps us prepare for various scenarios. I own a self-defense company and take pleasure in teaching others. Safety concerns or fear don’t have to stop you from doing what you love.

The author has hiked and traveled solo internationally, including here at Machu Picchu. Photo courtesy Nicole Snell
Why I Hike Solo
From the time I was a little girl playing in the dirt, diligently searching for unique or shiny rocks, to the times I’ve stared up at the mountains in awe and excitement, nature has always been what fills me with joy, stokes my adventurous side, and brings me peace. Solo hiking was something I did in my hometown, but we called it “exploring” or “going for a walk. I would grab a small plastic bag to collect anything neat I found, along with a bottle of water, and head off to walk through the desert fields near our house. When I was alone exploring a wash or a field, stopping to examine a lizard as it scurried over rocks, or listening to the families of quail chirp as they ran through the brush, I felt truly free. I felt grown-up, self-sufficient, and confident. I felt like I was capable of doing anything or going anywhere.
Fast forward 25+ years and now, instead of exploring only a few miles from my house, I am often exploring hundreds or thousands of miles away from home. I’ve had the privilege of hiking in 15 different countries (often as a solo traveler internationally) and experiencing vastly different climates, terrains, landscapes, and trail conditions. Now, my profession is training others in outdoor self defense. Read more about what I teach in the About the Author / Why You Should Trust Us section.
Part of what I love about solo hiking, and hiking in general, is that even on the same trail, the experience can be so different depending on the day you go. As a solo hiker, you might spot an elusive animal (I saw a mountain lion on a trail just outside of LA a few years ago!) or the weather might change and offer you a new perspective.

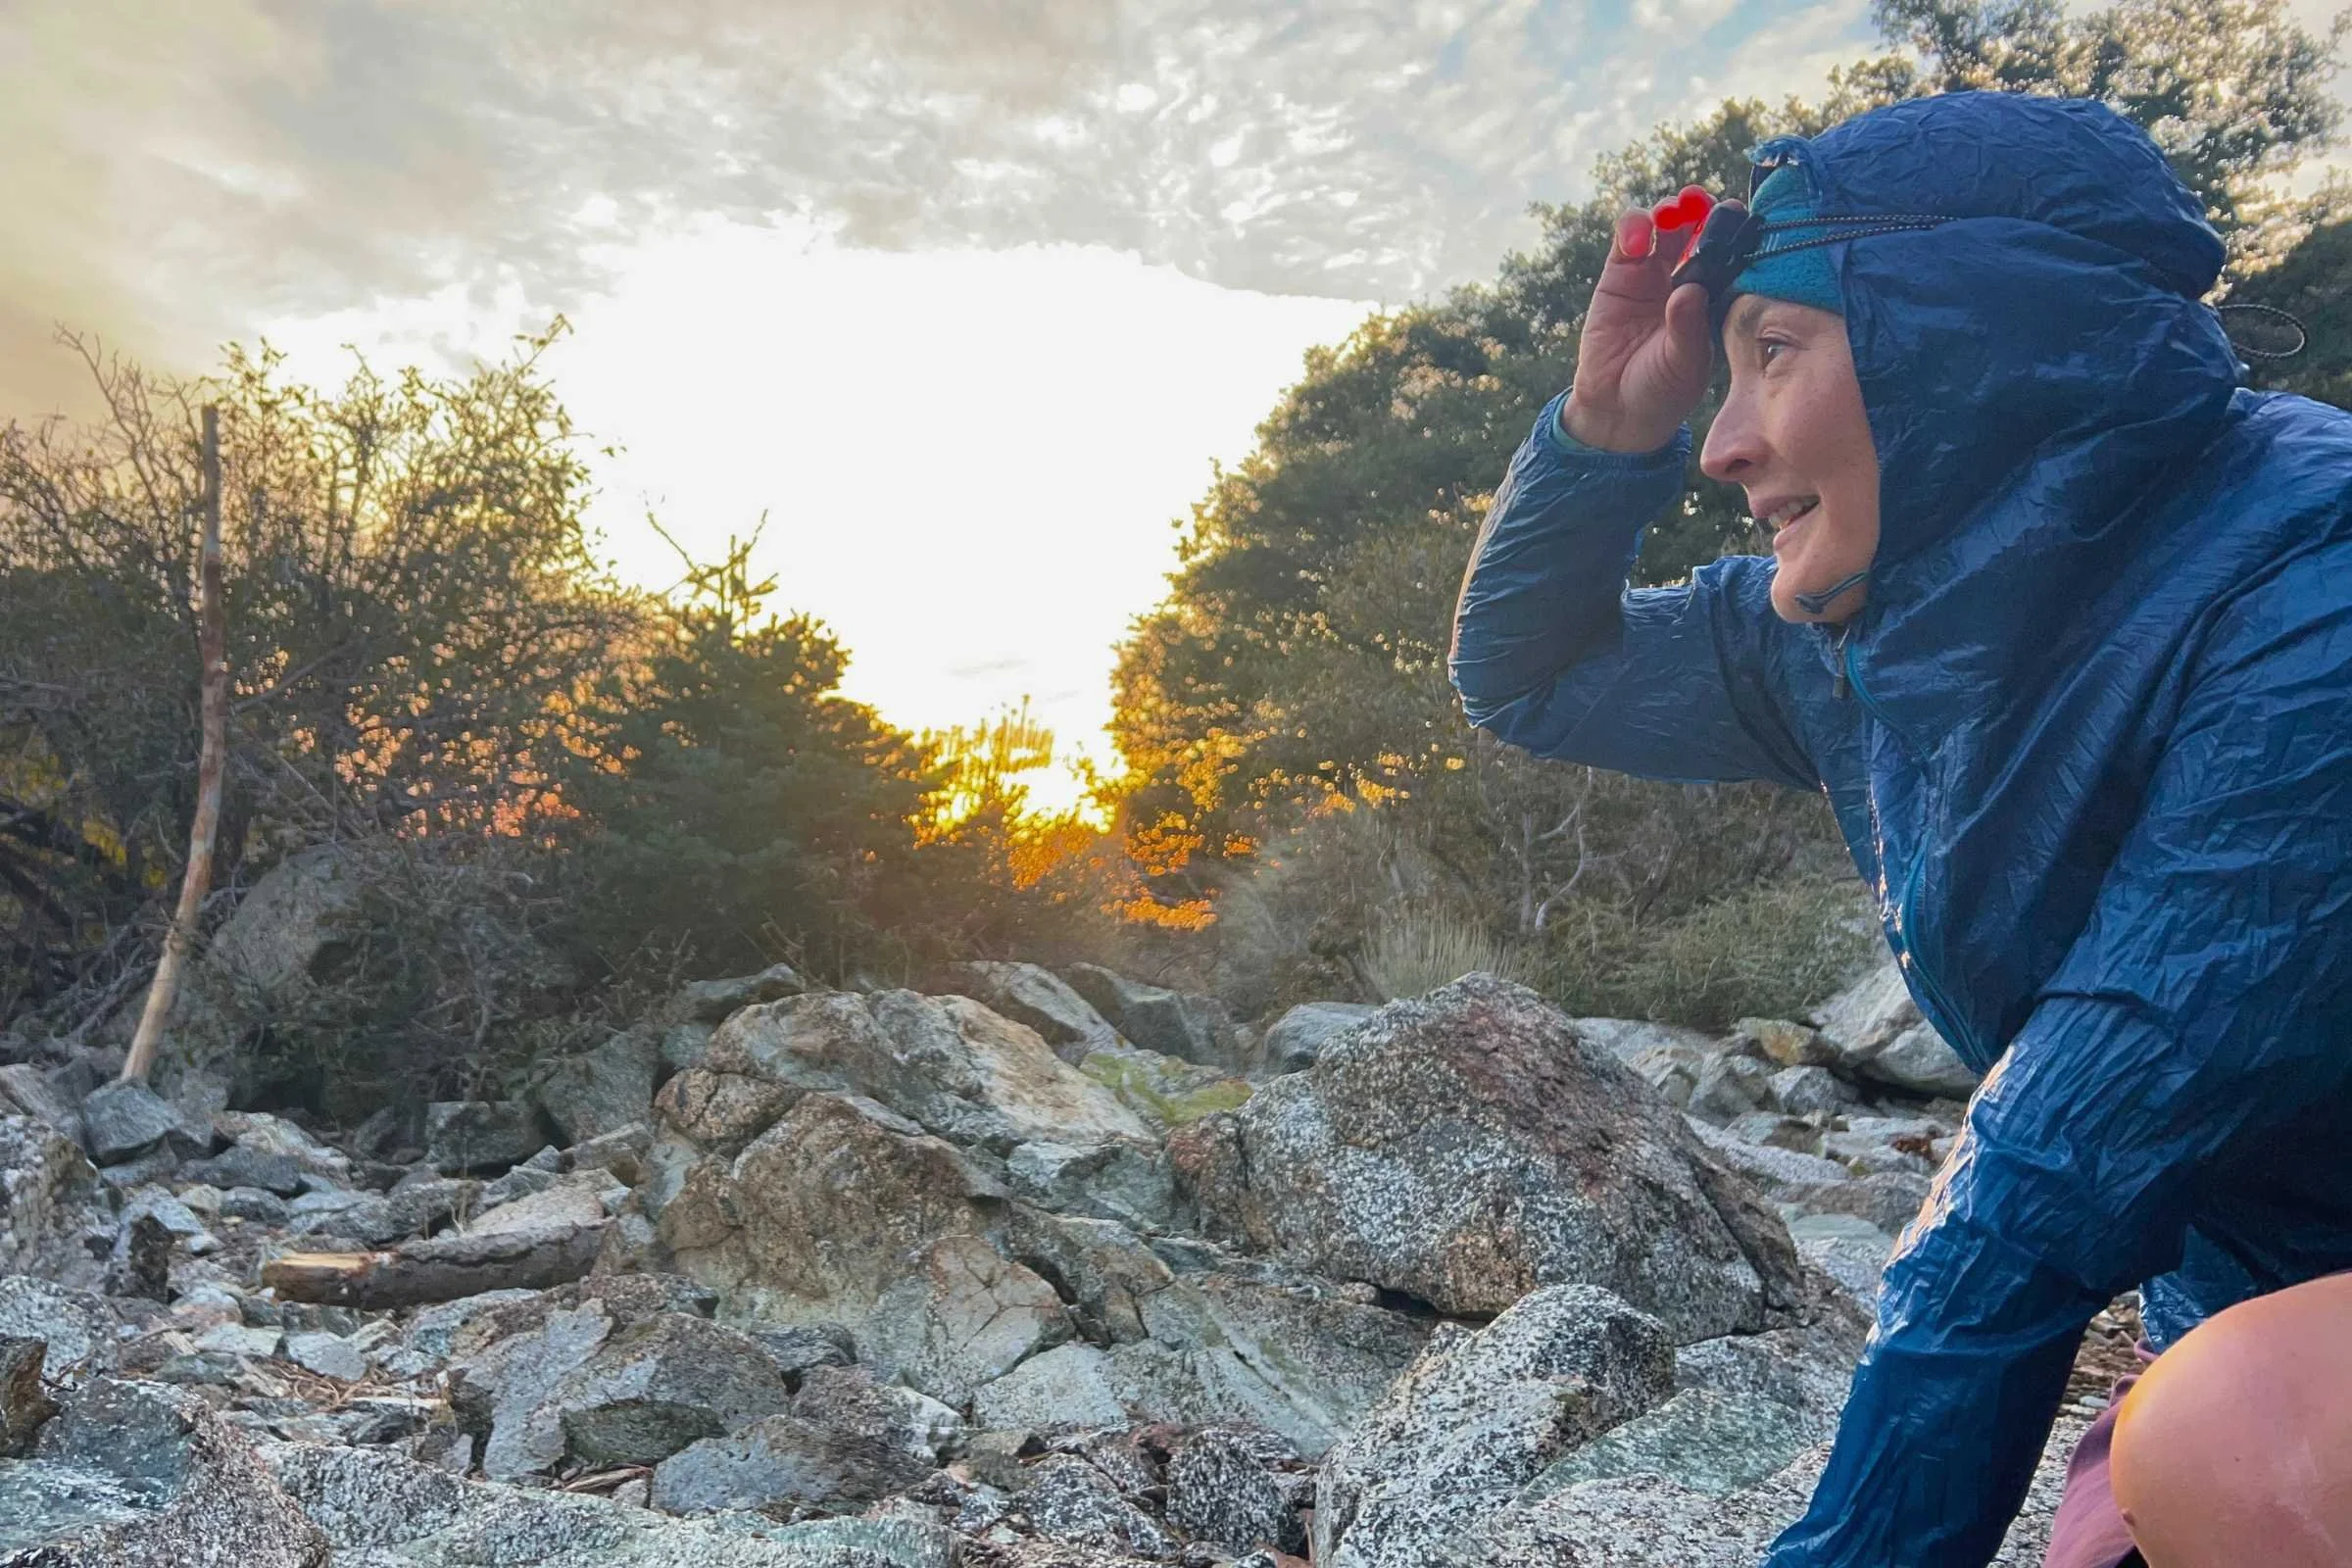
The author on a solo hike in Scotland. Photo courtesy Nicole Snell
Solo Hiking Tips
Hiking solo is exciting, and it comes with the expectation that you'll be capable of being self-reliant through both the expected and unexpected parts of your journey. From general safety to wilderness emergencies and personal safety techniques, preparation is key to having an enjoyable experience. I want to share some of the steps I take before every solo hike regardless of the length or duration, so lace up your shoes, grab some water and get ready for my 8 Step Solo Hiking Tips:
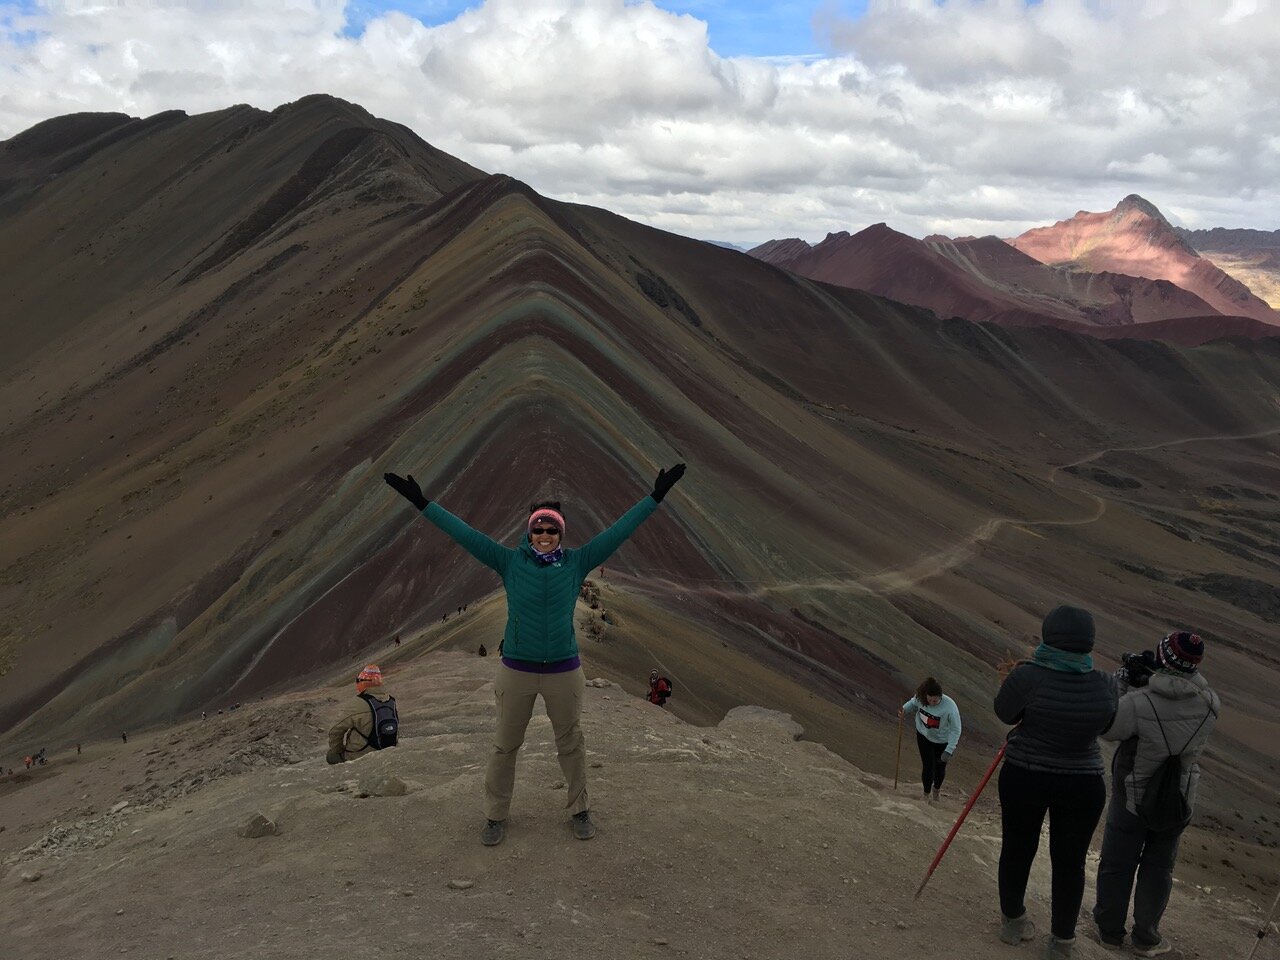
The author on a solo hike at Rainbow Mountain in Peru. Photo courtesy Nicole Snell
1) Research the trail
The first thing you’ll want to do when you are preparing for a solo hike is researching the trail. Don’t skip this step! Every trail is different, and even on a familiar trail, conditions can vary and you’ll want to know what to expect so that you can properly prepare.
Some questions to ask yourself: How many miles is the trail? Is it heavily trafficked? Is it a popular trail? What type of terrain can you expect? Is it exposed to the sun? Does it have water available? Are there hazardous plants, animals, or insects to watch out for? Any recent animal sightings? Where should you park? Is parking remote or dark? Will it require a 4WD vehicle?
This isn’t an exhaustive list of questions, but to be prepared for a specific trail, you must have an idea of how best to prepare for it. You’re most likely going to bring different items on a 10-mile hike than on a 2-mile one. You may pack differently in bear country than you would for the desert. The only way to prepare is to do your research. For updated information on specifics like trail closures, you can call ahead to the management agency, such as the Forest Service District, or ask a ranger on-site if the location is staffed.
HOW TO TELL WHETHER A HIKE IS WITHIN YOUR SKILLSET
Another component of researching the trail is making sure the hike is within your ability level and skill set. For instance, I have ZERO mountaineering/ice climbing experience, so I’ll save that solo mountaineering trip for when I’m trained and practiced. My hiking comfort zone includes up to Class 3 hikes and I’m confident at elevations up to ~14,000ft. Although I primarily hike trails without snow including mountain, desert, forest, wetlands, and rainforest terrain, I have completed a few snow hikes that required microspikes. Now I consider those types of hikes in my comfort zone too!
Your comfort zone expands the more you hike and skills you gain. The best way to gain skills is by first learning them with other people. For example, you may want to save that first solo backpacking trip until after you've had done some group backpacking. Or you may want to save a longer hike for when you can do it with others.
Only you can decide if challenging your comfort zone on a particular solo hike is something you can handle. Remember, you’ll be self-reliant while out there so you might not be able to rely on others to help you in case of an accident or emergency. Hiking solo can be both empowering and challenging, and if we can avoid putting ourselves in a less ideal situation, that will help us have a safe and enjoyable time. By being prepared with knowledge of the trail, the appropriate skills, and decision-making that keeps safety in mind, a little challenge can be a lot of fun.

The author hiking in the San Gabriel mountains. Photo by Liz Thomas
2) Download / Bring a map
There are many phone apps that allow you to download trail maps for use both online and offline. The Gaia GPS smartphone app is one of our favorite apps for adventurers of all types. Gaia provides a variety of topographic and recreational maps, and it’s usable whether or not your phone has a signal. I also enjoy using AllTrails and one of my favorite features is that the app will alert you in real-time when you are off your selected trail.
Electronic maps aruse, however, it’s important not to rely too heavily on your phone—if it breaks, gets lost, or loses battery, all the information you need is suddenly inaccessible. For this reason, I also recommend printing out a hard copy of a map, especially if you’re going somewhere remote or with spotty cell service. Do you know how to read and use a map and compass? If you don’t know, that’s ok and it just means that it’s time to learn! Maps and compasses are tools, and a tool is only helpful if you know how to use it. There are many great resources within the hiking community to learn these skills, including local outfitters, trail organizations, community groups, and affinity organizations. I took a map and compass class with REI a couple of years ago and I was impressed with the skills I learned. It’s also helpful to know that with the knowledge I gained, I don’t have to be completely reliant on electronics in a worst-case scenario situation.
Paper maps also make several things more convenient on the trail such as the ability to write down easily visible notes, you can triangulate your position with a compass, and you aren’t reliant on battery power, data, or screen brightness to use them. Knowing where you are and being able to navigate your path effectively helps you get to where you’re going safely and on the timeline you set for yourself.

The author on Mt. San Jacinto, California. At 11,000 feet high, the summit can sometimes have snow. Photo courtesy Nicole Snell
3) Check the weather conditions
Weather is one thing you have absolutely no control over—but we do have control over where and when we go adventuring. It’s critical to check the forecast and be prepared for a variety of weather conditions, especially if you’re doing a peak or climbing into elevation. Mountains are notorious for having weather that changes abruptly, regardless of the forecast. I once hiked to the top of Angel’s Landing in Zion National Park on a day that had no rain in the forecast and had a random thunderstorm roll in.
Based on the forecast, you’ll want to bring the proper equipment and have the proper knowledge of risks based on the weather and expected trail conditions. Remember if the weather looks bad, you may want to postpone the hike for another day.
WILL THERE BE SNOW?
If so, the next question is to find out the actual conditions such as temperatures, amount of snow, if you’ll be breaking trail, if there’s ice, assessing avalanche risk, and determining if there are any safety alerts for the roads and parking areas. Make sure you have the skills and experience before you go by taking a winter travel class.
Equipment for hiking in the snow might include microspikes, waterproof pants, an ice axe, and poles. For clothing, you’ll likely want to wear extra layers including gloves, hat, and neck gaiter. Sunglasses will be helpful because the sun reflecting off the snow can be especially hard on your eyes. My fingers get extremely cold in the snow and can be painful, so I like to bring HotHands warmers to keep in my pockets for these types of hikes. See our Best Winter Traction guide to Microspikes and Ice Grippers.
ICY CONDITIONS?
Like hiking in snow, you’ll want to wear a winter traction device on your feet. An ice axe might be essential vs. optional—as well as the knowledge to use it safely. Take a mountaineering class and practice those skills before heading out in icy conditions.
IS THERE RAIN IN THE FORECAST?
I learned the hard way how important it is to have waterproof gear when hiking in the rain. While in New Zealand, I discovered my pants, shoes, and jacket were water-resistant instead of waterproof when my socks, legs, and shirt started getting wet 30 minutes into a 2-hour hike. Now when I prep for a rainy hike, I wear waterproof gear that is at least 10,000mm including hiking boots, a removable pants outer layer, and a waterproof jacket with a hood that covers your head and hair effectively. See our Best Rain Jackets guide for more on waterproofing and our favorite rain jackets.
Depending on the amount of rain and the type of hiking trail, you’ll want to make sure your shoes have enough traction, bring trekking poles, and keep an eye on your surroundings for mudslides and slippery areas. See my Best Lightweight Hiking Boots guide and Best Trekking Poles guide for footwear and poles that we like.
DESERT HIKING
I grew up in the desert, so hiking without shade is something I’m extremely comfortable with. However, not everyone has the same tolerance for heat or the sun. Essential equipment to have on a hike with no shade includes a hat, sunglasses, plenty of water, and a plan to start your hike early enough so heat isn’t going to be a problem. Our editors also like hiking with a sun umbrella.
HIGH TEMPERATURES?
Again, growing up in the desert has made me incredibly adept at hiking in hot, dry, sunny conditions, but I do my best to avoid hiking in the heat of the day which is usually mid-day. The dangers of hiking in high temps include dehydration, heat exhaustion, or even heat stroke. Take safety precautions including starting your hike early enough so that you won’t experience the hottest temperatures, carrying electrolytes, wearing a hat or visor, wearing sunglasses, bringing extra water, and drinking water often. For desert hikes in the summer, it is often recommended to carry at least 1 gallon of water per person. See our Best Electrolyte Powders guide for affordable, good-tasting electrolytes we like.
This isn't an exhaustive list of conditions, so doing your research on the trail you're headed to is especially necessary.
Regardless of the weather forecast, be sure to bring an additional layer (or two, depending on the time of year) to make sure you stay insulated. I recommend packing an extra jacket for summits since it tends to be windy and cold no matter the time of year. I have a packable down jacket that stays in my pack for just that reason. Our Best Rain Jackets guide and Best Down Jackets or Best Synthetic Jackets guide have suggestions.

The author on Ontario Peak. Photo by Liz Thomas
4) Make a plan—and share it with someone
It’s always a good idea to take a moment ahead of time to make a plan—and that’s especially true of solo hiking. Planning doesn’t have to be complicated, but thinking about your solo trip in advance allows you to integrate your researched knowledge—of the trail, the maps, and the weather—and better understand what you’ll need to do if your plans have to change for any reason.
Answering simple questions about your trip can be useful to your planning. Which trail are you taking? How many miles are you doing? When do you expect to arrive and finish up? Are you going to explore longer if you have the chance? What do you need to know or have with you to keep yourself safe on the trail in the forecasted conditions—and what will you do if the weather changes? And if you’re hiking solo, these are also the types of questions you’ll want someone back home to have the answers to in case of an emergency.
Several years ago, I watched the movie 127 Hours. It’s about a man who went hiking solo in the Utah desert and didn’t tell anyone where he was going. Even though he was on a familiar trail, he accidentally slipped into a crevasse, where his arm got pinned. Because no one knew where he was—and so no one was coming to help—he had to take drastic measures to get unpinned. This movie is the reason why I always let someone know my trip plan when I’m hiking solo.
Accidents can happen to anyone at any time, regardless of how thoroughly we’ve prepared. Part of your preparation should always be to let someone know your rough plans, even a quick text is better than nothing, so that if there is an emergency—and you can’t call for help—at least someone knows where to start looking. It can be as simple as, "I'm going to Mt. Wilson via Sierra Madre and I plan to summit by noon and be back by 6." While this can sometimes feel like overkill, it's saved lives before—and better safe than sorry. Plus, sharing your fun solo adventure plans can help inspire others!
5) DETERMINE CELL SERVICE AVAILABILITY AND / OR BRING A GPS DEVICE
It’s key to determine if your cell phone will work on the trail you plan to hike. Most carriers have a service map showing their various levels of service in a particular area; the Gaia GPS app, as a part of their map sets, also has a downloadable Verizon coverage map. Remember that on-the-ground service can vary from step to step, especially in canyons, so if the area you’re hiking in is on a line between service and no service, best to plan for no service. If you won’t have service or will be in a spotty coverage area, I strongly recommend you get a GPS device or Personal Locator Beacon (PLB) for emergencies. See our Best Personal Locator Beacon guide for our recommendations that are reliable, lightweight, and easy to use. I also suggest carrying a battery backup for your phone as a precaution, as struggling for service wears down phone batteries more quickly.
One time I planned to do an 8-mile loop but came to a spot in the trail that looked hazardous and I decided to turn around for safety. Since I couldn’t finish the loop, I had to backtrack instead which made my hike 13 miles instead of 8. As I was trying to call the ranger station to confirm the trail conditions and establish my options, I ran out of battery on my phone. Good thing I had my solar-powered backup battery with me!

Bring a backpack filled with the essentials. Photo courtesy Nicole Snell
6) Pack the Necessities
What you pack is mostly going to depend on your hiking plan. If you’re going on a solo hike in your neighborhood, you likely won’t need to bring the same gear you’d bring on a 12-mile solo hike in the backcountry. Still, day hikers tend to be the ones who run into problems handling emergencies or survival situations and eventually need rescuing. Day hikers generally only expect to be out for a few hours, so they might get complacent with the planning phase or assume that since it’s a short hike or one they’re familiar with that nothing can go wrong.
Throughout my years of hiking, I’ve become familiar with the Ten Essentials, a list of recommended items to bring on any hike no matter the duration or mileage. They include everything from food/water to basic survival and first aid items to be prepared for the unexpected.
I have adapted the Ten Essentials list below into items that I personally carry with me on every hike. If you’re planning on doing more solo backcountry hikes or solo backpacking, your survival kit and essential items may differ. I recommend taking a wilderness survival and wilderness first aid class, too.
Related: The Best Day Hiking Backpacks
NICOLE’S ESSENTIALS FOR A DAY HIKE
| DAY HIKE ESSENTIALS | OUR PICK(S) | MORE OPTIONS |
|---|---|---|
| Water and electrolytes | Your favorite | Best Electrolyte Powder |
| Phone and map | Your favorite | |
| Battery backup | Backup power for your phone | |
| First aid kit | Basic first aid kit | |
| Headlamp | Your favorite | Best (and Brightest) Headlamps |
Water and electrolytes—to prevent dehydration and keep you sweating. See our Best Electrolyte Powders guide for affordable, good-tasting electrolytes we like.
Snacks—make sure there’s a mix of salty and sweet to fuel that body
Phone/Map—know where you are at all times; carry a battery backup to prepare for emergencies.
First Aid Kit—ideally robust enough to patch yourself up and self-evacuate in an emergency. Whatever you bring, you should know how to use it!
Flashlight/headlamp—in case you’re out after dark, need better visuals on a wound, or need an emergency signal. Also, I have been able to explore some cool caves on a hike because I had my headlamp. Check out our Best Headlamps guide for a comparative review of headlamps based on battery life, weight, and ease of use.
Extra layers—a rain jacket and insulating layer for changes in weather and in case you’re stuck out overnight. Our Best Rain Jackets guide and Best Down Jackets or Best Synthetic Jackets guide have suggestions.
Multitool—this is a survival tool that often has several parts. The one I carry was recommended to me by the Wilderness Survival School I attended and it includes a knife, saw, screwdriver and tweezers. The knife can cut branches and plants to make a shelter, cut clothing or cord for first aid supplies, or shape wood into fire-making tools. The saw can cut thicker branches and more robust items, and the tweezers can help with removing splinters, cactus spines, and insect stingers. It also helps with gear repairs. One of my collapsible hiking poles broke while helping a hiking buddy on the snow. I used my saw tool to cut the metal cord inside so that I could collapse it.
Lighter—it’s exceedingly difficult to make a fire with just sticks or flint; give yourself easy access to warmth and a signal fire in an emergency.
Emergency Tools—I carry a signal mirror (visual signal), whistle (audible signal), emergency blanket, water purification (tablets or filter,) paracord, and a sewing kit.
Sun Protection—sunblock, SPF chapstick, and a hat/visor can prevent sunburns and damage to your skin and eyes.

The Gift of Fear explores how our intuition and awareness can keep us safe.
7) Use Your Awareness & Trust Your Intuition
How can you catch a glimpse of that red tail hawk or spot the rattlesnake curled up in the path unless you’re paying attention? Being grounded in our senses can help us notice not only the beauty of our surroundings but also any potential issues around us from both animals and humans. Being aware gives you the opportunity to avoid the trouble altogether or start problem-solving on how to deal with it.
Using our awareness means recognizing what’s going on around you which is also one of your first lines of defense for personal safety in the outdoors. Examine your environment, including the trail itself. One of the best pieces of advice I’ve learned in a wilderness survival class was to “look up, look down, look around.” Take out your headphones or hike with only one in to better hear your surroundings. If you notice something or someone that seems off—or something just doesn’t sit right with you—it’s time to pay closer attention and get ready to take action if necessary.
Our intuition is designed exclusively to protect us from danger. It is an innate ability we are all born with; all animals have intuition, but humans are the only ones who ignore it. We often think we know better or we are in denial about what we are feeling. If something or someone feels off, that’s because it is! The book, The Gift of Fear by Gavin de Becker, discusses intuition and how we can work on trusting it to enhance our personal safety. Intuition and awareness work together. That feeling in the pit of your stomach, your hair standing on end, chills that don’t have to do with the ambient temperature—these are all messengers of intuition as discussed in The Gift of Fear. They mean it’s time to pay attention!
There is no shame in turning around on a hike if you get a weird feeling about a part of the trail or someone you run into (or are hiking with). There have been a few hikes and other solo adventures where I turned back due to an intuitive feeling. Remember that your safety is the most important thing. Your intuition is sounding off in response to something—whether you’re aware of it or not—and it will try to lead you down the safer path. The trail will always be there, and you can come back on a different day.
Intuition exists to keep you alive, so honor your body’s survival mechanism by listening to it!

If you find yourself in a situation where you may have to defend yourself physically, know that you’re not helpless. There are plenty of ways you can use your body to defend yourself, and you’re worth fighting for. Photo courtesy Nicole Snell
8) Prepare for wildlife and human encounters by taking a self-defense class
Preparedness is power. We learn safety skills with the hope that we won’t have to use them. We never expect to run into a dangerous animal or person on a trail or in life, but we also don’t want to pretend those situations don’t happen. We can prepare for that possibility without living in fear—that’s where education comes in. Learning some simple skills can help you feel confident in your ability to manage your safety and protect yourself in a variety of situations.
WILDLIFE ENCOUNTERS
Most animals are not intentionally trying to hurt you, and encounters are often accidental. The animal is defending itself, its territory, its food, or its young. Knowing what animals you can expect on the hike you’ve chosen is part of doing your research. If you’re in bear country, know what species of bear live there and brush up on the relevant defensive tactics—they’re very different and knowing the difference could save your life.
To avoid a confrontation with animals like snakes, bears, or mountain lions, most experts advise sticking to trails, keeping your distance, making lots of noise, making yourself look big, standing your ground/not running away, or slowly backing away. If an animal is charging/attacking, your response is going to depend on what kind of animal it is. The National Park Service has recommendations on the most common safety tactics for animal attacks:
Black Bear: Use bear spray if you have it available and be prepared to keep fighting.
Brown Bear/Grizzly: Lay down on your stomach (keep your backpack on) and dig your feet and hands into the ground so it can’t flip you over. If it has started attacking, use bear spray and fight back
Mountain Lion: Fight back by any means necessary.
The recommended strategies for dealing with a moose or bison are very different from the predatory animals listed above. There is a full guide by The National Parks Experience on moose safety here and bison safety here which I’ve summarized below:
Moose: Avoiding them is the best option, so hike with awareness. If you see one, keep your distance. If a moose has noticed you, talk in a soft, calm voice and slowly move away. Avoid acting aggressive including loud noises or waving your arms. If a moose charges, RUN! (Unlike with black/grizzly bears and mountain lions, running from a moose is ok). If you can’t run, find cover behind a large object. If you get knocked down, don’t fight back. Instead, curl into a ball and stay still.
Bison: More people are injured by Bison in Yellowstone National Park than by any other animal. Avoiding Bison and keeping your distance is the best defense with the recommended distance being at least 25 yards. Hike with awareness, avoid crossing between bison and never approach one. If you encounter one, back away slowly and avoid sudden movements or running. If the bison is agitated and charges, DON’T RUN! They can reach speeds up to 35mph, so you won’t be able to outrun them. Loud noises won’t deter a bison (unlike with black/grizzly bears and mountain lions). Instead, if the animal is charging, find cover behind a large object like a tree, vehicle, or rock. Climbing a tree is also an option since bison can’t climb (obviously!).

Set a double boundary by bringing your hands in front of your face and face the threat straight on. Photo courtesy Nicole Snell
HUMAN ENCOUNTERS
Taking a self-defense class is excellent preparation for encounters with people who might mean harm. A class can teach you a variety of verbal and physical skills that apply to life on and off the trail. Being aware of your surroundings and listening to your intuition are the foundations of self-defense, and they’ll help you avoid a lot of otherwise dangerous situations.
If you find yourself in a situation where you may have to defend yourself physically, know that you’re not helpless. There are plenty of ways you can use your body to defend yourself, and you’re worth fighting for.
USE YOUR VOICE
Your voice is your first weapon. Setting a boundary by yelling “NO” can be an effective deterrent. Assailants often choose targets they don’t expect resistance from, so even if there is no one nearby to hear you, yelling isn’t just a surprise—it’s an attack. Your other weapons? Hands, elbows, heel palms, teeth, knees, and feet, to name a few. YOU are a weapon!
SET A DOUBLE BOUNDARY
The first technique I teach in my self-defense sessions is how to set a double boundary. Try it now—bring your hands up in front of your face, with your palms facing out and your elbows close to your body. Face the threat straight on with hands, hips, and feet all pointing straight ahead. Now step one foot back, keeping your feet about hip distance apart. This sends a very powerful and confident non-verbal message: “Back off and leave me alone”!
You can add your voice by yelling “Stop,” “I want you to leave me alone,” or whatever comes to mind in the moment. Whatever you say, you’re setting a boundary and breaking yourself out of the freeze response as well. This also lets a potential assailant know that you see them, you’re aware of their intentions, and you’re not going to let them take control of this situation.

Fighting back with the heel palm move. Photo courtesy Nicole Snell
FIGHT BACK
If the person continues to threaten you, disregards your boundaries, or begins to attack, then it’s time to physically fight back! Your hands are already up, so the first strike I teach is the Heel Palm. Using the lower part of your hand—the fleshy bit above your wrist and below your thumb—strike up and out at the person’s face with power. The goal is to strike until you can get away and find safety, which can vary depending on where you are. Safety might be at the trailhead, or the group you passed earlier in the day.
Taking a self-defense class will offer you a variety of other techniques in detail, but the important thing to remember is that you are worth fighting for and that you have options! Self-defense isn’t about what you should do, it’s about what you can do. Keep fighting until you can get to safety and own the fact that you are your own best protector.
To learn more, check out my series of videos on what these techniques look like at Outdoor Defense on YouTube.
Conclusion
I hope I’ve helped you add knowledge and strategies to your toolkit so you can feel more confident in your ability to enjoy solo hiking. There’s a great big world out there—get out and enjoy it!
Interested in a solo road trip, solo travel, or solo backpacking tips? See our upcoming stories!
RECOMMENDED READING
Nicole Snell is an internationally recognized self defense instructor. Photo by Gina Danza @wildginaa
About the Author/ Why You Should Trust Us
Nicole Snell is an international speaker, facilitator, and self-defense instructor who specializes in sexual assault and violence prevention education, gender-based violence prevention, personal safety, and empowerment. I am committed to ending violence in all of its forms by educating others and advocating for change. I believe in social justice, equality and that everyone has the right to walk through the world feeling safe, powerful, and confident.
As an outdoor enthusiast, solo adventurer/traveler, and hike leader, I want to use my skills to encourage others to expand their world, explore and do what brings them joy—without limits. I’m the owner of Girls Fight Back, a self-defense class awarded “Best Online Self Defense Class” by VeryWellFit, and winner of Tastemade Travel’s Best Resources for Solo Female Travelers.
At Girls Fight Back and IMPACT Personal Safety, I teach online and group self-defense classes for a variety of clients from K-12, colleges and universities, to the military, to BIPOC organizations, to hiking, running, and outdoor organizations. I’ve also spoken about how to safely solo run for Runner’s World and Women’s Running. You can read more on my website, on Instagram, and on my Outdoor Defense YouTube channel.
You can find my writing on Self Defense for Hiking in the National Parks Experience. I’ve been a frequent podcast guest for talking about safety while hiking and have been featured on the: Nike Trained podcast, Tough Girl podcast, Jazzed About Nature podcast, The Mend podcast, Womxn of the Wild podcast, and the Almost There Adventure Podcast.
I’m also the author of the guide to Lightweight Hiking Boots at Treeline Review.