How to Pack a Backpacking Backpack
BALANCE WEIGHT AND MAXIMIZE COMFORT WHILE BACKPACKING WITH THESE BACKPACK PACKING TIPS
August 28th, 2023
No matter which backpack you carry, this is how to best pack your pack to increase comfort and weight balance and distribution while backpacking.
There is no single best way to pack your backpacking backpack. The most important principle for packing your pack for balance, weight distribution, and ease while hiking or backpacking is to plan ahead. You can plan ahead by knowing the weather (Is there a chance of rain?) or how often you'll be hiking near water sources. Do you have any blisters or chafing that may need attention? Smart packing can make your backpack feel more comfortable, feel less heavy, and be less likely to cause injury.
I've backpacked almost 30,000 miles and am one of a handful of people who has thru-hiked the Triple Crown Trails (Appalachian Trail, Pacific Crest Trail Continental Divide Trail) twice. In this article, I explain how I personally load my backpacking pack along with some adjustments I make depending on conditions.
Related: Best Backpacking Backpacks
Read More: How to choose a backpacking backpack
We create reader-supported, objective, independently-selected gear reviews. This story may contain affiliate links, which help fund our website. When you click on the links to purchase gear, we may get a commission, without costing you an extra cent. Thank you for supporting our work and mission of outdoor coverage for every body! Learn more.
Steps to pack a backpacking backpack
These principles of access and weight distribution will help you balance and carry the gear in your backpack more comfortably while hiking. These principles apply to any distance-- from a day hike to a weekend backpacking trip to a thru-hike.
1. Determine small items that require easy access
Start packing your backpack by first determining items that you want quick access throughout the day. You want to be able to access these without having to remove your backpack and dig around to look for it. This principle applies to any distance of hike or backpacking trip.
To figure out what items you'll need for the day, you'll want to pay attention to the weather and your maps. For example, if you're headed above treeline or it's going to rain, you'll want layers and rain jacket easily accessible. If you have many water sources that you'll need to filter, you'll want to keep your water filter and water storage bags handy.
Other gear items most hikers like to have for easy access:
Smartphone if used for navigation with the or photos
Maps, compass
Hand sanitizer, sunscreen, bug spray, lip balm, sunglasses;
GPS
Camera (see our Waterproof Camera Guide);
Light snacks (things I can snack on while on the move); and
Water bottle (accessible in a side pocket).
Wallet (if you're resupplying in town that day)
Where in your backpack to store items that need easy access:
Hip belt pockets
Shoulder strap pockets
I keep these gear items in my hip belt pockets or backpack strap pockets. I also utilize storage in my hiking pants or hiking shorts for lighter and less bulky items to minimize swing and the chance they'll pull my waist band down. I also sun shirts and jackets with good pockets to securely store small items. Many backpackers, especially those who hike in pocket-less or very small-pocketed running shorts or lightweight hiking shorts instead choose to use a fanny pack for heavy items they'll need access to like a phone or camera. If you store items in a shoulder strap pocket, check that it does not get in the way of your ability to use a sternum strap or other straps that help some hikers with balance.

Place items you wish to access throughout the day into your mesh. Photo by Mike Unger.
2. Determine big items that need easy access
Once I’ve determined what small items I need to access frequently, I place bigger items in the front mesh of my backpack or in the pack lid. These are the items that will not fit into hip belt pockets or shoulder strap pockets. I put these gear items that I want easy access during the day into the front mesh pocket or pack lid (for packs that have lids).
These gear items include:
Food. Lunch, additional snacks, and drink mixes;
Water treatment;
Toilet items. TP, cat hole digger, doggie bags to haul out used TP);
First aid kit items that you may need during the day such as blister care items, pocket knife, tweezers, chafing balm;
Rain gear. My rain jacket and rain pants/rain kilt (see our Best Rain Jackets story for recommendations);
Tent stakes. I like these to be easily accessible at the end of the day);
Extra layer and any clothes I think I'll need during the day. I will often put on a wind shirt during breaks to stay warm or protect against mosquitoes. On colder days, this may include a hat, gloves, and puffy jacket.
Headlamp. I also like to keep my headlamp accessible in the event it gets dark before I find a campsite. (See our Best Headlamp guide for more suggestions about how to pick a headlamp)
3. NOW YOU CAN LOAD THE MAIN BODY OF THE BACKPACK.
I typically follow the following order:
BOTTOM SECTION
I use a trash compactor bag or a pack liner and everything in my backpack in there. This keeps dry my sleeping bag, extra clothes (which are in a stuff sack that doubles as a pillow), sleeping pad (if I’m using an inflatable pad), and ditty bag.
My ditty bag is a bag of miscellaneous items that I typically don’t need during the day and want to keep dry such as extra maps for sections I'm not hiking that day, batteries, wallet for days that aren't town days, keys, and electronics chargers). I store these items in a packing cube or dry bags to keep them dry.
I typically will not put the sleeping bag or quilt in a stuff or compression sack. This is because I want the sleeping bag to fill in gaps in the backpack and, more importantly, I want to maintain the bag’s loft (which is how the bag provides warmth). However, if you're hiking in wet conditions or quite concerned about space or your bag getting wet, many experienced backpackers will make their sleeping bag's volume smaller by using a stuff sack or stuff sack with a compression strap. If you do use compression bags, store your sleeping bag at the bottom of your backpack).
MID-SECTION
Here I put heavier items such as my stove, pot, and fuel. These are items that I don’t mind if they get wet. You want your heavy gear towards the middle of your torso to help with weight distribution. One heavy item that may not fit in the mid section are tent poles or trekking poles because of their length.
If your pack has straps above the exterior pockets, put your poles in the pocket and then strap it to your pack to secure it. In areas that require a bear canister, like the John Muir Trail, your hard-sided bear can will likely be one of your heavier items. If it can fit in your backpack's main compartment, try to get it near the middle of the pack to help with weight distribution.
TOP-SECTION
I keep my food bag and extra water (if necessary) in the top of my backpack. The food and water are likely the heaviest items in your backpack. Try to keep the weight balanced between your shoulders.
Many women and people whose center of gravity is closer to the hips keep heavy items like their food bag and water away from their shoulders. Some choose to keep the weight closer to their center of gravity near their hips. Others will aim to keep it along their spine in a more vertical direction by using a narrowly shaped food bag. Experiment with what works for you and feels most comfortable.
Also remember that all water containers can leak. Make sure the trash compactor bag or pack liner in the bottom of the backpack is closed.
4. Fill in the gaps
My final step is to stuff my dry tent into the main compartment of the backpack to fill in all the gaps. I may also stuff my insulated jacket or fleece in the top (weather permitting) so I have quick access at the end of the day.
If my tent (see our Guide to the Best Backpacking Tents for recommendations) is wet, I carry it in the front mesh and hope to have the opportunity to dry it out during the day

The Katabatic Liteskin pack in Idaho’s Sawtooth Mountains. Photo by Mike Unger.
ADJUSTMENTS I MAKE DEPENDING ON CONDITIONS
If I need more capacity in the main body of my backpack I will carry the tent in its stuff sack on the outside of the pack. I usually put it on the side of the backpack with one end in the side pocket. I will also consider keeping my sleeping bag in a compression sack if I need more room inside the pack.
Try not to carry items attached to the outside of the backpack using gear loops. The exception is your ice axe, umbrella, snowshoes, or crampons. These are items that can have sharp edges and are oddly shaped, so are best suited on the outside. Some backpackers who carry smaller packs may find they have to use gear loops to attach their bear canister to the top of their pack. This is often not the most ideal weight distribution and many hikers find it uncomfortable.
Some hikers will carry a foam Therm-a-Rest Z Lite pad or Nemo Switchback Form pad strapped to the top, bottom, or back of their backpacking packs.

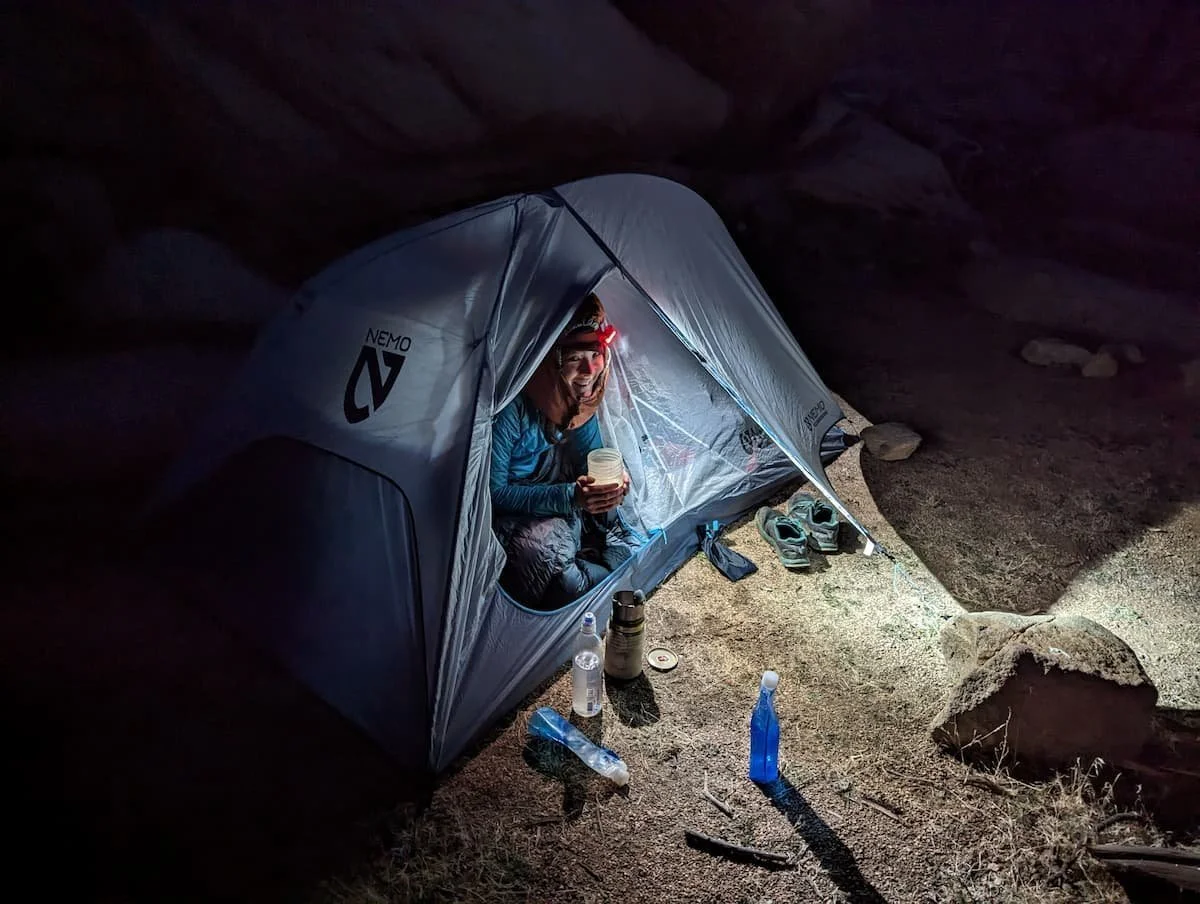
Keeping gear dry is important to being able to stay warm at night. Photo courtesy Roger Carpenter
HOW TO KEEP YOUR GEAR DRY
As backpackers, we must always be prepared for inclement weather in the backcountry. Your backpack alone won’t keep your gear dry. However, some fabrics are more waterproof than others. We recommend backpacking packs made of waterproof materials the Hyperlite Mountain Gear Junction or the Six Moon Designs Swift X made with Ultra. The Junction is made of Dyneema® Composite (formally cuben fiber), a material that is incredibly water resistant. Ultra is also incredibly water resistant and abrasion resistant.
Under the right conditions, these packs alone may be able to keep your gear dry. However, we’ve learned that some companies make waterproof packs that are not completely seam-sealed, so water can still get in at the seams. More commonly, water gets into the top of the backpack because it is not as fully closed as we may have thought it was (user error).
Keeping your critical gear dry (sleeping bag, spare clothes, electronics) should be your top priority.
There are four primary ways to protect your gear: pack cover, pack liner, and/or dry bags.

A pack cover can only offer limited protection to your backpack. Photo by Mike Unger.
Pack cover
A pack cover is shaped like a giant shower cap for your backpack. It's got elastic on its edges that holds the pack cover in place over your backpack. We don't recommend it.

A pack liner can keep your clothing and pack contents dry in all weather. Photo courtesy Amanda Jameson.
PACK LINER
A pack liner is a waterproof bag that fits inside your pack to protect your critical gear. You can buy large dry bags to serve as your pack liner. However, we have found that a trash compactor bag makes a great pack liner. A trash compactor bag is durable and very affordable (just be sure to buy the unscented bags).
Some folks use garbage or yard waste bags as their pack liner. We don’t recommend these types of bags. They are too easily punctured, rendering them useless.
DRY BAGS OR PACKING CUBES
We recommend that when traveling in wet weather, you replace standard stuff sacks with dry bags or packing cubes for critical items. A compression sack, dry bag, or packing cube is a great option for your sleeping bag and spare clothes. A packing cube is great for items where you want to be able to see all your gear at once, such as food bags or first aid kit.
Dry bags are available in many sizes, from smaller sizes for electronics to pack liners that have dry bag-style roll tops or zip tops to keep out water. Dry bags tend to be more expensive and can sometimes weigh more, though there are many lightweight dry bags available.
We strongly recommend LOKSAK bags for smaller items that you want to keep dry like your smartphone, wallet, and other items needing extra protection. LOKSAK bags are available in a variety of sizes and are significantly more durable than standard Ziplock bags.
Poncho-pack covers
Although not as common, several companies make ponchos that are designed to fit over the hiker and the hiker's backpacking pack. For example, Z-Packs has a poncho-tarp that can also double as a tent footprint.
WHY WE DON’T RECOMMEND PACK COVERS
Pack covers have long been the standard method to protect your backpacking pack from the rain; however, they are not our favorite method to protect your gear. Water will find a way around the backpack and have a tendency to catch wind like a sail and blow off or snag brush along the trail.
The big advantage of a pack cover is that they limit the amount of water that is absorbed into the backpack material, adding to your pack weight. That’s one reason why we prefer packs like the Hyperlite Mountain Gear Junction made of waterproof material like Dyneema®.
Dyneema® (formally cuben fiber) fabric does not absorb water. That’s one reason that if you do choose a pack cover, you’ll likely be happier with one made of Dyneema® Composite (as long as you aren’t someplace brushy). It’s another reason why we think if you opt for dry bags, you may also prefer those made of DCF instead of silnylon (or other fabrics that absorb water).
If you use a pack cover we strongly recommend that you also use dry bags or a pack liner for critical gear.

WHY YOU SHOULD TRUST US & ABOUT THE AUTHOR
Mike Unger left his high-stress corporate job to thru hike the Pacific Crest Trail in 2006. That experience forever changed him, and he purposefully re-arranged his life to allow for as much adventuring as possible. Today, he’s closing in on 28,000 miles on North American long trails and is one of a handful of people who is Double Triple Crowner, having hiked the Appalachian Trail, Pacific Crest, and Continental Divide Trail each twice. He’s also picked up another passion along the way: long-distance bikepacking, including the 1,850 mile Pacific Coast route. When he’s not hiking or biking, he’s probably planning his next trip and/or researching gear.
You can read all of Mike’s stories on his author page.