Timberline Trail Backpacking and Thru-Hiking Guide
the iconic 41-mile loop hike around Mt. Hood

July 29th, 2025
Home → Trip Guides → Thru-Hiking
Distance: 41 miles
Days: 1-6 days
Elevation gain/loss: 10,000+ feet
Best season: Summer
FarOut guide: Yes
Permits: None, however parking permits are required
Difficulty: Strenuous physically, navigation is moderate
The Timberline Trail is a 41-mile loop in Oregon that circumnavigates Mt. Hood (11,244 feet), a stratovolcano that is the highest point in Oregon and the fourth highest peak in the Cascade Range.
Officially called the Timberline National Historic Trail No. 600, this thru-hike shares miles on the west with the Pacific Crest Trail and has views of glaciers, waterfalls, wildflowers, other volcanos, and the world-famous architectural wonder of Timberline Lodge. With easy and free self-registered permits, excellent views, and easy logistics (due to it being a loop), it's a great shorter thru-hike. On a clear day, you'll get excellent views of Mt. Adams, Mt. St. Helens, Mt. Jefferson, and Mt. Rainier.
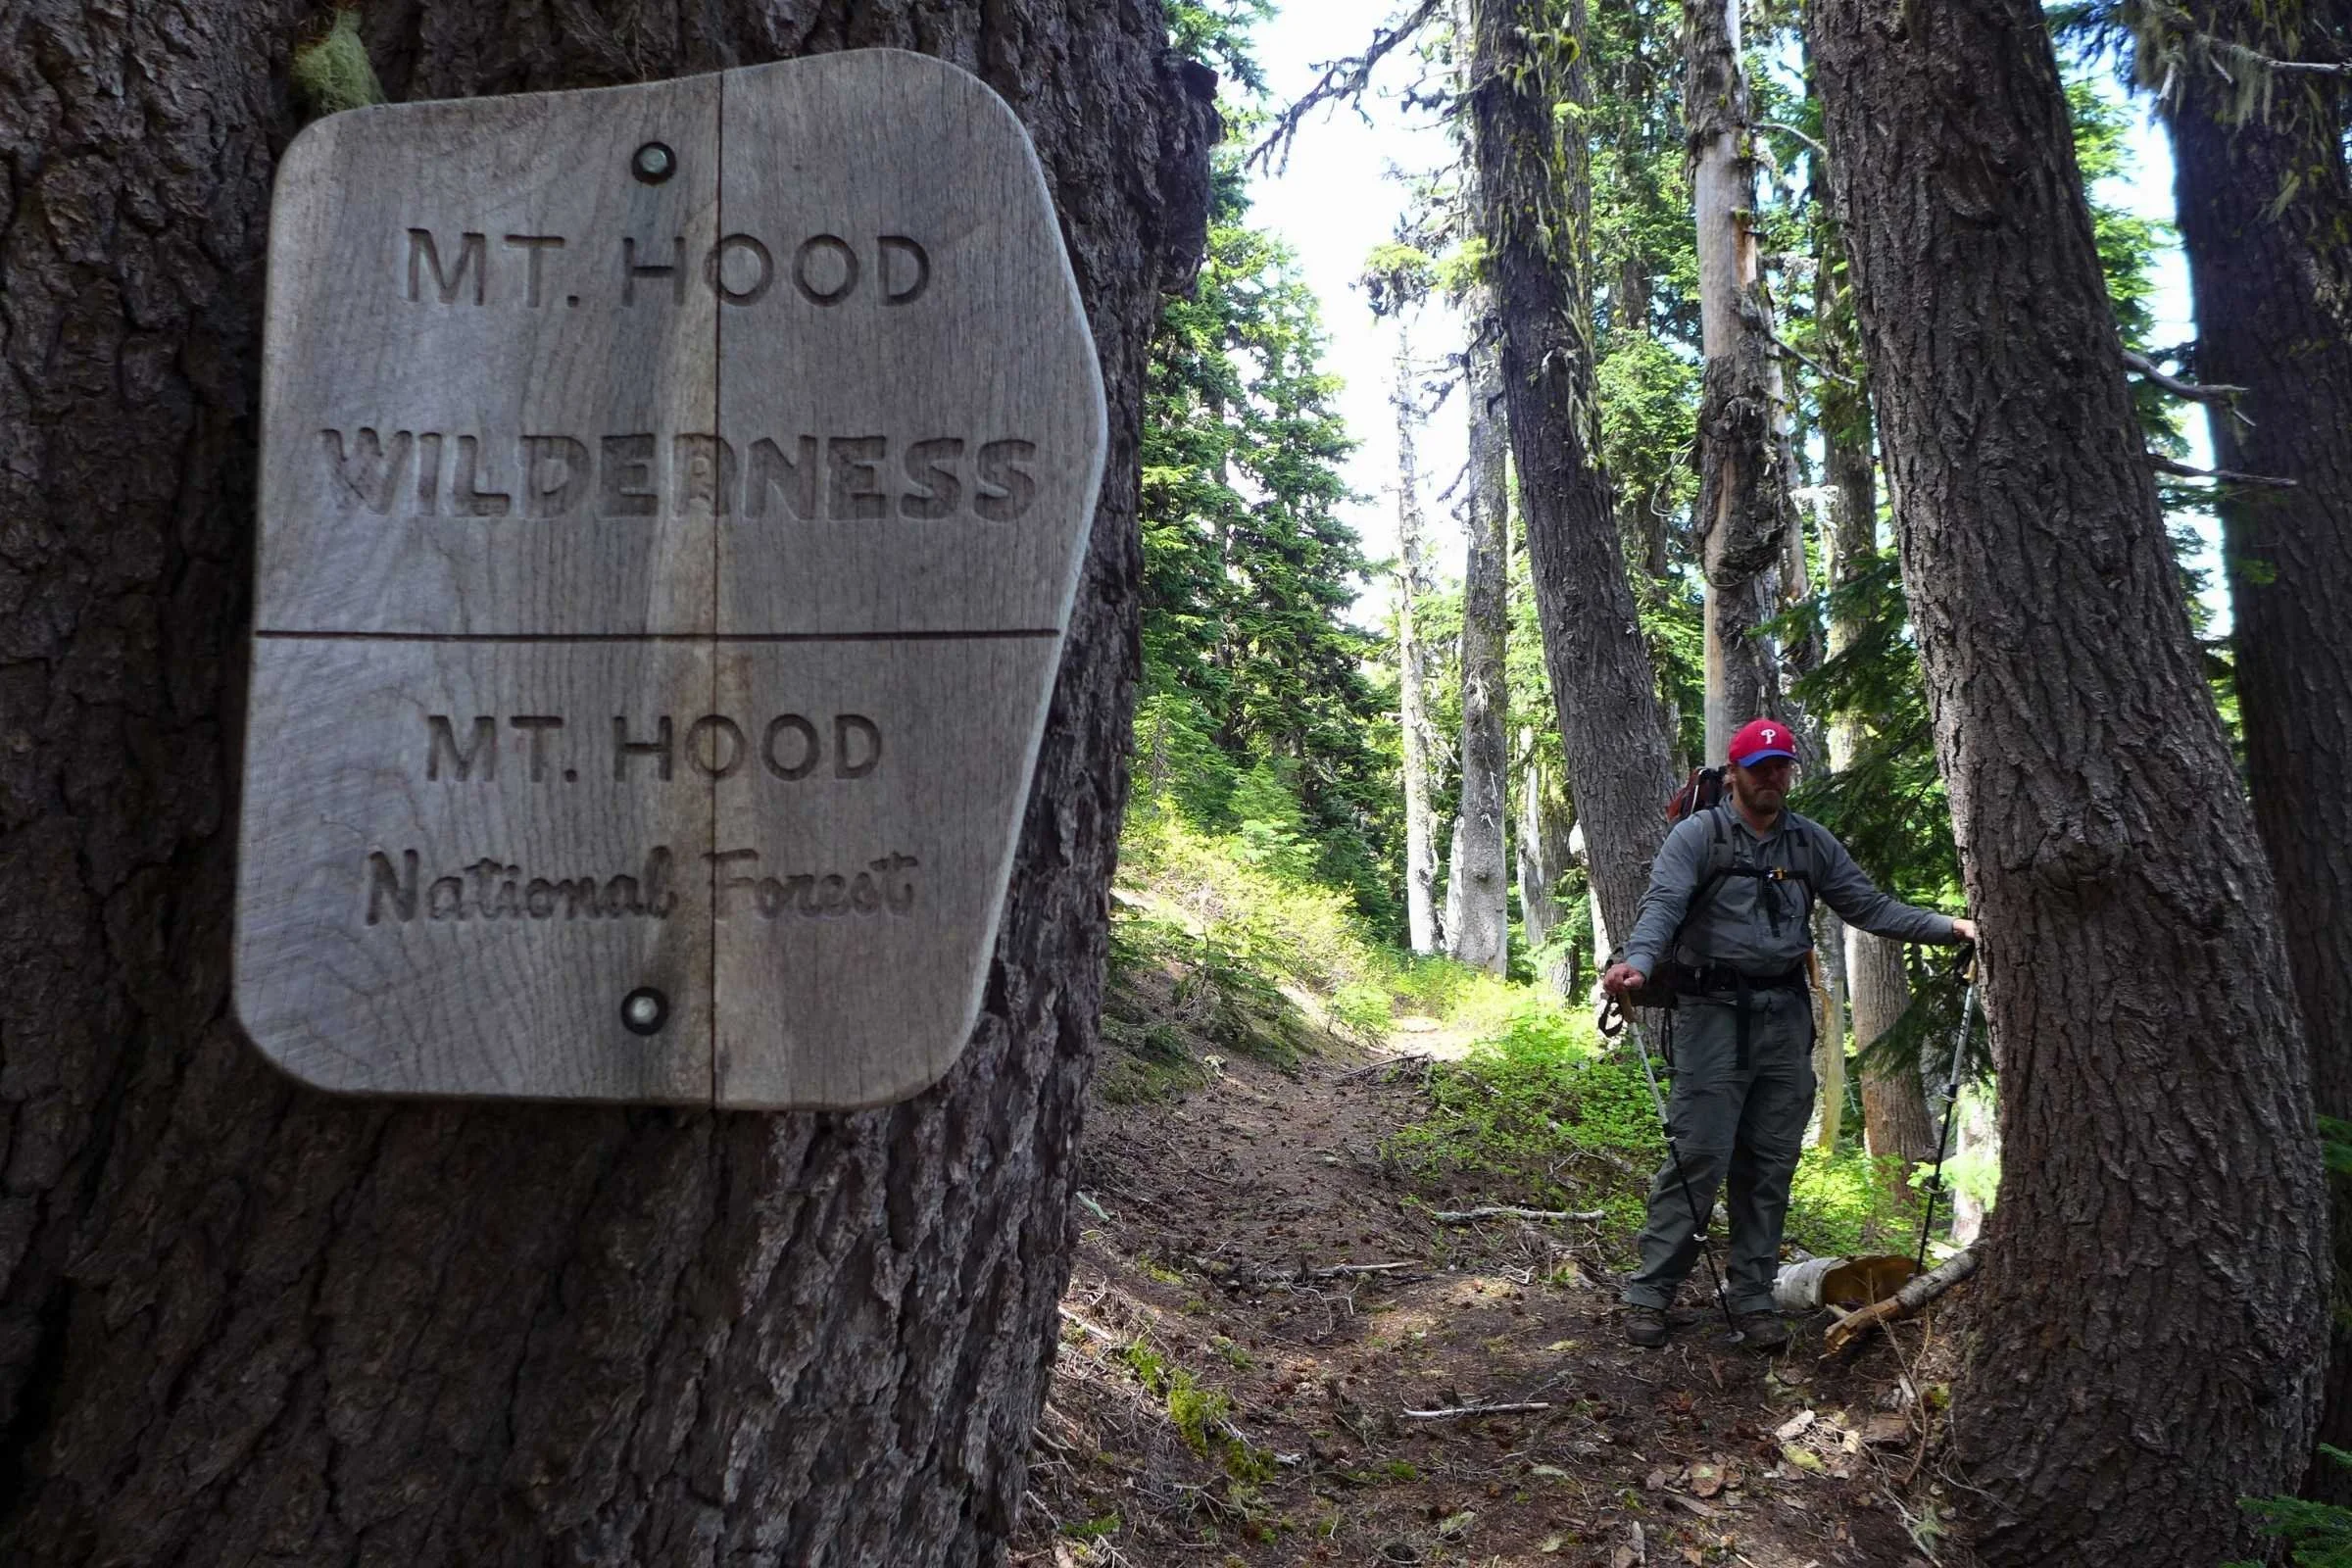
The Timberline trail is bounded by the lands of the Confederated Tribes of Grand Ronde to the west and Confederated Tribes of Warm Springs to the east, the original stewards of the Mt. Hood area since time immemorial.
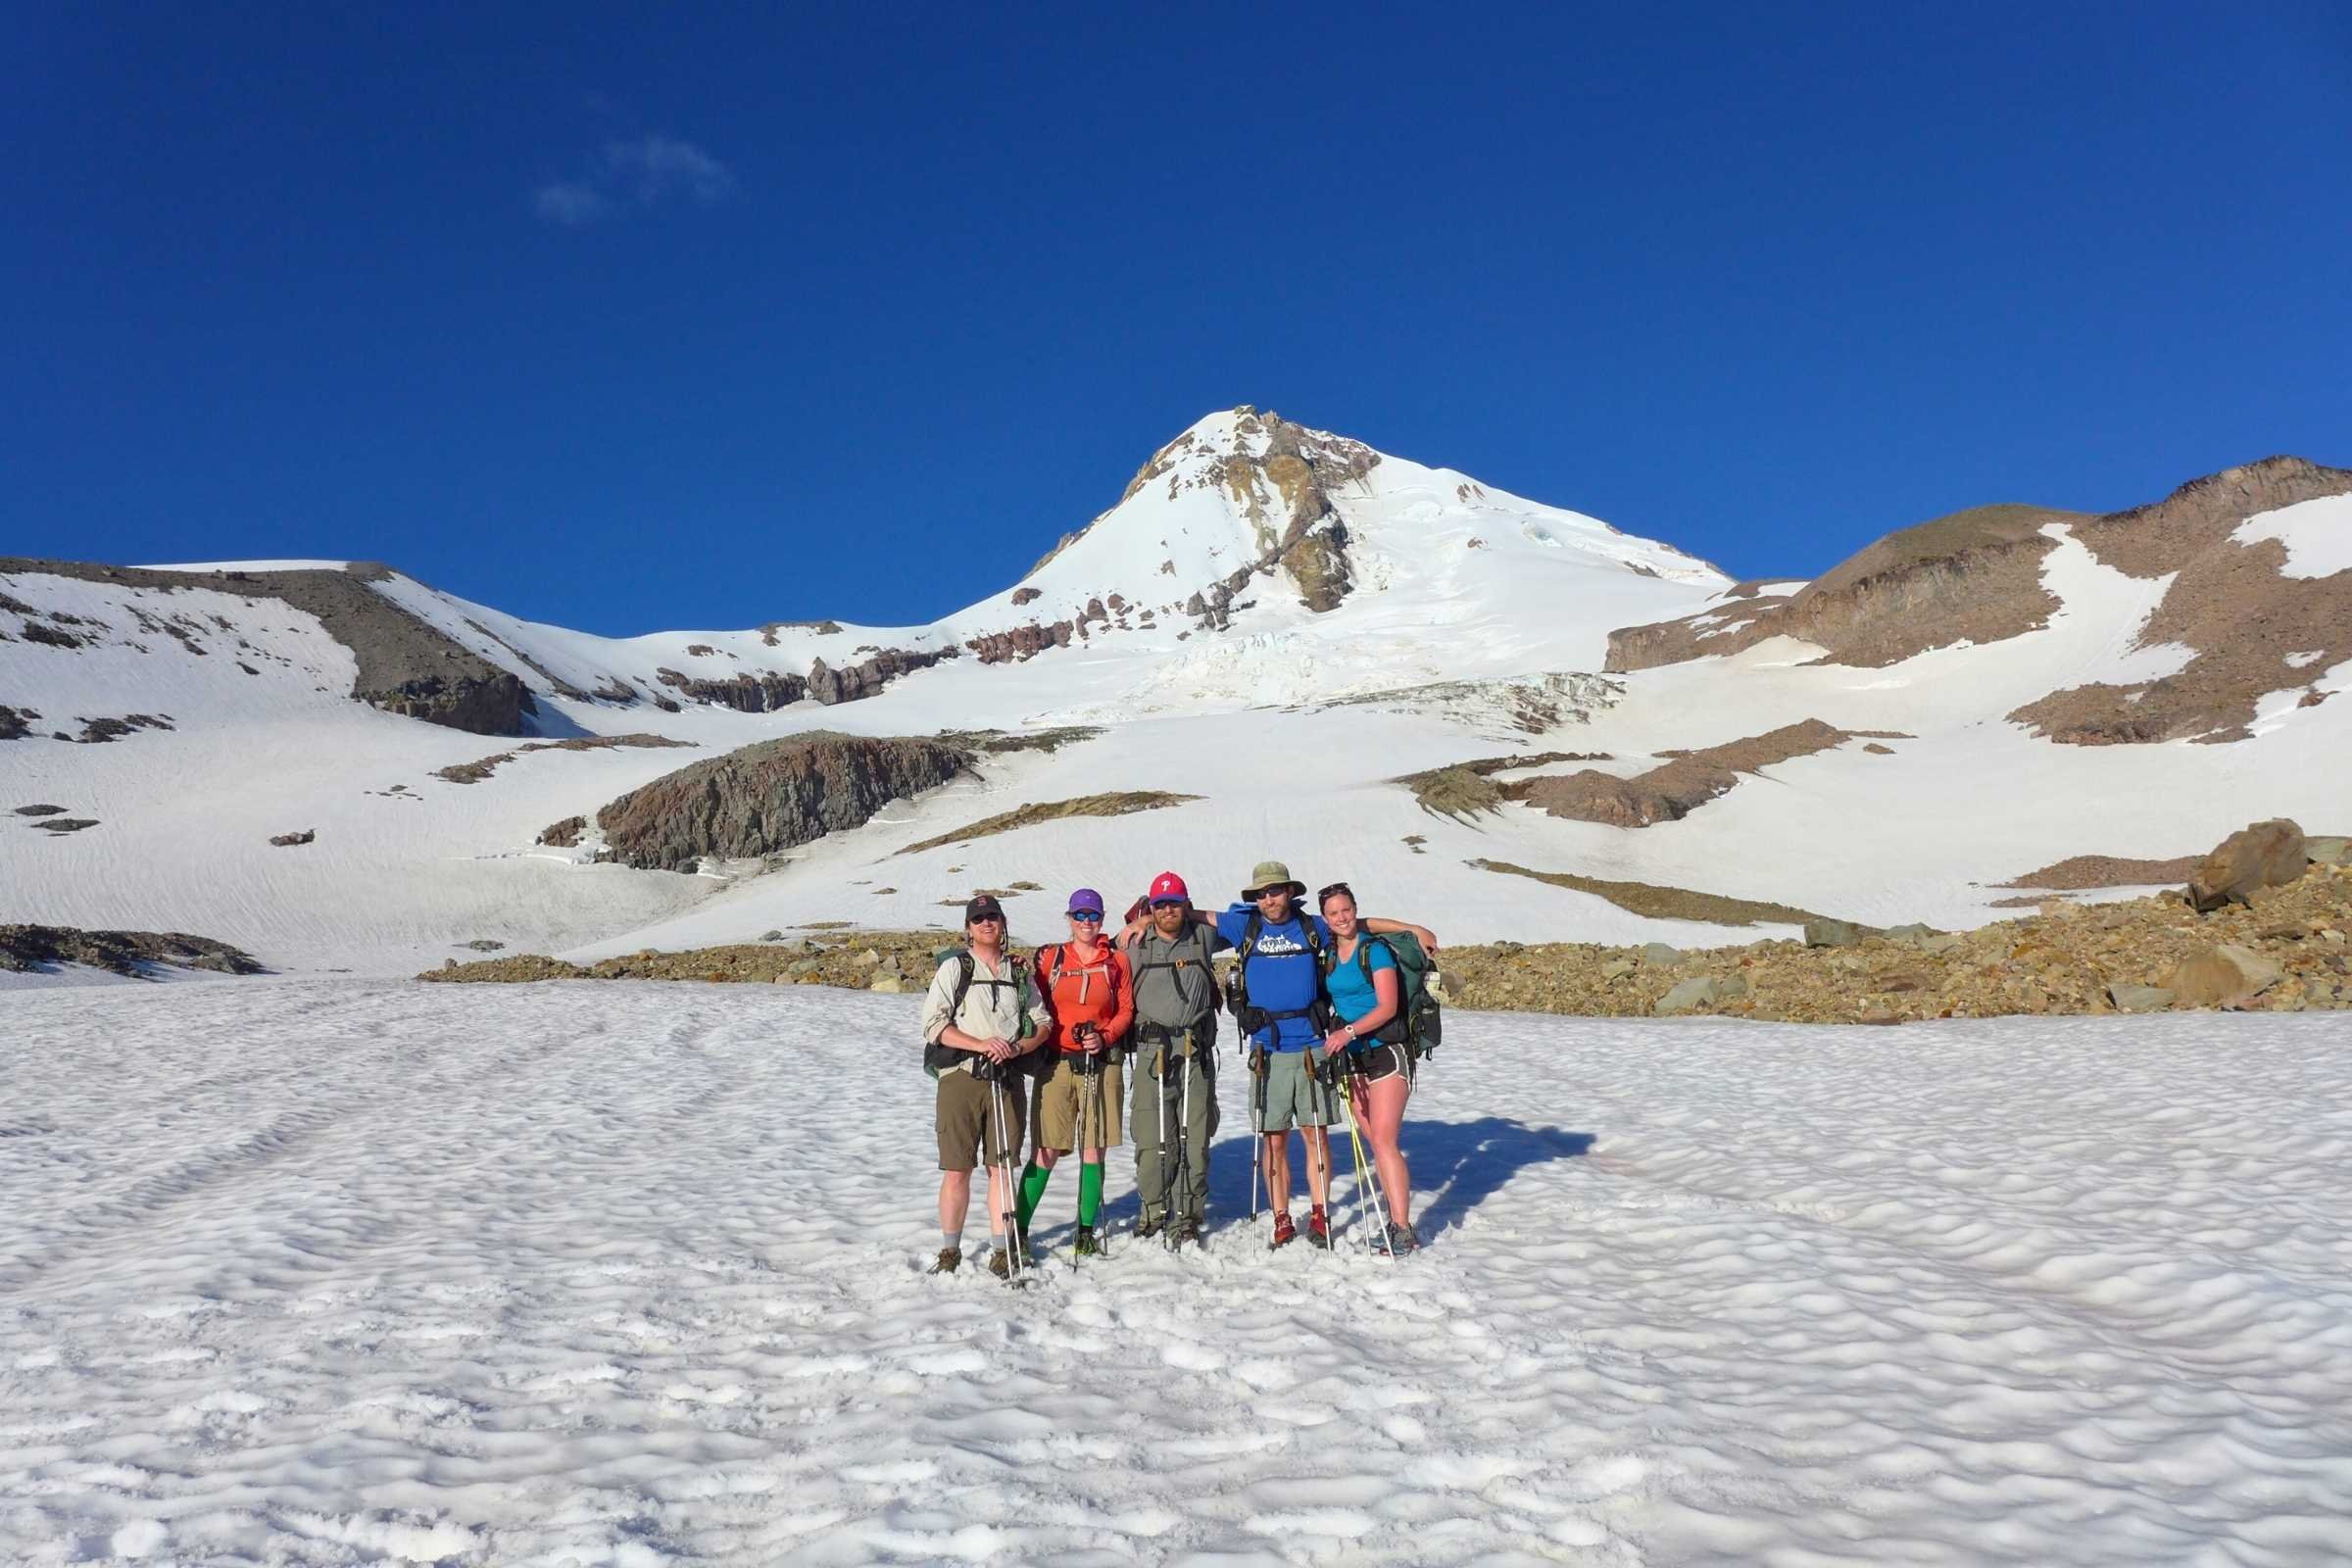
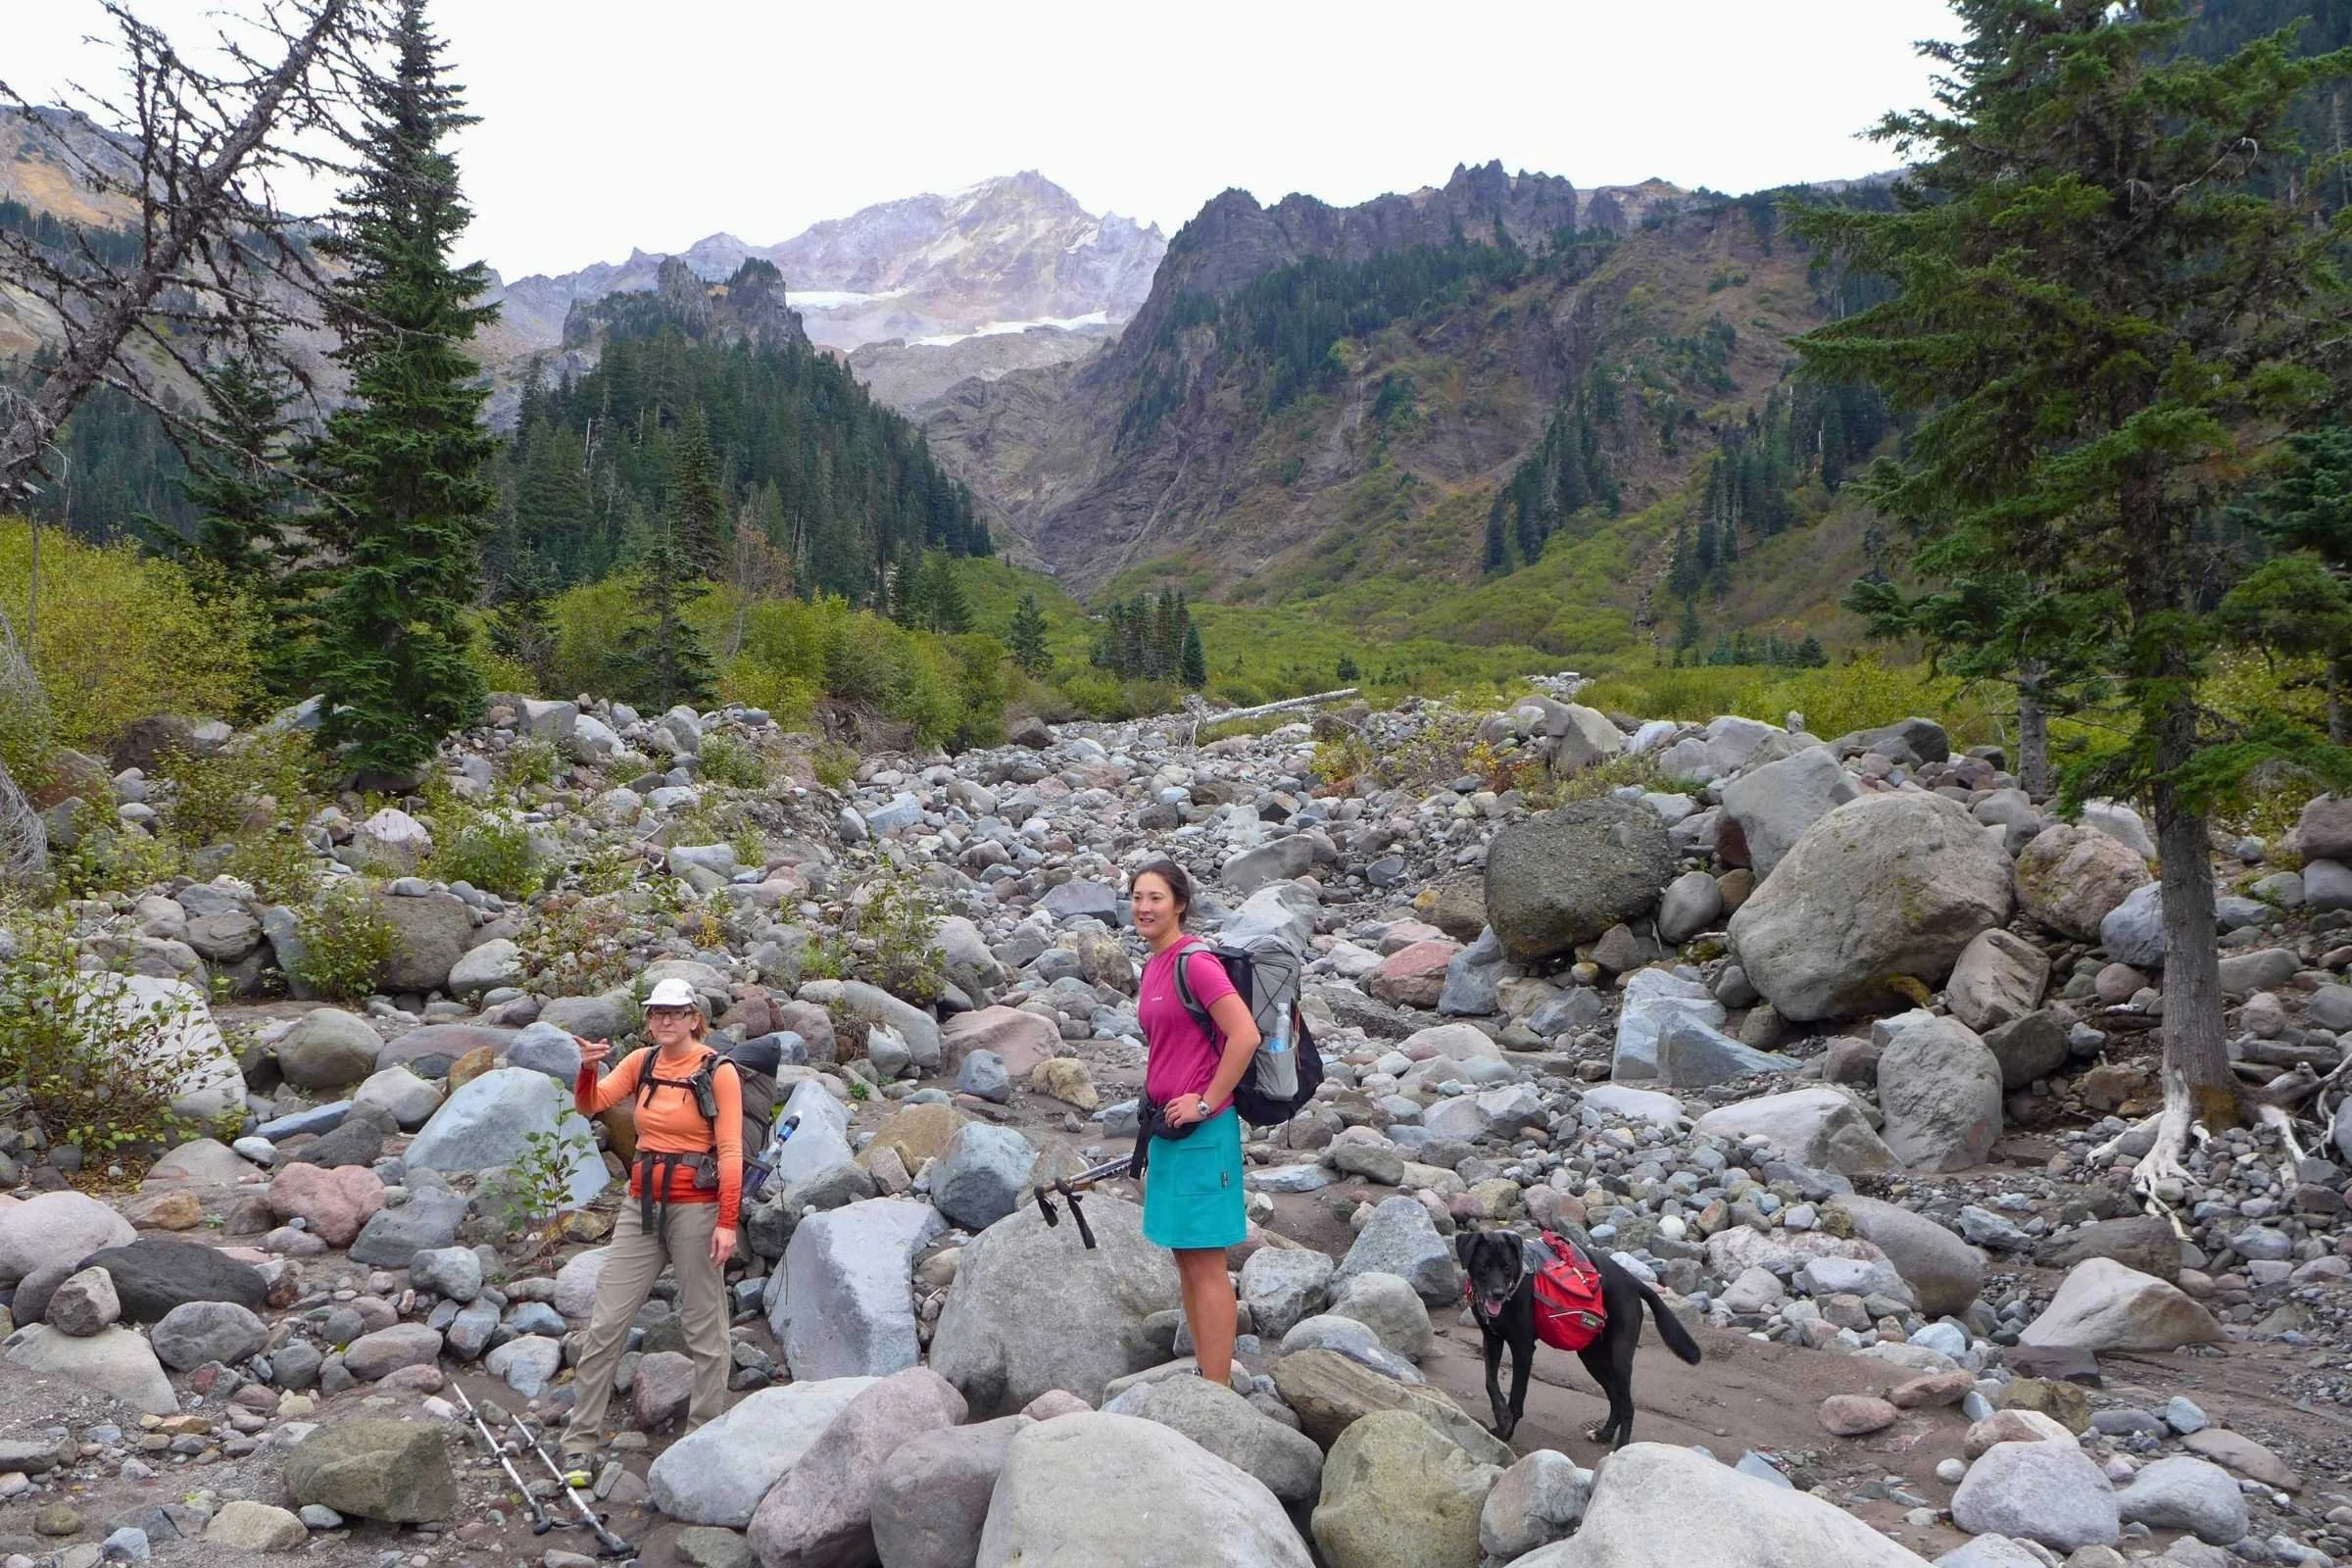
Treeline Review co-founders Liz Thomas and Naomi Hudetz, and Treeline Review writers Kate Hoch and Whitney LaRuffa, all thru-hiked the Timberline Trail together along with our dog friend, Karluk. As locals, Kate and Whitney have done it multiple times in 3 seasons in both directions. This is our advice for thru-hiking the Timberline Trail.
We create reader-supported, mission-driven objective gear reviews that are independently selected by our editors. This story may contain affiliate links, which help fund our website. When you click on the links to purchase gear, we may get a commission — without costing you an extra cent. Thank you for supporting our work and mission of outdoor coverage for every body! Learn more.
Here is a summary of the gear we used or recommend for the Timberline Trail. There is more on our gear selection below.
Gear List
| TIMBERLINE TRAIL GEAR | OUR PICK | OTHER OPTIONS |
|---|---|---|
| Hardgoods | ||
| Tent | ZPacks Duplex | Best Backpacking Tents Best Ultralight Tents |
| Backpack | Gossamer Gear Gorilla 50 | Best Lightweight Backpacks |
| Sleeping bag | Katabatic Palisade 30°F Quilt | Best Backpacking Sleeping Bags Best Backpacking Quilts |
| Sleeping pad | Therm-a-Rest NeoAir NXT Sleeping Pad | Best Sleeping Pads For Backpacking |
Highlights
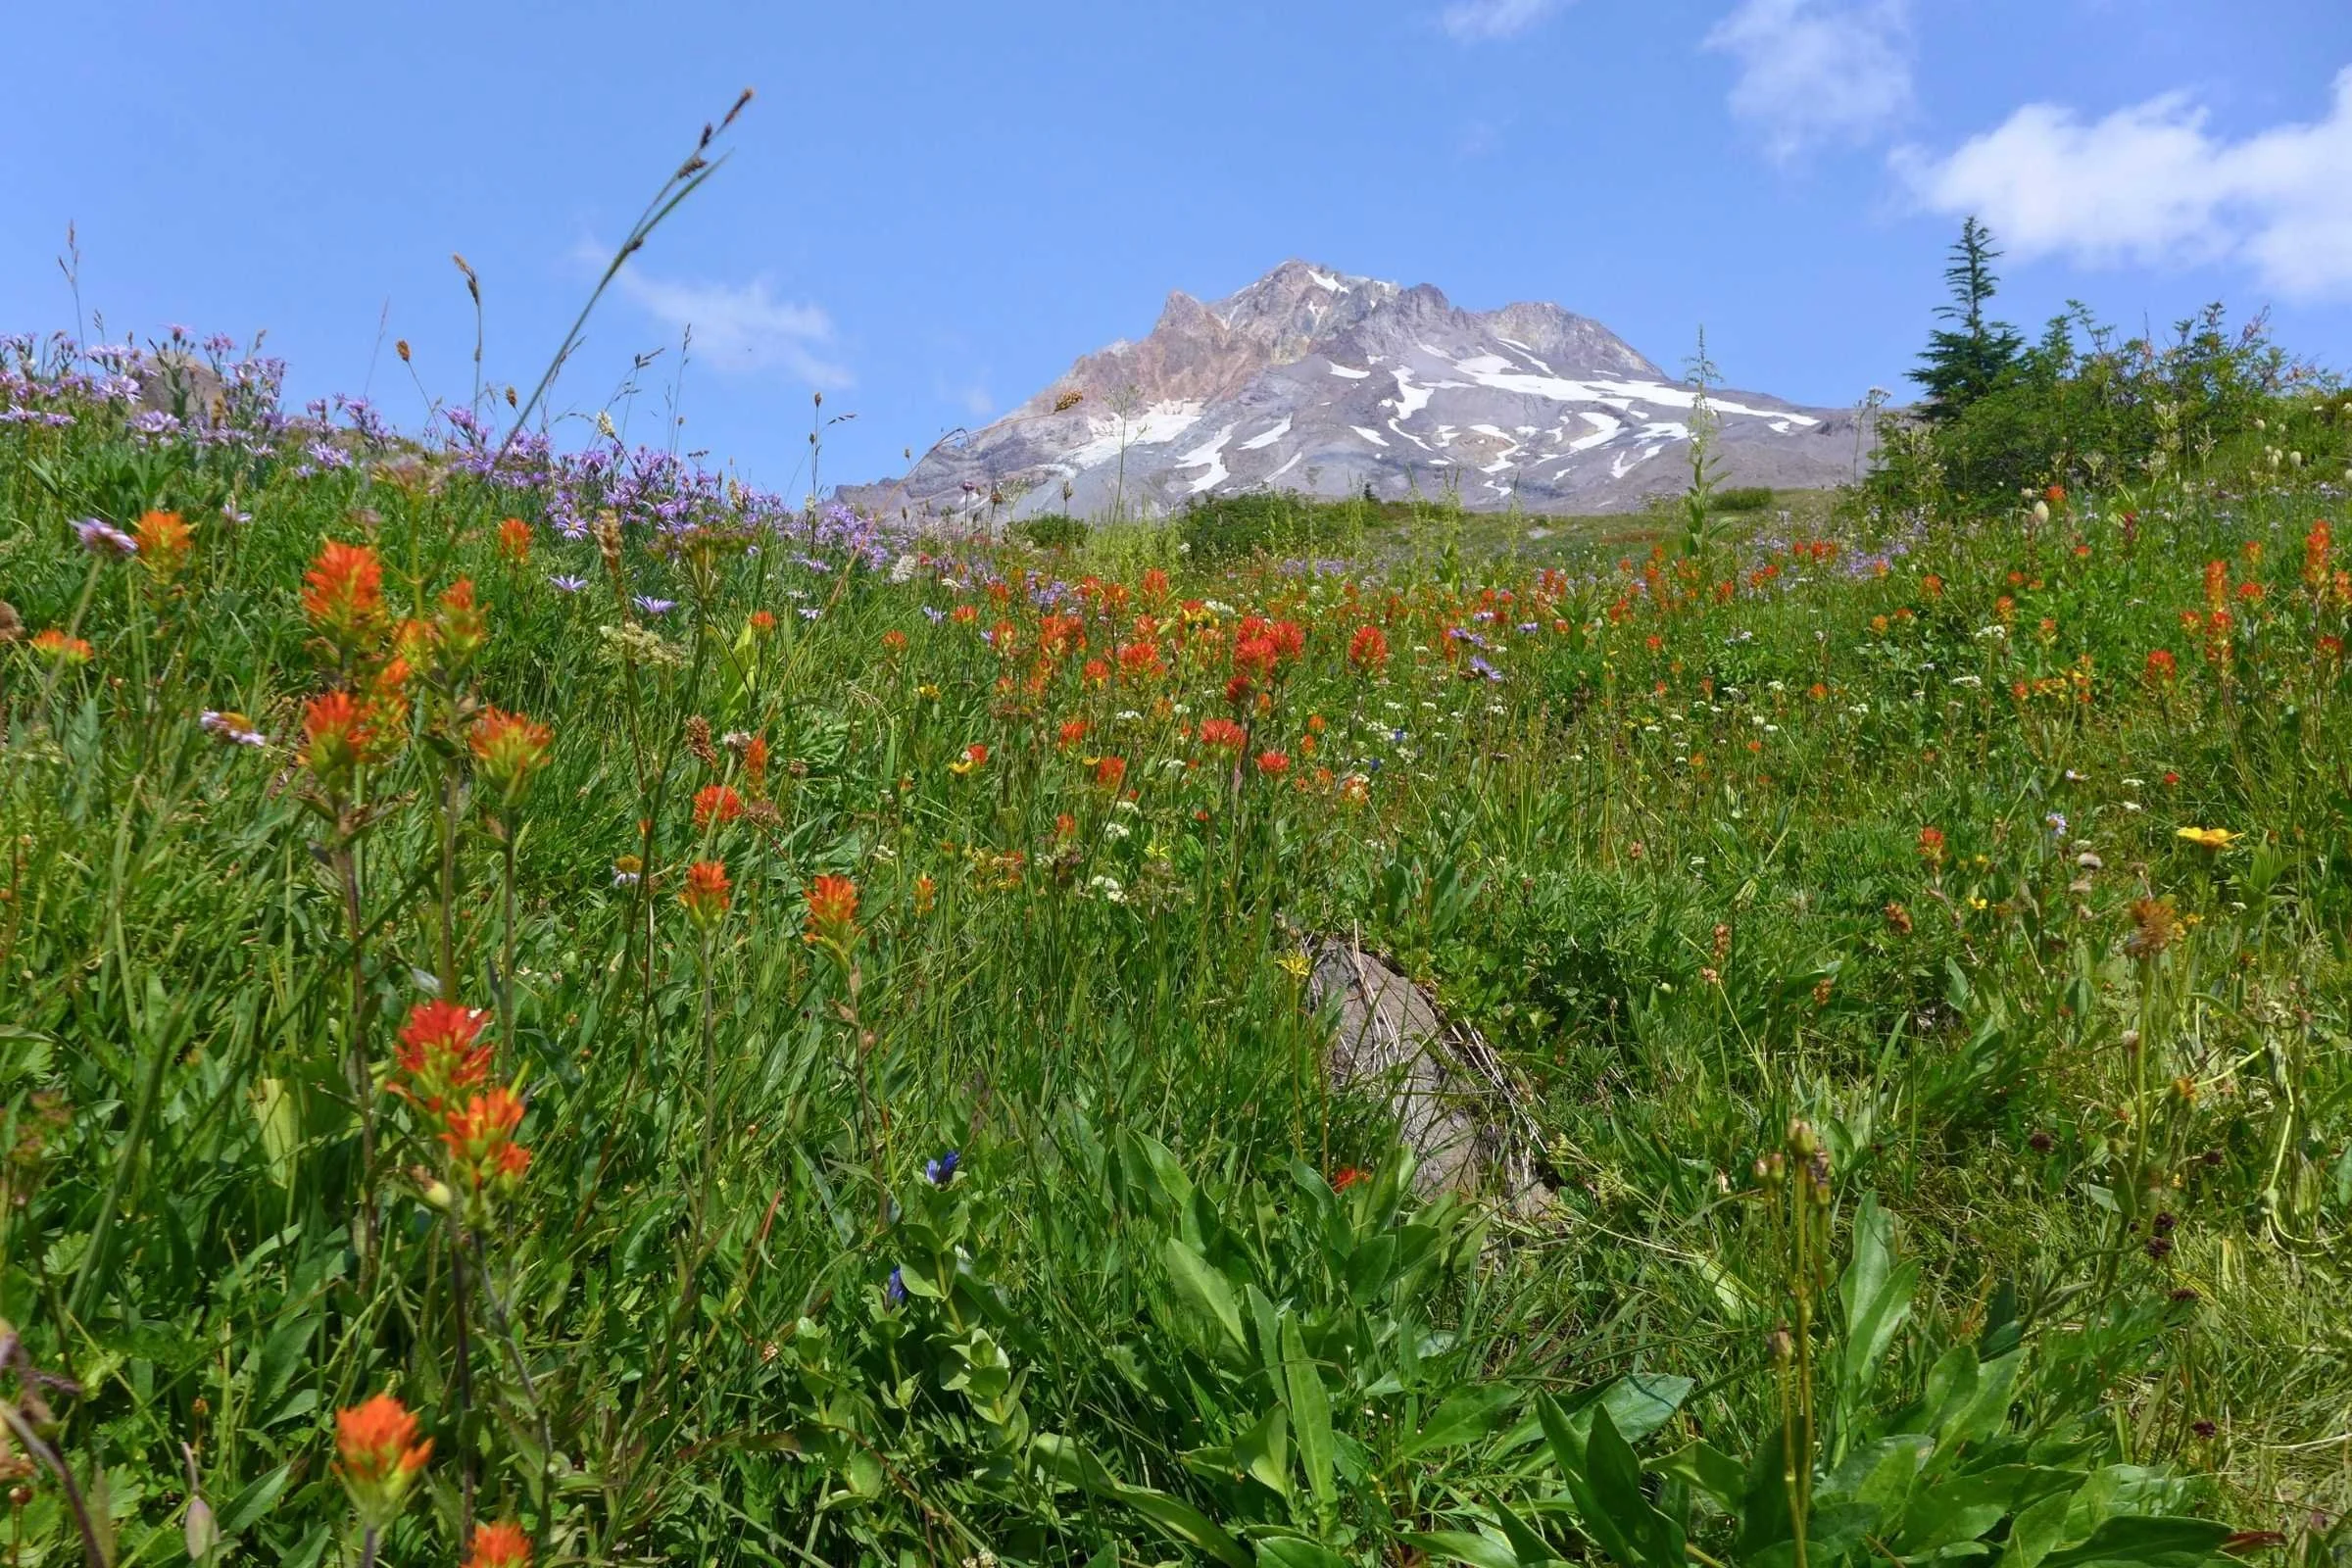
Epic views of Mt. Hood and in good weather, Mt. Adams, Mount St. Helens, Mt. Jefferson, and Mt. Rainier
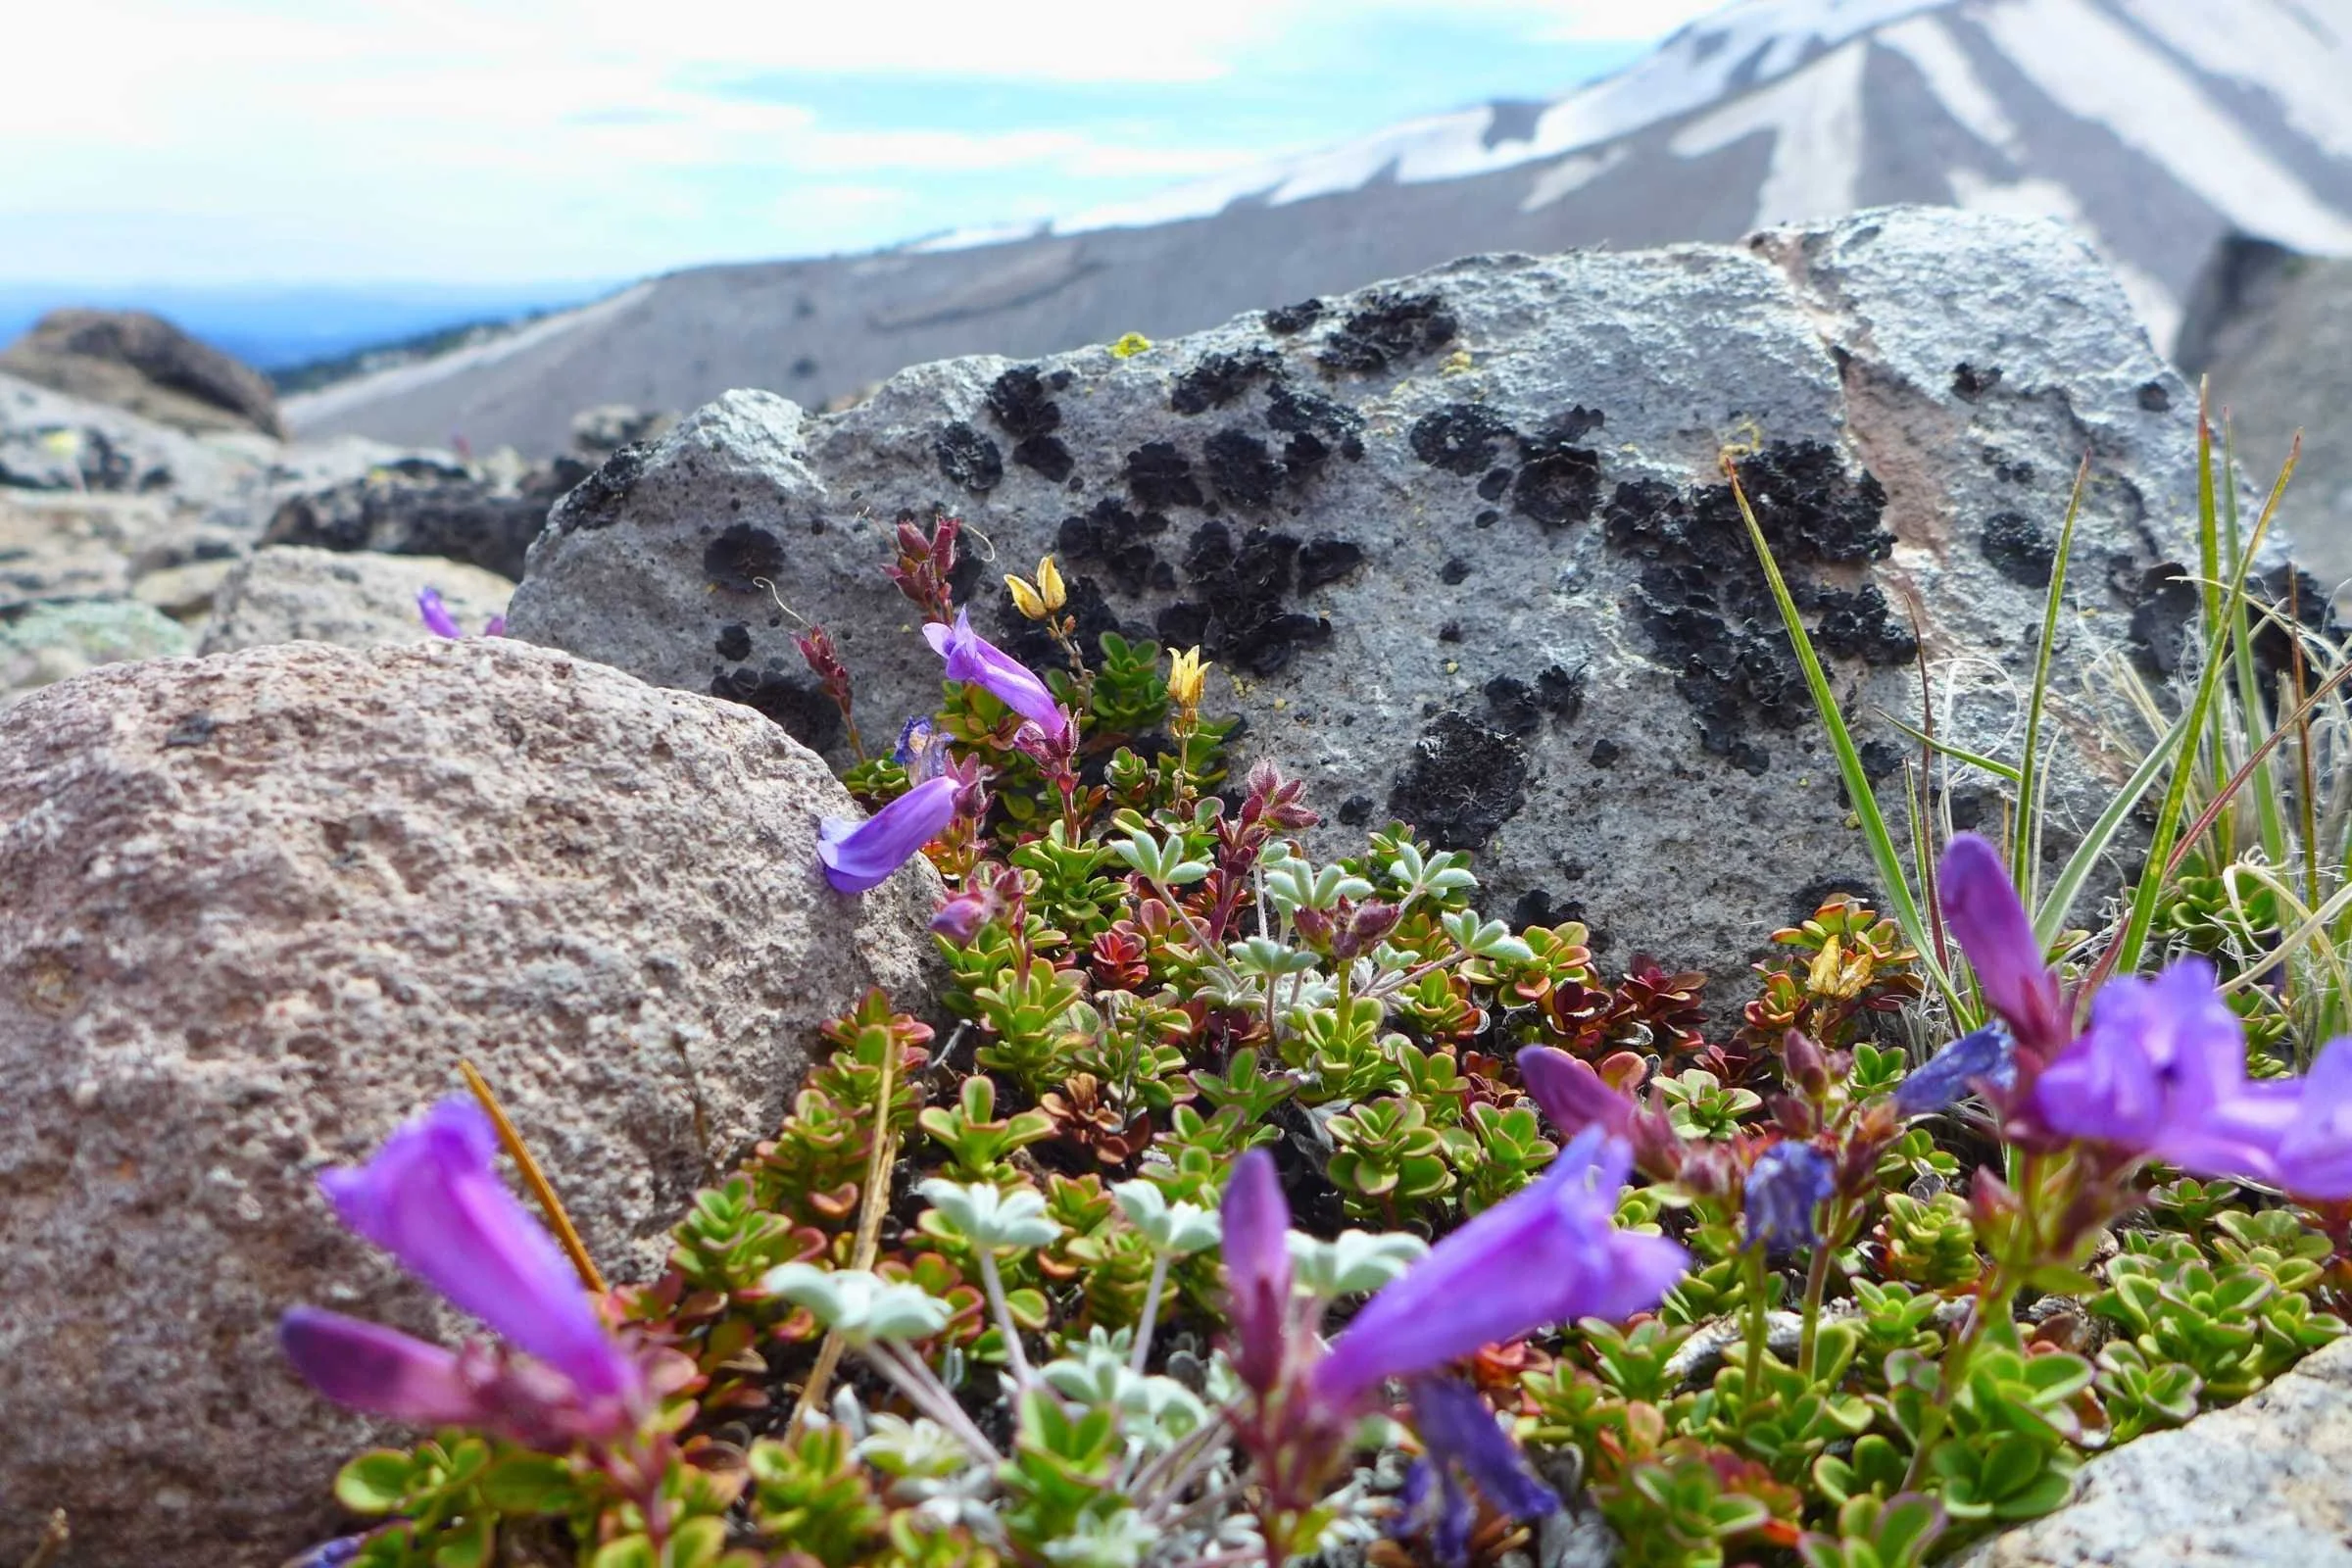
Waterfalls, glacial rivers, wildflower meadows, and temperate forest
Finish in the morning in time to get the breakfast buffet at Timberline Lodge!
Loop hike with no permits makes logistics easy
Timberline Lodge is a Civilian Conservation Corps architectural masterpiece and Oregon icon that is right along the trail (and you can get food there, too!)
Option to go through the aptly named Paradise Park
Challenges
Physically strenuous with a lot of up and down
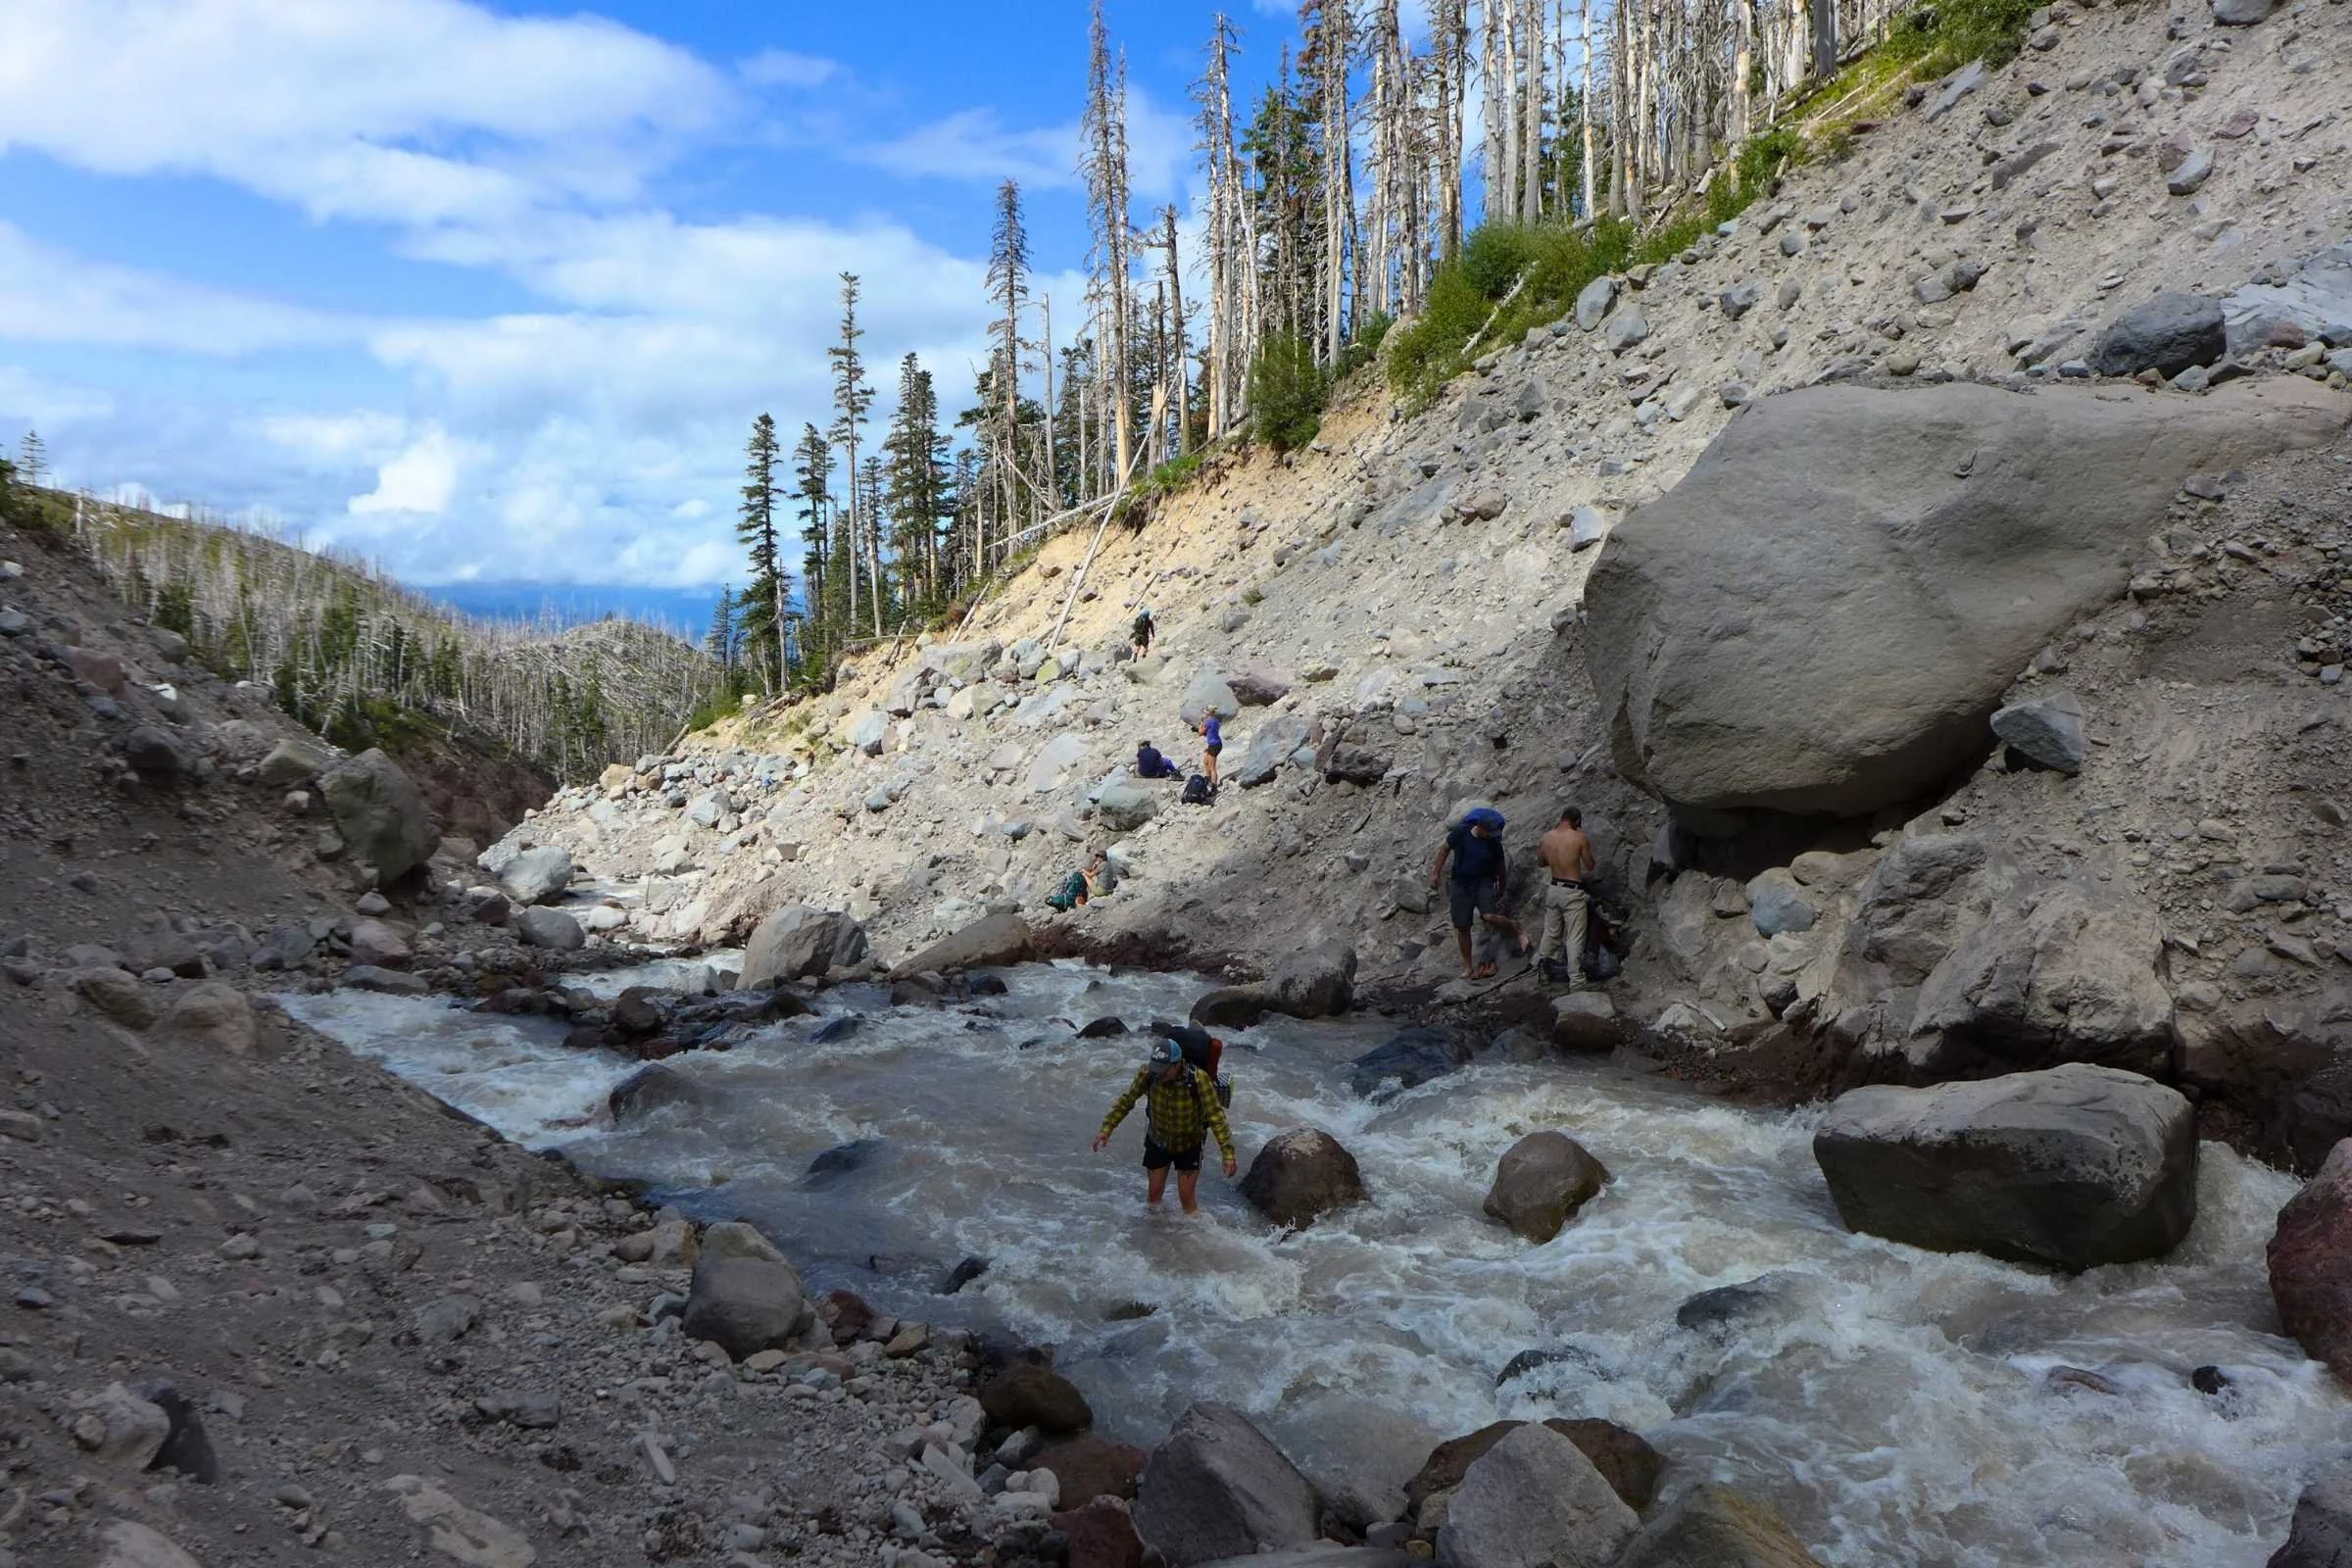
Glacial River crossings can be difficult in early season/after heavy rains/high melt
Some sections may be washed out and require lowering yourself on a rope, notably around the Elliot crossing
Yocum ridge is passable, but there are blow downs. Consider using the PCT as an alternative.
Camping is not restricted, but terrain limits options.
Snow can stick at higher elevations like Gnarl Ridge and areas above treeline
Campsites can be windy and exposed on sections above treeline. Plan accordingly!
Summer weekends can be crowded/hard to find good camping in popular spots, such as Elk Cove.
Best Season
Summer is the best season to hike the Timberline Trail. Snow sticks around late in spring, and snowmelt on the glacial rivers can make them impassable. Fall comes early on Mt. Hood so it may become snowy and more difficult to navigate by October. Later in summer you may be less likely to encounter mosquitoes.
Difficulty and Skills

Navigation
Due to excellent newer trail work, navigation on the Timberline Trail has become much easier. However, landslides and other damage from snow and glacial river erosion can always change things. The trail is well-marked with signs and intersections. However, sometimes the trail can become obscured near rivers or due to blow downs. Most of the trail is in the Mount Hood Wilderness Area. We recommend using a map and something like the FarOut app. This is especially true in the area around Yocum Ridge.
Rough Terrain/Scrambling/Rock Climbing

Elliot crossing rope on the west side. Photo taken July 2025. Use ropes at your own risk.
There's nothing technical or hand-over-hand on the Timberline Trail, but due to landslides and ever-changing conditions, there are a few sections that are notorious, despite frequent trail work. You may find sections where you may feel safer lowering yourself on a fixed rope down to a river. If you make that decision, use ropes with caution and at your own risk.
There are lots of glacial fords that don't have bridges. So in terms of technical hiking, this is something you should be prepared for.
Elevation Gain/Elevation Loss
The 10,000+ feet of elevation gain on the Timberline Trail is no joke. Climbs can be steep and muddy. We recommend using trekking poles and budgeting more time per mile than you may spend on similar trails (or even nearby sections of the Pacific Crest Trail in Oregon).
Difficulty for dogs
Most dogs may find backpacking the Timberline Trail to be outside of their abilities. Raging glacial fords, especially of the Sandy River and Coe, may not be safe for most dogs. The Elliot landslide area in particular can be difficult for many dogs, as ropes help assist hikers through the steep drop-off. If you do choose to bring your dog, respect their abilities and prepare to turn around if you see anything beyond you or your dog’s comfort level. See our hiking with your dog gear list and make sure you and your dog have the proper gear and skills before attempting this trail.
Permits
There is no permit quota on the Timberline Trail. Just self-register at the trailhead. It’s easiest to start from Timberline Lodge since, unlike other trailheads, it doesn't require reaching it via an access trail.
However, you do need a NW Forest Pass for parking at other trailheads. You can purchase one ahead of time (they're even sold at REI) and just display it in your car (they're valid for a year from purchase).
Route Summary
Most backpackers plan to start at Timberline Lodge and hike clockwise. It is a loop hike – you can start anywhere along the route–see below for more details. I'll describe starting at Timberline Lodge and going clockwise, since that is the most common.
From the Timberline Lodge parking area, take the 0.1-mile connector trail up to the PCT. You'll pass ski lifts and the Info Kiosk before reaching the Little Zig Zag River, your first potential canyon with views up to Mt. Hood. This west side of the hike is shared with the PCT so you may see a ton of PCT thru-hikers depending on your timing.
Paradise Park (side trip) is also one of the most popular camping areas near this hike. You can take the "official" route or go through Paradise Park to loop back up.
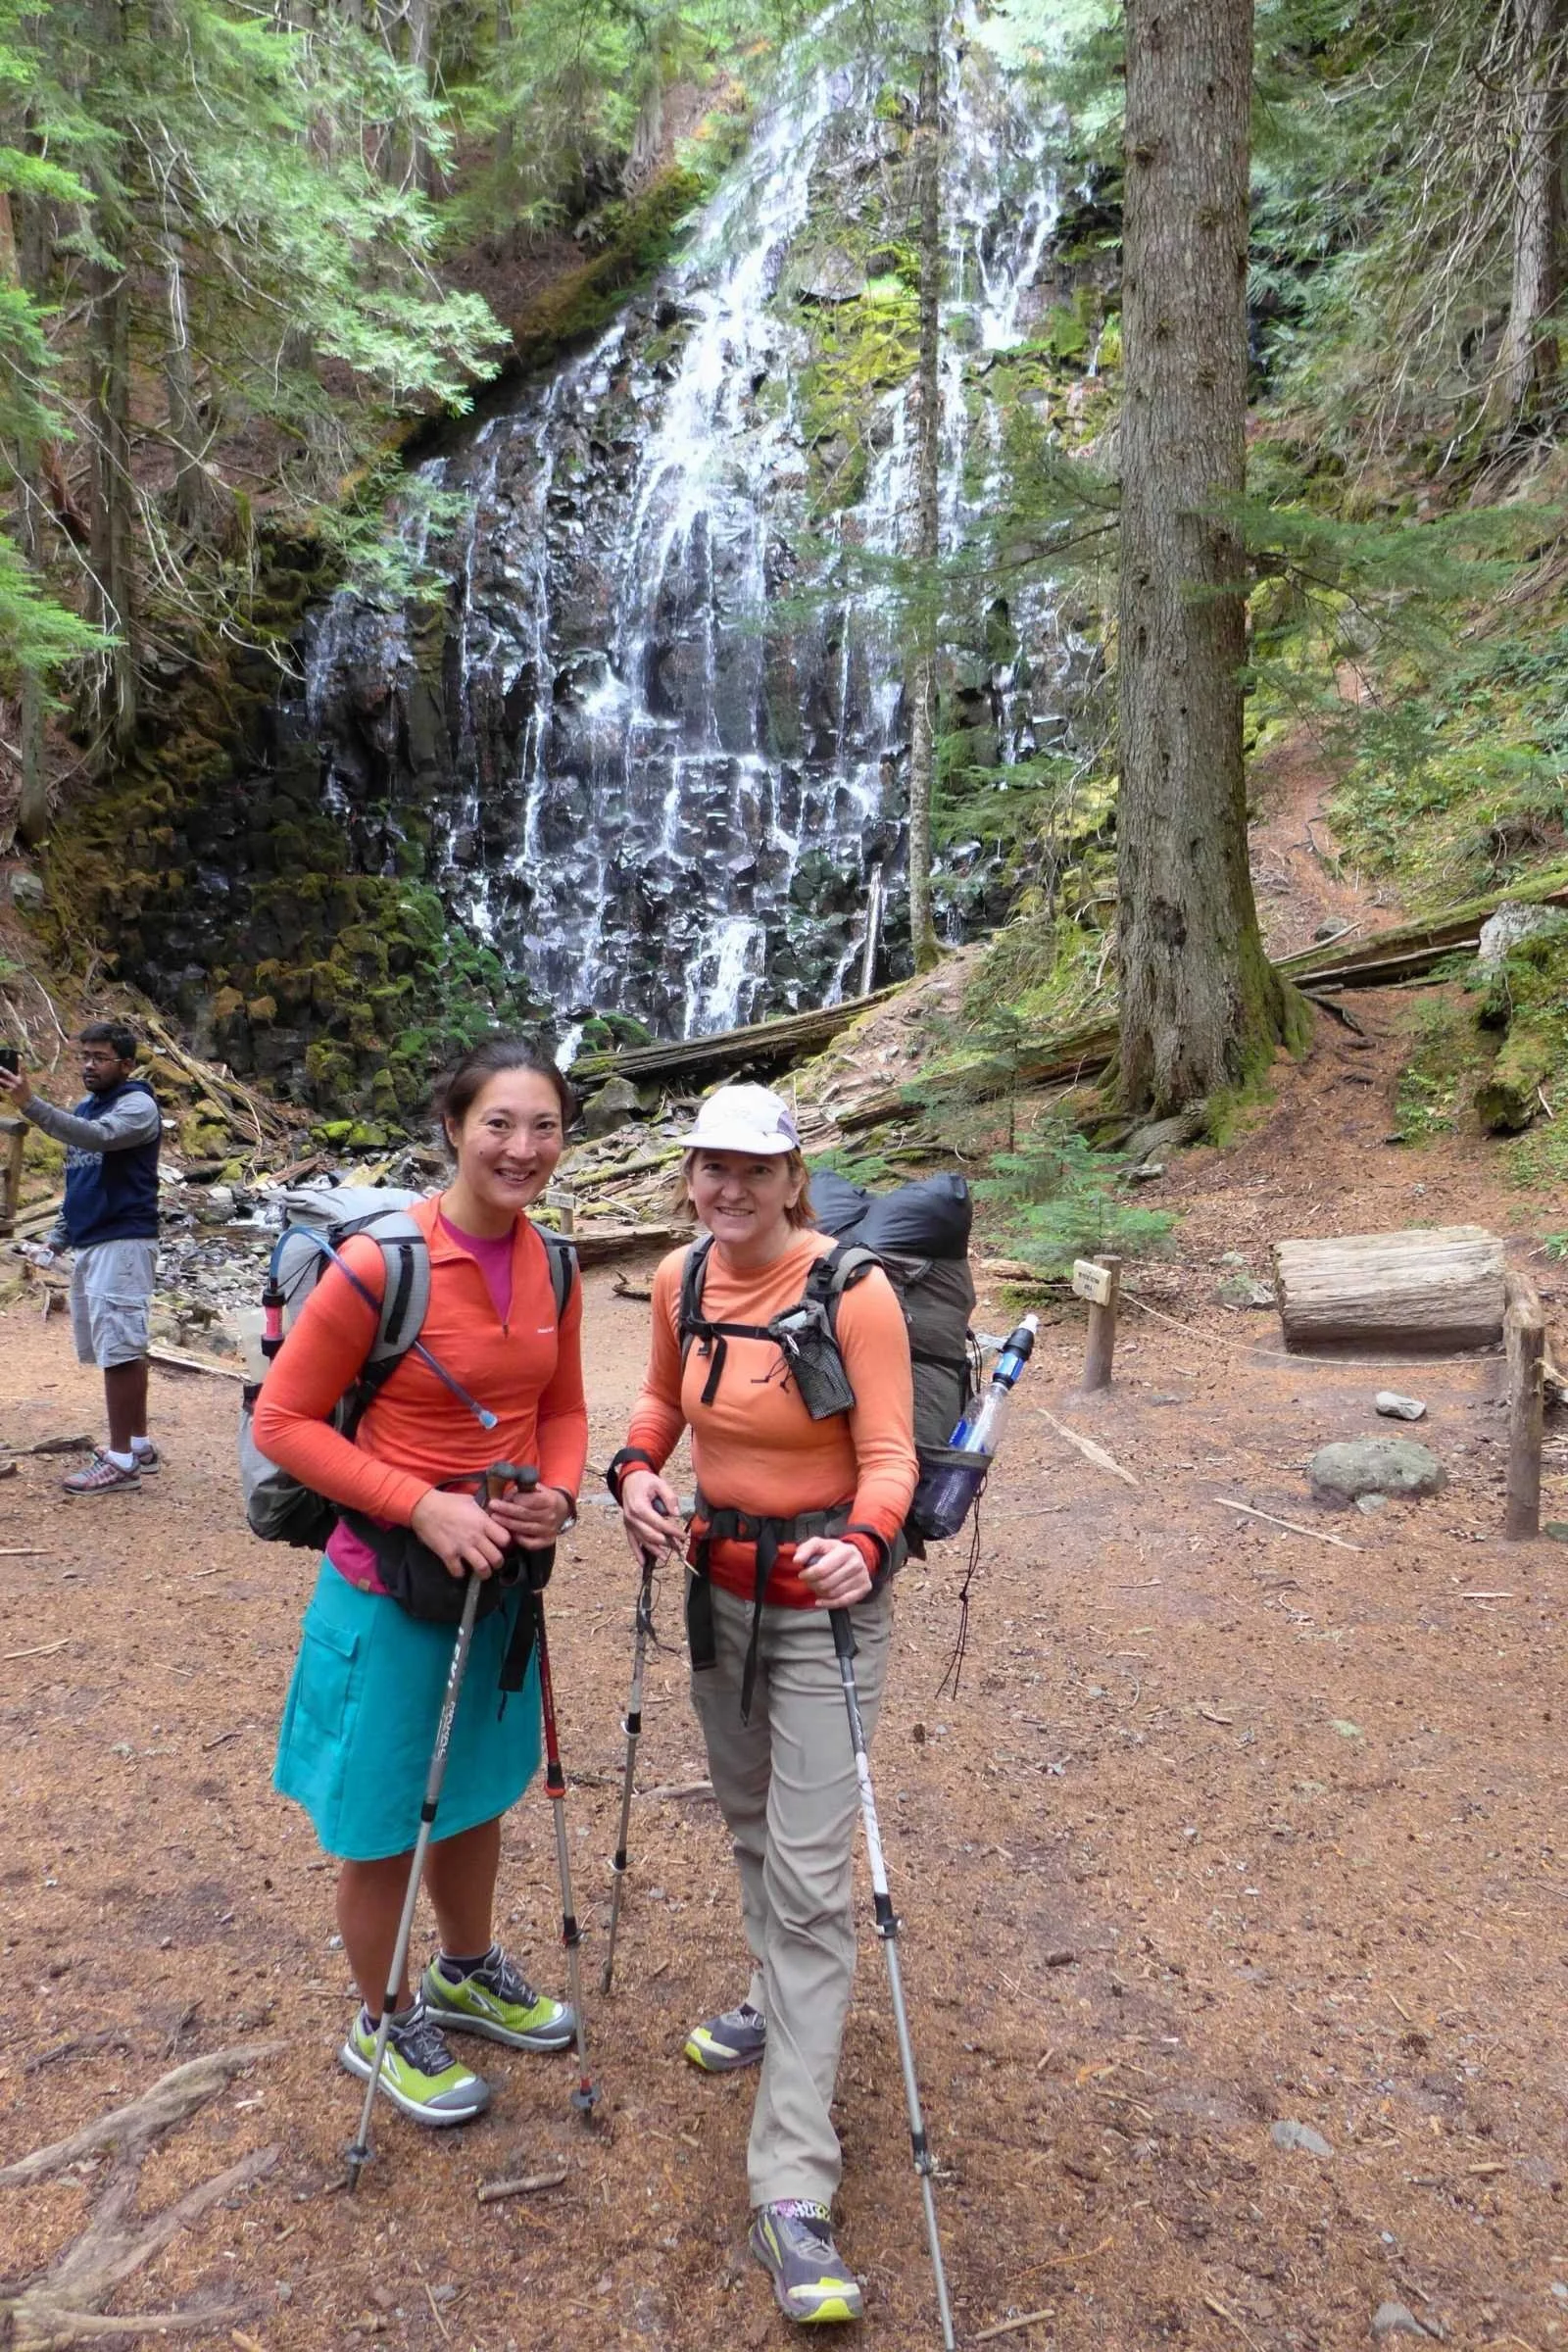
Whichever route you go, you'll have to meet back up to get to the Sandy River, likely the first "interesting" river ford. You can camp right before it and wait for lower water levels in the morning. The PCT and Timberline Trail diverge just before Mile 10. The Timberline continues to Ramona Falls.
Around Muddy Fork is where things can get tricky. Due to blowdowns in 2021 that still haven’t been fully resolved as of fall 2025, you may want to deter on the PCT or cut-off trails, especially if it has recently rained. This excellent article and maps show how to detour.
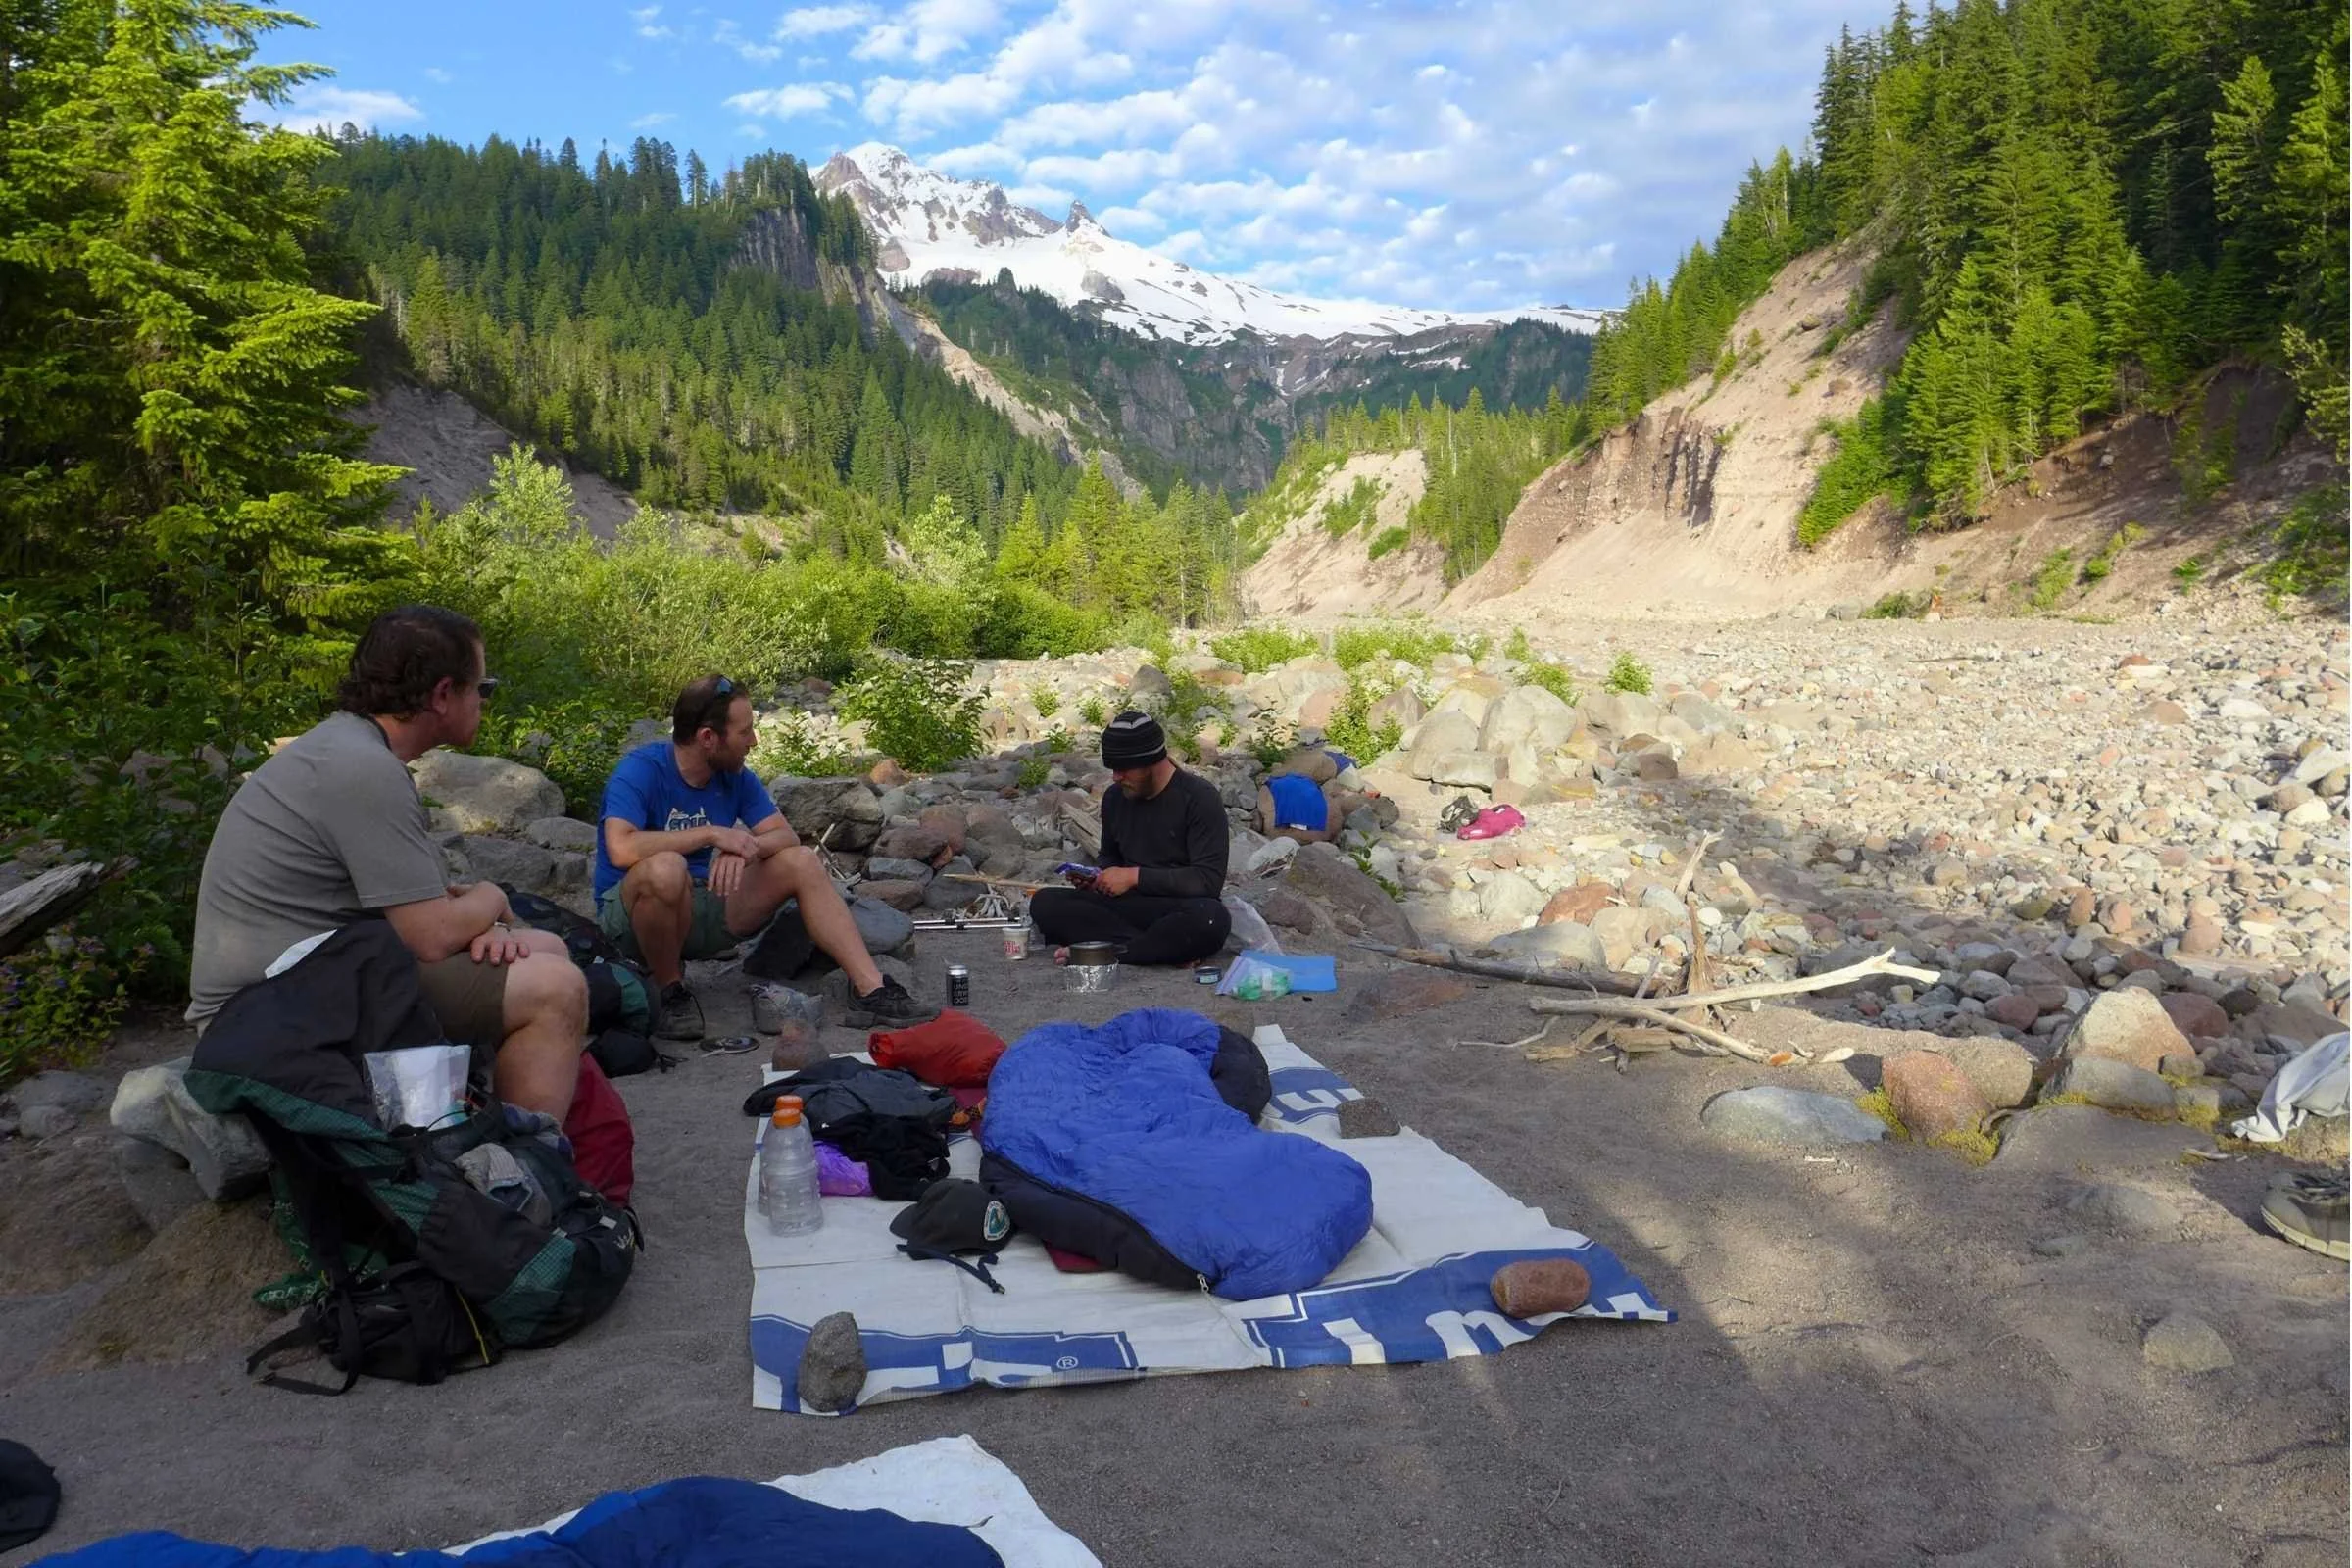
You'll have a long and steady climb up to Ladd Creek before dropping to the beautiful Elk Cove area, a popular camping area. From there, you reach Coe Branch, which can sometimes be difficult to cross. You'll also have Elliot Branch, which can sometimes be washed out. Some hikers feel more comfortable lowering themselves with the rope that always seems to be there, but always check fixed lines before committing to them and use at your own risk.
Cloud Cap Inn isn't an inn anymore, but home to the Crag Rats, the oldest Search and Rescue in the U.S. The building is closed to the public, but you can hang out on the porch to get out of the weather. Cloudcap campground has a privy. Nearby, the Tilley Jane Guard Station also has a privy.
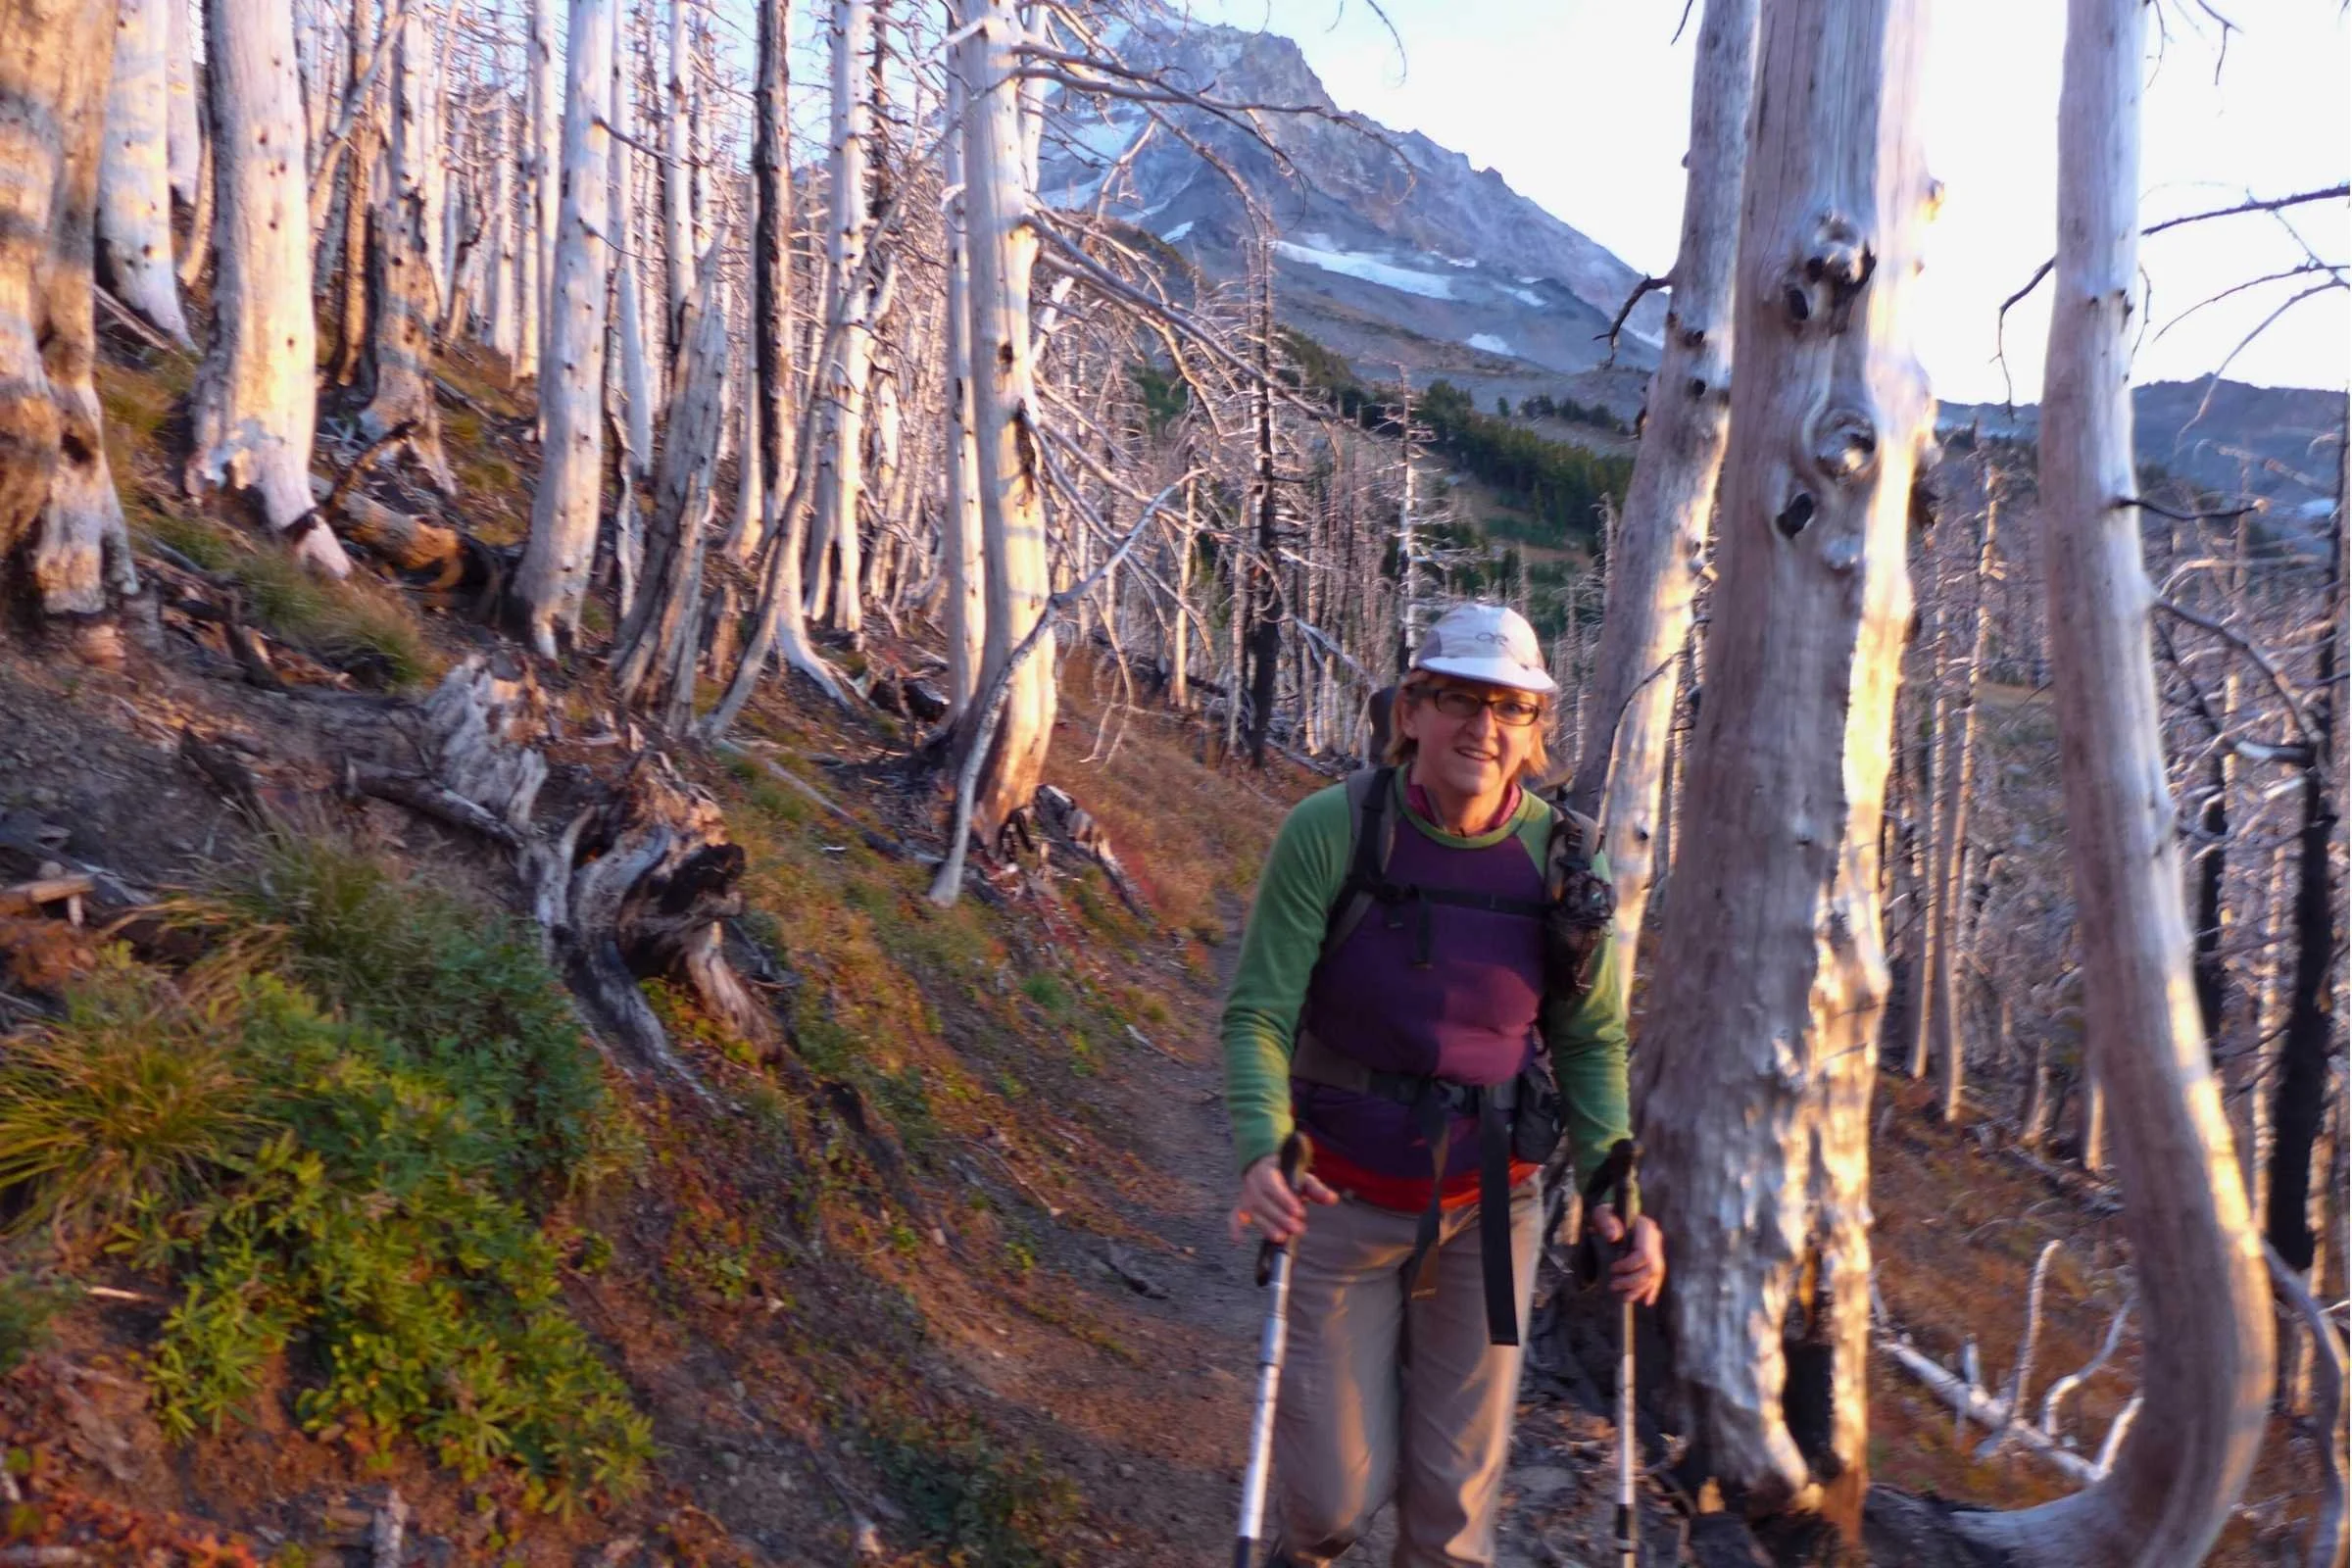
From Cloudcap Inn and Campground area, you'll climb above treeline to the high point of the trail at 7,350 feet and the notable Gnarl Ridge. This part by Cooper Spur is really cool because you get up close to the glacier. Keep in mind that between Cloud Cap and Newton Creek, there's no water (except snowmelt, if you find it), so bring enough.
After crossing Clark Creek, you'll be in Hood Meadows Ski area for a while. Fording White River can be tricky, but it is the last hurdle. Then, it's an uphill climb on sandy soil with the promise of hot chocolate at Timberline Lodge ahead!
Sample itinerary

Here are sample 2, 4, and 5-day itineraries. The 5-day itinerary is the most detailed and the 4-day itinerary is an iteration of that option. The 2-day itinerary is recommended for experienced thru-hikers. Each assumes leaving Timberline Lodge heading clockwise.
(Note mileage does not quite add up to the reported 41 miles of the trail, but reflect what showed on our Gaia app).
5-day itinerary
Day 1 (9 miles): Start at Timberline Lodge to Sandy River. Camp right before the Sandy River, which can sometimes be dicey to cross late in the afternoon. This sets you up for lower water levels (hopefully) for your ford the next day.
Day 2 (8.7 miles): Cross the Sandy River early in the morning and go to Ramona Falls, one of the highlights of the trip. Due to the Yocum Ridge/Muddy Fork damage, you may want to do this as an out-and-back and take the PCT as a safe detour to the other side of Bald Mountain. Unfortunately, the day ends with a long climb but it'll spit you out at Cairn Basin to camp near Ladd Creek, setting you up to cross Coe Branch earlier in the morning the next day.
Day 3 (8.7 miles): Today is a highlight where you hike through Elk Cove. After about 3 miles of hiking, you'll reach Coe Branch, which can be a tough crossing, but you're hitting it early. You may need to descend via rope along the washed out section by Elliot Branch. Cloud Cap is pretty and provides some shelter from the wind and water. The next few miles are above treeline involve some climbing, so this is your last chance for water and protected camping. Many people doing a 4-day itinerary like pushing it 3 more miles to some smaller campsites near Newton Creek. Just be sure to bring water from the camp if you do that.
Day 4 (6 miles): If you start at the Campground, you'll start the morning climbing and entering some exposed areas until you start descending near Newton Creek Canyon. Fording White River can be tricky, so camp right before it so you can hit it the next morning.
Day 5 (2.3 miles): This is a very short day that allows you to cross White River early in the morning when levels may be lower. It's a long, sandy slog back to Timberline from here, so it's nice to hit that while your legs are fresh. If you finish in the morning, you can get the world-famous breakfast buffet at Timberline Lodge Cascade Dining Room, a PCT hiker favorite.
4-day itinerary:
Day 1 (9 miles): Timberline Lodge to Sandy River
Day 2 (8.7 miles): Sandy River to Ladd Creek shelter area
Day 3 (11.7 miles): Ladd Creek to Newton Creek
Day 4 (8.3 miles): Newton Creek to Timberline Lodge
2-day itinerary:
Day 1 (18 miles): Timberline Lodge to before Cathedral Ridge
Day 2 (23 miles): Cathedral Ridge to Timberline Lodge
Navigation Resources

FarOut
The FarOut App has not only a full Timberline Trail guide, but also Timberline section loops to make it easier to section-hike the trail. User comments will give you important information such as whether water sources are still running and the really important info on how deep or swift the river crossings may be. The user comments often add notes like, "I was at the Sandy River crossing at 5 pm and it came up to my knee and I'm 5'10." You can use this info to gauge whether a crossing may be safe for you.
Gaia
The Gaia GPS can help with navigation if you're taking side trails or variations. It is also useful if you're accessing the trail from one of the many side trails.
Maps
The Elevation Changes Cartographic map is one of the newest maps of the Timberline Trail and is awesome. It's highly detailed and is as beautiful as a piece of art. Seriously, you may want to get this framed to hang in your house after hiking this trail. Elevation Changes also offers a digital version that can be used with the free app Avenza.
Getting There
By Plane
Fly into Portland, Oregon. You can take the MAX Transit light rail into downtown Portland. A shuttle runs to the Sandy Transit Center, and from there, Timberline Lodge from there.
By Car
From Portland, take US-26 E. After ~40 miles, turn onto Timberline Highway at Government Camp and take that for 5 miles to Timberline Lodge.
Bus and Shuttle Services
The Mt. Hood Express runs to/from Timberline Lodge to Sandy, where you can connect with other transit in the Portland area.
Trailheads
Timberline Lodge – this is the standard trailhead and certainly the easiest access as you can more or less drive right up to the trail on a paved road. The parking lot fills early so get there as early as you can. It has toilets, so it makes it a convenient place to start if you're driving in.
Cloud Cap Campground on the north side – you can drive up to the trailhead here but it is accessed by a long dirt road (requires Northwest Forest Pass displayed while parking).
Ramona Falls Trailhead requires a Pacific Northwest Pass and has a 1.7-mile approach trail with 228' of gain to reach the Pacific Crest Trail.
Top Spur Trailhead requires a Pacific Northwest Pass and also has a 0.4-mile approach trail with 379' of gain to reach the Timberline Trail.
The Timberline Trail can also be accessed via the Pacific Crest Trail if you really want some bonus miles.
Post Trip Favorite Restaurant

If you don't decide to grab a meal at the Timberline Lodge, there are many great options near the Timberline Trail. The Timberline Lodge has several restaurants, but they tend to be on the pricier side. You're definitely paying for the ambiance, and on a wet and rainy day, it's hard to deny that a hot chocolate while looking out at the mountain is the best thing ever.
Depending on which direction you're headed and whether you're down for a detour, Thunder Island Brewing in Cascade Locks is a favorite in the area. With a gorge-ous (pun intended) patio looking out onto the Columbia River, this hiker-friendly brewery is famous as a Pacific Crest Trail hiker hang-out. Owner and brewer Dave Lipps even has a program where folks can purchase a beer for a thru hiker.
Double Mountain Brewery in Hood River arguably has the best pizza in the Columbia River Gorge. Pro tip: get the Truffle Shuffle pizza and add bacon.
And lastly, Troutdale's Sugarpine Drive-in. All we need to say is—just go there. Amazing food, even more amazing soft serve.
Regulations
Follow Leave No Trace Ethics
Dogs must be kept under control and cannot enter Timberline Lodge
Group size must be limited to 12 people or less.
Resupply
Most folks will choose not to resupply along the Timberline Trail. However, if you start at a location other than Timberline Lodge, you can benefit from resupplying (and getting a shower) there.
Packages can be sent to the Timberline Lodge, but you pick them up in the ski building, not the CCC area. USPS no longer delivers here, but they can accept UPS and FedEx packages. Read more about resupply here.
Camping
There are very few camping restrictions along the Timberline. However, the terrain itself will severely limit your ability to camp wherever you want. We recommend using the FarOut guide to look for established campsites.
There is no camping in several spots, including (but not limited to) the meadow between McGee Creek and the Mazama Trail.
Water Planning

There is abundant water along the Timberline Trail. After all, this is Oregon!
There are so many creeks and rivers that it's easier to write where you won't be able to drink:
The Sandy River is generally too silty from the glaciers to be worth trying to filter and drink
ZigZag River also has glacial silt
There is no water (except snow melt) between Cloud Cap campground area and Newton Creek
Bears and Food Storage
The Timberline Trail does not require you to carry a bear canister through Mt. Hood National Forest. However, many folks may feel more comfortable with a way to secure their food from wildlife, especially rodents. For other bear canister recommendations, see REI’s Food Storage story or REI’s Bear Canister story.
Side Trips
Cooper Spur is off the main route, but with a lot of climbing gets you close up to look at the glacier on Mt. Hood. It's got a cool Civilian Conservation Corps tower built of lava rock you can hang out in, which provides refuge on a windy or rainy day.
Variations
Paradise Loop Trail #757: The hike up to Paradise Park is a bonus loop you can use to add extra miles to your Timberline Trail hike. It takes you far up the flank of Mt. Hood. You'll climb steeply into fields of wildflowers and above treeline for clear views of Mt. Hood. Then it kicks you back up to the Timberline Trail about 0.5 mile up trail or you can choose to stay above treeline for a few miles to reconnect about 3 miles later.
Gear Rentals
Portland State University’s Outdoor Program offers rental gear and is not too far from Highway 26, so perhaps you could grab it on your way out of town.
Why we carried the gear we did
Tent
We've used multiple different tents on different thru-hikes of the Timberline Trail and have even hammock camped here. If we had to choose one tent, we'd go with the Zpacks Duplex. See our in-depth review of the Zpacks Duplex, which is the ultralight winner in our Best Ultralight Tents guide and in our Best Backpacking Tents guide.
Backpack
We've used many packs on the Timberline Trail over the years but the Gossamer Gear Gorilla is the one we'd recommend.
See our Best Backpacking Backpacks guide for more recommendations.
Sleeping Bag
We used the Katabatic Palisade quilt on the Timberline Trail in all but our October thru-hikes of this trail. It's the winner in our Best Ultralight Quilts guide and we also have an in-depth, long-term review of the Katabatic Palisade Quilt.
Sleeping Pad
We used the NeoAir XLite NXT sleeping pad on this trail.
See our Best Backpacking Sleeping Pads story for more recommendations.
Trekking Poles
More than many other trails, trekking poles are a really good idea for the Timberline Trail due to the steep up and downs and glacial river fords.
For more recommendations, see our Best Trekking poles story.
Cooking System
I most recently used the MSR PocketRocket Deluxe on this trip with a TOAKS 750 mL pot. On my October thru-hike, I was especially happy to have hot freeze-dried backpacking meals for the trip. Other times, I have cold-soaked.
See our Best Backpacking Stoves story for more recommendations and our Best Cooking Pot section for our recommendations.
Headlamp
I carried the Black Diamond Spot, which is an affordable, bright, and lightweight headlamp. If you're hiking later in the season, remember that the further north you get, the shorter the days get. A headlamp can come in useful, even if you aren't night hiking. See our recommendations in our Best Headlamps story.
Satellite Messenger
Cell reception is not always guaranteed on this trail. I carried the Garmin inReach Mini 2 because I know that getting delayed by storms and waiting for a glacial river’s water levels to go down are real possibilities on this trip. I appreciated using the InReach Mini to text folks from home if that were the case.
See our Best Personal Locator Beacon and Satellite Messenger guide.
Water Filter
I used a Sawyer Squeeze water filter on this trip. If you're filtering silty water, be sure to pre-filter. There are plenty of non-silty options along this route, but keep that in mind. Check out our guide to the Best Water Filters and Purifiers for Backpacking.
What to wear
Shoes or Boots
I used the Altra Lone Peaks on this trip as I usually thru-hike in these shoes.
For more recommendations, see our Best Women’s Trail Running Shoes and Best Men’s Trail Running Shoes guides.
I certainly have seen a lot of people in boots on the trail, especially when it is muddy. If you’d feel more comfortable in boots, check out our Best Hiking Boots story or our Best Lightweight Hiking Boots story.
A nice footwear compromise for this trip would’ve been hiking shoes, which are designed to feel like a trail runner but have stability more like a hiking boot. See our Best Hiking Shoes story for footwear that has more durability and stability than trail runners.
Rain Jacket
I most recently used the Montbell Torrent Flier rain jacket on this trip. It's not Montbell's most ultralight rain jacket, but it is a heavier duty GORE-TEX version that weighs an ounce more. I'm glad I had a warmer rain jacket for my October thru-hike, but other times of year, a more minimalist rain jacket seems to be fine for me.
For more recommendations, see our Best Rain Jackets article.
Rain Pants
I used the Zpacks DCF rain kilt on this trip. It's the winner for best rain skirts / kilts in our Best Rain Pants guide. I find the kilt to be easier to hike in and allows for some air flow.
Down or Synthetic Insulating Jacket
I've used various down and synthetic jackets on this trip, depending on the weather. I would generally say that it's a good rule of thumb to use a synthetic jacket in the Pacific Northwest as it stays warm when wet. But if there is a good weather window, sometimes I'll bring a down jacket to save a little weight. If I had to choose one jacket for this trip, I'd say the Montbell Thermawrap would be my choice.
See our recommendations in our Best Synthetic Jackets article. If you prefer down for its better warmth-to-weight ratio, check out our Best Down Jackets guide.
Fleece or Midlayer
For summer hiking, even when wet, my choice, even over a synthetic jacket, would be a good fleece. See our Best Fleece Jackets guide for our recommendations.
Base Layer or Sun Shirt
On my most recent thru-hike of this trip, I used a sun shirt, although during the shoulder season, I've hiked in a base layer. See our Best Sunshirts or Best Base Layers guide for more recommendations.
Hiking Pants
Every time I've hiked this trail, I've worn a hiking skirt, though my companions all hiked in pants.
See our guides to the Best Women's Hiking Pants and Best Men's Hiking Pants for more recommendations.
Hiking Shorts or Skirt
I used the winner of Best Hiking Skirt in our Best Hiking Skirts and Dresses guide, the Purple Rain Adventure Skirt, on this trip because I can easily pull on and off a base layer bottom without having to go through the hassle of taking off pants. I also love the pockets.
For more recommendations, see our Best Men's Trail Running Shorts guide, Best Women's Trail Running Shorts guide, Best Men's Hiking Shorts guide, or Best Thru-hiking Shorts guide.
Base Layer
In cooler seasons, I used a merino wool base layer with a half zip on the Timberline Trail. For more recommendations, see our Best Base Layers guide.
Hiking Socks
I used the Darn Tough Micro Crew on this trip to avoid blisters in this wet climate. Check our Best Hiking Socks guide for more recommendations.
Sun Hat
I don't think I originally carried a sun hat on this trip, but more recently used the Alpine Fit hat. Check out our Best Sun Hats guide for more recommendations.
Gloves or Mittens
I wore a light pair of liner gloves on this hike. For more recommendations on lightweight but warm gloves, see our Best Winter Gloves guide.
Why you should trust us

Kate Hoch is a Portland, Oregon based thru-hiker who has backpacked the Timberline Trail countless times. She's the former president of the ALDHA-West (American Long Distance Hiking Association - West) and has been on the board for the past 7 years.
As part of the organization's five annual pre-backpacking season educational events (called “Rucks”), she's conducted many sessions on the Timberline Trail, training thru-hikers on what to expect on this trail. She's shared her knowledge and expertise with hundreds of new backpackers. See all articles by Kate on her author page.
Liz Thomas is a thru-hiker and Editor-in-Chief of Treeline Review. A former Fastest Known Time (FKT) record holder on the Appalachian Trail, Liz first thru-hiked the Timberline Trail with Kate as part of the American Long Distance Hiking Association-West's executive board meeting, along with Treeline Review co-founder and local to the area, Naomi Hudetz. Liz has gone on to hike parts of the Timberline Trail in other seasons and can't wait to get back. See all articles by Liz on her author page.