Backpacking the Boy Scout Trail in Joshua Tree National Park
Beginner-friendly 16-mile roundtrip backpacking trip in Joshua Tree National Park
March 10th, 2026
Home > Where to Go > Backpacking Trips
The Boy Scout Trail in Joshua Tree National Park is a beginner-friendly backpacking trip, perfect for winter and spring wildflowers, big views, and relative solitude.
It can be hiked as a one-way or out-and-back trip between Keys' View Backcountry Board Trailhead on Park Blvd near the West Entrance of Joshua Tree and Indian Cove near the Indian Cove campground.
The Boy Scout Trail was my first backpacking trip and since then, I've hiked it nearly a dozen times in both directions. I’ve backpacked more than 20,000 miles around the world, yet the Boy Scout Trail still holds a special place in my heart and I try to hike it every year.
I am here to share the tips and tricks that helped me have the best trip possible on this incredible trail.
Distance: 8 miles (one-way), 16 miles round trip
Days: 1-3 days (round-trip)
Elevation gain/loss: 160 feet gain/ loss 1,300 feet (one-way from Boy Scout Trail Backcountry to Indian Cove)
High point / low point: 2848 feet in Indian Cove to ~4044 feet at Keys West Boy Scout Trail Backcountry Board
Best season: Winter, spring
Permits: Online registration at recreation.gov, limited same day permits available in person, California Campfire Permit (for operating a backpacking stove)
Difficulty: Beginner-friendly (but it is still desert backpacking)
Phone App: FarOut 101 Hikes in Southern California
Looking for a similar trail? Check out the Santa Monica Mountains Backbone Trail, or the California Riding and Hiking Trail in Joshua Tree
We create reader-supported, objective gear reviews independently selected by our editors. This story may contain affiliate links, which help fund our website. When you click on the links to purchase gear, we may get a commission, without costing you an extra cent. Thank you for supporting our work and mission of outdoor coverage for every body! Learn more.
Background Info
The Boy Scout Trail in Joshua Tree National Park is one of the only backpacking trails in the park. It starts near Keys View at the backcountry parking area off Park Blvd. and ends near Indian Cove campground near the town of Twentynine Palms.
Along the way, you'll see Joshua Tree coves, sandy washes, and rocky canyons. In spring, Joshua Trees and yuccas will bloom.
Please note that to enter the park, you must pay an entrance fee or have an Annual National Park Pass. You can also get an annual park pass just to Joshua Tree National Park.
These are the traditional homelands of 15 Associated Tribes the Serrano, Cahuilla, Chemehuevi and Mohave (Mojave) communities. These original stewards and their descendents today who continue to play an important role in the management of the park and the greater community.
Highlights
Winter-friendly backpacking trip that is good for beginners. It was my first backpacking trip ever!
You can enjoy the quiet and solitude of the desert in a location that isn’t too far from major population areas and airports.
It’s a well-maintained and signed trail with only a few miles of notable elevation gain. Terrain-wise, it’s suitable for beginner backpackers, although the navigation and water carries may require more advanced skills.
You get to see epic views of the snow-covered San Bernardino mountain range and San Jacinto with desert scenery in the foreground.
There’s excellent wildflower viewing in the spring.
You can experience stunning desert sunrises and sunsets.
Out-and-back makes caching water and snacks at the halfway point easy. You can make a reservation at Indian Cove Campground and even set it up with a support team or post-hike luxury camping site.
Challenges
No water along the entire route. Even in years of high water, the Park forbids hikers from consuming natural water to give wildlife access to a most precious resource in the desert.
Joshua Tree has extreme winds, extreme heat, and even snow in the winter.
There is little to no cell service.
Sandy and rocky trails can contribute to blisters, especially on hotter days. I recommend reading How to Take Care of Your Feet While Hiking and Backpacking.
You're in the high desert (3,000-4,000 feet), which can take some time to acclimate to elevation and dry air. Spend a day acclimating. Bring electrolytes.
Quota permit system requires you to plan ahead. Many weekend quotas fill up months in advance.
Permit requires you to stay in pre-established campsites.
Gear Checklist
Here is a quick checklist. For a more thorough discussion, skip below.
| BOY SCOUT TRAIL GEAR | OUR SUGGESTIONS | MORE OPTIONS |
|---|---|---|
| Gear | ||
| Tent | Big Agnes String Ridge VST 1.5 Tent | Best Backpacking Tents |
| Backpack | Mountain Hardwear Aluula Alakazam | Best Lightweight Backpacks |
| Sleeping bag/ quilt | Exped DeepSleep 30F sleeping bag | Best Backpacking Sleeping Bags Best Backpacking Quilts |
| Sleeping pad | NEMO Tensor All-Season Sleeping Pad | Best Sleeping Pads For Backpacking |
Best Season to hike the Boy Scout Trail
The Boy Scout Trail in Joshua Tree National Park is best hiked in March or April when wildflowers bloom. November through February during winter months are also a great option as temperatures are milder than most other backpacking destinations that time of year. Sun and heat exposure in Joshua Tree can easily be over 100F from May to September, although I've done it in both months.
In summer, extreme heat can be a big issue as there is little shade and no water. This trail is not advised during late spring, any time during the summer, or during the fall.
Even during peak season, hike early in the morning. Seek shade during the day and then hike at the cooler parts of the evening.
Difficulty and Skills
Navigation
The Boy Scout Trail in Joshua Tree is generally well marked with frequent signs at all junctions, including to the 15 campsites.
However, you should feel comfortable with dry camping and wild camping (including Leave No Trace bathroom practices). You must camp in the established campsite(s) that you chose when you got your permit. There are well-marked sidetrails to these campsites. The Park Service also gives you GPS coordinates. I checked them all out and they're generally all pretty great spots that are flat. I was pretty impressed. Some are windier than others. Still, you need Leave No Trace skills as there are no backcountry toilets.
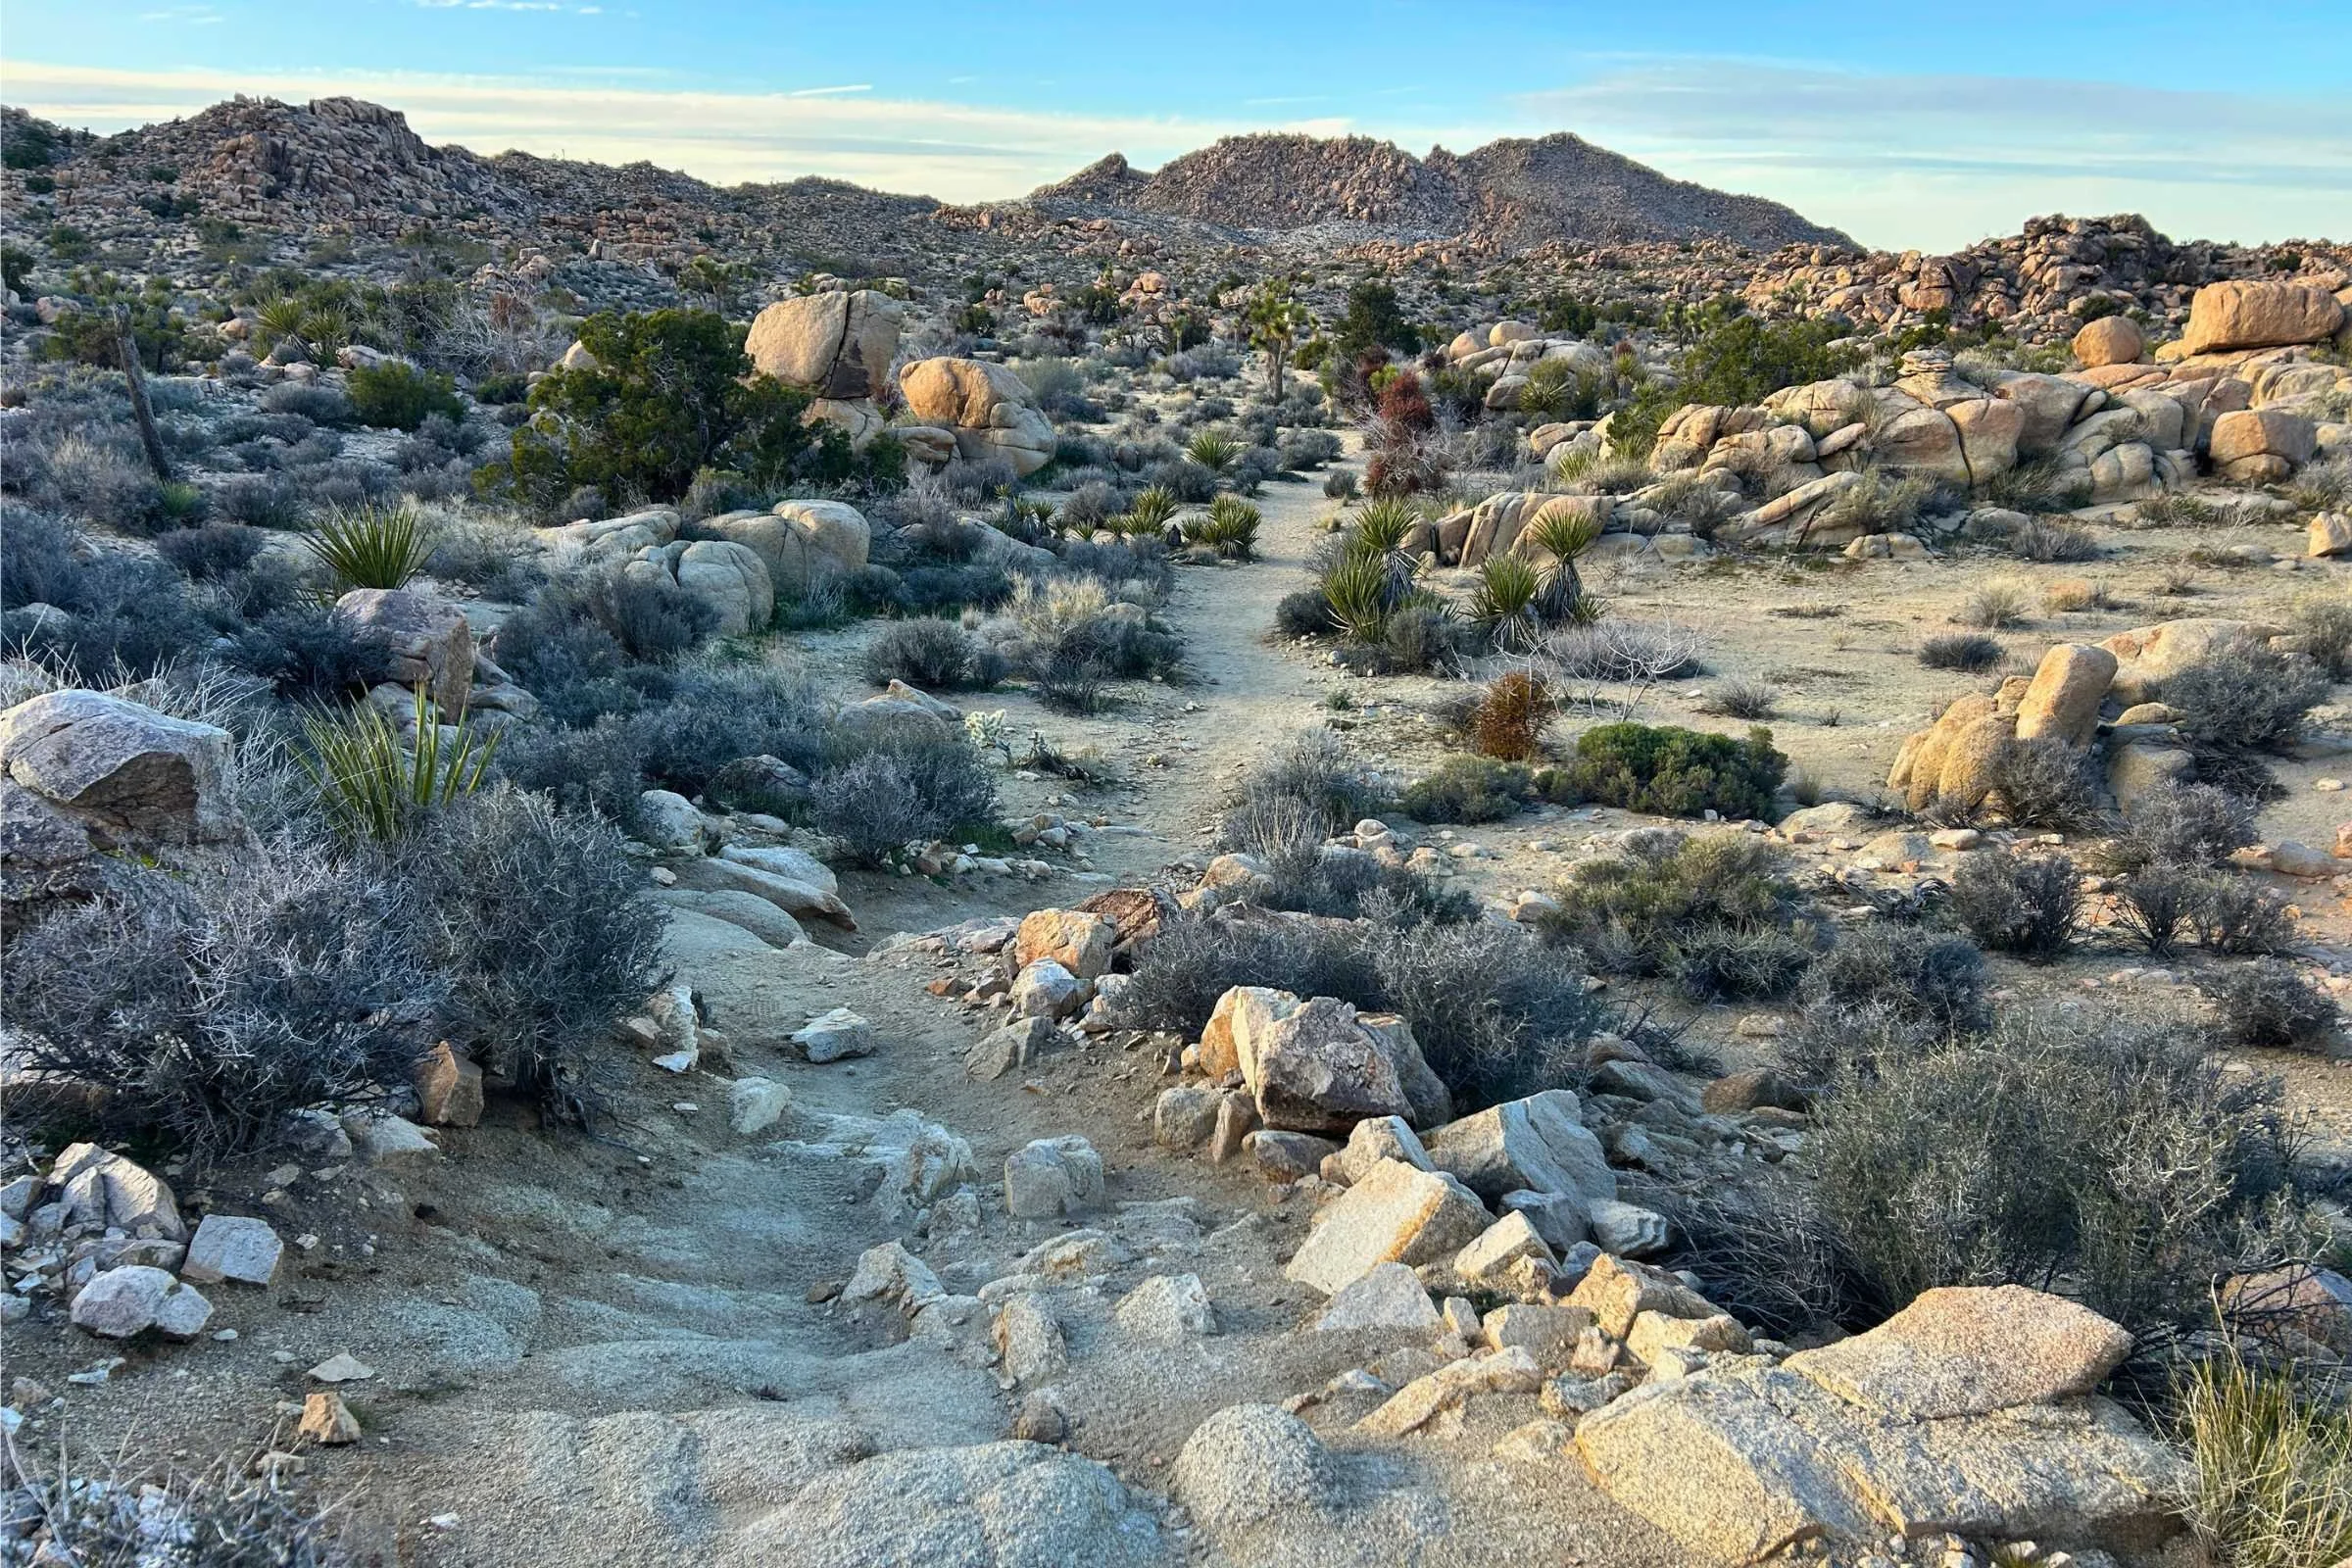
However, sections of the trail follow desert washes, so the trail itself may become obscured after a recent rainstorm. Pay attention to your map and your navigation apps. We recommend the Gaia GPS app or the FarOut App.
Rough Terrain / Scrambling / Rock Climbing
The trail is generally sandy, with a few miles that are rockier and have some elevation gain.
Elevation Gain / Elevation Loss
The total elevation gain is only 160 feet and the elevation loss is 1300 feet. However, if you do this as an out-and-back, you'll have to climb those 1300 feet on the return. Most of the elevation gain happens with a short section so the climb is not to be trivialized.
The trail is flattish for most of the trip, except the last two miles as you drop down towards Indian Cove. If you plan to hike this section, have the skill set to climb rocky, mountainous, and sometimes loose terrain. Some of the trail goes along the top of ridges, so it may not be suitable for those with severe issues with heights.
California Riding and Hiking Trail vs. Boy Scout Trail: which is the best hike for backpacking in the park?
Narrow canyons and washes are much more dramatic on the Boy Scout Trail than the California Riding and Hiking Trail.
Both the California Riding and Hiking Trail and Boy Scout Trail are popular routes in Joshua Tree NP. I’ve hiked both trails many times, in both directions, at different times of years.
Here’s my take:
The California Riding and Hiking Trail is longer but generally flatter than the Boy Scout Trail. The Boy Scout Trail has a few narrow canyons and washes that may require briefly using your hands to navigate around boulders, whereas the CRHT is designed as a horse riding trail, so is smoother (though it has some rocky sections). The Boy Scout Trail is 16 miles roundtrip, starting off Park Blvd. trailhead and ends near the Indian Cove campground whereas the CRHT is 37 miles one-way.
Mile-for-mile, I found the Boy Scout Trail more scenic and interesting. But it is a relatively short backpacking trip, so I opt for the CRHT when I want something longer.
Trailheads
Boy Scout Trail Backcountry Board Keys West off Park Blvd.
The overnight parking area for Boy Scout Trail is near the West Entrance Station of Joshua Tree National Park right off Park Blvd. There is a clean outhouse and information signs. This is the only legal parking spot off Park Blvd. for overnight backpackers, though you cannot camp in your car the night before. As of now, the Park Service doesn't require you to display a permit in your car for overnight parking (and on our most recent trip, we didn't). You'll need a National Parks Pass or to pay the entrance fee to park here.
Indian Cove road near Indian Cove Campground
The Indian Cove trailhead of the Boy Scout Trail is off Indian Cove Road near the town of Twenty Nine Palms. It's half a mile from the Indian Cove Ranger station and 1.4 miles from the Indian Cove Campground (reservations required to stay overnight here). There's a backcountry board here and a parking lot that can fit about 12 cars. This parking area doesn't require driving through a fee station and may be more susceptible to break-ins (based on signs we saw at the backcountry board).
Permits
Backpackers will need to get a Joshua Tree Backcountry Backpacking permit at recreation.gov and will be charged a fee of $6 per party (for up to 12 people) to stay up to 14 nights.
You may also be able to get a permit in person at the Joshua Tree Visitor Center or by calling. You may book permits up to 6 months in advance. Permits require you to book a campsite (see more about camping below).
As of 2026, there is a quota for the Boy Scout Trail Zone. All other zones have no quote for advanced reservations.
Permits are $6 non-refundable for 1-12 people for 1-14 nights.
Once you've booked your permit, you will have to watch a short video explaining the regulations and then the permit will be emailed to you. I actually got a phone call from a ranger about an hour after I booked saying they couldn't email me the permit because I had yet to watch the video (must have been a slow day in the office).
You can carry a paper copy or a digital version of your permit on your phone. Once you print it, you can't change your reservation.
You can hike in any zone but must camp in the one you are permitted for.
If you are using a backpacking stove, you’ll also need a California Campfire Permit. They’re free, can be done online, and just require you to watch a video and do a 5 minute quiz.
Camping
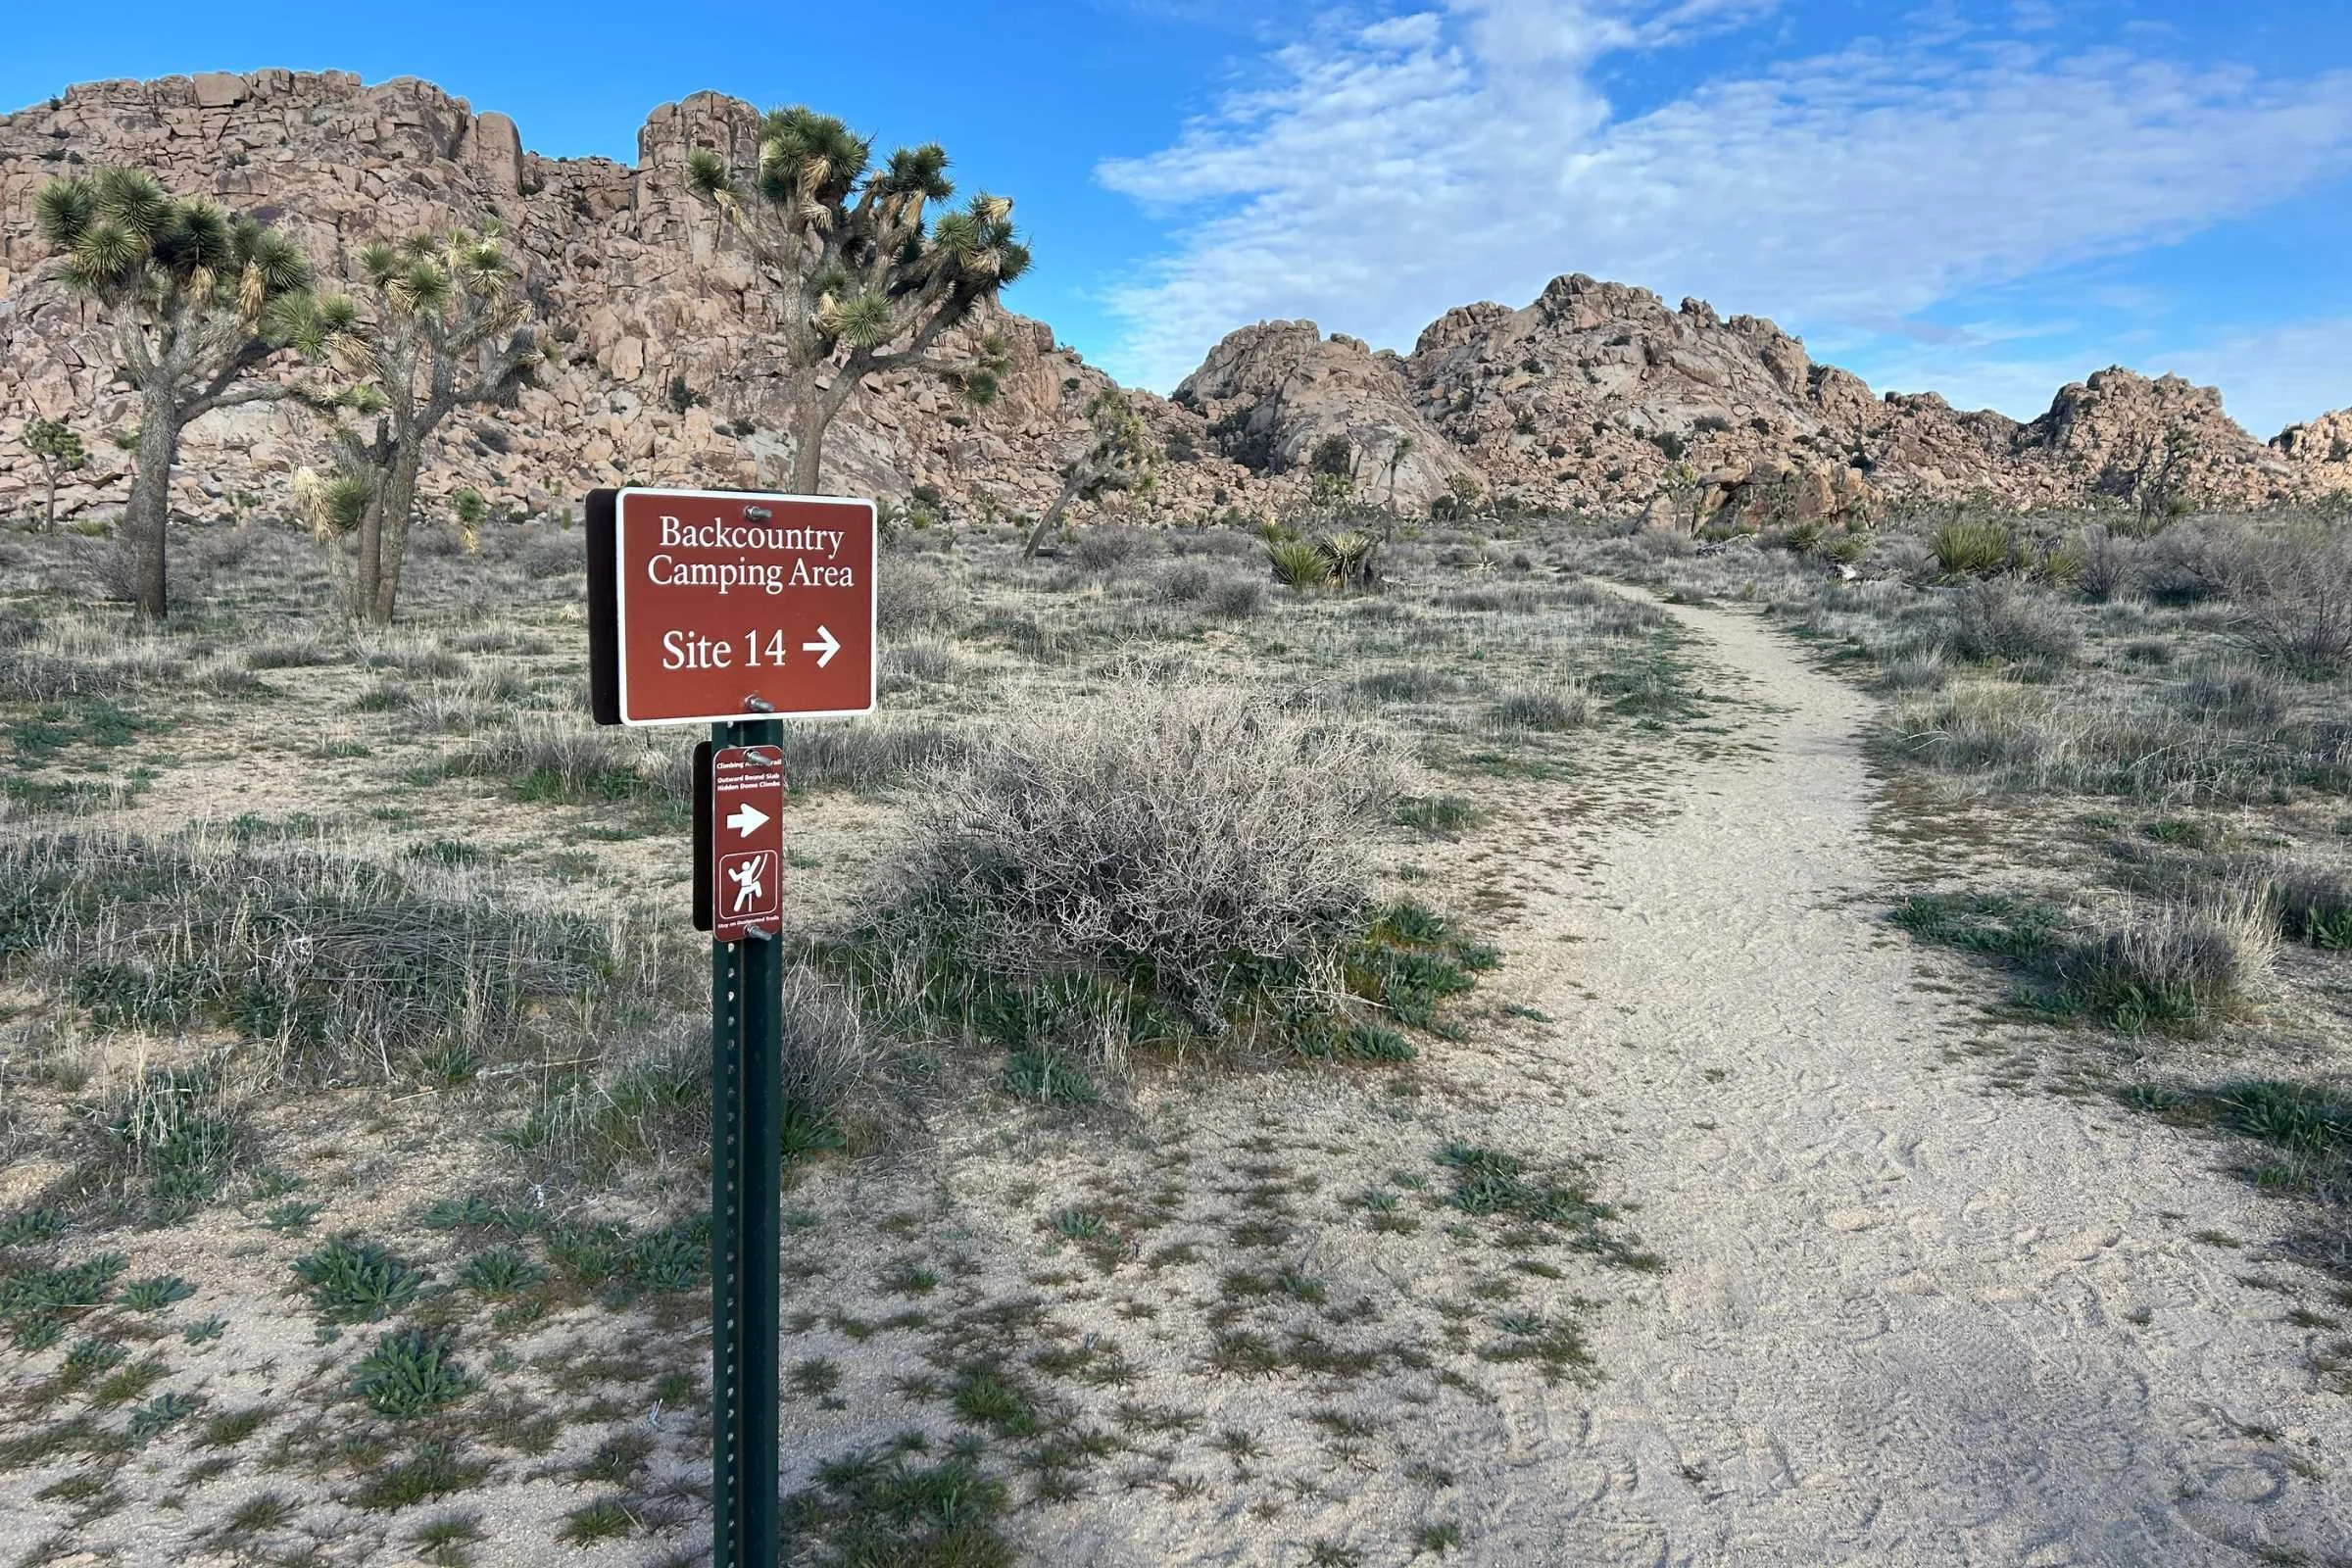
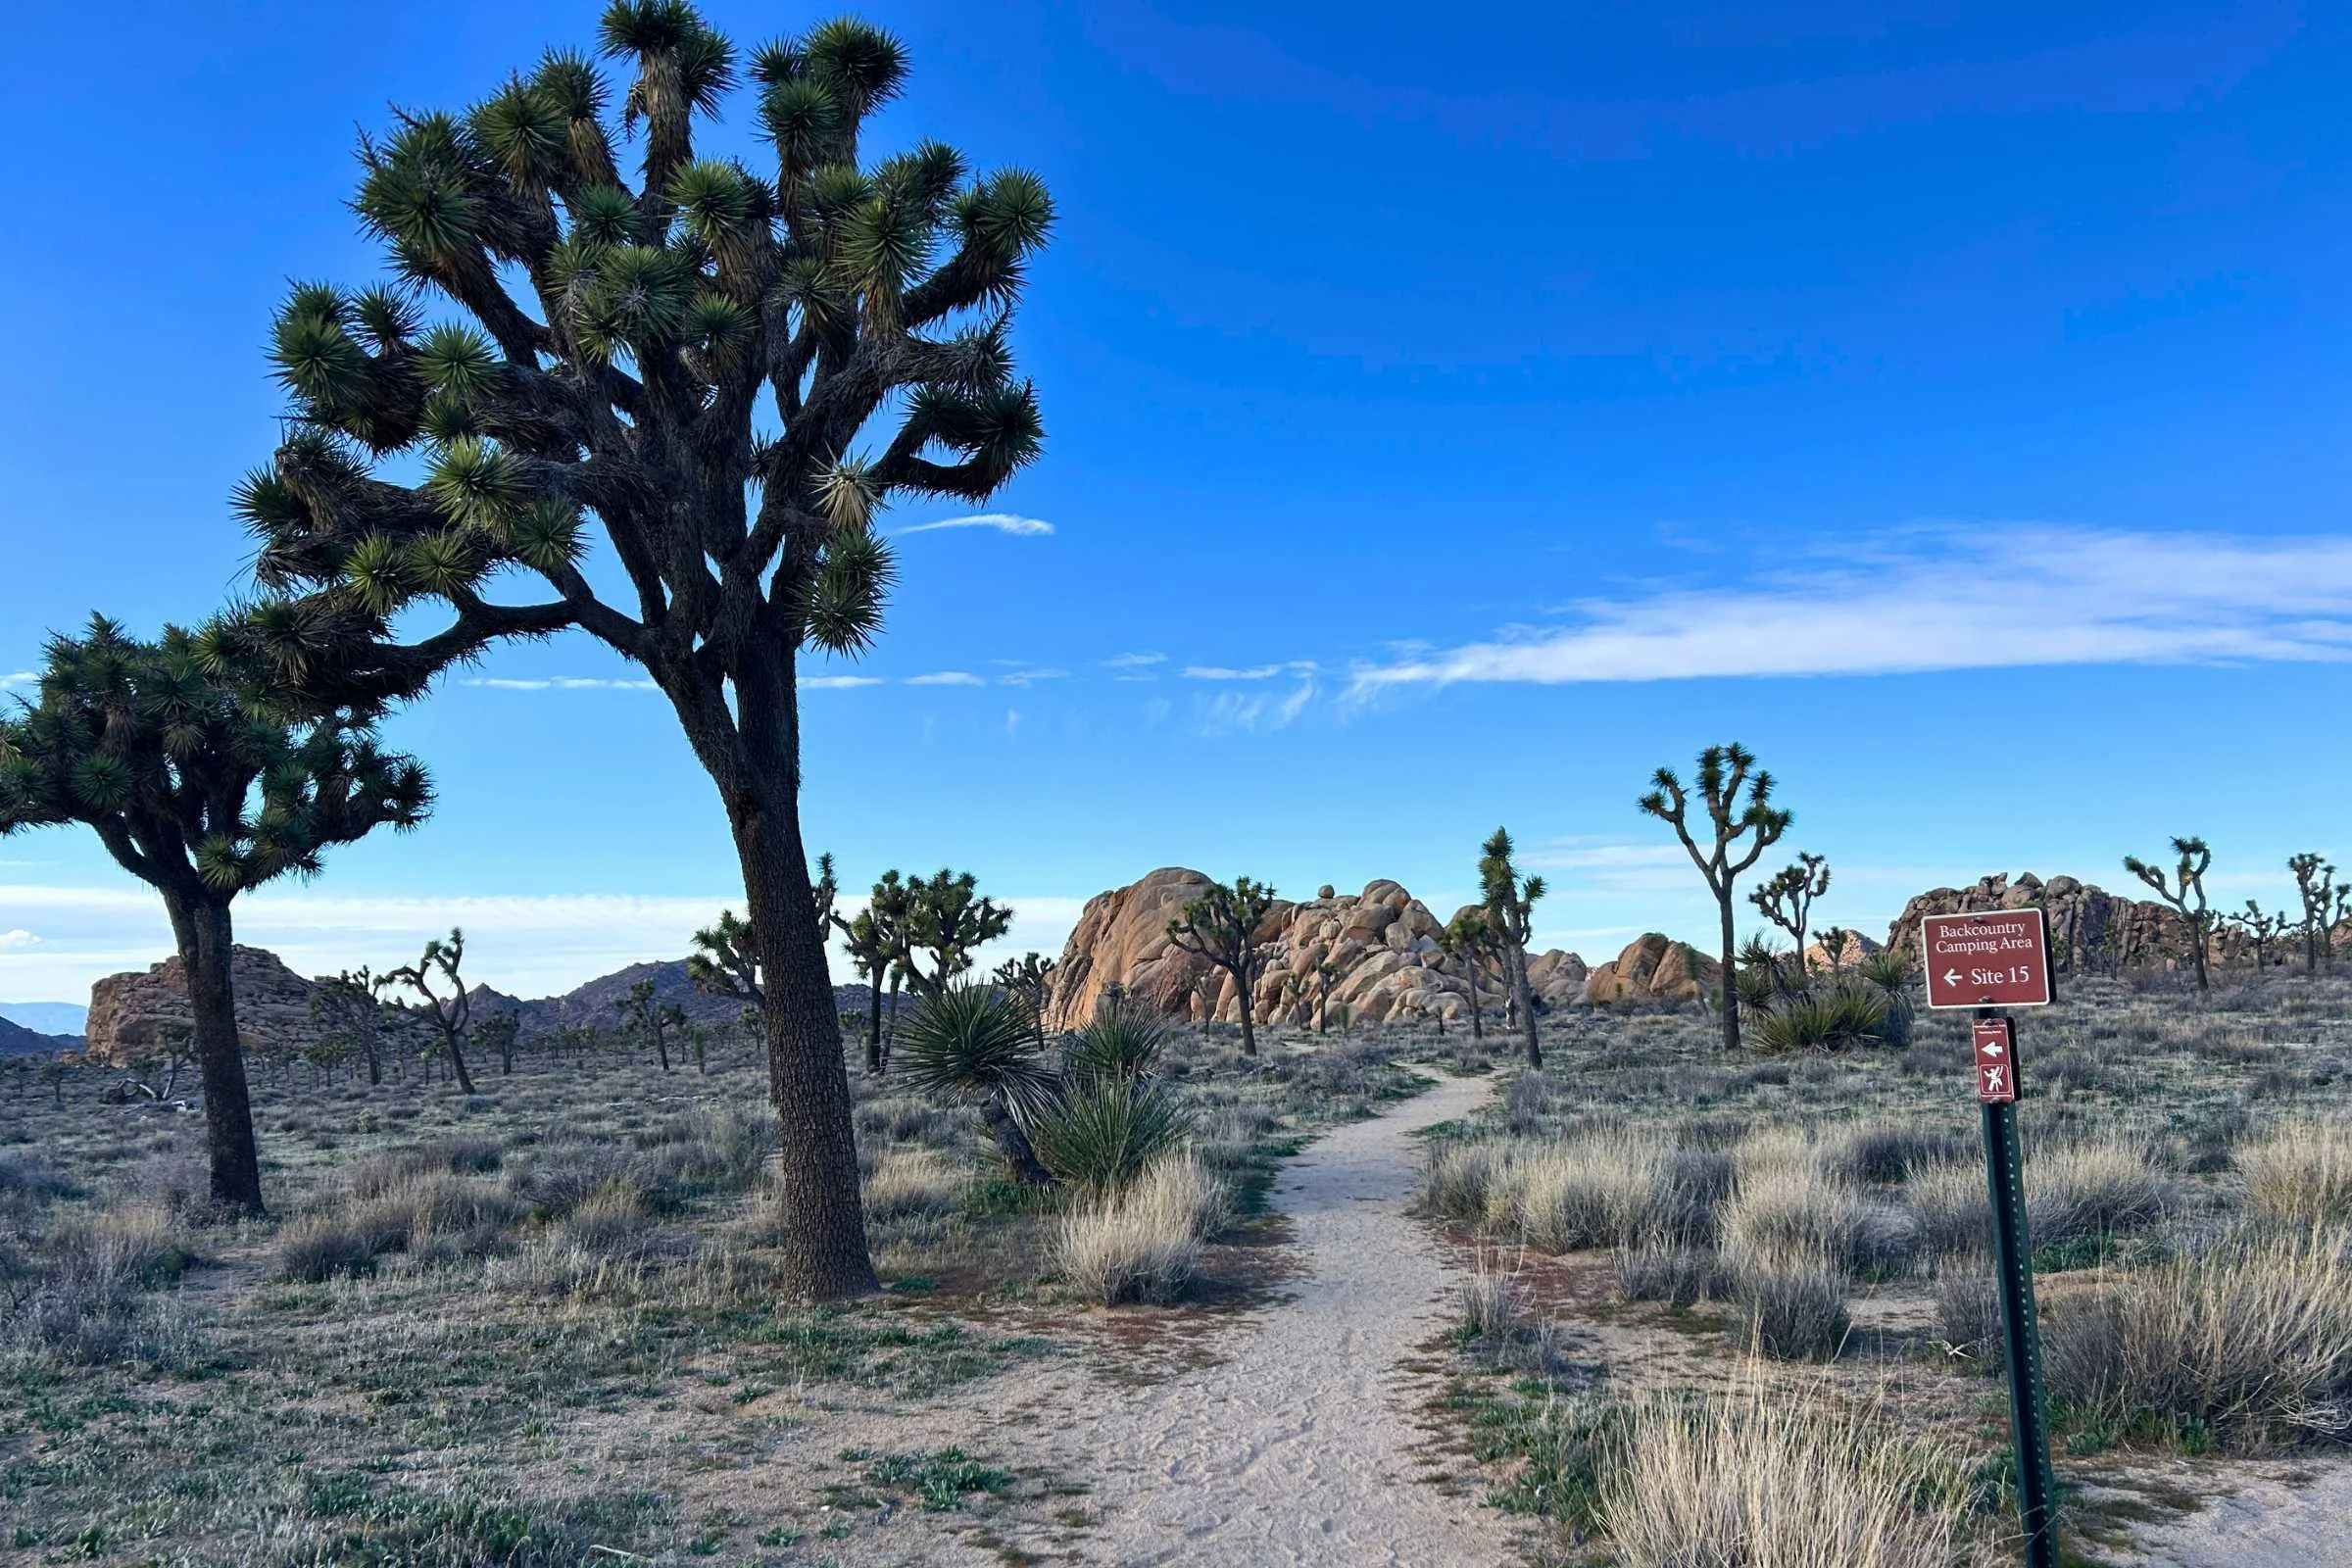
There are 15 campsites along the trail. Each is a short distance from the main trail. Junctions are well signed in both directions. It is a short distance from the main trail to each campsite. They all are outside of view from the main trail for some privacy. I was pretty impressed by how scenic all the sites are. I thought I'd be bummed to not be able to choose my campsites under the new rules, but I don't think I could have found nicer places myself.
Each campsite can hold between 1-12 people (some campsites can only hold 4). That means if your group has 4 tents, you should opt for a larger campsite. If you're a smaller group, try to take a smaller spot.
This page describes each of the 15 campsites on the Boy Scout Trail, the max amount of people it can hold, and where it is located.
There are campsites located in most areas along the trail, with just one stretch in the middle with no spots (this is a designated day-use-only area, and frankly is pretty rocky anyway). Each campsite is located more than 200 feet from the trail for some privacy and to minimize impact.
No campsite has water. Some campsites have shade and wind protection. When you get your permit, you can see photos of each camp, a map where they are located, as well as GPS coordinates and descriptions of whether there is shade or wind protection. I was worried about whether I'd need the GPS coordinates but found the sidetrails well-marked and easy to follow.
There's a sign at the actual spot where you are supposed to set up your tent, too. So if you aren't sure whether you have gone far enough on the side trail, keep going and you'll see the sign.
As far as regulations go, there are no campfires. Attaching hammocks or slacklines or other ropes to Joshua trees and junipers is prohibited.
If you are using a backpacking stove, you’ll need a California Campfire Permit. They’re free, can be done online, and just require you to watch a video and do a 5 minute quiz.
Parking
You can only park at the backcountry trailheads. You cannot park in day use areas and you can be fined or towed if you do.
You cannot camp in your car the night before. As of now, the Park Service doesn't require you to display a permit in your car for overnight parking. Your permit (registered online at recreation.gov) requires you to register your vehicle (you can just put "rental" if you are using a rental car).
If you park outside the park (which technically, the Indian Cove trailhead is), take special care for break-ins.
Route Description
The following route description for the Boy Scout Trail starts at the Boy Scout Trail Backcountry Board Keys West off Park Blvd. and goes to Indian Cove Backcountry Board.
Start at the Boy Scout Trail Keys West Backcountry Board. The first few miles are relatively flat and easy with expansive views and lots of big Joshua Trees. You can see snowy San Jacinto Peak (10,834 feet) and San Gorgonio Peak (11,503 feet) to the southwest and west, respectively.
Before a junction with the Willow Hole Oasis, you'll come upon the first permitted camping sites (15, 14, and 13), each a short side trail away. Each is well signed in both directions.
At the well-signed Y-junction with the Oasis, follow the signs and turn left (heading northeast). On a recent February trip, the Joshua Trees and yucca were blooming in the area!
The terrain starts to feel different here as it gets rockier. It doesn't feel like you're going up, but you'll notice juniper trees and other signs of a wetter climate up here. For the next two miles, you'll pass campsites 12, 11, and 10.
The trail starts getting even rockier and more secluded around campsite 9. It starts to twist and roll in a canyon around campsites 8 and 7. You'll see a signed junction on your left leading towards the Maze and the Lone Pine tree as you continue in the wash. Campsite 5 is secluded by itself through here. It's the last campsite for a few miles as you go through the day-use area.
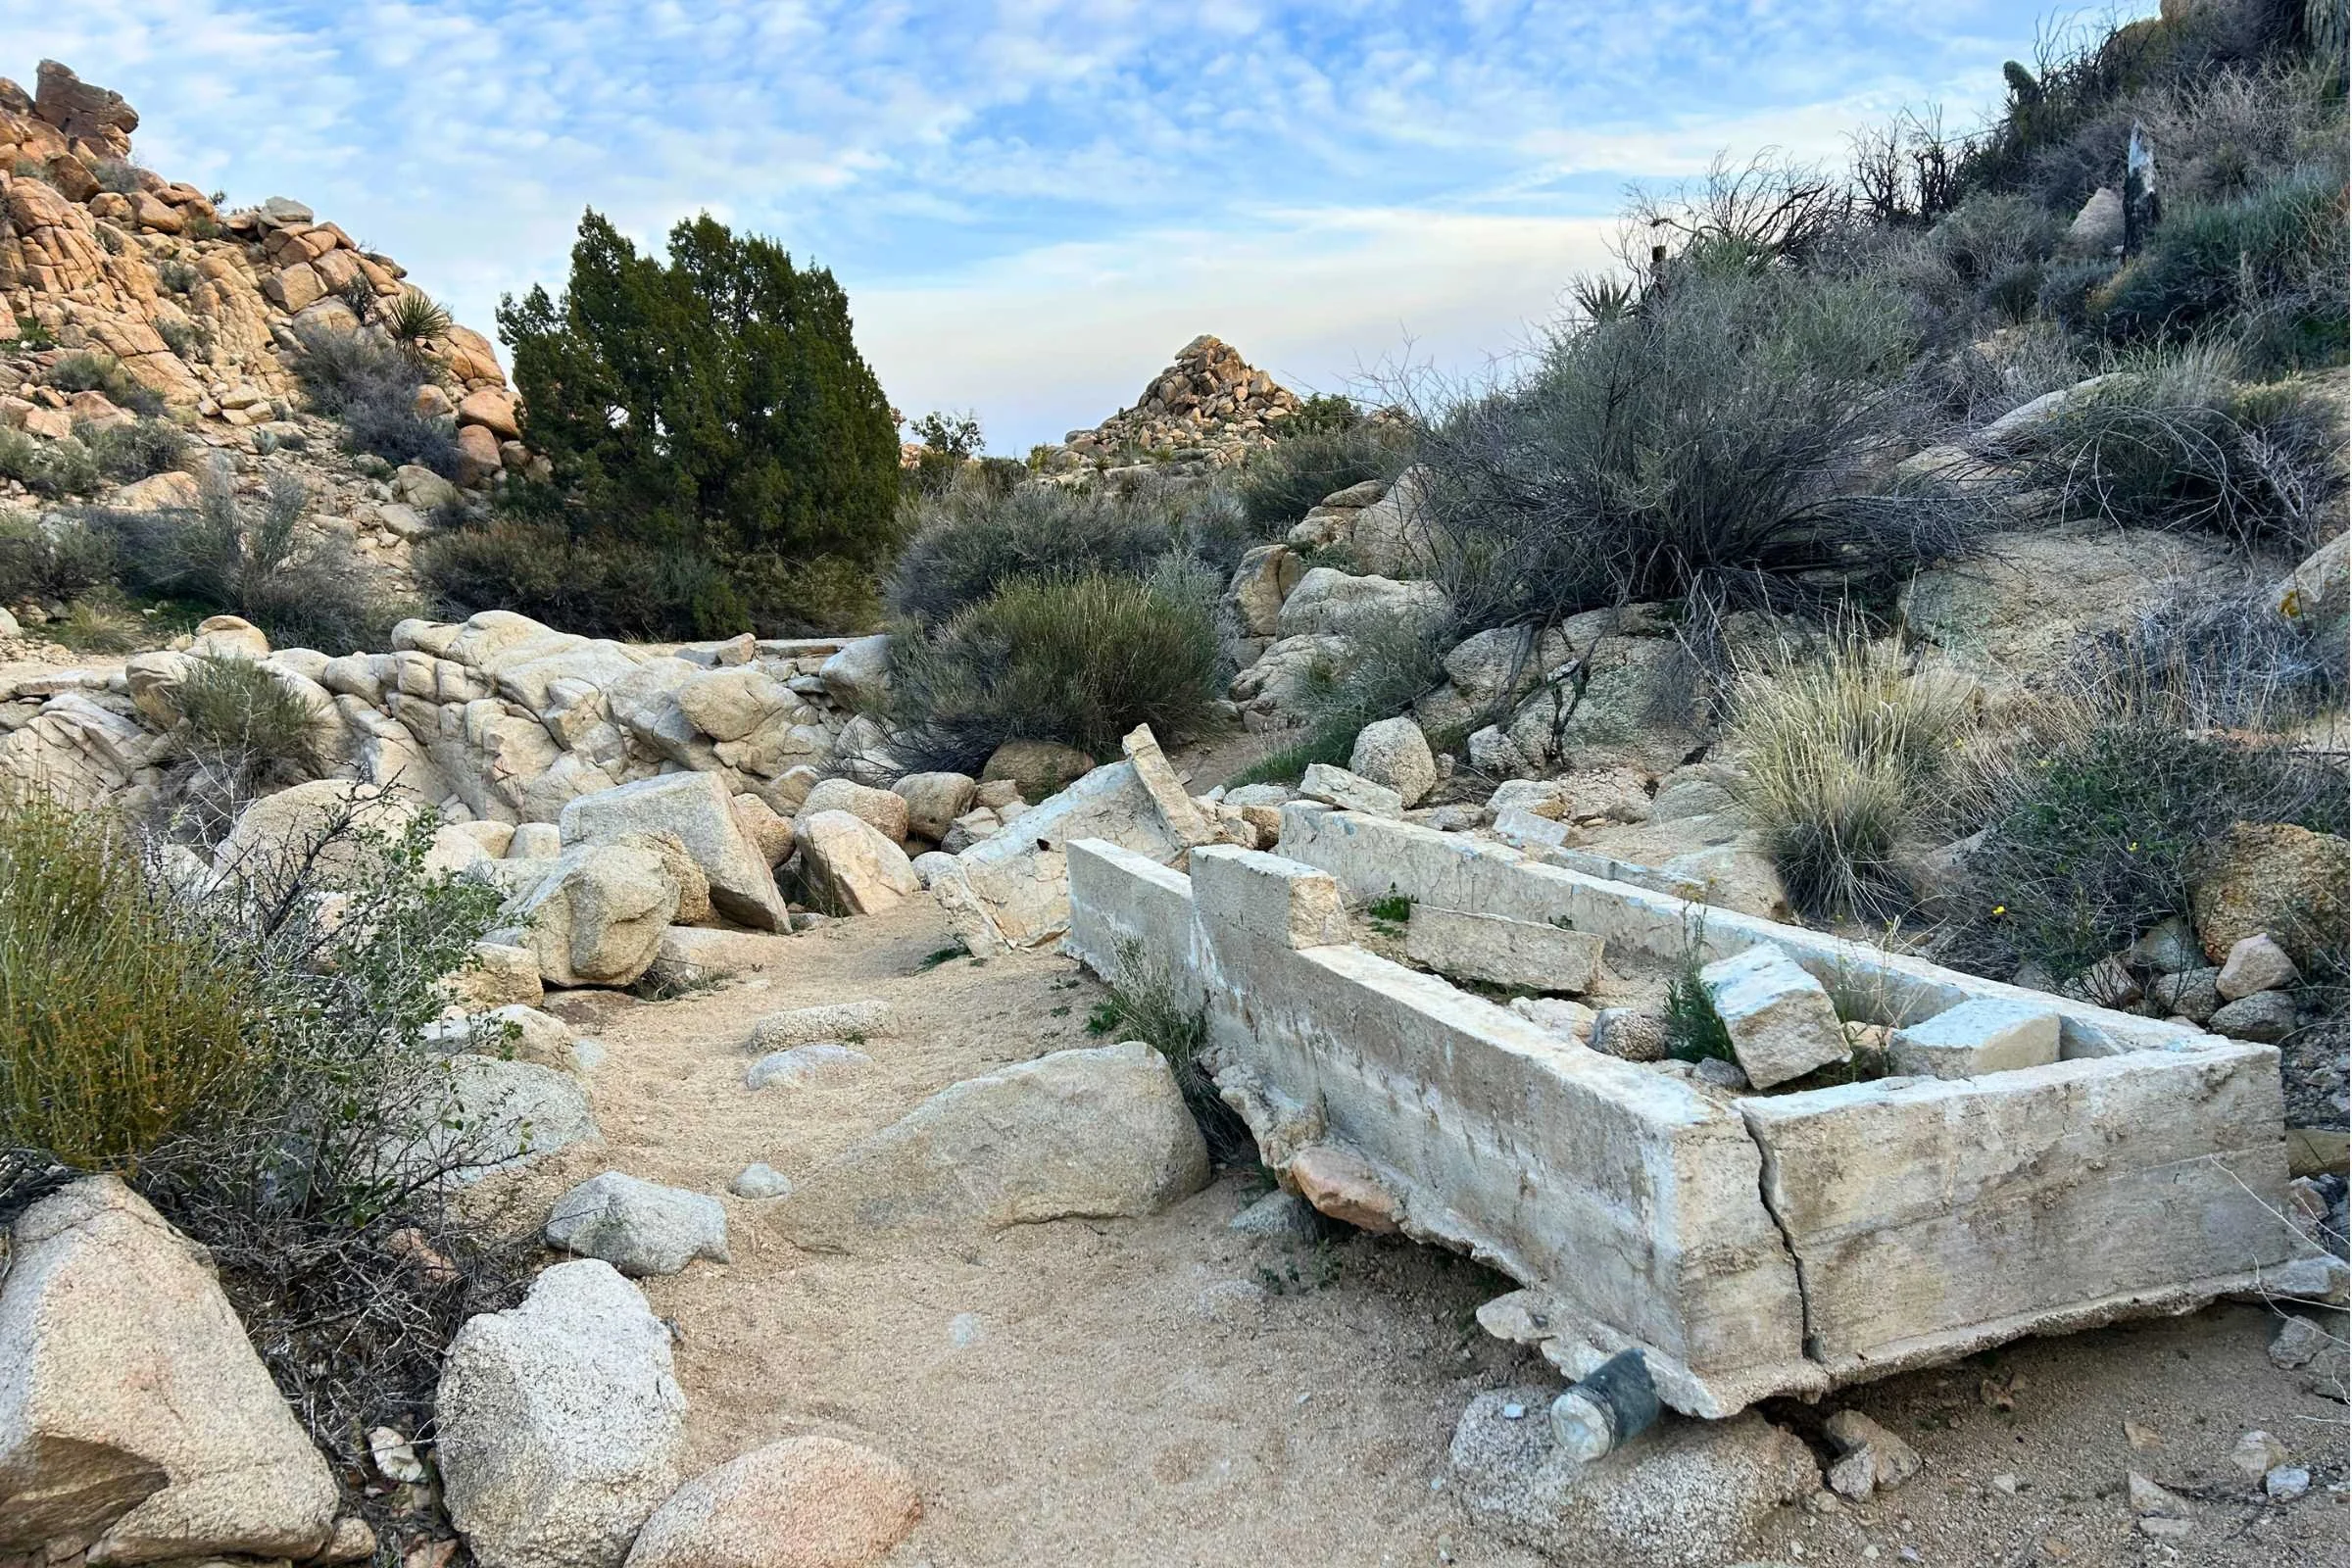
The wash is generally pretty easy to follow and the confusing parts that look like they could be side trails usually have signed arrows to make sure you stay on the right path. When in doubt, look for footprints in the sand. In one of these spots, the trail goes around a mini-dry waterfall by an old cement trough.
The next section is my favorite part of the trail. It takes you to the top of a rocky pass with 360-degree views. The rockwork on the trail is beautiful. This rockier area is supposedly the spot to see Big Horn Sheep, though I've never seen one here.
You'll drop down into a wash and this part gets really cool as you walk in essentially a slot canyon. The walls get really steep by the sides. The wildflowers were popping while I was here in February.
The trail weaves itself right (east) towards Indian Cove, passing the junctions for campsite 5, and then less than half a mile later, campsites 1-4. They're all pretty secluded and have cell service.
The last mile of trail is sandy with fewer features. The Indian Cove area supposedly is good for seeing Desert Tortoises. I haven't seen one here, but I have seen tortoise scat. The trail ends at the trailhead at a random and isolated spot on Indian Cove road, half a mile from the ranger station and 1.4 miles from the campground.
If you're ending here, the town of Twenty Nine Palms is nearby as is the Indian Cove campground (prior reservations required to stay here).
If you're hiking the Boy Scout Trail as an out-and-back, you can cache water here (be sure to write your name and number on it, end date, and pack out trash or come back for it after). For more on how to cache, see the water planning section. For out-and-back, turn around and retrace your steps.
Logistics
As a one-way trip, there are several ways to get from one trailhead to the other on the Boy Scout Trail in Joshua Tree:
Car shuttle
Set up a car shuttle with a vehicle at either trailhead. Both cars drive to your ending trailhead. Then you leave a car at the final destination. Both people hop into the other car and drive to the starting trailhead. You hike to the final trailhead. Then both people drive back to the starting trailhead to retrieve the car. It's about 45 minutes of driving between the two trailheads. You'll need to bring a park pass with you to enter at the West Entrance.
Lyft/Uber/Taxi
You will likely have cell service at the Indian Cove trailhead. You could feasibly park a car at Indian Cove. Then, you could call Lyft, Uber, or a taxi and have it return you to the Boy Scout Trail backcountry board. I haven't done this myself, but I have read and met other people who have said it works (albeit, with a lot of waiting for drivers).
It depends on your Lyft driver on whether they can take you past the national park entrance station.
If they won't do it, you may have to walk those last 6 miles on Park Blvd. to the trailhead. Alternatively, from the West Entrance station, you could theoretically hike the Northside or Southside connector trail to the Bigfoot Trail to the Quail Springs Trail (which would add a mile). I haven't done this myself, but it looks pretty awesome.
That being said, if you're going to be adding 7 miles to your hike to get back to your car, you may as well hike the Boy Scout Trail as an out-and-back.
Yo-yo
If you're an experienced backpacker, you can hike to one end, turn around, and hike back to your car. You could cache water or even food (in a hardsided container) at the halfway point.
Maps, Apps, and Guidebooks
FarOut
101 hikes in Southern California is a new guide that has the Boy Scout Trail as a GPS track you can follow.
Gaia
I used the Gaia GPS app on my phone. The trail is well-marked and signed, but it can be easy to mistake a wash for the trail—even for experienced hikers.
Maps
I own and carried both of these maps on my last CRHT hike. Here are my thoughts:
Tom Harrison Joshua Tree National Park map - This is my preferred park-wide map that shows the whole CRHT and mileage between points.
National Geographic National Park Map - This is a park-wide map that shows the whole CRHT trail. It's more zoomed out and big picture than the Tom Harrison, but will work for planning purposes.
Guidebooks
A foot and a field: Inland Empire by David Harris has a comprehensive write-up of the trail. It also happens to have hundreds of other hikes worth your time in Joshua Tree and beyond throughout the Inland Empire. Written by a friend and hiking partner, it's an excellent resource for anyone who hikes in Southern California.
Getting There
By Plane
The closest airport to Joshua Tree National Park is Palm Springs International Airport (PSP). You can rent a car from Palm Springs from Alamo, Thrifty, Enterprise, Dollar, and more. It'd be a long and expensive Lyft or Uber to Joshua Tree from Palm Springs, though. It takes about an hour to the park entrance when driving from Palm Springs International Airport.
The nearby Ontario, CA (ONT) airport services more airlines and may have less expensive flights. Car rentals are usually cheaper from Ontario compared to the Palm Springs airport. It takes about 1 hour 45 minutes to drive to Joshua Tree from Ontario International Airport.
By Car
From Los Angeles, take 1-10 to Highway 62. Follow Highway 62 towards Yucca Valley and 29 Palms. If you're starting at the Black Rock Campground, turn right on Joshua Lane and follow it to the campground. If you're starting at the North Entrance, stay on Highway 62 to 29 Palms and turn right, following signs for the North Entrance to the Park.
Please note that to enter the park, you must pay an entrance fee. As of 2026, it is $30 for one private vehicle and is good for 7 days. Alternatively, you can use your Annual National Park Pass. As of 2026, the NPS initiated resident and non-resident pricing for the annual pass. It is now $80 for residents and non-US residents pay $250.
Bus and Shuttle Services
Although Joshua Tree operated a shuttle bus service in 2018, that was discontinued. Now, the only way to get into the park is via car, walking, or bicycling. Traffic can be bad getting into the park at peak times (especially weekends), especially at the west entrance. Arriving before 8 am can help.
Post-trip Favorite Restaurant
Frontier Cafe in Yucca Valley has a fun desert vibe and excellent sandwiches. It's next to several vintage stores for those funky Joshua Tree vibes you'll want to experience while you're out there.
If you're headed back to LA on 1-10 West, I recommend stopping by Hadley's Fruit Orchard for date shakes. It's a desert treat and one that I have a particular weakness for.
Regulations
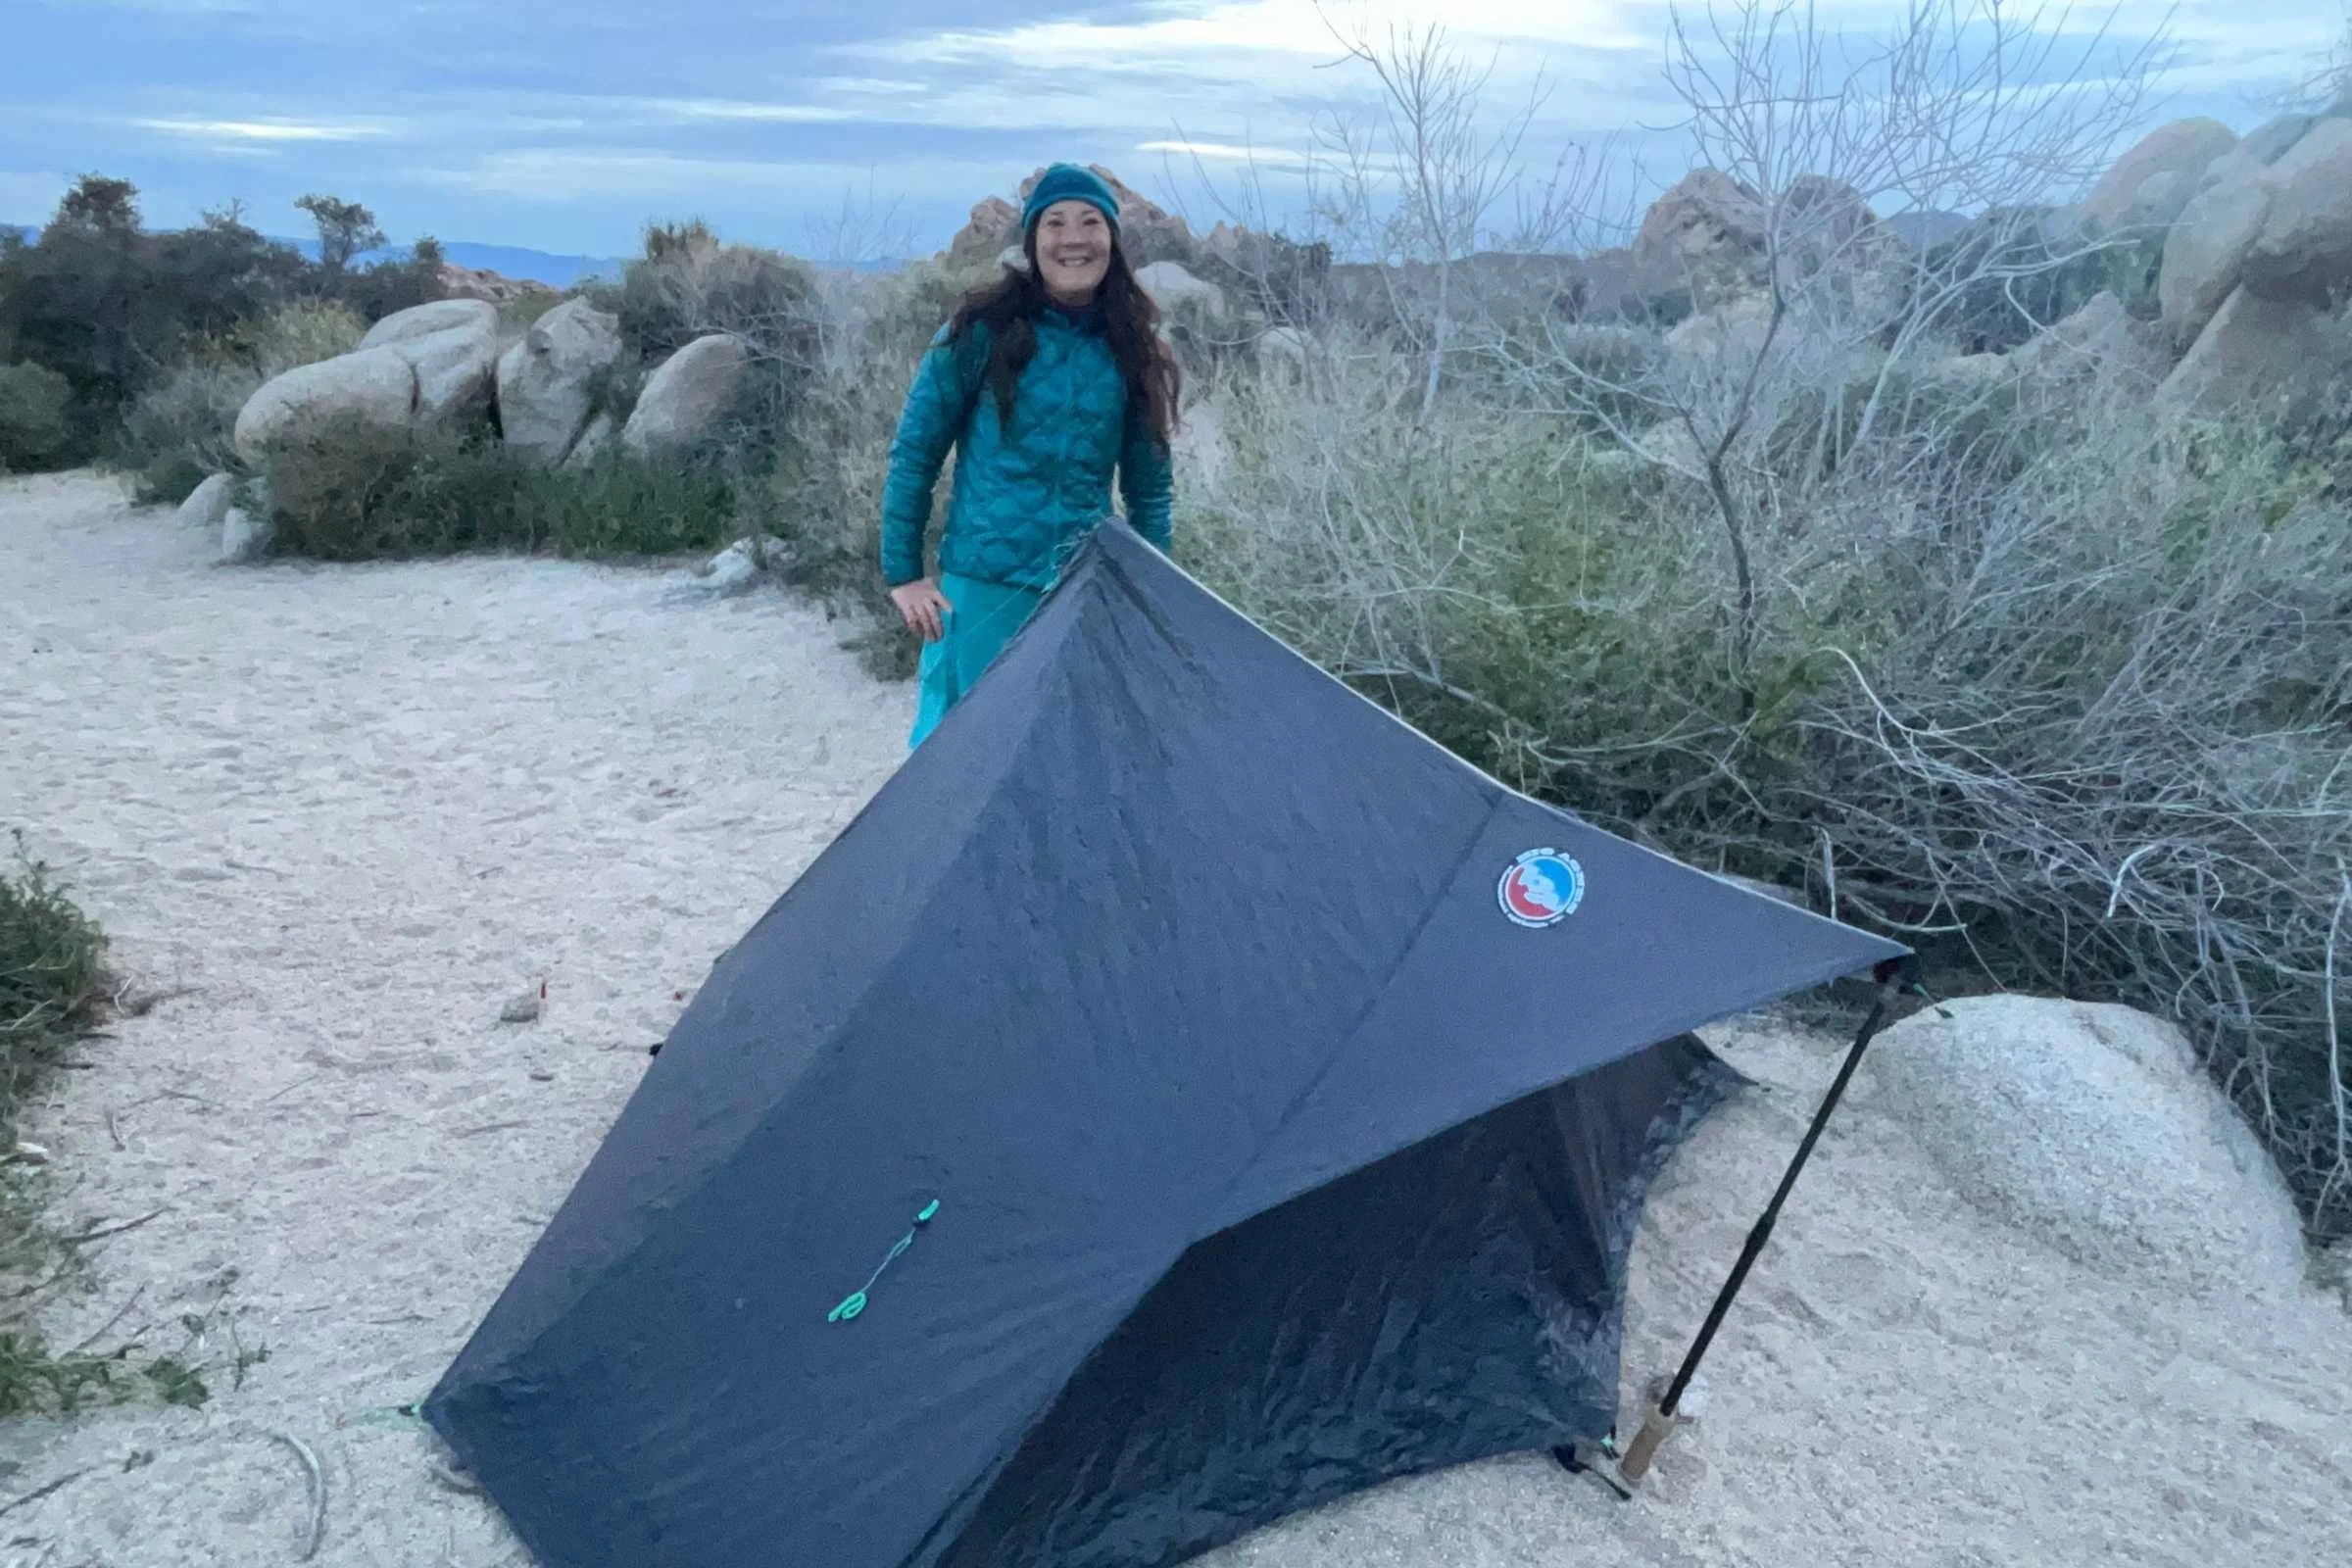
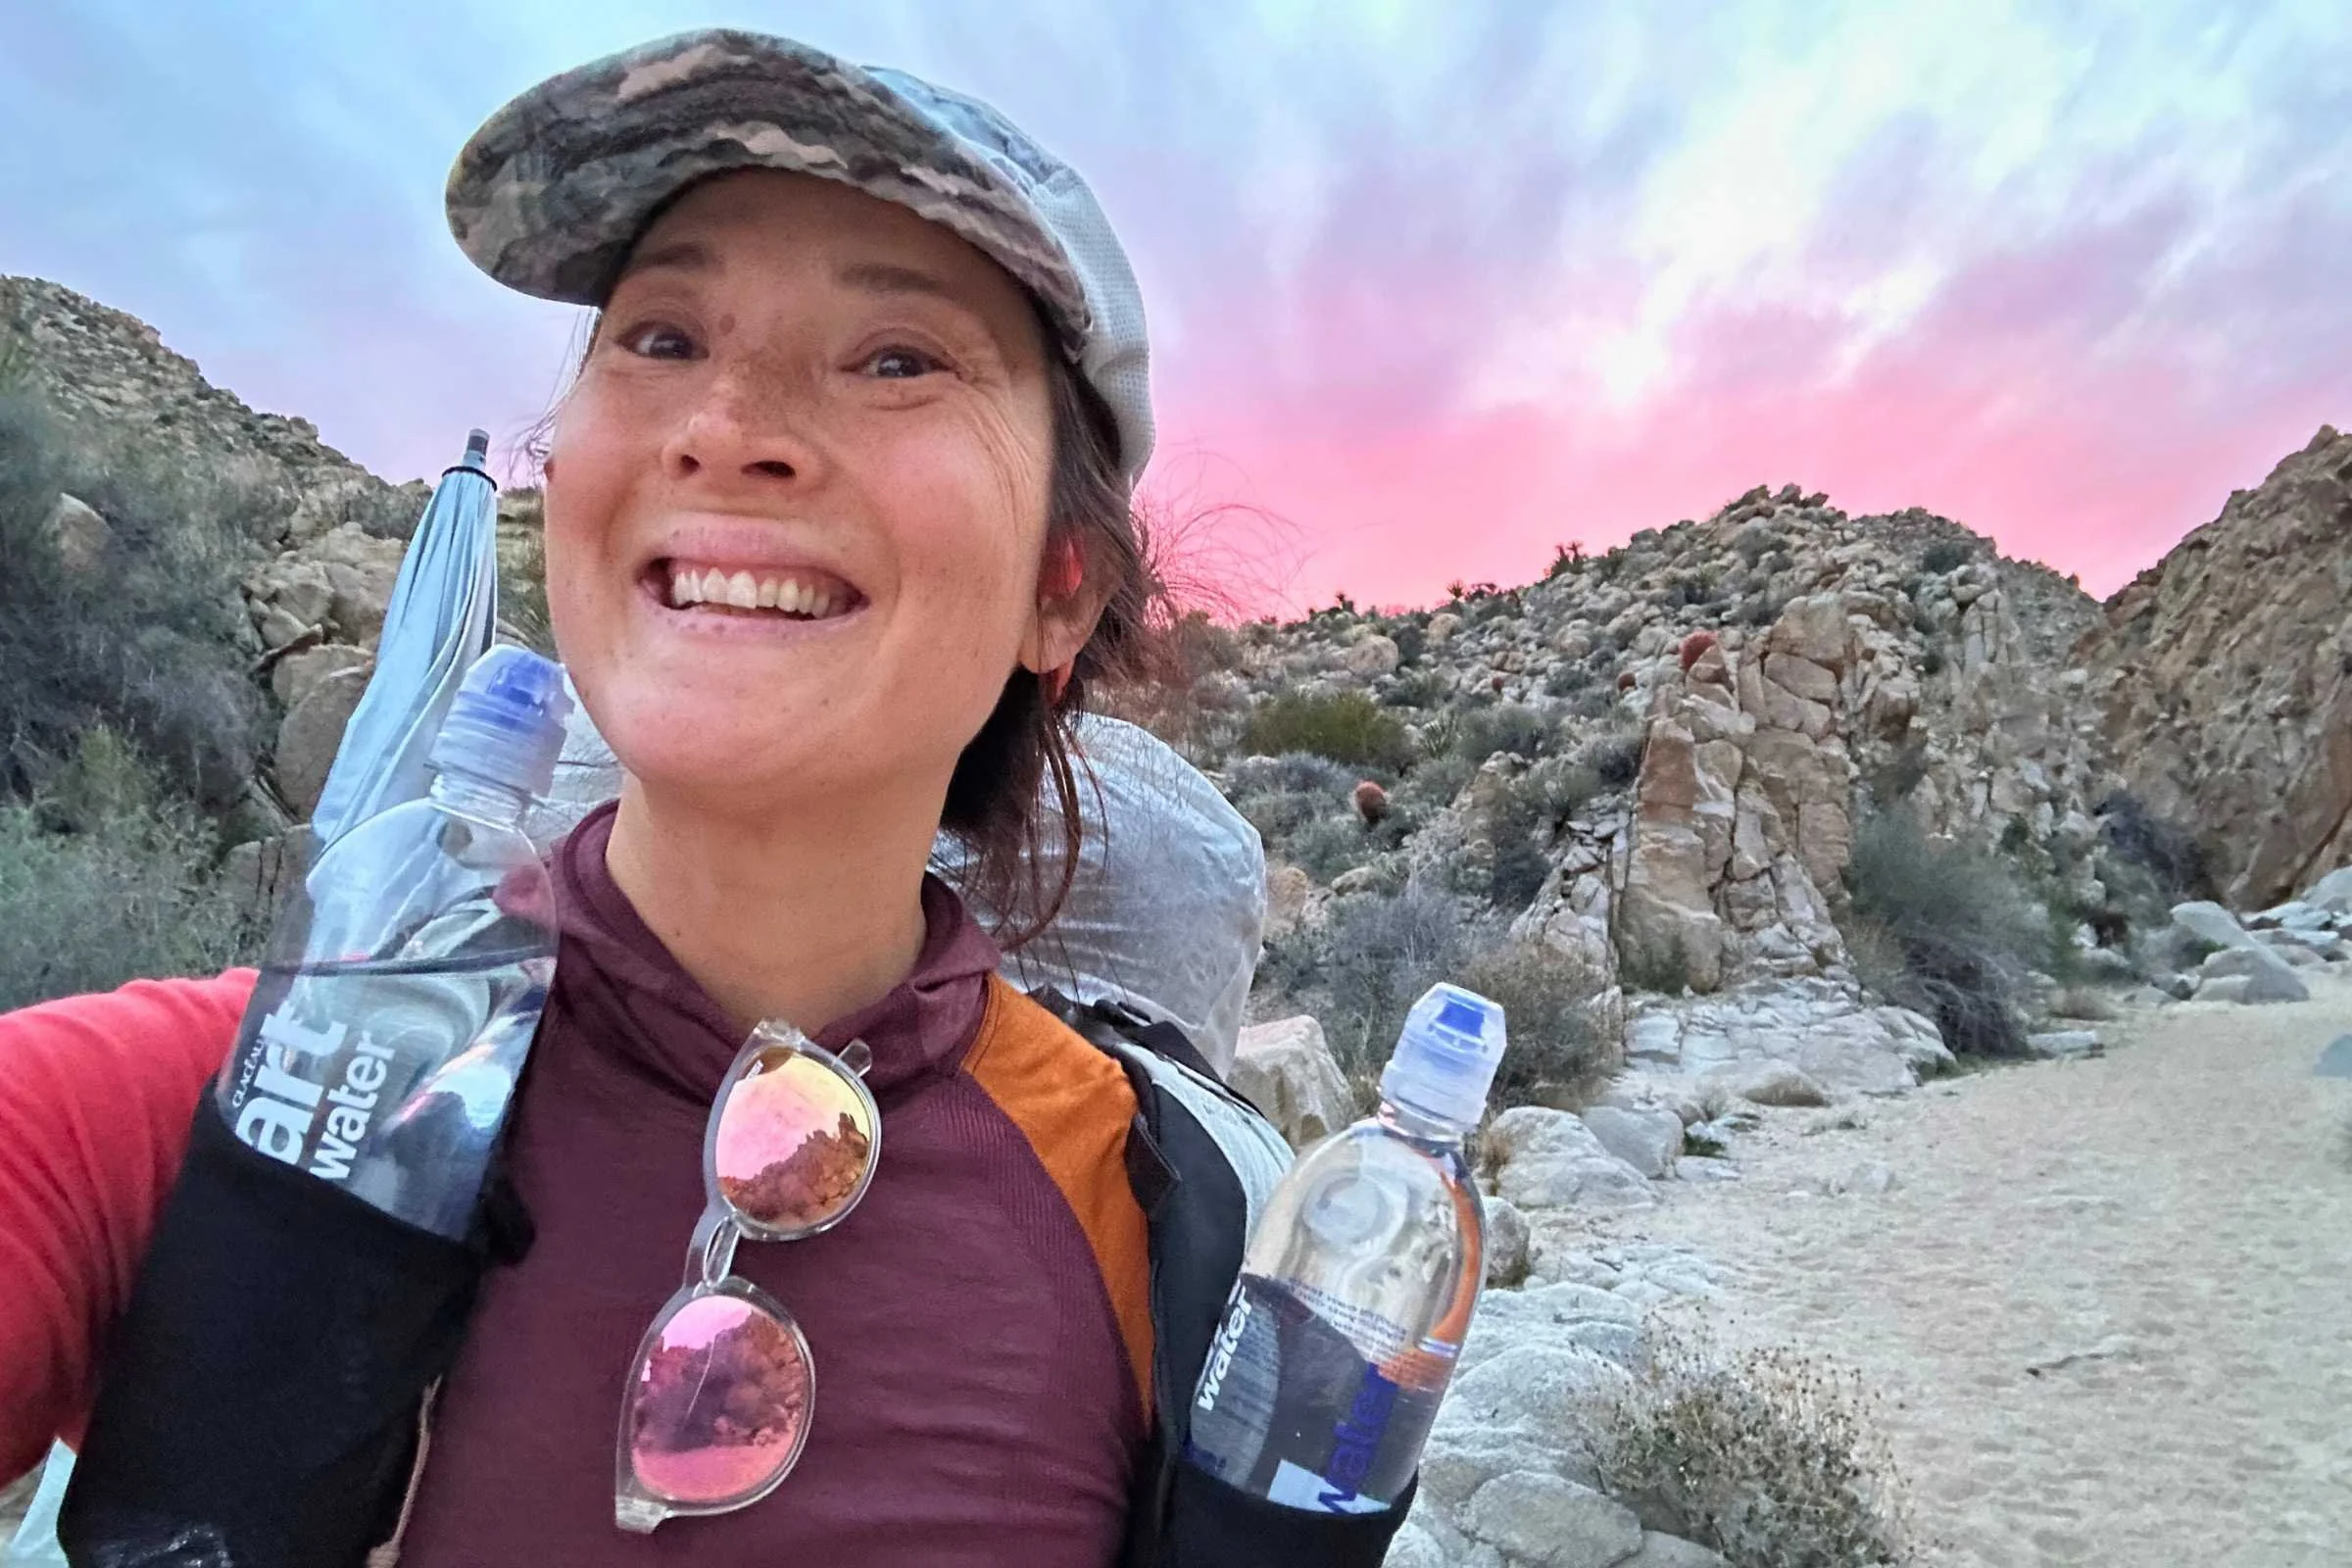
My tent set up in a designated camping area on the Boy Scout Trail.
Permits are required for overnight camping. You must camp in the campsite on your permit.
Follow Leave No Trace ethics, including camping and pooping far from water. Consider carrying a poop trowel.
No campfires. Stoves are ok.
If you are using a backpacking stove, you’ll also need a California Campfire Permit. They’re free, can be done online, and just require you to watch a video and do a 5 minute quiz.
No pets or bikes.
Group size must be limited to 12 people or less.
Carry a printed and signed version of your permit at all times (on your phone is ok)
You are allowed to cache water, but write your name and number on it as well as your finish date, and be sure to pack out your empty bottles.
Resupply
There is no resupply along this route. However, you can cache food in hard-sided containers, like bear canisters, and place it away from sight from the trail or trailheads (but no need to bury it). Leave your name, phone number, and expected arrival date on your bear canister. I recommend taking a GPS waypoint on a phone app so you remember exactly where you "hid" it.
If you want to resupply, you could coordinate with someone in a car to bring you food at a road crossing or one of the campgrounds nearby the trail.
Indian Cove Campground does not have food for sale. However, there is a market on Highway 62 that is 1.6 miles down Indian Cove road.
Water Planning and Caches
There may have been reliable water here 100 years ago but the climate has changed, the water table has lowered, and gathering water from natural sources in the park isn't allowed anyway.
There is no water along the trail. There are no natural water sources, and none of the campgrounds have water faucets. The only water faucet is at the West Entrance Station.
The only place you can cache by car is either of the trailheads. This means if you are hiking this trail as a one-way, you need to carry all of your water. If you are hiking it as an out-and-back, you can cache at the trailhead that will be your midpoint.
You must bring all your water and cache it at trailheads before you hike. There are grocery stores in Yucca Valley and 29 Palms where you can buy water.
A water cache is when you bring your own water, usually in gallon jugs, and hide it strategically to retrieve during your backpacking trip. Keep it out of sight from the trail or trailheads, but no need to bury it. I usually hide it under a bush and take a GPS waypoint on my phone so I don't forget where I put it.
Joshua Tree National Park’s website says:
“You are welcome to cache water. If you do, please write your name, number, and date of pick up on it. Do not leave any containers behind. Use a thick animal-resistant container. Ravens can peck into and drain thin plastic water jugs.”
NPS recommends at least 1 gallon of water per day and an additional gallon or more if it is a hot day.
How much water you drink depends on your body, how far you are hiking, and temperature, so be flexible. Remember, if you're feeling thirsty, you're already dehydrated! See our guide for Tips for Staying Hydrated (this story is focused on runners but applies to backpackers, too). The desert is unforgiving!
You will need to carry out all your water bottles. If you did not use all your water, dump it and pack out the empty bottles to dispose of at a dumpster at a trailhead or campground, or recycle when you leave the park.
Food Storage and wildlife
Joshua Tree National Park requires that you securely store smellables, food, and garbage away from critters. There are no bears in Joshua Tree, and thus no bear canister requirements. However, rodents, ravens, and coyotes may still be interested in your food and water caches. See REI’s Food Storage guide for tips on storing food from smaller animals. As a reminder, use hard-sided containers and plastic water bottles when caching.
Side Trips
Willowhole Oasis is a 2.5 mile side trail about a mile from the Keys West Backcountry Board. It goes into the heart of the Wonderland of the Rocks wilderness area to a willowy oasis. I've been there a few times and it feels relatively unique in Joshua Tree in that it is clearly an area with a lot more water.
Gear Rentals
Nomad Ventures in the Escondido and Temecula locations may have some backpacking gear to rent. You can always pick up fuel and other backpacking supplies at their Yucca Valley location.
What gear to carry
Tent
I've hiked this trail many times and most recently, used the Big Agnes String Ridge VST 1 backpacking tent. See our Best Backpacking Tents guide for more recommendations.
Also note, hammock hanging from Joshua Trees and junipers is prohibited, according to the Park Website, so hammocking is not a good option.
Backpack
I needed a backpack that could handle the heavier loads from the longer water carries. I used the Mountain Hardwear Alakazam backpacking backpack made of Aluula material. It has a lightweight frame that handles the heavier weight of the water well.
See our Best Backpacking Backpacks guide for recommendations on lightweight packs designed for comfortably carrying bigger water carries.
SLEEPING BAG
Don't underestimate how cold the desert can get overnight! I most recently used the Exped DeepSleep 30F bag and found it to be the right temperature for camping in February at the campsites near Indian Cove, which are at a lower elevation and warmer.
Temperatures frequently can swing more than 50 degrees from daytime temperatures. See our Best Sleeping Bags and Best Sleeping Quilts guide for more recommendations.
Sleeping pad
As with sleeping bags, bring a sleeping pad with insulation as the desert can get cold, especially in the winter. If you are using an inflatable sleeping pad, bring your repair kit as the desert is full of spiky plants, though this trail is not as spiky as many other desert hikes. I most recently used the NEMO Tensor sleeping pad and found it warm enough for the cool nights as well as puncture-proof enough for the desert.
See our Best Backpacking Sleeping Pads guide for more recommendations.
Trekking poles
The Boy Scout Trail has a few miles with climbing and rockier sections of trails, so we appreciated having hiking poles.
Some of us also used our trekking poles to hold up our lightweight tents. See our Best Trekking Poles guide for more.
Cooking system
A backpacker could easily hike this trail stoveless, but I enjoyed having hot food at night. Especially since I backpacked the Boy Scout Trail during the winter, making hot food at night warmed me up and gave me something to do when it got dark at 5 pm. As with the tent, we discovered having windproof gear was essential in Joshua Tree.
See our Best Backpacking Stoves and Best Cooking Pot guides for more recommendations.
Water purifier
I did not carry a water purifier on this trip as there is no naturally occurring water along the entire trail. All the water I cached came from faucets or a water factory.
Headlamp
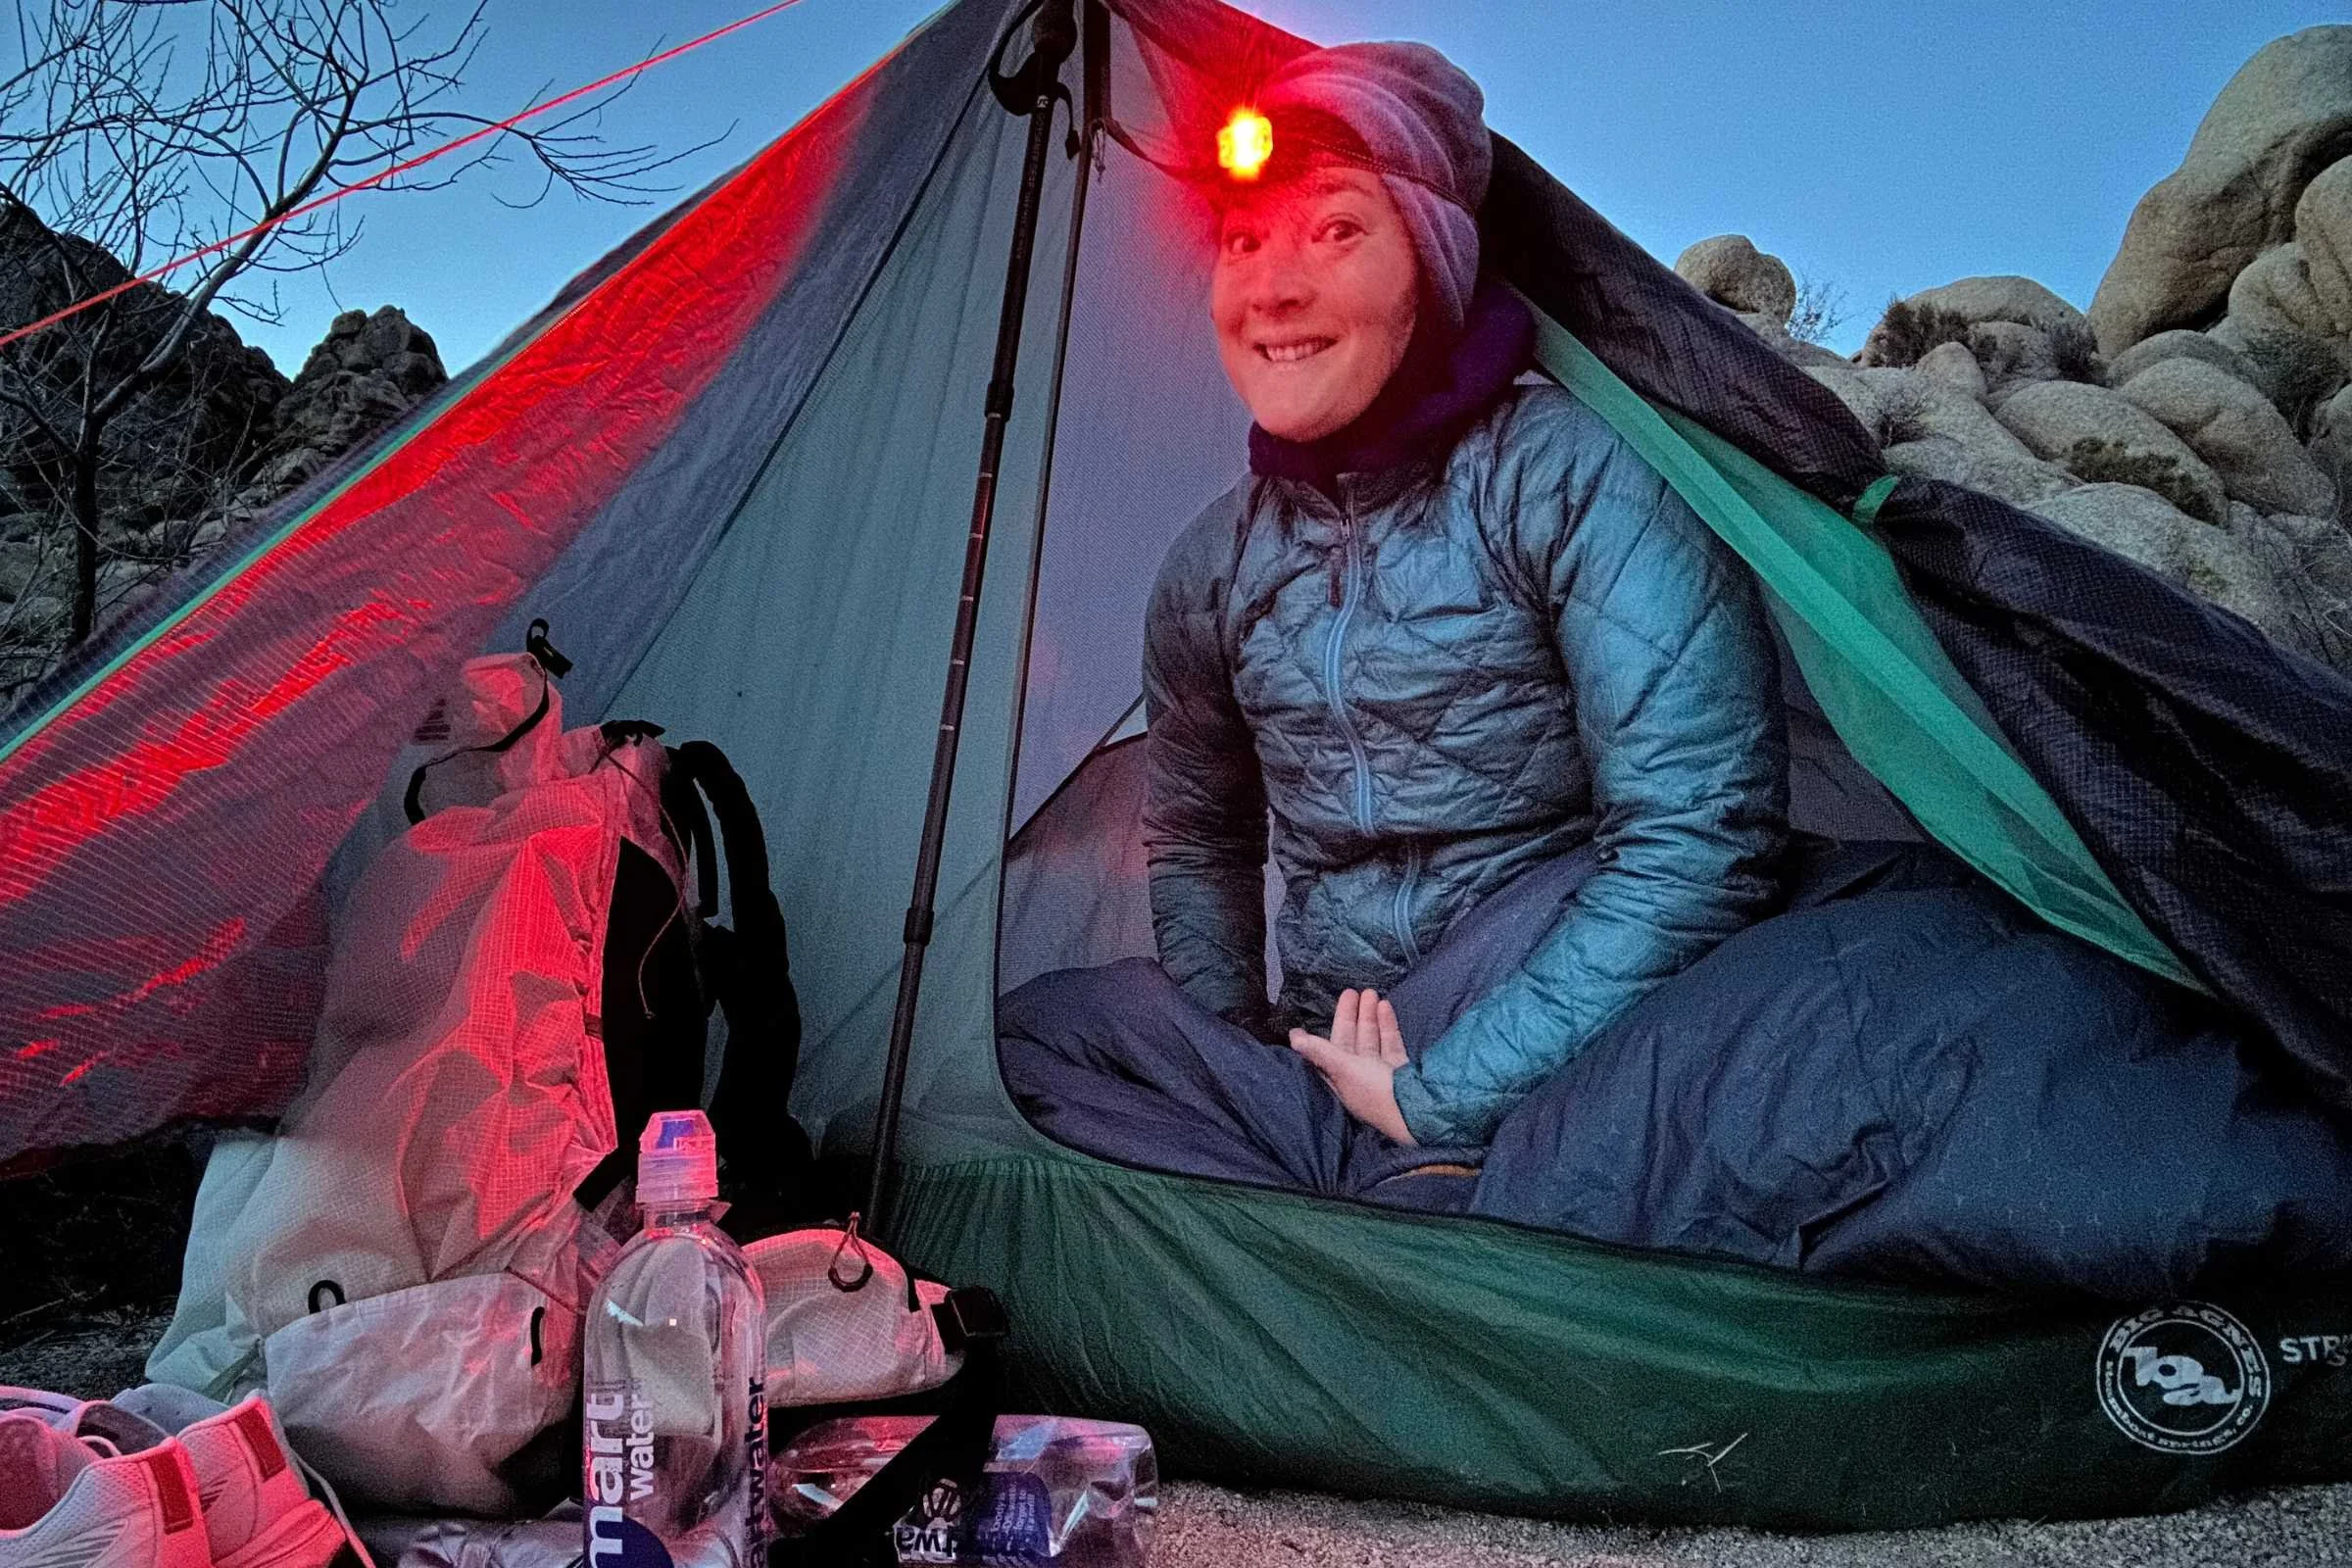
Since I most recently hiked this trail in February, it got dark early. Although I didn't do any night hiking, a bright headlamp was nice for setting up my tent in the dark. I most recently used the Nitecore UL25 MCT headlamp and appreciated the long battery life, ability to choose a less harsh white light, and the red light mode for reading in camp.
If you were to backpack this trail during a warmer season, it might be nice to do some night hiking to escape the heat. See our recommendations in our Best Headlamps guide.
Potty trowel and toilet kit
There are no backcountry toilets or outhouses along the trail, so be sure to bring a Backcountry Potty Trowel. Pack out all toilet paper as it will not biodegrade in the high desert. As an alternative, consider carrying a Backcountry Bidet to avoid the need for toilet paper.
What to wear
Hiking shoes or boots
I found trail running shoes provided the support and stability needed for this backpacking trip. See our Best Women’s Trail Running Shoes and Best Men’s Trail Running Shoes guides for our top picks.
If you’d feel more comfortable in boots, check out our Best Men’s Hiking Boots, Best Women’s Hiking Boots, or Best Lightweight Hiking Boots guides
A nice footwear compromise for this trip would’ve been hiking shoes, which are designed to feel like a trail runner but have stability more like a boot. For more, see our Best Hiking Shoes guides (men’s and women’s) for footwear that is more durable and stable than trail runners.
Sun shirt
No matter what time of year you hike this trip, you should wear a sun shirt to protect yourself from the intense sun ray exposure. The Boy Scout Trail and Joshua Tree NP, in general, are very exposed.
Pretty much everyone we saw from day hikers to backpackers were wearing sun shirts. You're at elevation and there is little shade.
See our guide to the Best Sun Shirts for our recommendations.
Rain jacket
Although it doesn't often rain in Joshua Tree, when it does—it really pours. Do not do this trail without rain gear, even if the weather forecast looks good. One good option is the lightweight jacket in our Best Rain Jackets guide.
Down or synthetic jacket
The desert can easily be 40 degrees cooler at night than during the day. So even if your temperatures look warm during the day, bring a good insulated jacket for time in camp and early in the morning. See our recommendations in our Best Synthetic Jackets article. If you prefer down for its better warmth-to-weight ratio, check out our Best Down Jackets guide, which should be a good option under most weather conditions. On my most recent trip, I opted for a fleece instead of a down jacket due to the predicted warm weather.
Fleece or Midlayer
If you visit this trail in spring or fall, you may be able to get away with a fleece jacket or midlayer instead of a puffy jacket. Or, if you visit during a cold snap, you may want to bring a puffy jacket and a fleece and may find yourself hiking in the fleece for part of the day.
See our best fleece jackets guide or best midlayers guide for options we recommend.
Hiking Pants
There are many spiky plants in the desert and significant sun exposure, and pants offer extra protection compared to shorts. See our guides to the Best Women's Hiking Pants and Best Men's Hiking Pants for more recommendations. Some hikers may prefer Hiking Tights. However, on this trail, be aware of spiky plants.
Hiking Skirt
I typically hike in a hiking skirt because of the ease of taking base layer bottoms on and off during the day as the temperature changes.
Hiking Shorts
If you're hiking during the warmer months, you may consider hiking shorts. See our Best Men's Trail Running Shorts guide and Best Women's Trail Running Shorts guide for the most minimalist recommendations. Otherwise, for a more durable pair, see our Best Men's Hiking Shorts guide or Best Thru-hiking Shorts guide.
Base layer
Although we wore our sun shirts as our against-the-skin layer, we also had base layers for sleeping at night because the desert night was so cold. For more recommendations, see our Best Base Layers guide.
Baselayer Bottoms
I slept in base layer bottoms at night and they were really appreciated in the morning. See our Best Women's Baselayer Bottoms and Best Men's Long Underwear guides for our suggestions.
Windbreaker
If there is one layer I was super happy to have on the Boy Scout Trail it was a windbreaker, specifically the Arc'teryx Squamish. The trail gets quite windy, especially at dusk when I was setting up my tent. See our Best Men's Windbreakers and Best Women's Windbreakers guides for our recommendations.
Hiking Socks
Desert sand and grit can quickly get into your socks and shoes, so having a tightly woven, well-fitting hiking sock is essential. Additionally, during warmer days, feet can get sweaty, so a good hiking sock wicks away moisture and helps prevent blisters.
Check our Best Hiking Socks guide for more recommendations.
Hiking Gaiters
When I stopped to take a break, I dumped a lot of sand out of my shoes. This trail can get sandy, especially in the washes. This is a good trail to wear a pair of summerweight, lightweight gaiters. See our best hiking gaiters guide for more recommendations.
Warm hat
Again, the desert is cold at night. Bring a warm hat for use during the day and sleeping at night.
Sun hat
The sun exposure is intense in Joshua Tree National Park. There is almost no shade. Check out our Best Sun Hats guide or Best Running Hats guides for more recommendations.
Gloves or mittens
Because I backpacked this trail during the winter, I was happy to have gloves and mittens. See our Best Winter Gloves guide for more recommendations.
Miscellaneous Gear Items
Map and compass
First Aid Kit
Sun Protection: don't forget lip balm and sunscreen. See our guide to Best Face Sunscreen and Best Body Sunscreen and Best SPF Lipbalm for recommendations. We recommend carrying a sun umbrella for this hike as there is very little shade.
Sunglasses are essential. See our Best Running Sunglasses guide for sunglasses we like for staying on the face while moving that don't fog up from exertion.
Pocket Knife
Why you should trust us / About the author
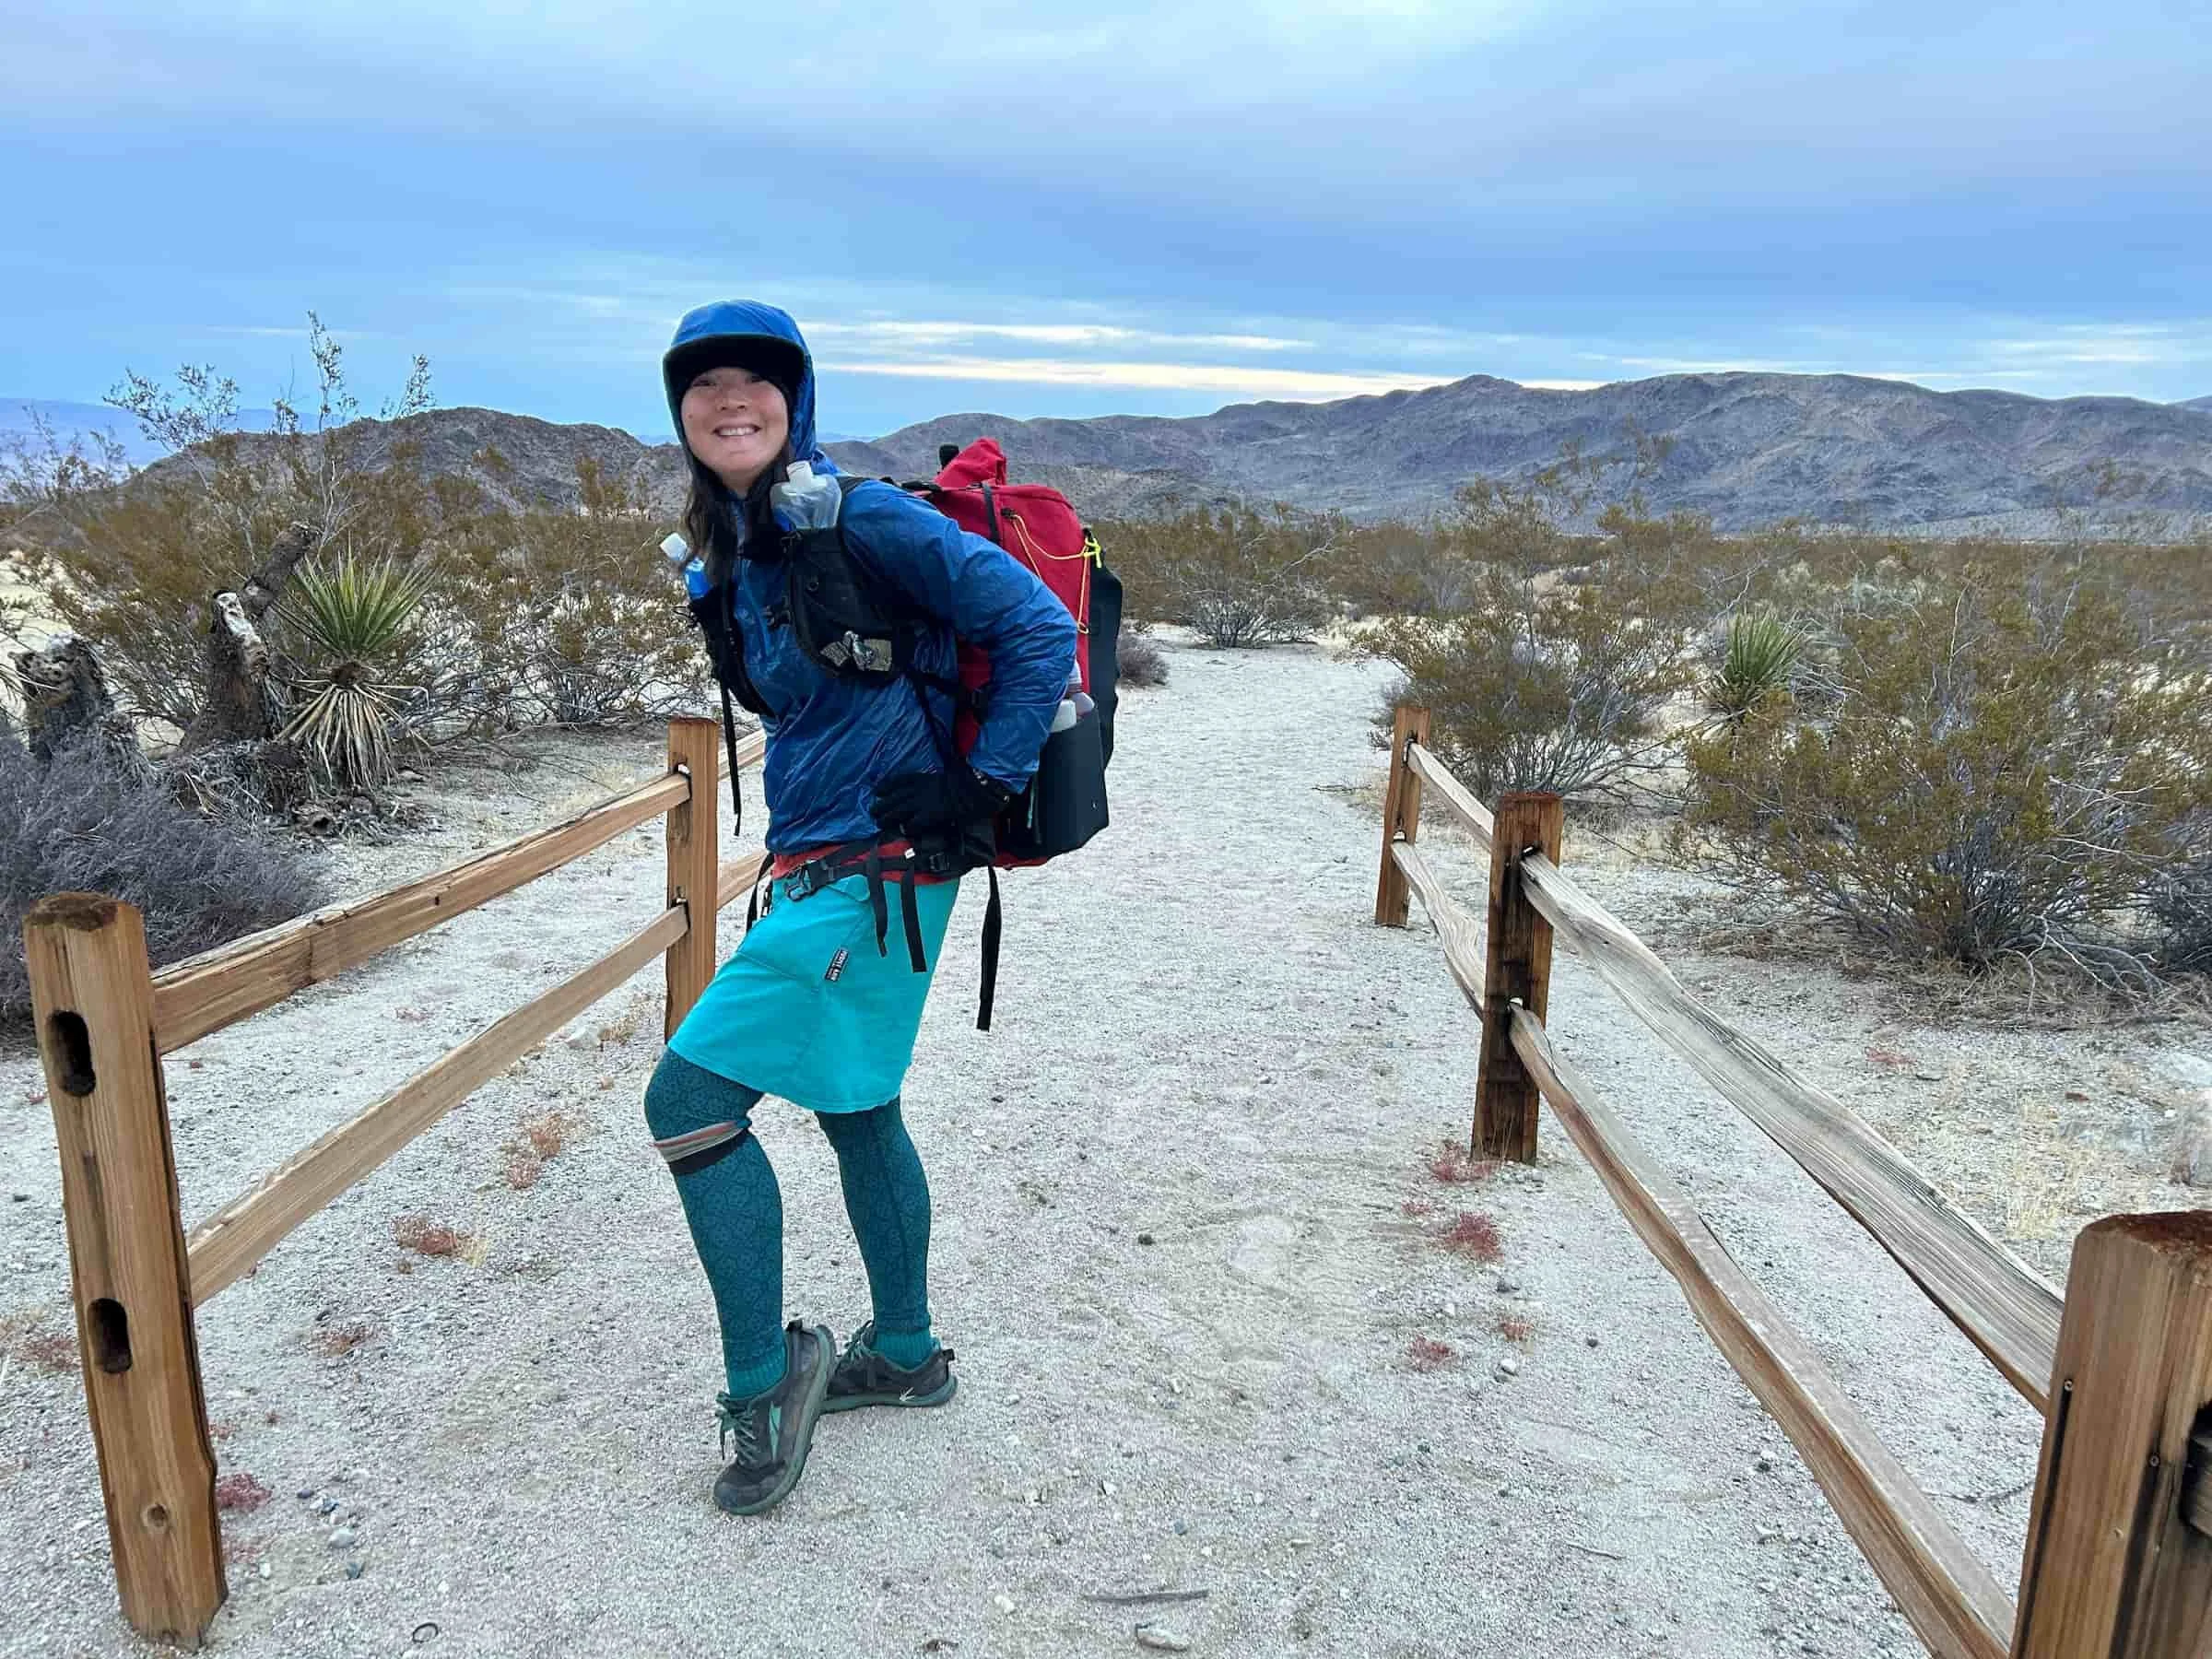
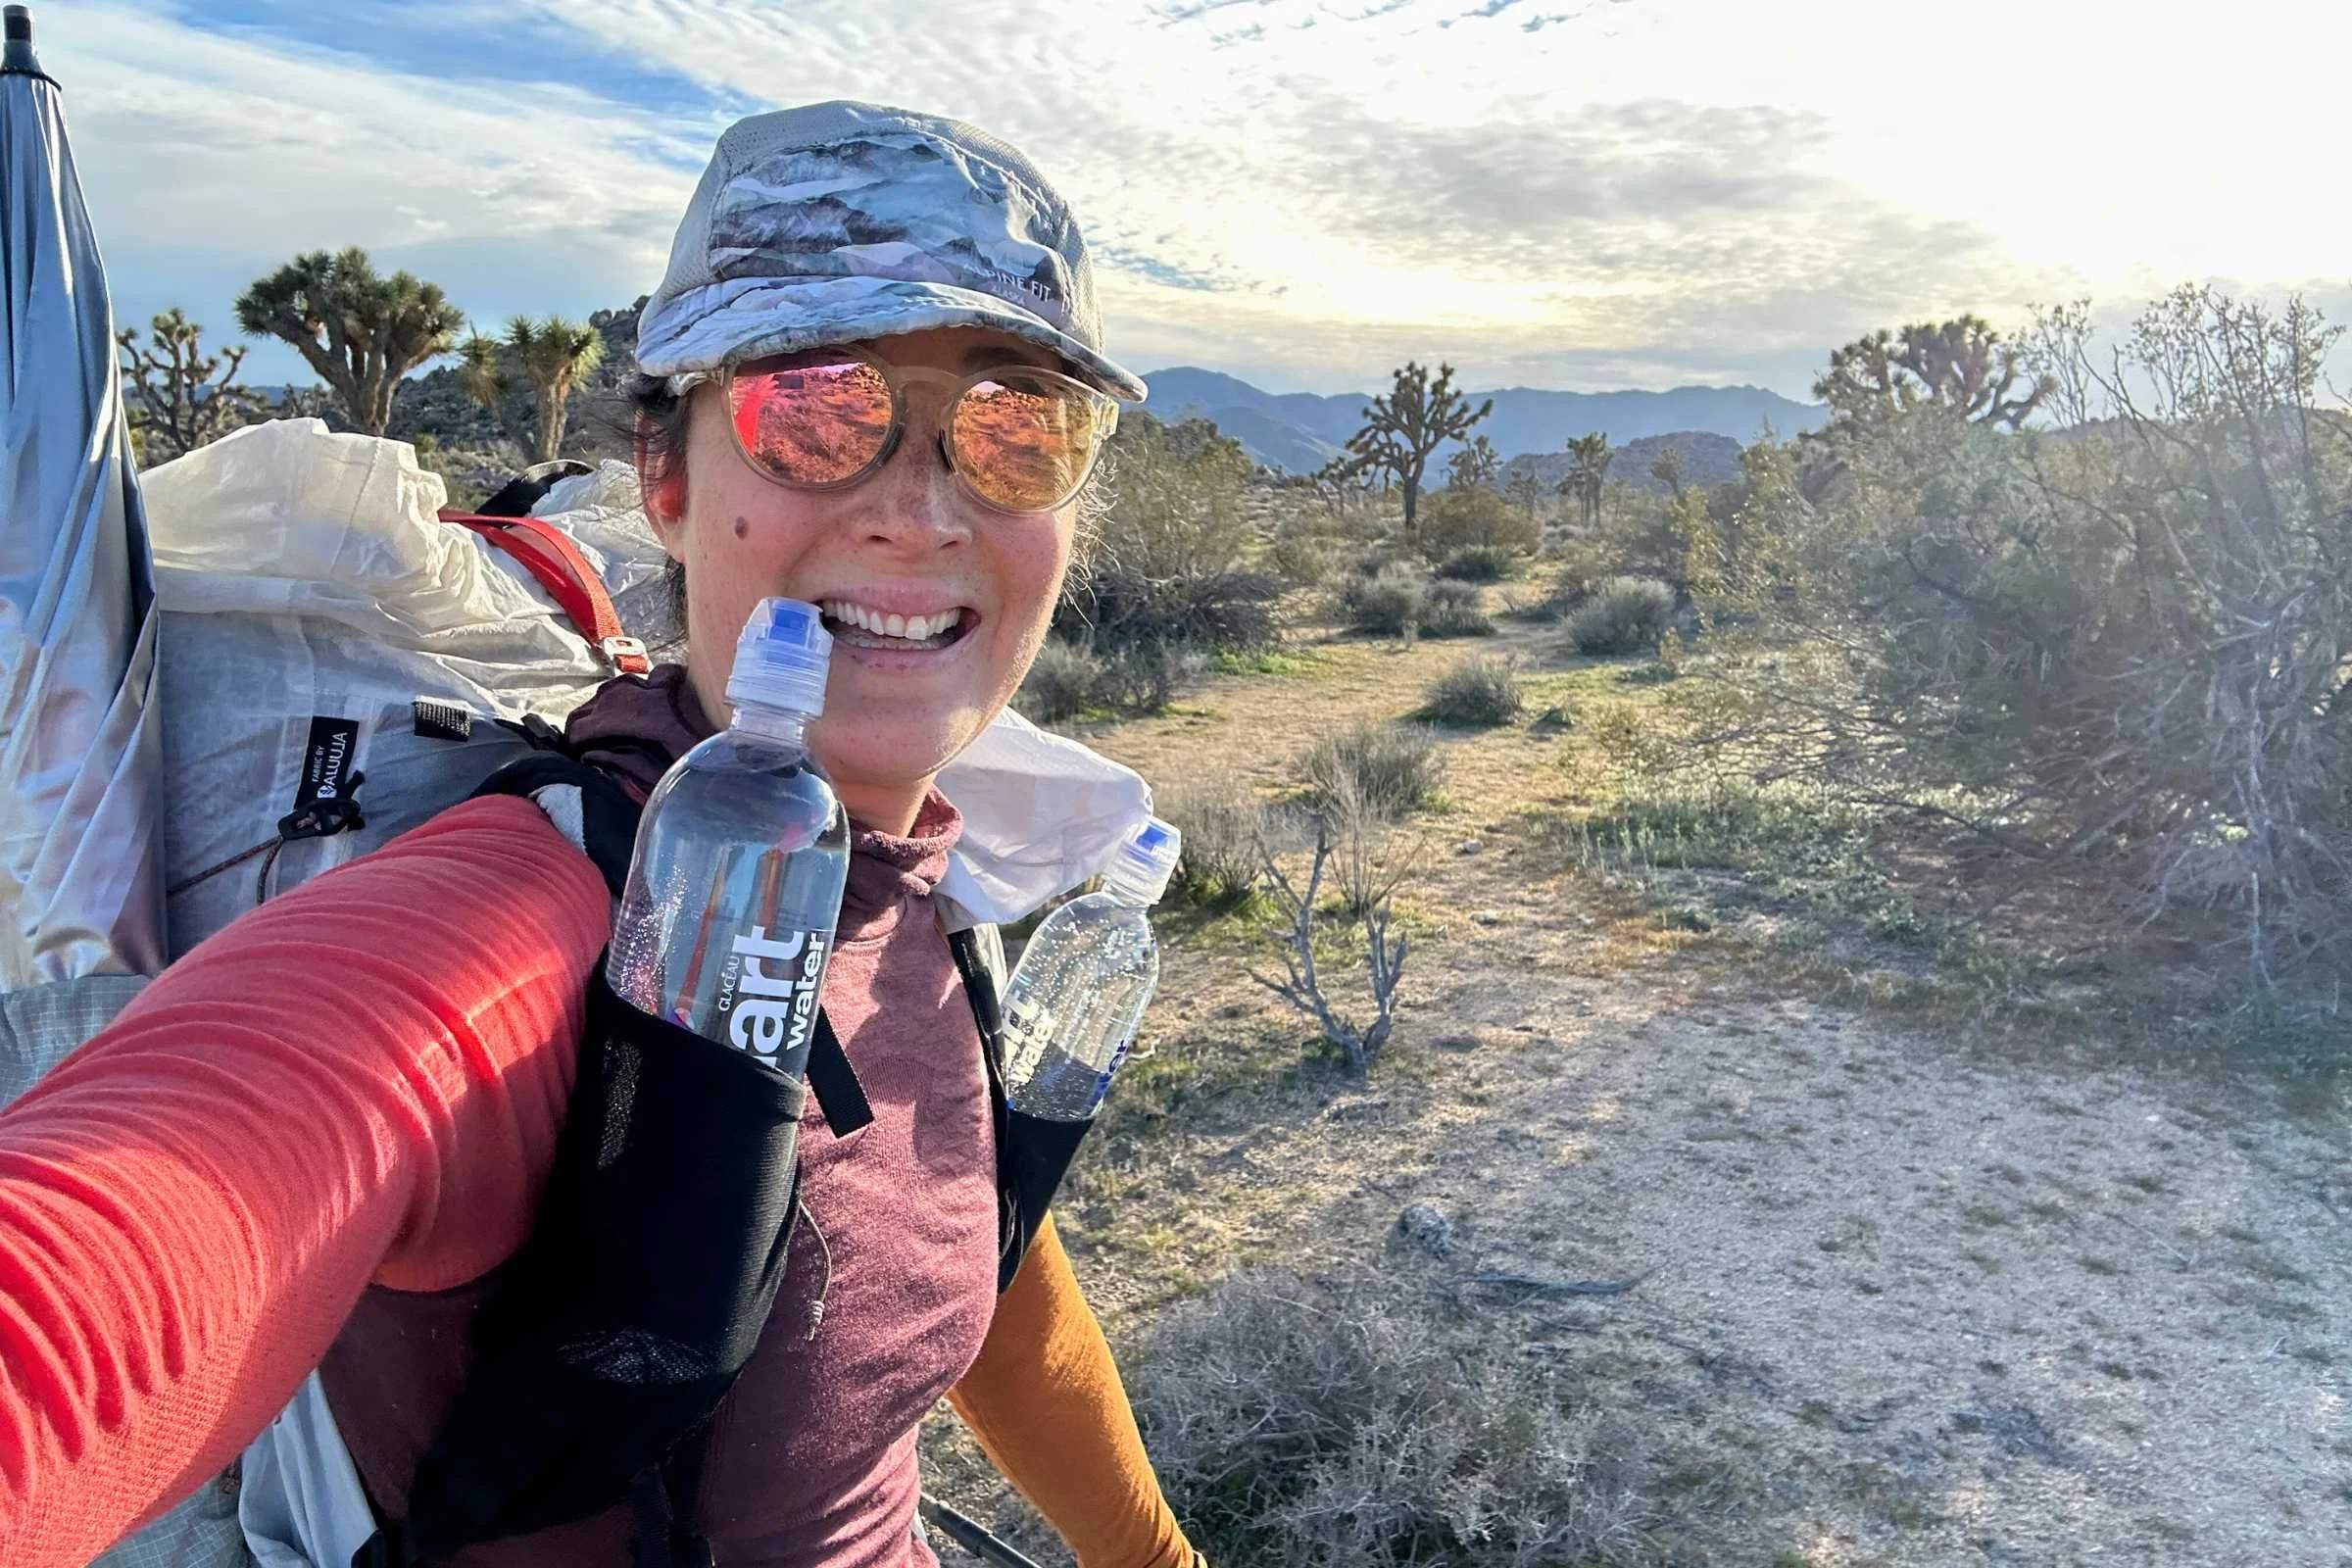
The author backpacking in Joshua Tree National Park.
Liz Thomas is an award-winning Los Angeles-based writer and Editor-in-Chief of Treeline Review. A former Fastest Known Time (FKT) record holder on the Appalachian Trail, Liz came to Treeline Review from New York Times/Wirecutter, the New York Times’ product review site, where she was a staff writer on the outdoor team.
She was a guest editor at Backpacker Magazine, where she is the columnist of “Ask a Thru-hiker” and instructor of their online class, Thru-hiking 101.
Liz has thru-hiked 20,000+ miles and her first backpacking trip ever was the Boy Scout Trail in Joshua Tree. She has since gone on to yoyo it nearly every year as one of her go-to winter backpacking trips for a quick overnighter.
Her first book is Long Trails: Mastering the Art of the Thru-hike. The book was the recipient of the National Outdoor Book Award for Best Instructional Book, and was deemed by judges as destined to become the “Bible of the Sport.”
Liz has talked gear on Good Morning America (TV), in The Wall Street Journal, The Guardian, Buzzfeed, The Washington Post, Men’s Journal, Women’s Health, Gizmodo, and Outside Magazine.
She represented the sport of hiking at President Obama’s Great American Outdoors Initiative.
Liz’s keynote speaking engagements have included colleges and universities including Yale and MIT and on Capitol Hill, the Trust for Public Land, American Hiking Society, and BikeTexas.
You can read more about Liz at her Wikipedia page and her Treeline author page!


