Tahoe Rim Trail Backpacking and Thru-hiking Guide 2026
174-mile loop hike around Lake Tahoe in the sierra for a great for thru-hike

May 3rd, 2026
Home → Trip Guides → Backpacking
Distance: 174 miles
Days: 7-14
Elevation gain/loss: 27,955 gain /27,955 loss
Best season: summer/fall
Permits: CA Campfire Permit Required to use a stove, and Permit for Desolation Wilderness if camping in that area overnight.
Difficulty: Beginner/intermediate
FarOut Guide? Yes, see interactive map
The Tahoe Rim Trail (TRT) is a 174-mile high alpine hiking and backpacking trail that circumnavigates Lake Tahoe on this loop hike. With alpine lakes, wildflowers, excellent well-marked trail, and views of Lake Tahoe nearly every day, this a good choice for first thru-hike or as a shorter thru-hike for hikers with shorter vacations
The TRT is on the border of California and Nevada, giving hikers a chance to cross state lines twice during a thru-hike of the trail.
This trail is unique since there is no set starting or ending point or direction of travel, making it a choose-your-own-adventure type of trail.
The TRT is a biologically diverse trail with many types of flora and fauna keeping even experienced birders engaged with finding new species to add to their life list.
The TRT provides year-round recreational opportunities for snowshoeing and cross country skiing too, in addition to the summer hiking season. With many trailheads and parking areas, there is an opportunity for almost everyone to experience a piece of the Tahoe Rim Trail.
This trail is on the indigenous land of the Washoe.
We create reader-supported, objective, independently-selected gear reviews. This story may contain affiliate links, which help fund our website. When you click on the links to purchase gear, we may get a commission — without costing you an extra cent. Thank you for supporting our work and mission of outdoor coverage for every body! Learn more.
Here is a quick list of the gear I brought with me on the TRT. For more on my gear selection, read below.
Gear Table
| TRT GEAR | AUTHOR'S PICK(S) | MORE OPTIONS |
|---|---|---|
| Hardgoods | ||
| Shelter | Zpacks Duplex Classic Tent | Best Backpacking Tents |
| Backpack | ULA Equipment Circuit | Best Lightweight Backpacks |
| Sleeping bag/ quilt | Zpacks Classic Sleeping Bag (20F) Western Mountaineering AstraLite Quilt (26F) |
Best Backpacking Sleeping Bags Best Backpacking Quilts |
| Sleeping pad | Therm-a-Rest NeoAir XLite NXT Sleeping Pad | Best Sleeping Pads For Backpacking |
Highlights

There are so many beautiful spots along the trail. Photo Courtesy Sara Kruglinski.
You get to see Lake Tahoe daily
Many opportunities to swim in lakes
Sweeping views from the rim
Abundant wildlife and flowers along the trail
Well-marked intersections and excellently maintained trail
Despite an abundance of wilderness areas, it is relatively close to towns for easy access to-from the trail and in case of emergency
Challenges

You can wake up with a view of Lake Tahoe every morning on the TRT if you find the right camp spots. Photo Courtesy Sara Kruglinski.
Some areas tend to draw crowds, especially on a weekend or during high season
There may be stretches of trail without water depending on the season.
You need a permit to stay overnight in Desolation Wilderness.
Camping in Lake Tahoe Nevada State Park is restricted to three campsites: Marlette Peak, Hobart, and North Canyon Campground.
Some areas of the trail have camping restrictions and need a little planning.
Best Season
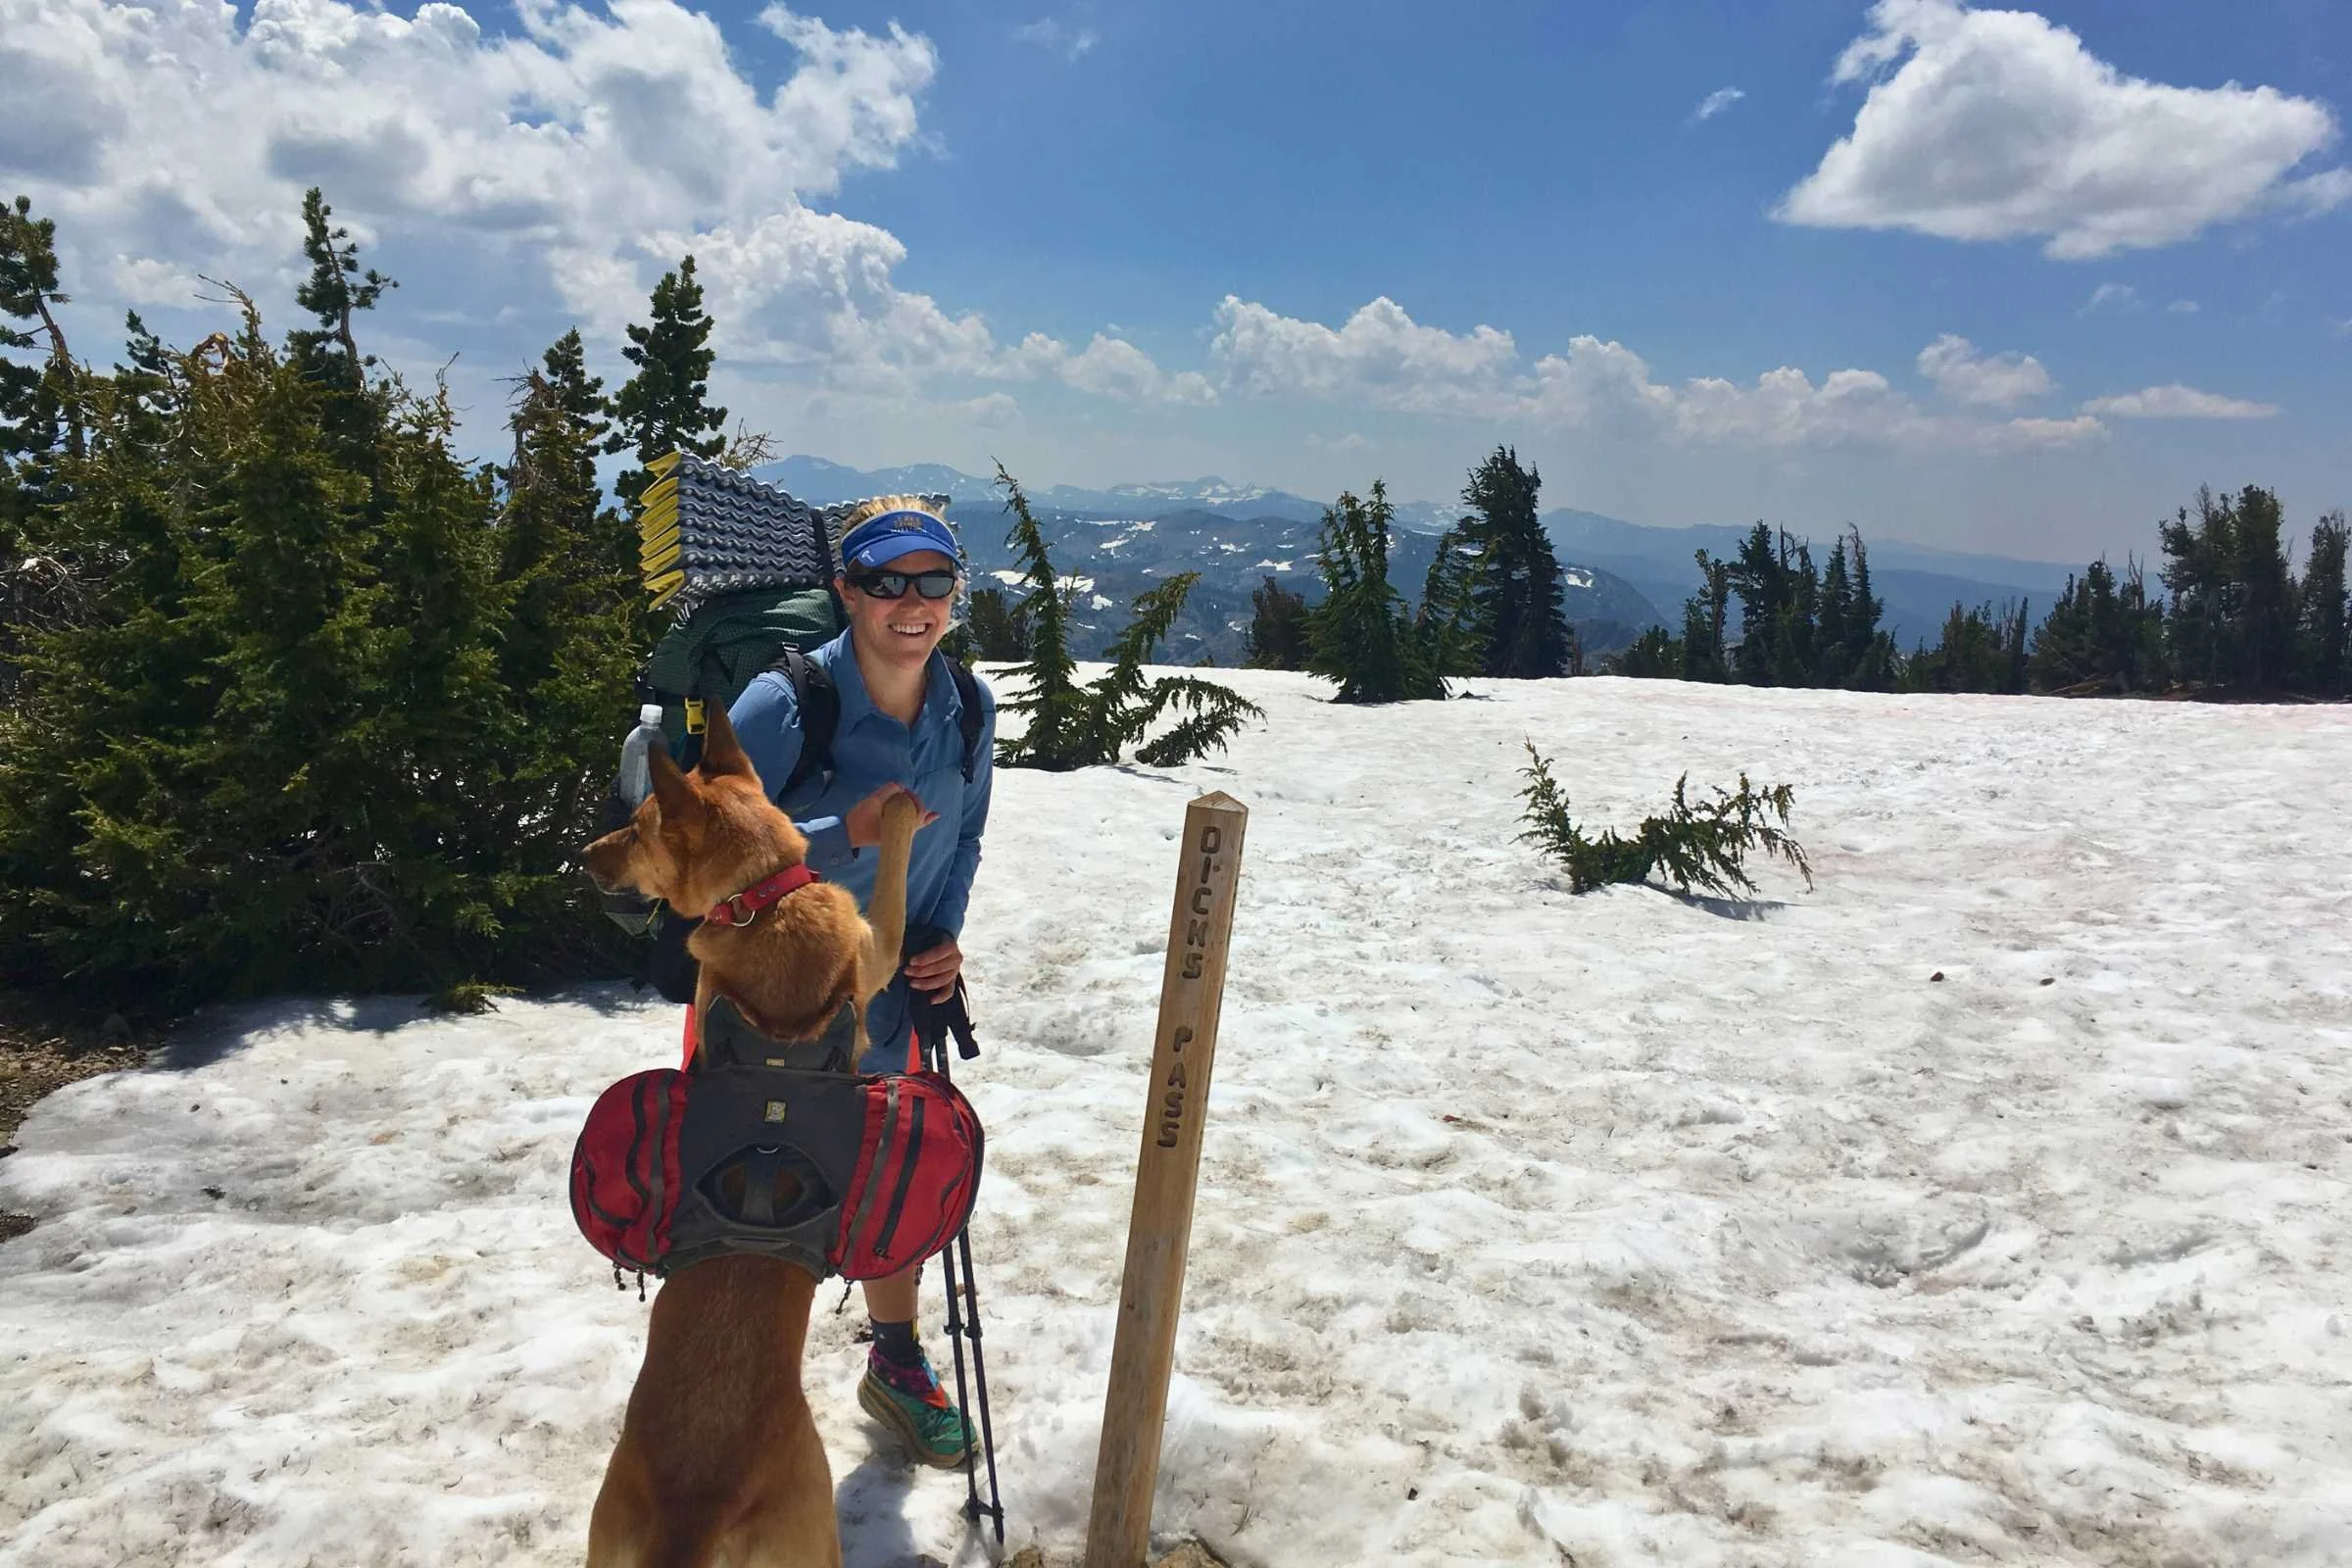
Some years Dicks Pass has snow on it even into late August. Photo courtesy Sara Kruglinski.
The Lake Tahoe Region receives a lot of snow in winter months—depending on the previous winter season there may be snow covering the trail in June. July, August, and September are usually good months for mostly snow-free hiking and warmer nights. Earlier in June and early July will likely have more mosquitoes and later in the summer in September may have fewer water sources as seasonal flows will dry up.
The best time to go is usually sometime in July for the fewest mosquitoes and the most flowing water. If you are looking for a more solitary experience, September is a great month to hike the trail, as there will be fewer hikers on the trail and no mosquitoes, though water may be a little more challenging.
Difficulty and Skills
The trail is very well marked with clear signage in all junctions and trailheads. Photo courtesy Sara Kruglinski.
Navigation
You can spot blazes frequently along the trail—they are at every trailhead and intersection and in other tricky areas as well. It is very easy to follow the trail, as it is very well-marked and has lots of signs along the way.
FarOut has a downloadable map for the Tahoe Rim Trail for a fee and CalTopo also has the Tahoe Rim Trail marked on their maps. You will likely pass multiple signs in a day making it very easy to navigate without having to rely on apps if you choose.
Rough Terrain/Scrambling/Rock Climbing
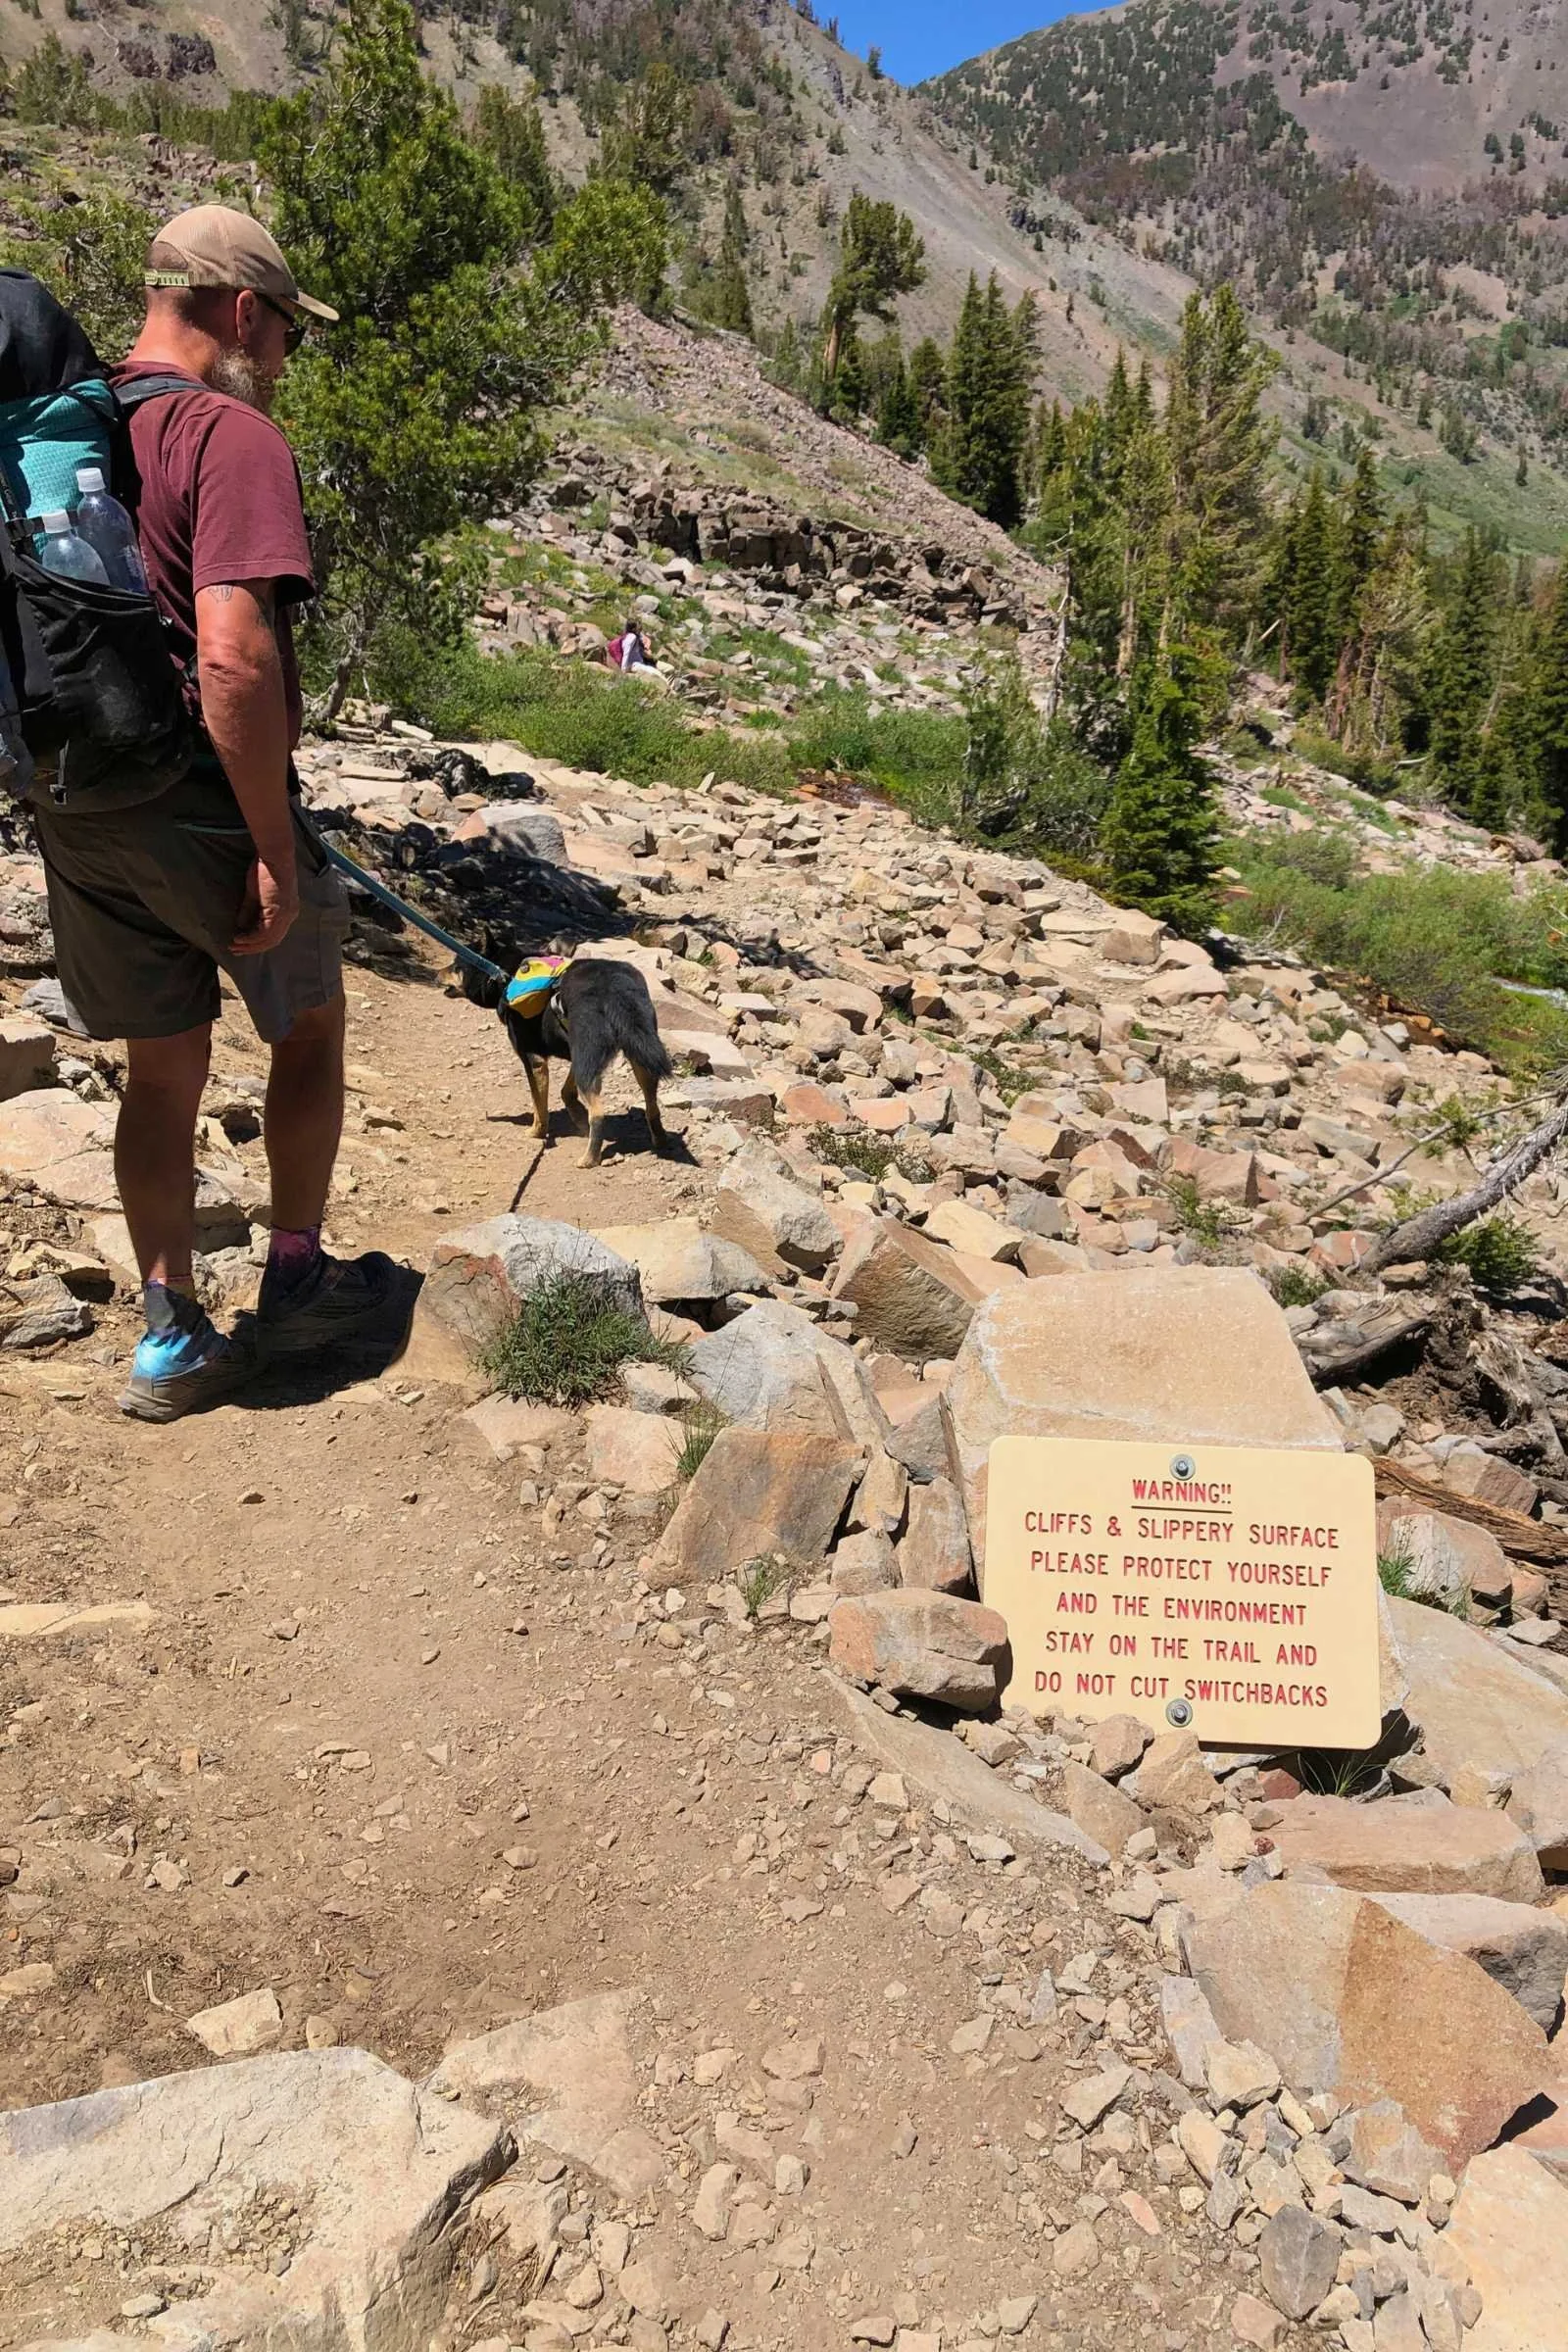
The early season will likely require some water crossings of seasonal streams. These are frequently less than a foot deep but are often hard to avoid without getting wet. Most of the trail is hard-packed dirt and gravel but there are a few sections with loose shale rock as you approach Relay Peak in the Mt. Rose Wilderness area.
There is also a section between Echo Lakes and Showers Lake with large granite stairs that are challenging for shorter hikers; as a 5’ 3” hiker this is my biggest struggle along the trail.
Elevation Gain/Elevation Loss
The total elevation gain and loss for this trail is listed at 27, 955 feet on FarOut. If you do the full loop you will end up where you started so the elevation gain and loss will be the same. We found most of the elevation gains to be rolling–you go up and down all day long.
There are a few larger climbs which feel steeper depending on when you reach them. For most hikers, Dicks Pass in Desolation Wilderness which always comes to mind as the “steepest” climb on the trail. As you hike the TRT it is nice to remember that every step you take going up is also one you get to take going down someplace else. I think that helps it to feel less steep or daunting.
The second place that feels very steep are the granite “steps” between Showers Lake and Echo Summit. If you hike clockwise you descend the steps, which might be easier for shorter hikers.
Most of the larger road crossings are lower in elevation to the trail so you travel down to the roads and back up to the rim. These can feel steeper if you have just filled your pack with food and water, but usually the excitement of being on the trail powers you up to the top before you realize you are climbing something steep.
Permits

Heather Lake is a beautiful spot along the TRT in Desolation Wilderness. Photo courtesy Sara Kruglinski.
Unless you can hike a very long day, you will need a permit for camping in the Desolation Wilderness. New for 2026, there is a 10 person per day quota system in place from the Friday before Memorial Day through September 30th of that year. If you are section hiking, you will need to obtain the Desolation Wilderness permit through Recreation.gov for the exact dates and locations that you will camp in the wilderness on your hike.
If you are thru hiking the TRT, you will need to obtain a Desolation Wilderness Thru Hiker permit through Recreation.gov. Permits are $5 per person per night, with a $6 reservation fee per group. You choose your direction of travel when you apply for the permit. The Thru hiker permit allows you to camp up to 2 nights in the wilderness, but you need to camp within 300 feet of the Tahoe Rim Trail corridor, and you are not allowed to camp at Lake Aloha. The system allows you to obtain a permit up to 6 months in advance. There is a video you can watch spelling out just how to apply for the Thru Hiking permit.
If you plan to have a stove on the TRT, you will also need to get a CA campfire permit. These are free and easy to get online by watching a video and taking a multiple choice test. Even if you don’t plan to ever have a campfire, CA requires everyone who operates a stove in the backcountry to possess a campfire permit so it is a great idea to grab one and carry it with you.
Route Summary
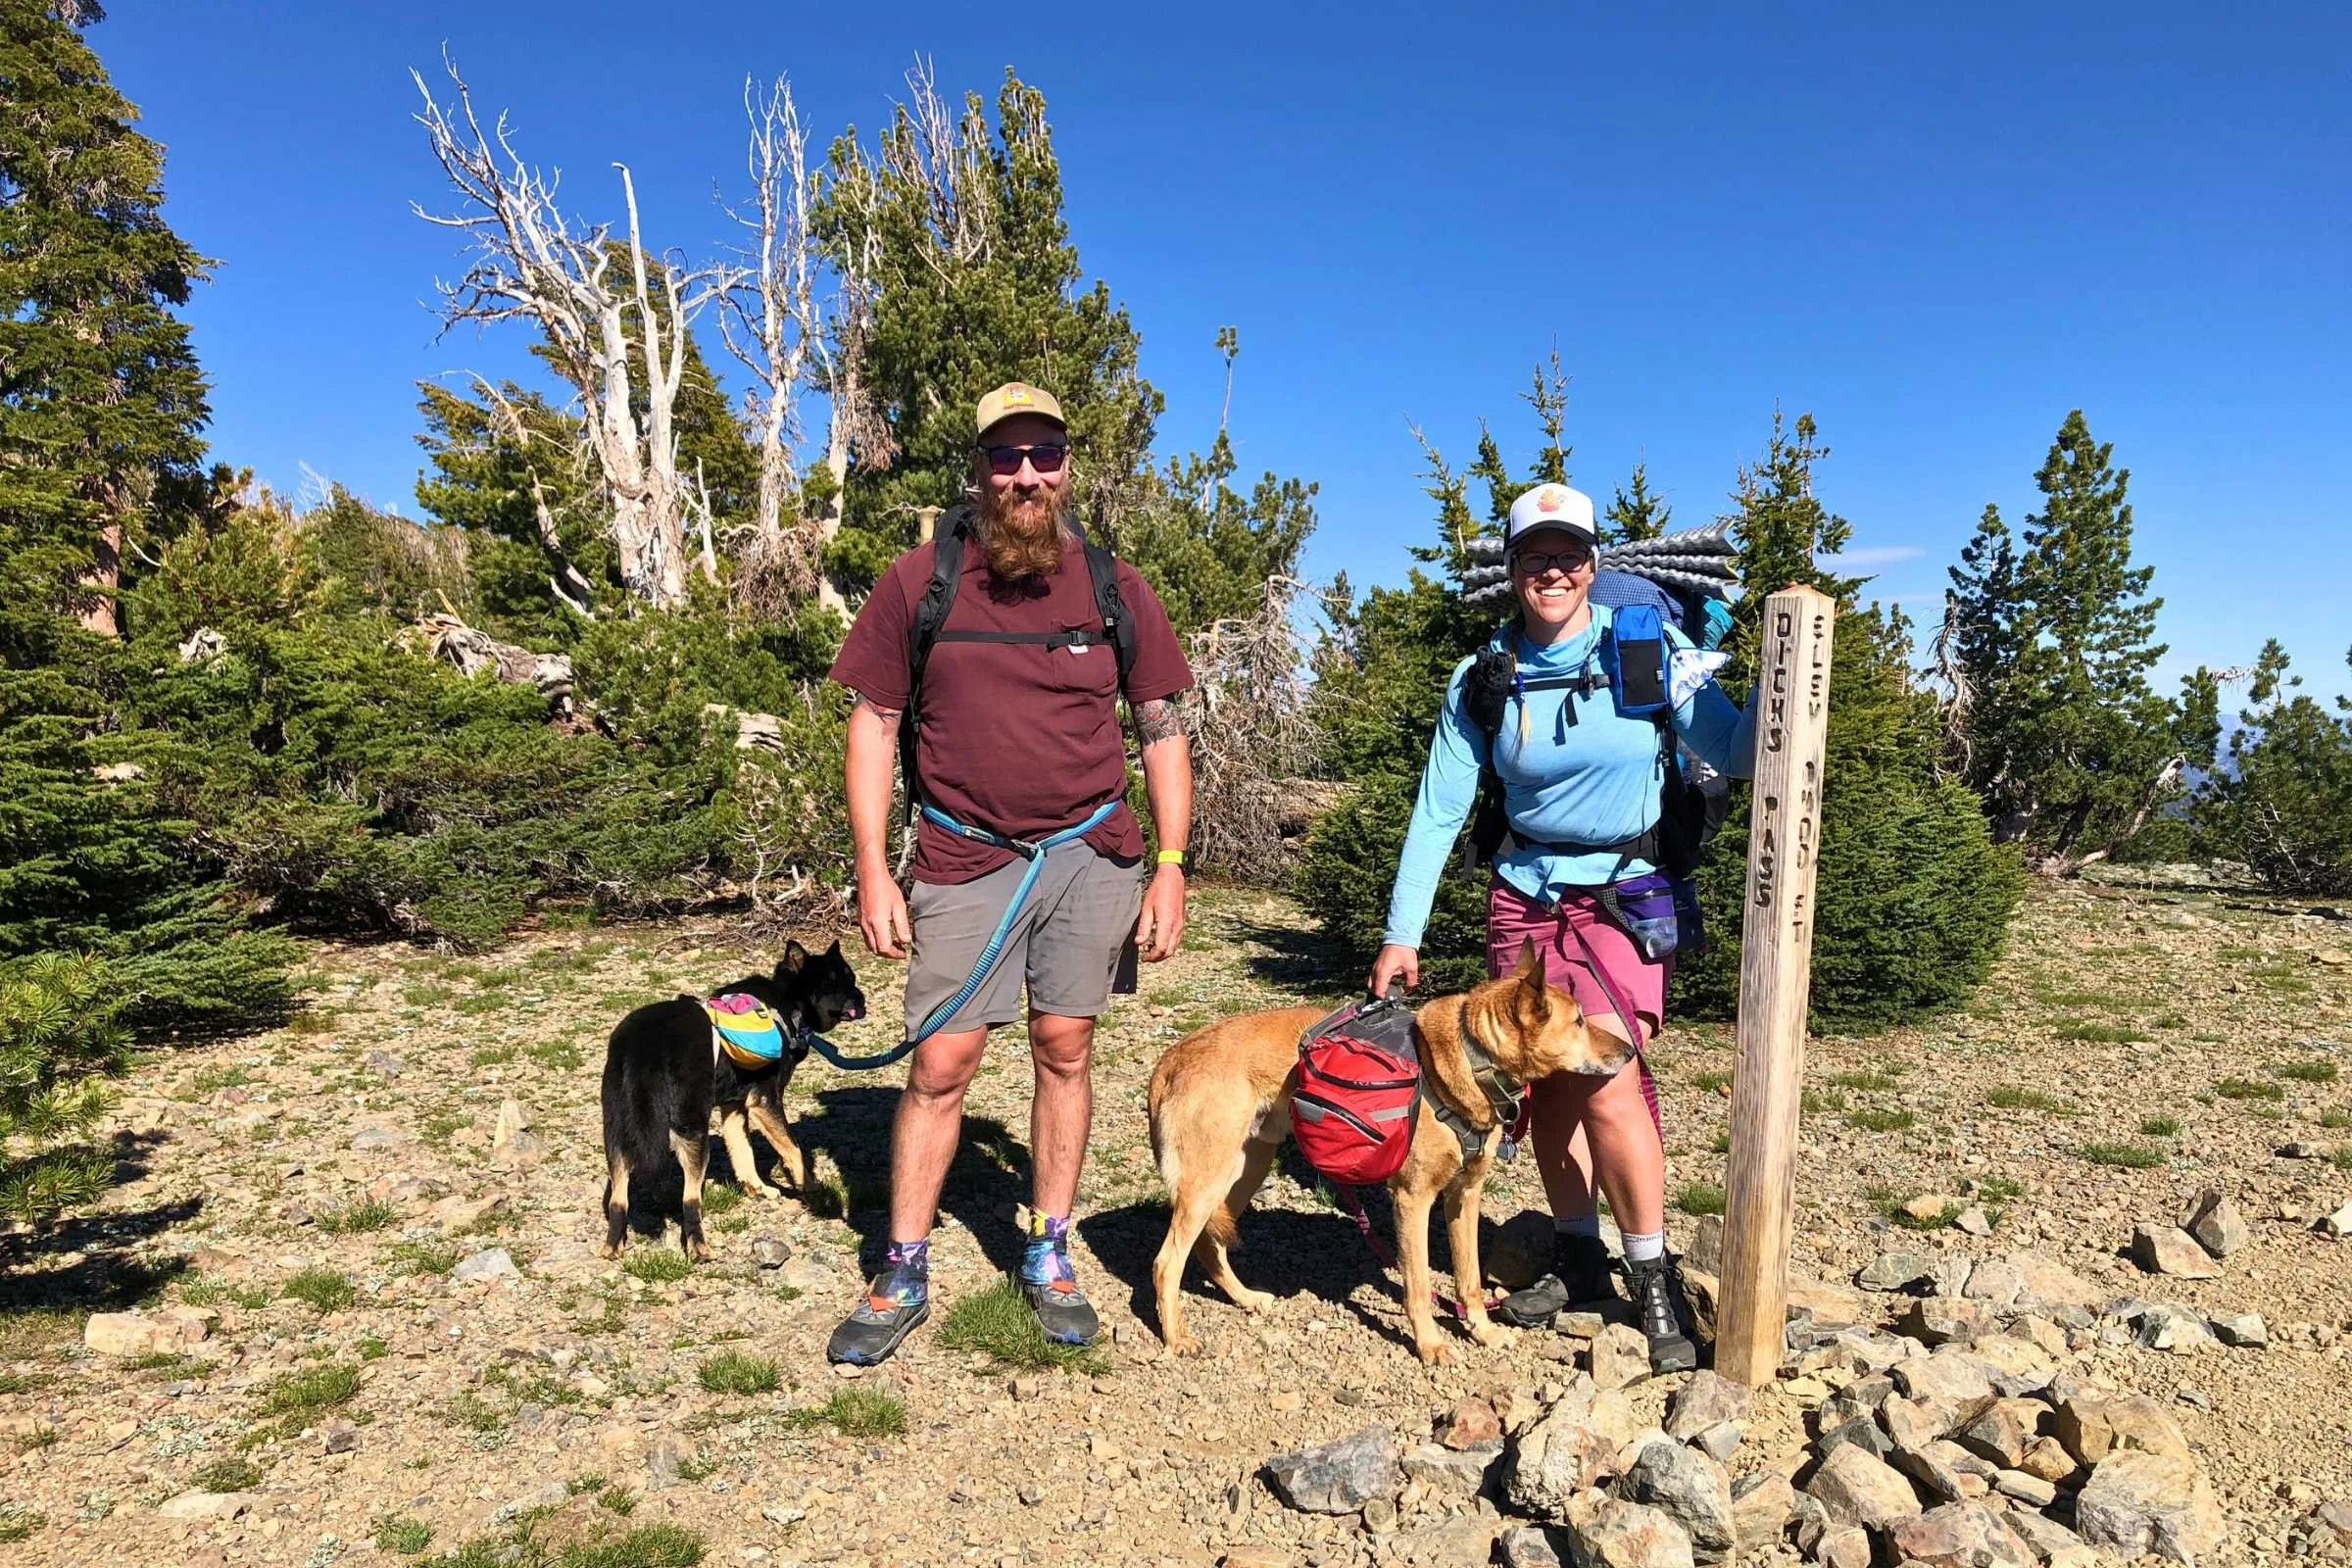
Dicks Pass is one of the steepest climbs on the TRT and worthy of a photo op. If you are lucky you can see Pika and Marmots here. Photo courtesy Sara Kruglinski.
The TRT is a loop trail with multiple trailheads to start and finish the trail. I surveyed over 20 TRT hikers and received just as many choices for starting locations and directions of travel.
The most popular choice seems to be starting at Echo Summit heading clockwise into Desolation Wilderness first. This works well if you have specific dates that you can camp in the Desolation Wilderness area, and the Echo Summit area also has a large parking lot if you need to leave your car for the duration of your hike.

Spooner Lake area is a great place for a break and to fill up on water before the drier sections. Photo courtesy Sara Kruglinski.
Another very popular option is to start at Spooner Summit going counterclockwise and camp in the Marlette Peak campsite the first night on trail, which is one of three areas you can camp in the Lake Tahoe Nevada State Park.
The last time I hiked this trail I chose to start at the Mount Rose Summit parking lot and travel clockwise,. This allowed me to camp in the Marlette Peak campsite the first night, and the trail is relatively flat starting from this trailhead which made for a more gentle start to the hike. Starting at Mount Rose allows for resupplies along the trail at Kingsbury trailheads, Echo Lake, and Tahoe City if needed.
Starting at Mt. Rose heading clockwise, your first major road crossing is Spooner Summit. There are bathrooms and running water at Spooner Lake near the trail. Hiking out from Spooner Summit you reach the rim again and have sweeping views of Lake Tahoe in one of the drier sections of the trail. You will have options to resupply if needed at Kingsbury South trailhead as you get closer to the Heavenly Ski Resort.
The trail starts to have more plentiful water sources after Kingsbury South, passing by Star Lake which is a popular camping area and a great place for a swim. If you are up for some peak bagging you can do a zero day at Star Lake and head up to Freel Peak, Jobs, and Jobs Sister, getting three peaks in one day before heading back to Star Lake for the night again.
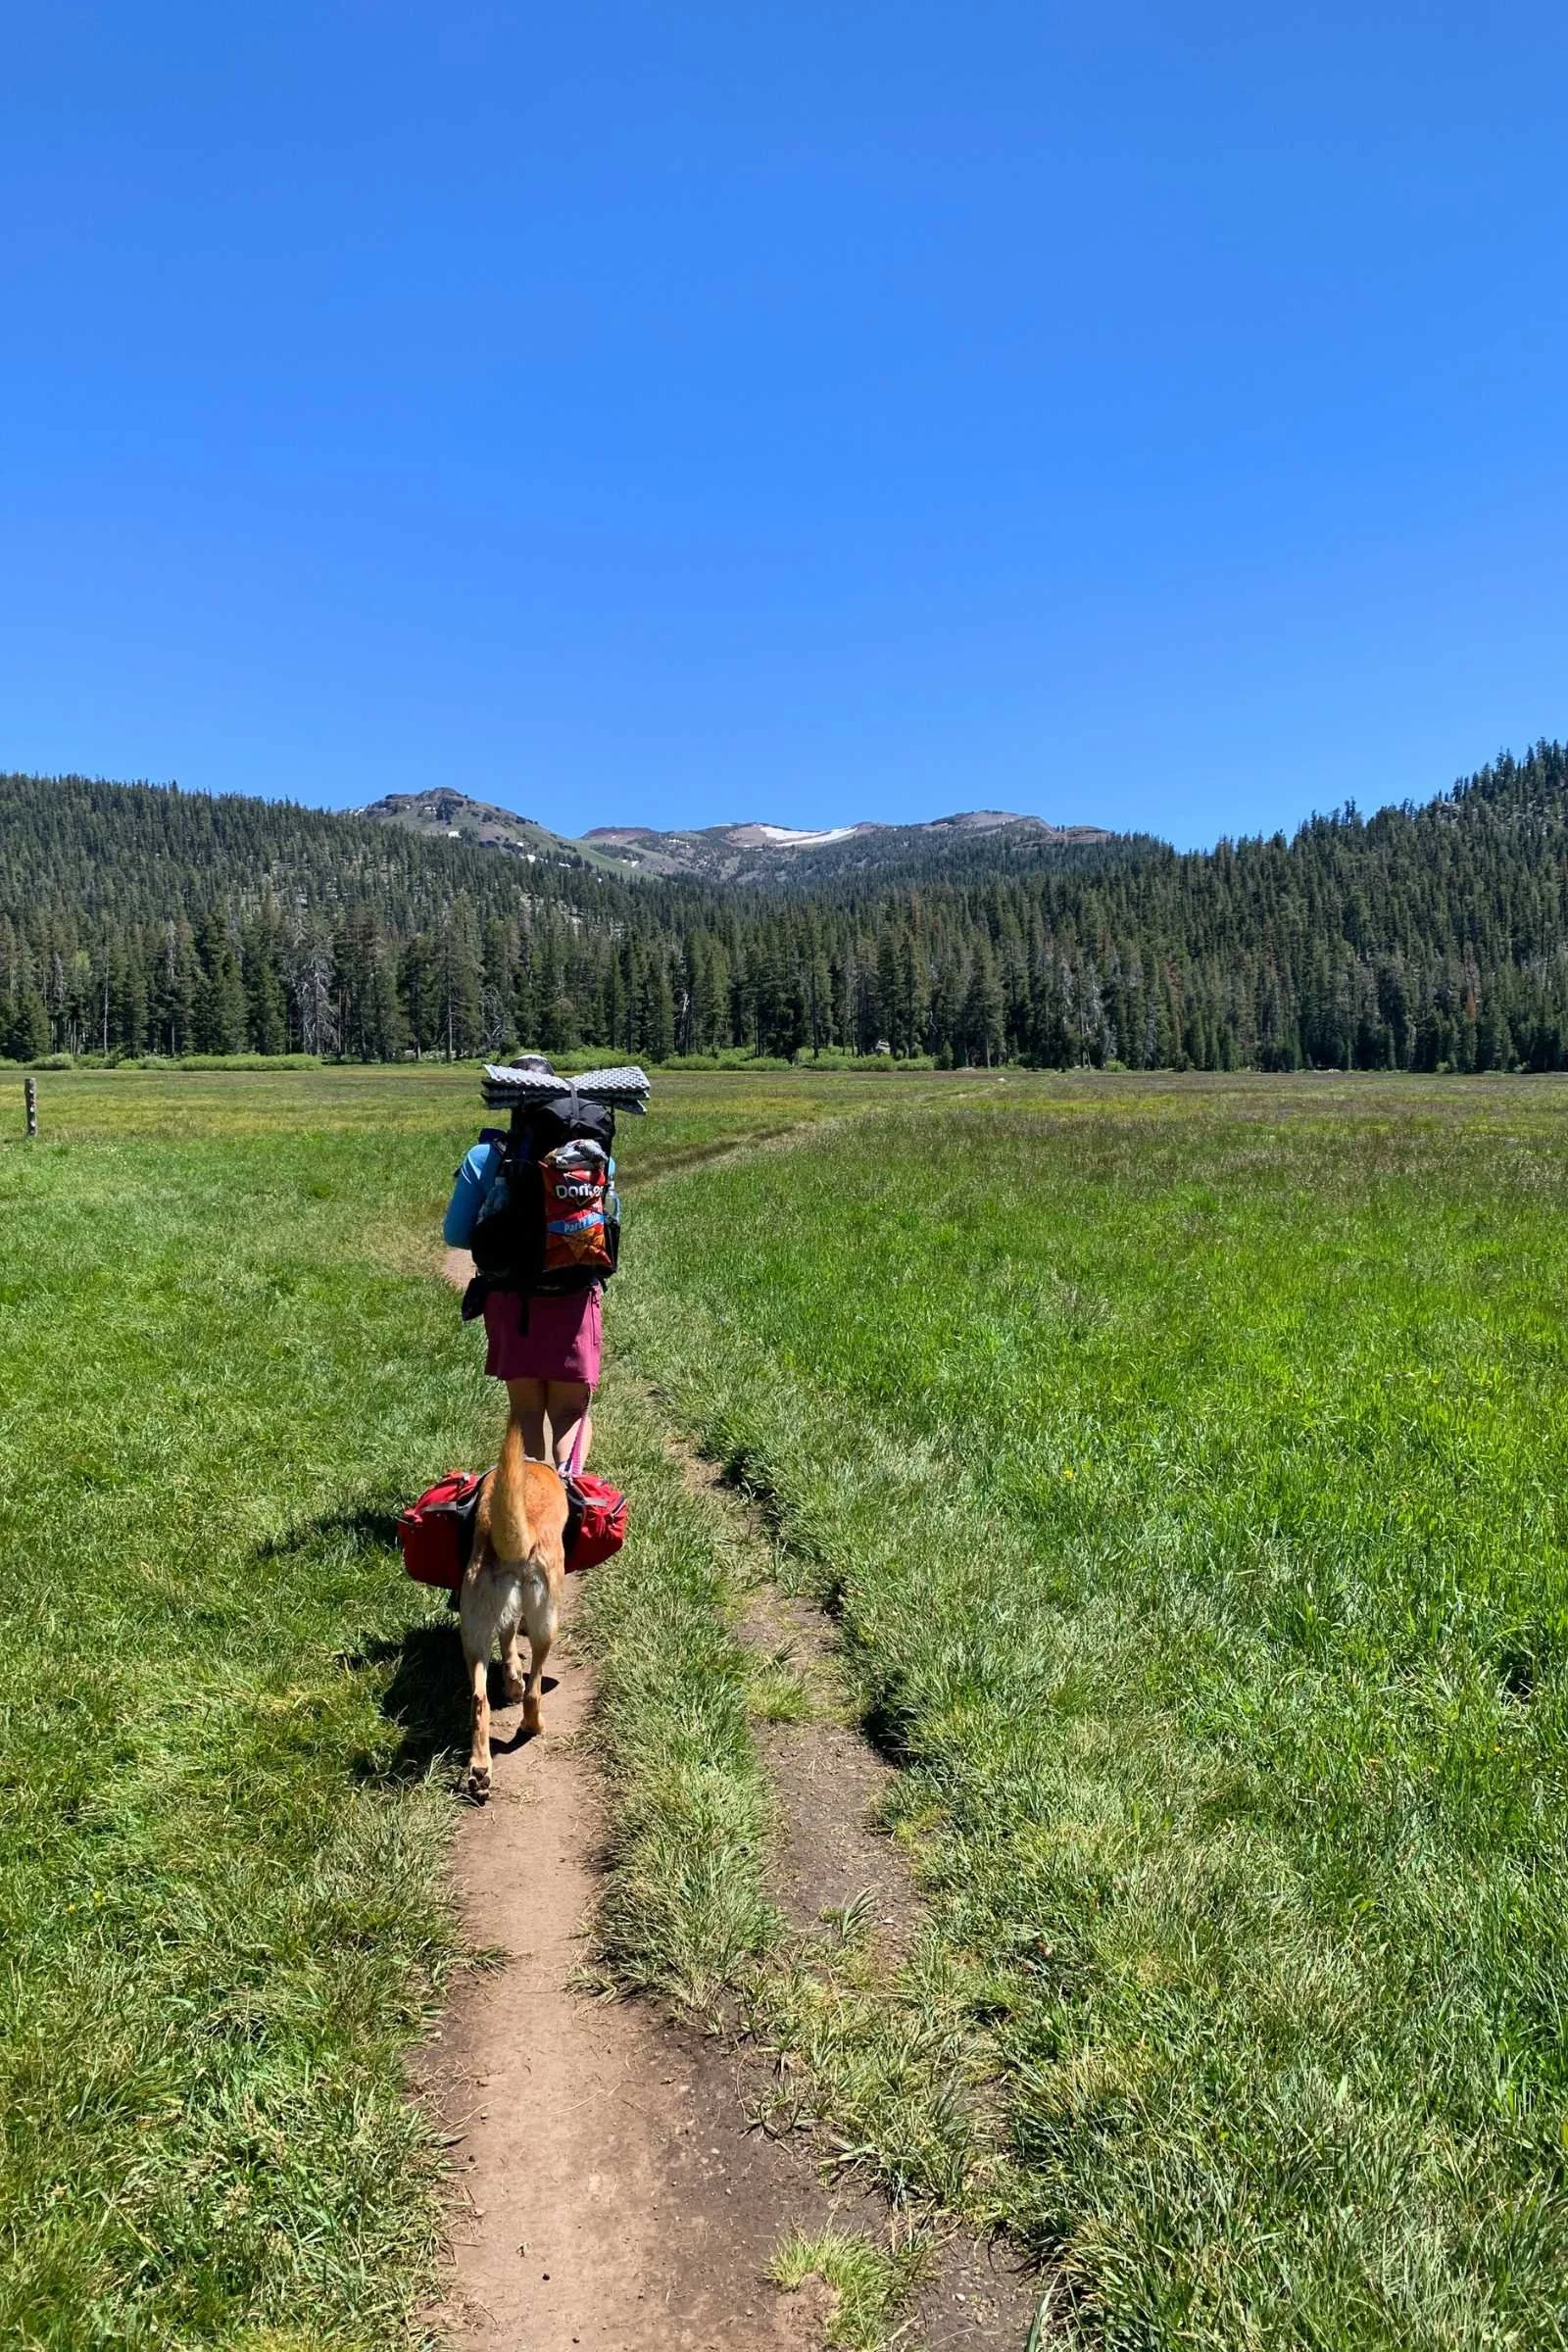
Big Meadow is a beautiful spot on the trail especially early summer while it is green. Photo courtesy Sara Kruglinski.
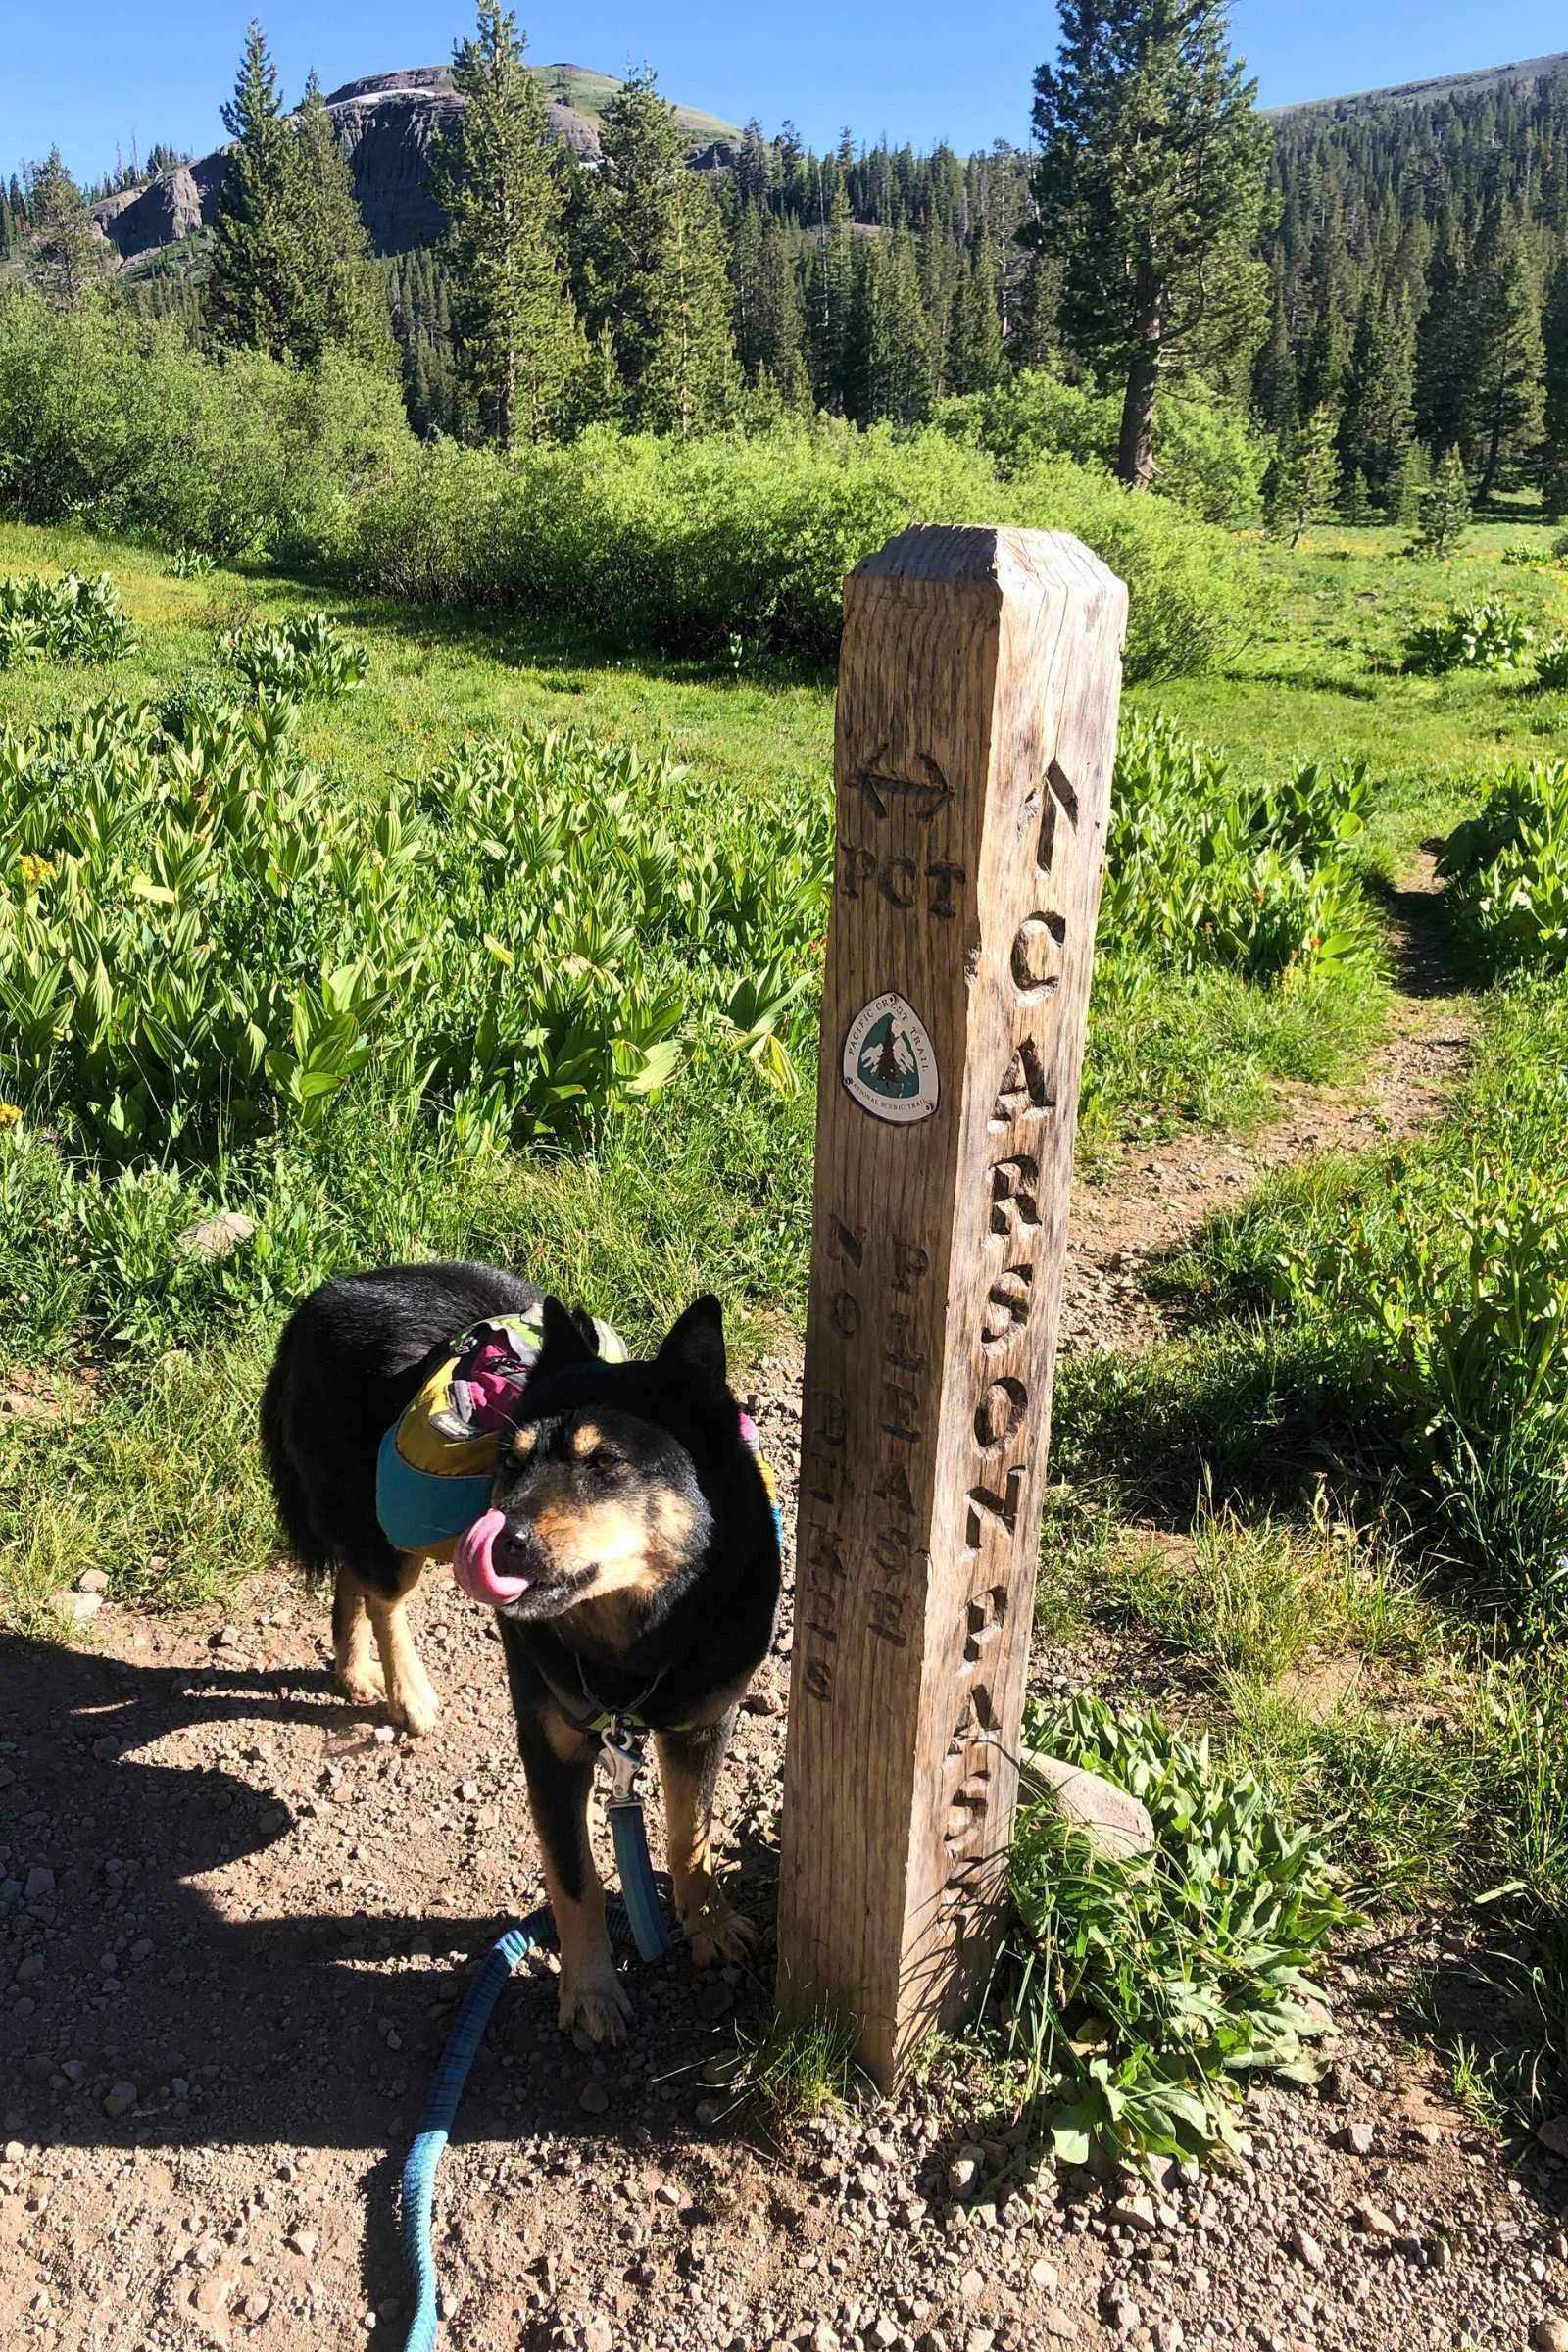
Leaving the Star Lake area you will start to see many seasonal streams as you approach Big Meadow trailhead. Big Meadow to Echo Summit has several lakes and streams and is one of my favorite sections of the trail. This is where the TRT joins the Pacific Crest Trail (PCT) and in early spring you may see PCT hikers on the trail. A swim in Showers Lake is always a treat, especially if you are preparing for the granite steps down to Echo Summit.
The Echo Summit area takes you into the Desolation Wilderness area and is the longest stretch without a road crossing. This is the wettest section of the trail and you will pass dozens of lakes with swimming options. Lake Aloha is the largest lake in Desolation Wilderness and has a granite bed with lots of rocks to swim to and stand on.

Dicks Lake in early fall is still beautiful, just not as green as in the summer. Photo courtesy Sara Kruglinski.
As you leave Desolation Wilderness you will depart from the PCT and head towards Tahoe City. Paige Meadows is a popular area for wildflowers and bird watching. Many locals like to hike that area and it can be a bit busy on weekends and evenings. Tahoe City is a nice spot if you need a hotel for the night or to grab a meal in town. There are grocery store options and gas stations for quick bites, and you will pass the transit station which has buses if you need.
After refreshing in Tahoe City you will head up towards Watson Lake. You are not allowed to camp near Watson Lake outside of the designated campground, which can get crowded on weekends, but there are camping options a few miles before and after the lake.
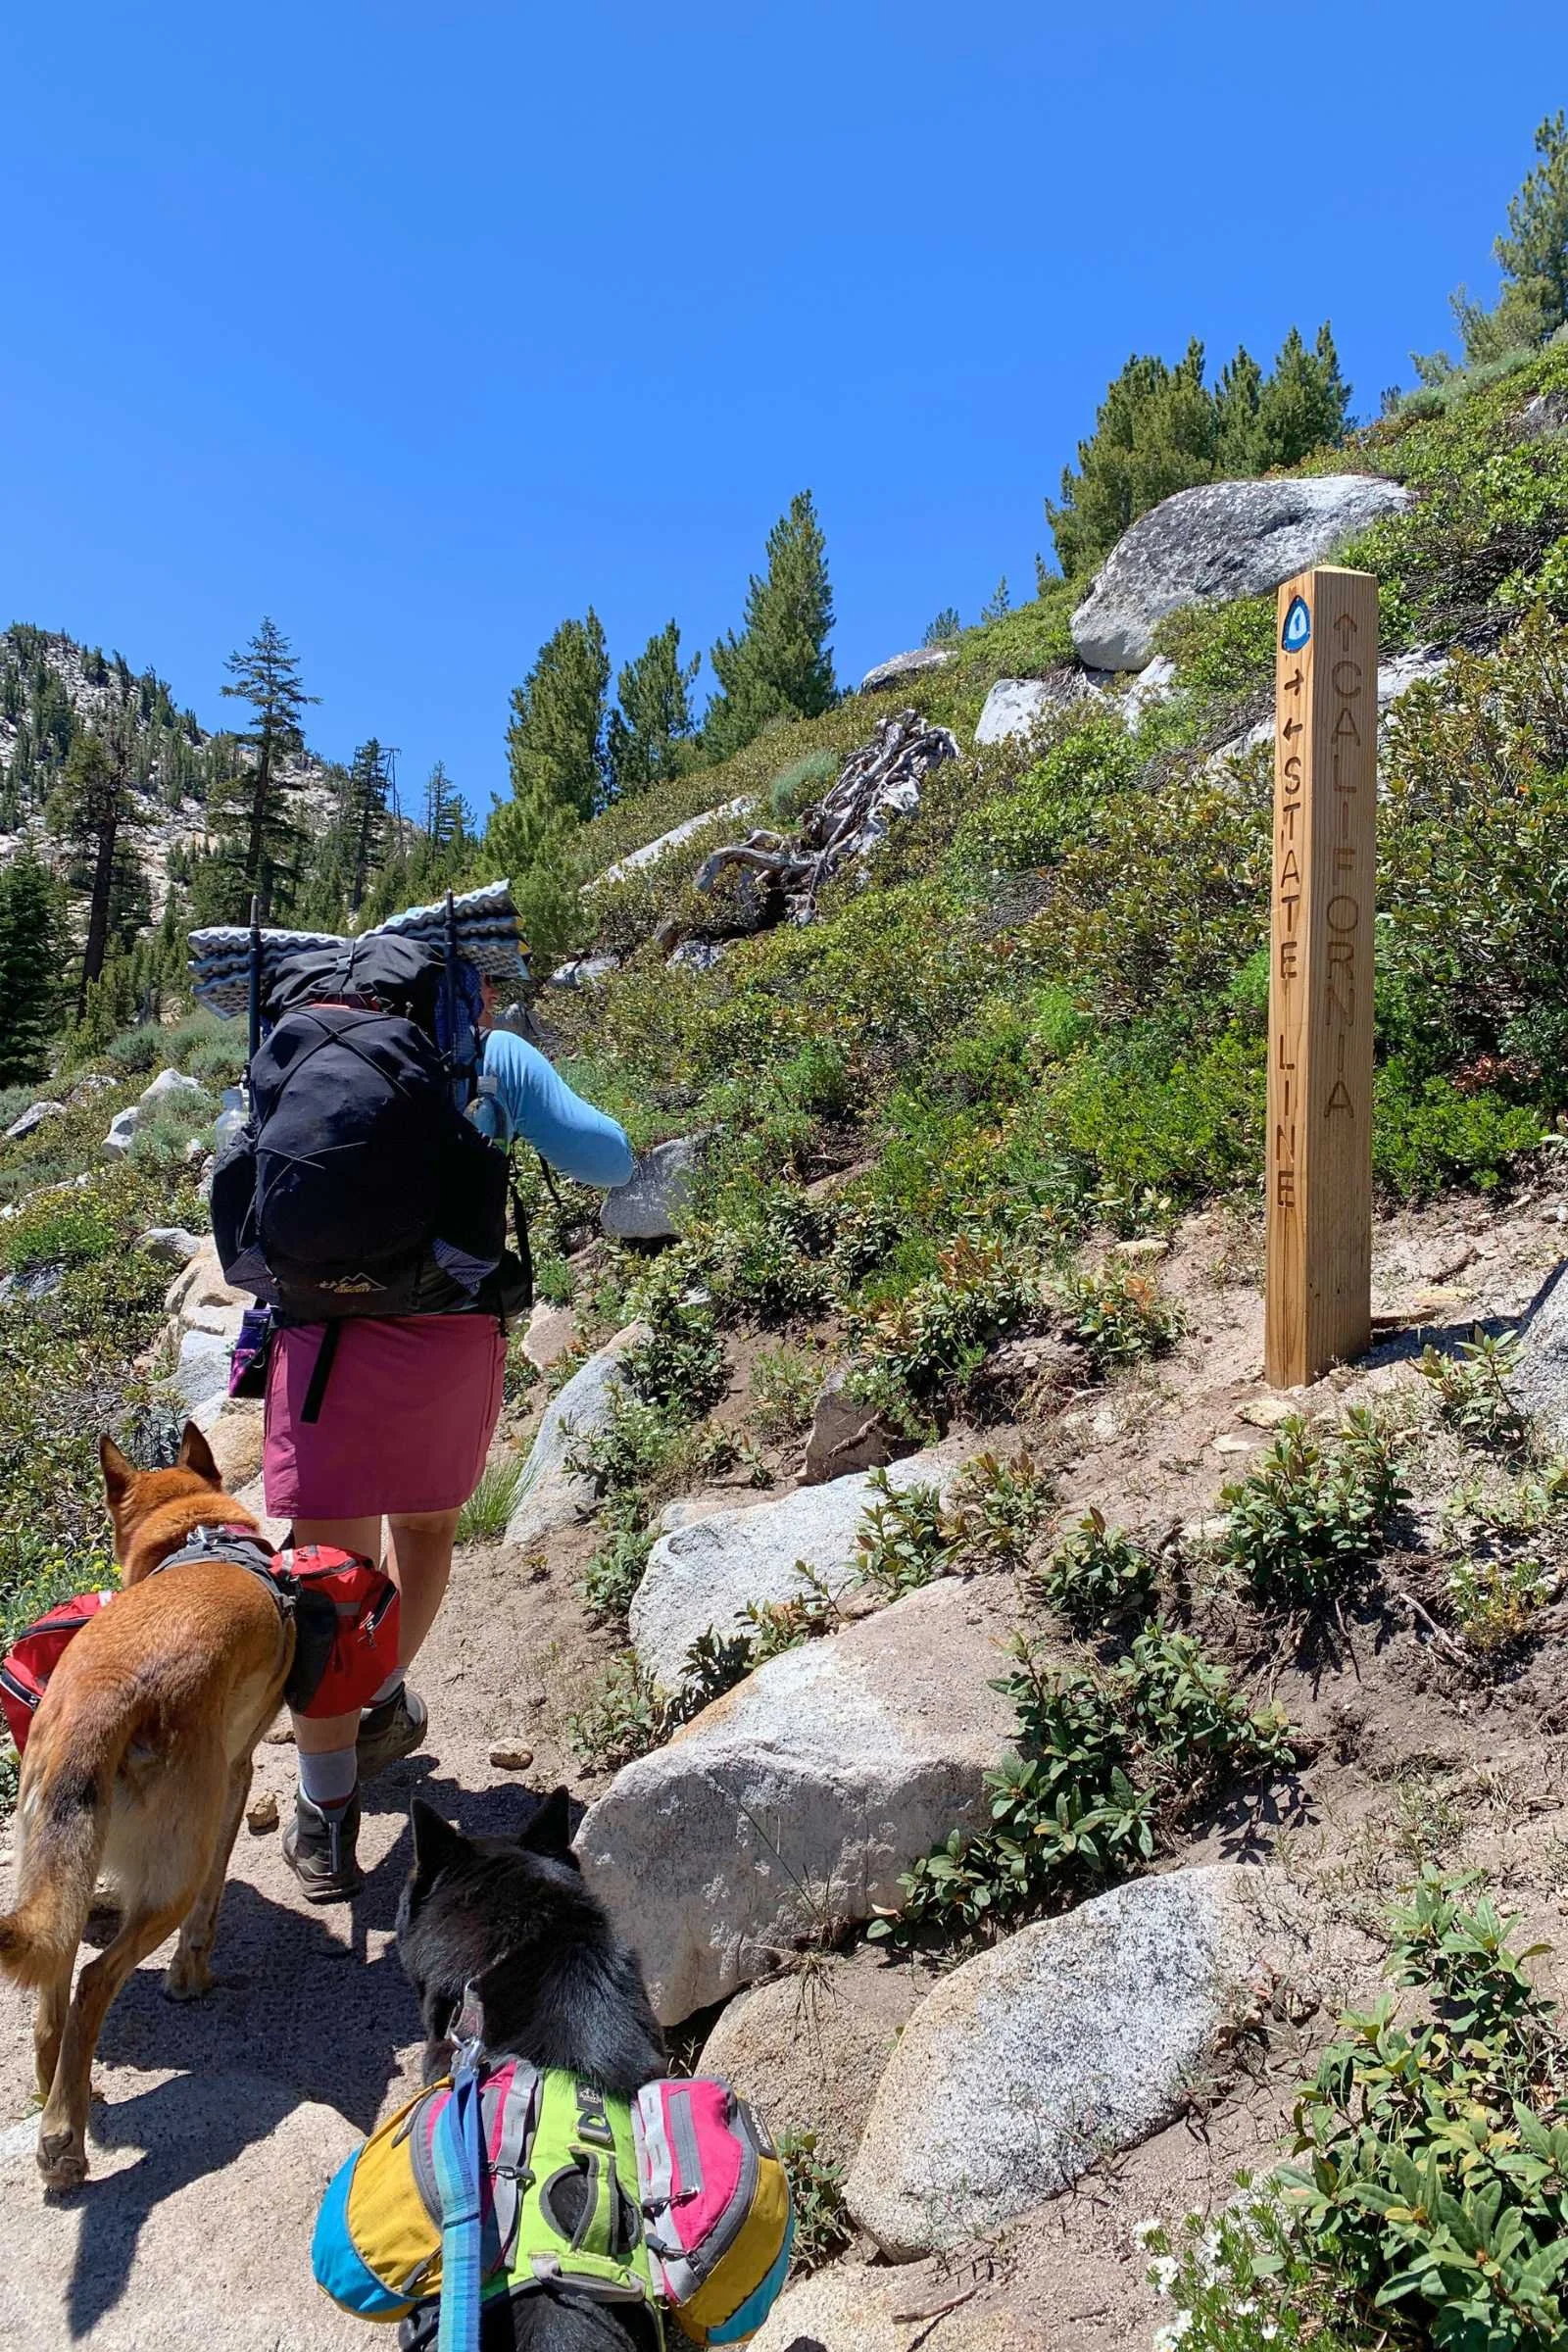
Crossing state lines is super exciting on this trail. Photo courtesy Sara Kruglinski.
After Watson Lake you will pass Brockway Summit at Highway 267. If you need to get into town, Kings Beach is just down the road from here with grocery stores, hotels, and gas stations. If you started at Mt. Rose, this will be your last section of trail before you get back to where you started.
If you can make the journey to Grey Lake, it is a lovely small, off-trail lake with many quiet campsites, and if you are ending your hike at Mt. Rose, this makes for a perfect final night on trail. The views from this final section are some of the best from the entire TRT and you will be able to see Lake Tahoe, Truckee, and even Reno from the ridge before you descend back down to Mt. Rose Summit parking area.
Navigation Resources

Mules Ear is in full bloom along the trail in early summer, some call this nature’s TP. Photo courtesy Billy Pudoff.
FarOut
The Tahoe Rim Trail FarOut app is updated by users and has water reports for the TRT and works offline to track your location and mileage. Campsites are not listed on FarOut but there are many places to camp along the trail.
Gaia
Gaia GPS app is another option for maps that you can pay for and use while hiking the trail, it is very popular with hikers.
Maps
I love the (now discontinued) Thomas Harrison TRT Map and usually carry one with me. There are lots of side trails listed on the map, and the more I hike the TRT the more interested I am in exploring all the side trails. You can get a Tom Harrison Desolation Wilderness map that covers part of the trail.
Guidebooks
Tahoe Rim Trail by Tim Hauserman is updated often with new regulations and side trails. I have read this cover to cover multiple times and even have a digital copy on my phone that I like to refer to on trail.
Other Apps
CalTopo is a great resource because you can track your location and add personal notes. You need to download the maps before you leave WiFi for best results. CalTopo is not specific to the TRT and charges an annual fee.
Getting There
The Loop trail means you will finish where you start. Photo courtesy Sara Kruglinski.
By Plane
Most hikers opt to fly into the Reno/Tahoe airport. It is easy to get a bus, Uber, or rental car from here to drive up to the trail. The Reno airport is 60-90 minutes from most of the trailheads on the TRT. Sacramento is the second closest airport with rental cars available for a 2-2.5 hour drive to the trail.
By Car
From the California side, the trail is accessible from Highway 50. On the Nevada side, the trail is accessible from Highway 80 to 395 up to 50 or 431.
Bus and Shuttle Services
The South Tahoe Airporter provides transportation for a small fee from the Rno/Tahoe airport to the many of the larger casinos in South Lake Tahoe. From the casinos you can take a side trail up to the Tahoe Rim Trail and add a few miles to your hike, or you can easily get an Uber to one of the many trailheads in the area.
Trailheads
The Nevada side of the TRT has areas without trees allowing for wide open views. Photo courtesy Sara Kruglinski.
From Reno, Spooner Summit or Mt. Rose trailheads are the closest options, and you can park cars long term in both locations. From California, the Echo Summit trailhead off Highway 50 is the closest option.
Tahoe City trailhead has a large transit station, and getting a bus to and from Tahoe City is very doable.
Post Trip Favorite Restaurant
My favorite spot for a post-hike meal is Sprouts in South Lake Tahoe–there is plenty of outside seating and it is casual so you don’t have to worry about offending anyone after your long hike. Sprouts is known for being a healthy place to grab a meal, and after all those trail meals you probably will be craving some fresh veggies and homemade treats.
Another great option is Lake Tahoe AleWorX for pizza and beer, and often live music on the weekends. If you are starting and ending in the Mt. Rose area, a trip into Incline Village for a burger at Inclined Burgers and Brews is always a great treat; the owners are long-time locals and are used to seeing hikers in the area.
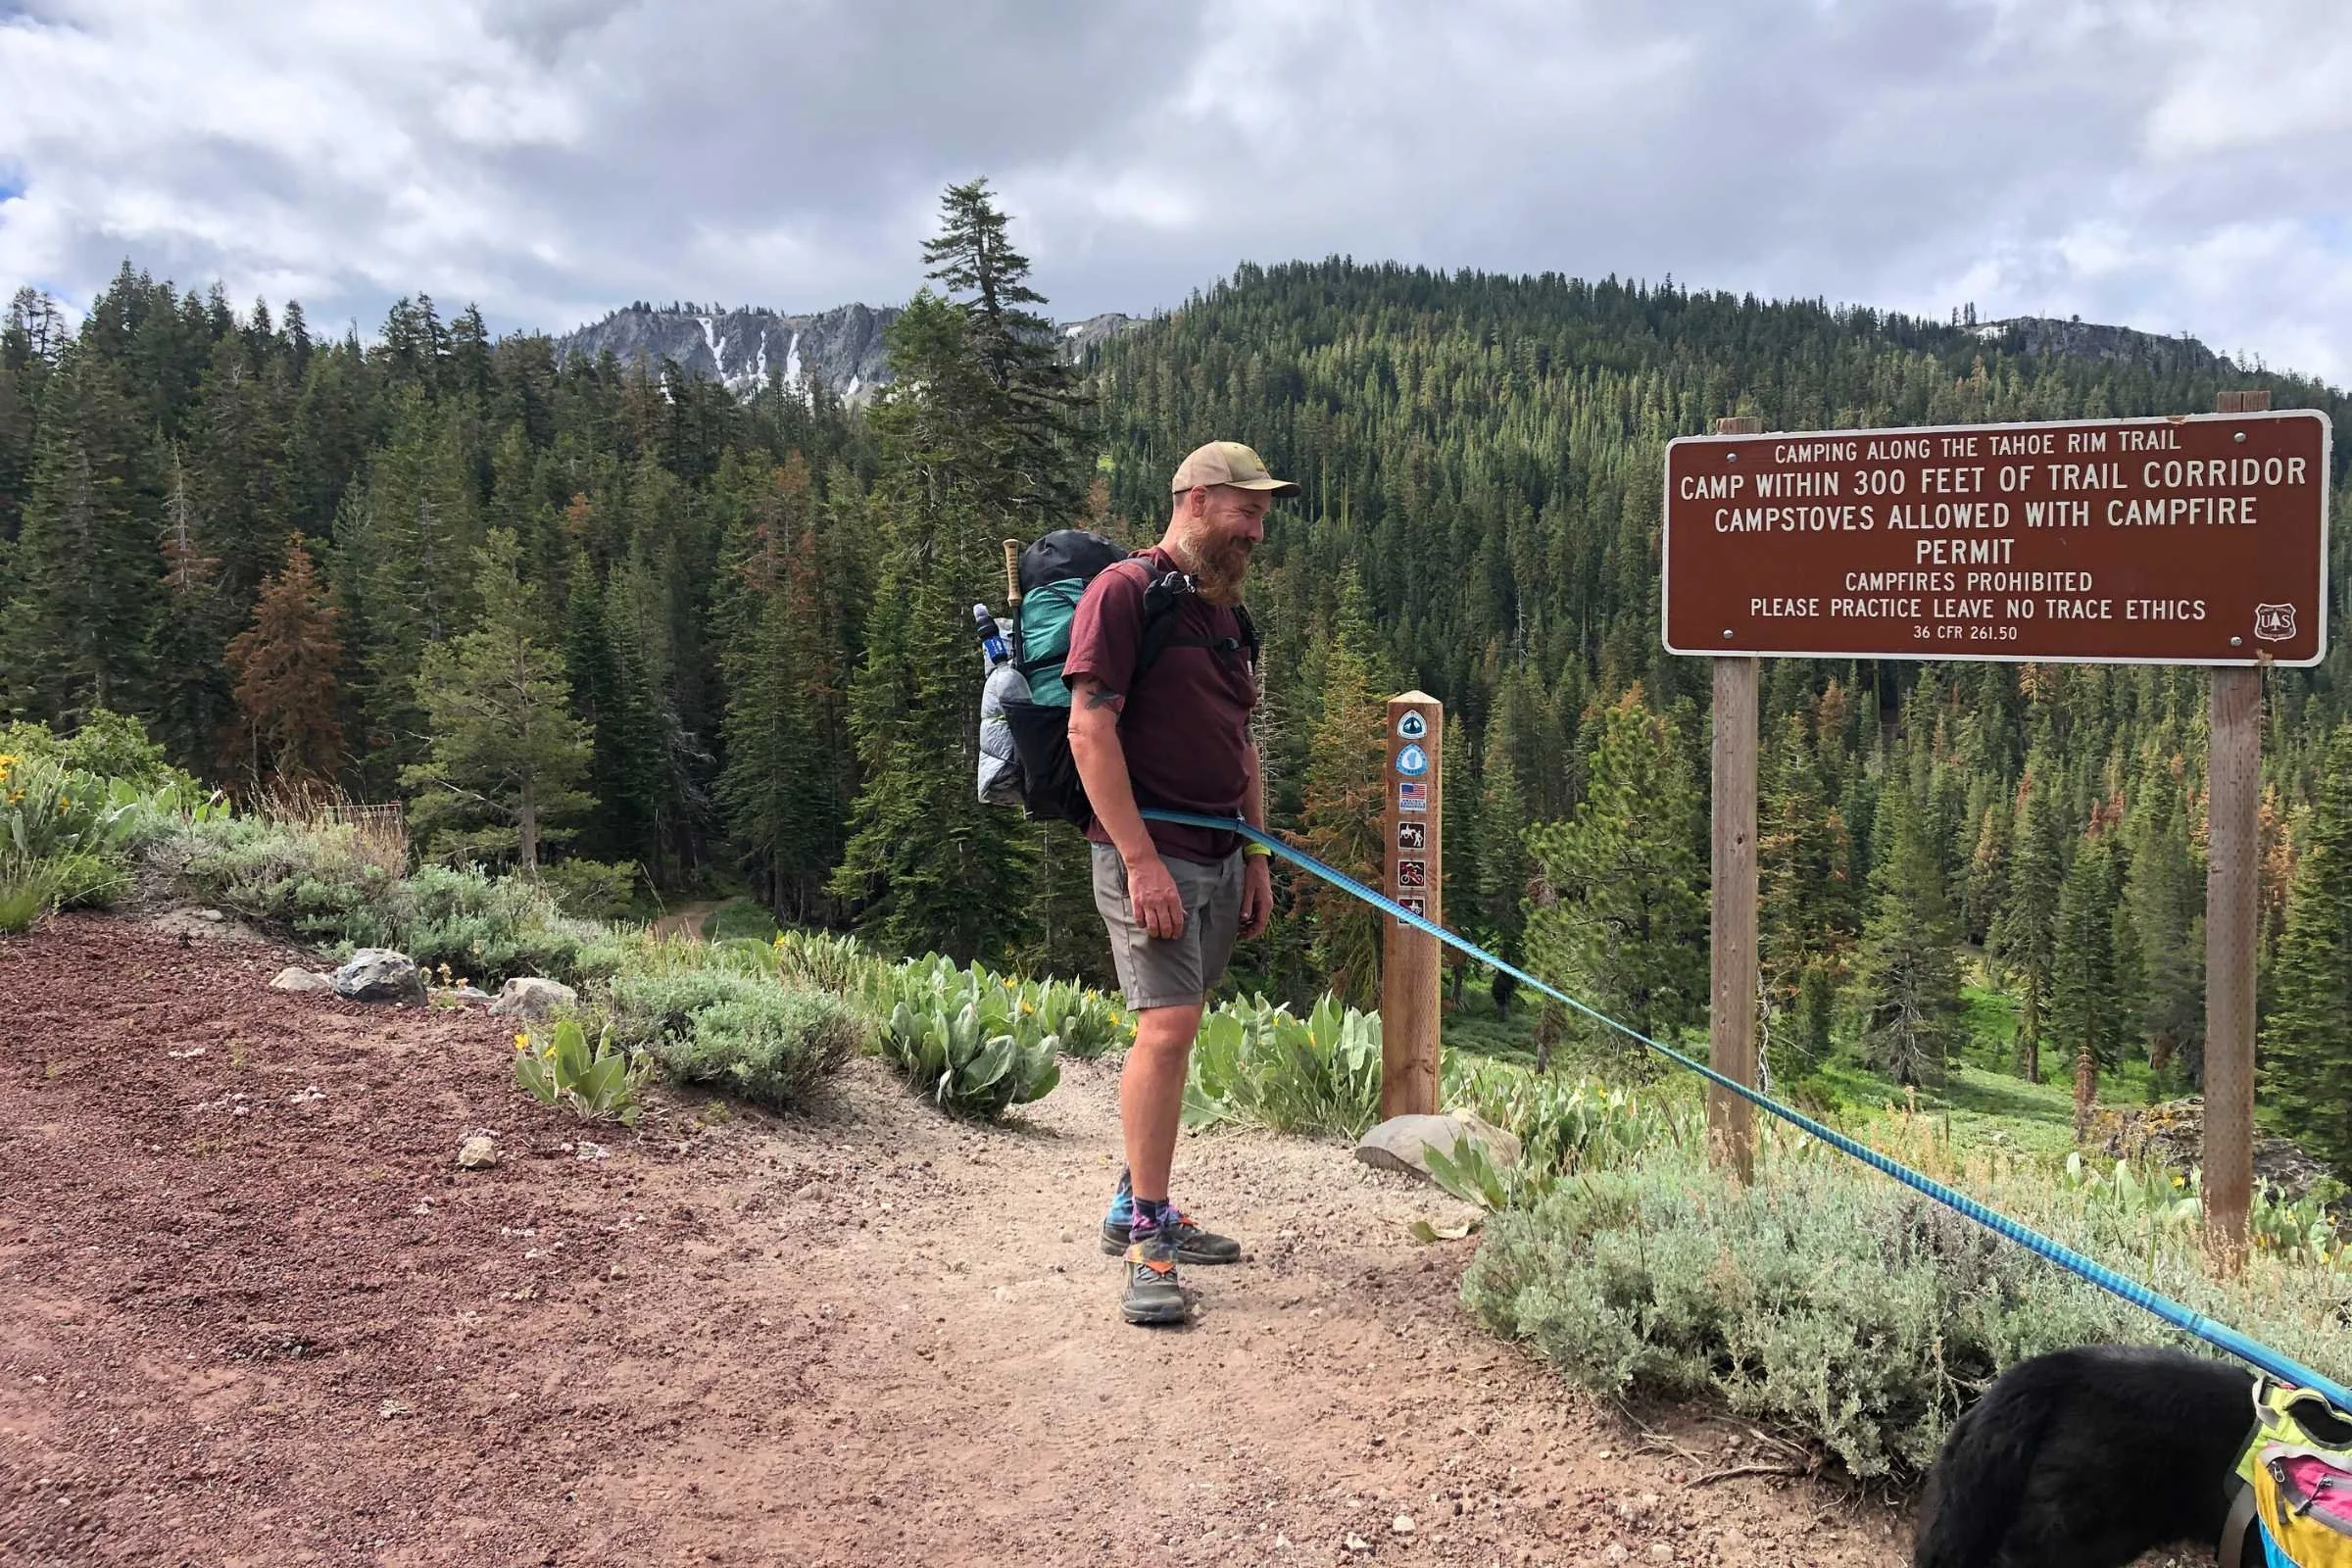
Regulations
It is important to follow the LNT principles and stay on the trail. Photo Courtesy Sara Kruglinski.
Follow Leave No Trace ethics.
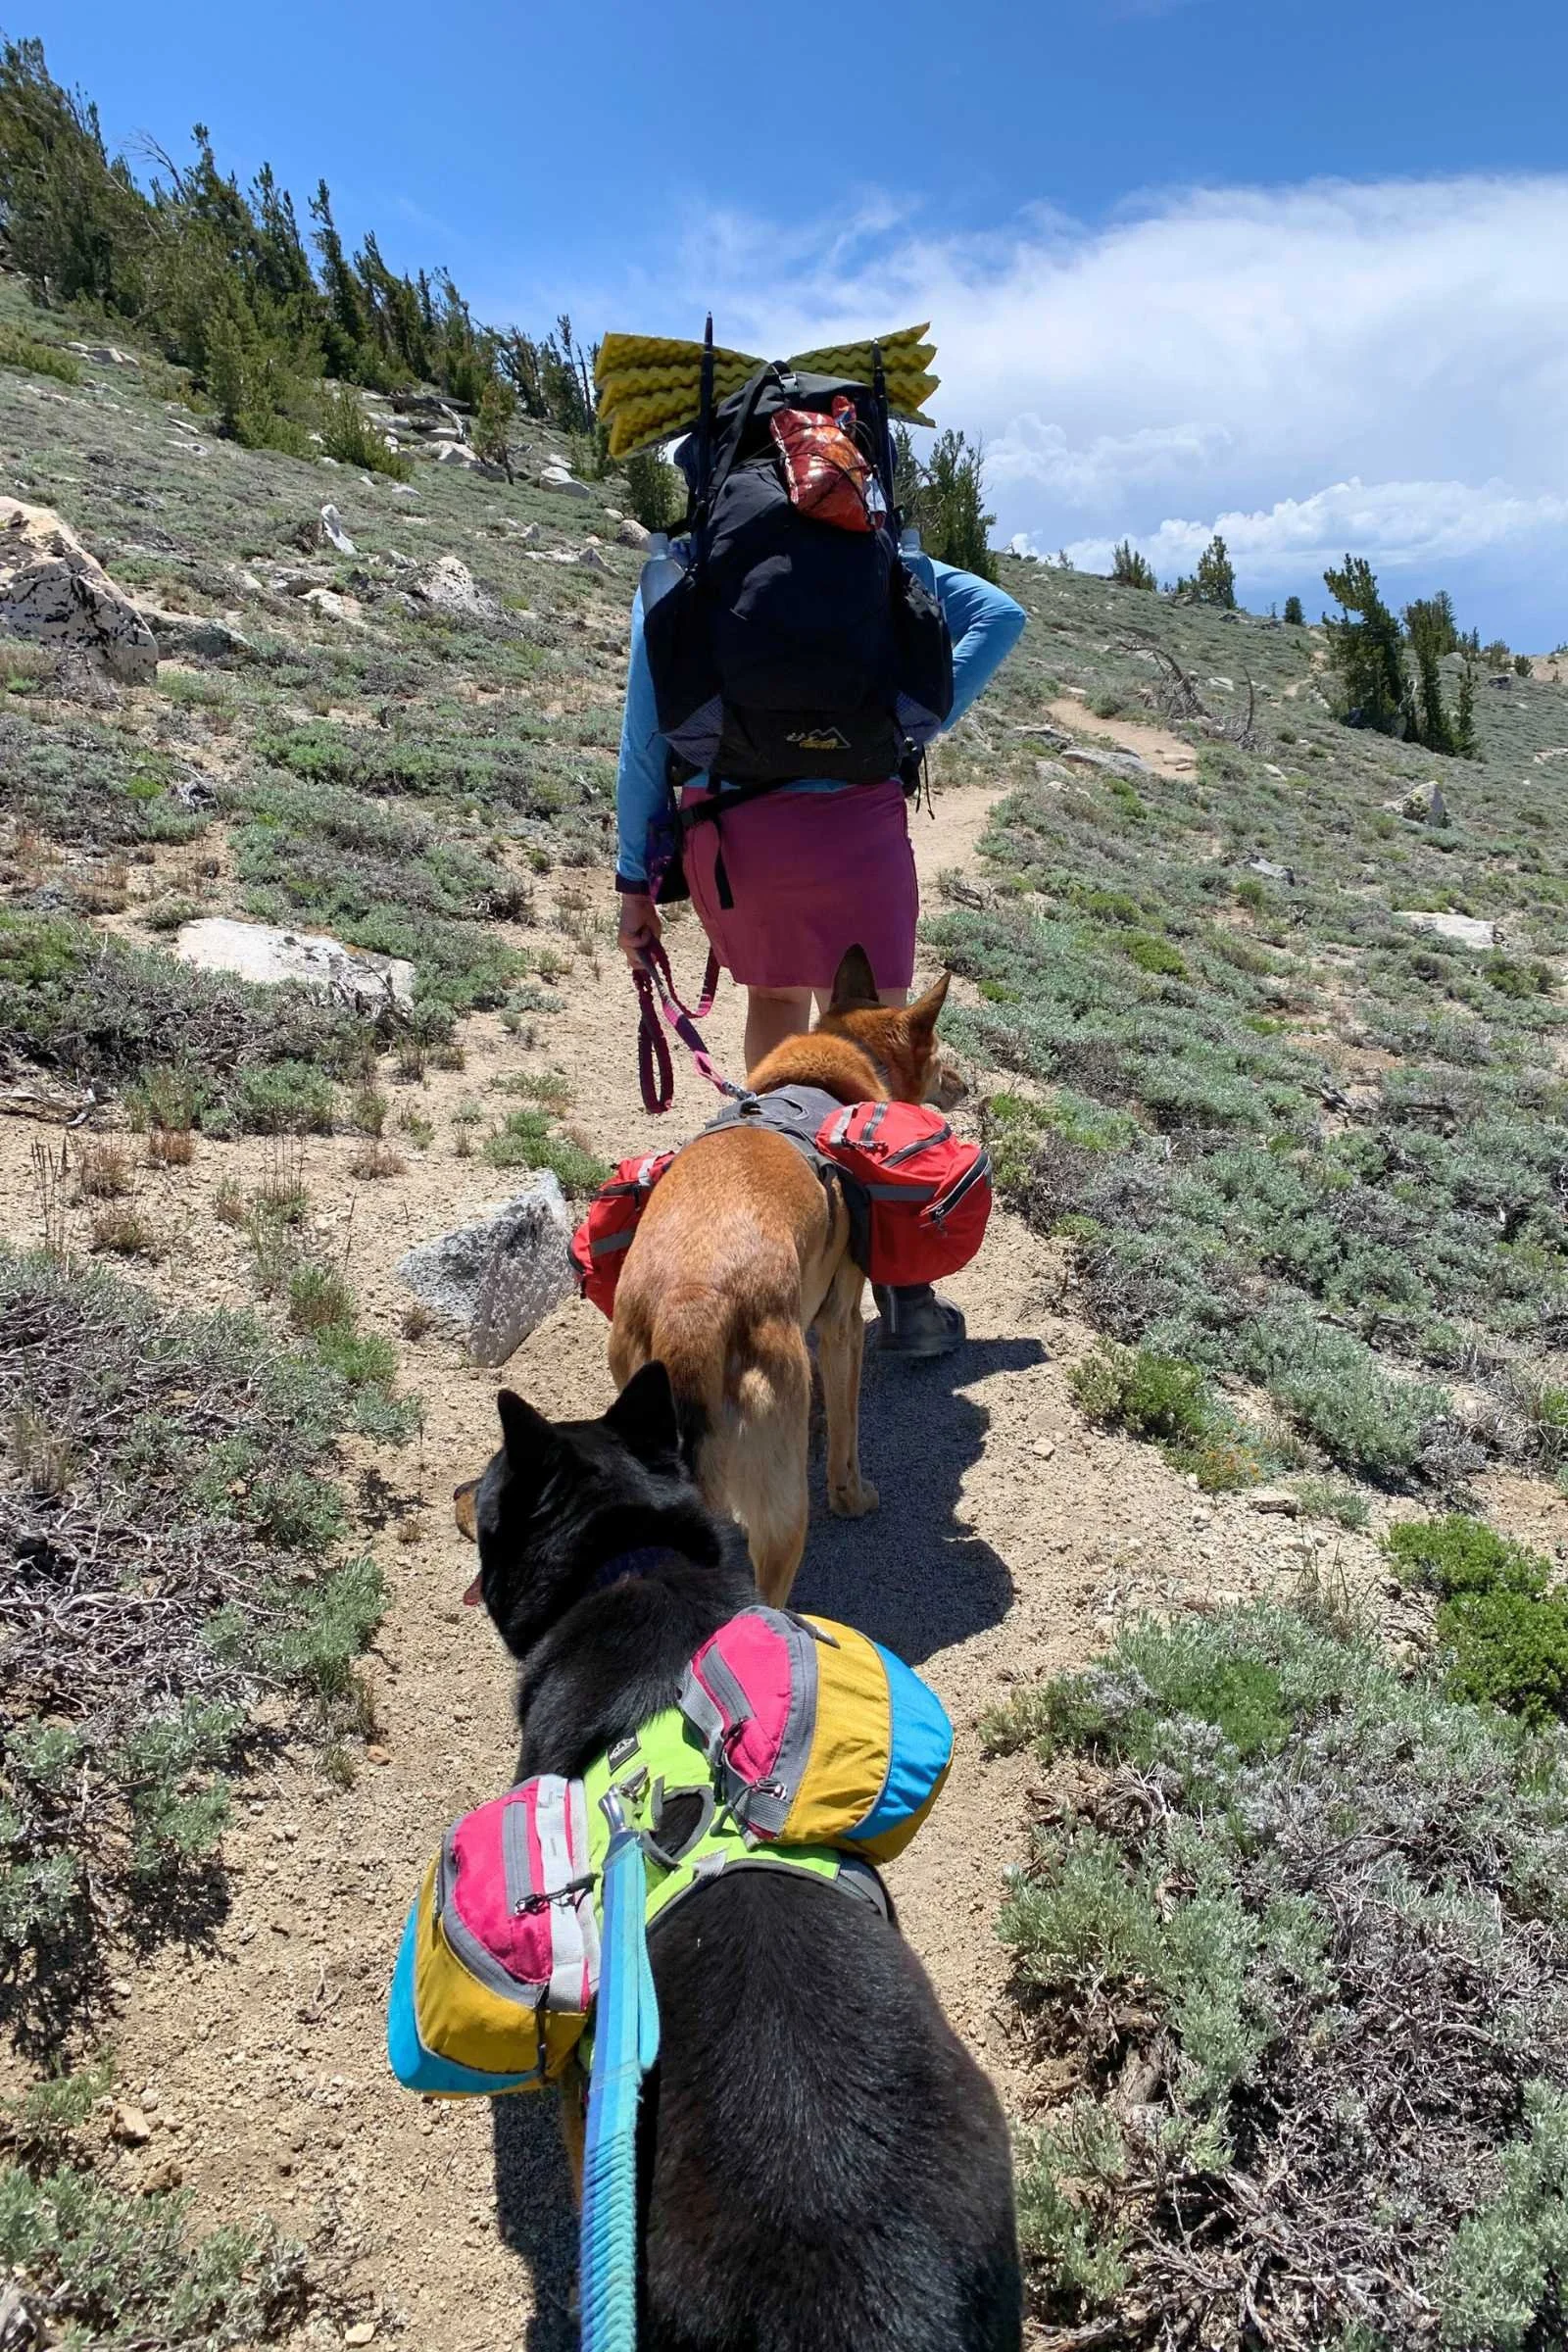
Dogs should be on a leash or under voice control–the TRT is a multi-use trail and you can encounter horses and mountain bikes along the trail.
There are a few regulated areas where camping is restricted. Desolation Wilderness requires a permit for camping overnight. Watson Lake area restricts camping close to the lake outside of the campground. The Lake Tahoe Nevada State Park has three campsites and you may only camp overnight in one of those three locations.
Group size must be limited to 12 people or fewer in Desolation Wilderness and 15 or fewer in the Mt. Rose wilderness areas.
Carry a printed and signed version of your permit on your person at all times.
A hard-sided bear canister is required in the Lake Tahoe Basin for food storage.
Resupply
Most hikers will want to resupply once or twice along the trail.
The trail passes through Tahoe City so that is an easy option for a quick resupply in town at the major supermarket.
Echo Lake has a store and there is also a store at Kingsbury South trailhead a little ways off-trail.
Camping

You can wake up with a view of Lake Tahoe every morning on the TRT if you find the right camp spots. Photo Courtesy Sara Kruglinski.
The Desolation Wilderness area requires a permit for camping overnight. Your thru-hiker permit allows for two nights in the wilderness area.
The area that requires the most planning is the Lake Tahoe Nevada State Park area where you have to stay in one of three campsites. Marlette Peak campsite is the most popular spot for TRT thru-hikers–you might need to hike a slightly longer or shorter day to camp there if you don’t stay there early in your hike.
Water Planning
Although you are able to see Lake Tahoe for most of your hike, there are some dry sections of trail where water is less available. The sections from Mt. Rose to Spooner Summit and from Spooner Summit to Kingsbury South are the driest on the trail; you will want to be aware of the updated water reports before heading into these sections. There are faucets at Spooner Lake just off the trail by the new bathrooms.
Bears and Food Storage
There is lots of signage along the trail reminding users of the rules of the areas. Photo courtesy Sara Kruglinski.
As of January 2024, all smellables and food need to be stored in a hard-sided bear canister along the Tahoe Rim Trail. We carried a BV500 each for ourselves and our dogs. We were able to fit five days of human and dog food into the bear canisters and resupplied along the trail. We also love the BearVault BV ONE bear canister.
For other bear canister recommendations, see REI’s Food Storage story or REI’s Bear Canister story. You can also rent them at the Taylor Creek Visitor Center in SLT or at the Placerville Ranger Station when you pick up your Desolation Wilderness permit.
Side Trips and variations
Side trips
There are many options for side trails along this hike. If you have extra time to enjoy more miles on trail, you can find some awesome gems on side trips.
One of my favorite mini side trips is a visit to Castle Rock where the peregrine falcon's nest is located. If they are nesting you are not allowed to hike up to the rock–there will be signs letting you know if you can get close or not. The nest site is an incredible viewpoint of Lake Tahoe and you can frequently spot the mating pair flying high above the area–pretty neat considering they are the fastest animals on earth at max speeds of over 200 mph. This is located a few miles past Kingsbury North Trailhead when traveling clockwise. There are plenty of signs leading you to the side trip.
Another fun side trip is the Dagget Creek Loop off of the Kingsbury North trailhead. If you take this route you will miss Castle Rock, but you will be rewarded with sweeping views of the Carson Valley and you will add a few miles to your hike. There are several standout viewpoints along this loop perfect for a break or a nap.
Continuing clockwise along the trail just past Star Lake you will reach a junction for Freel Peak. If you are up for it you can hit three peaks in one day from this side trail. Freel, Jobs, and Jobs Sister located one after another. With a little planning you can camp at Star Lake and take a trail zero while you peak bag the three peaks and continue on your thru-hike. There is a lot of loose shale at the top of Freel but once you are at the top there are usually wind breaks established so you can have a nice snack as you take in the views.
Continuing on the trail as you enter Desolation Wilderness, depending on your permit, you can hit more peaks starting from Gilmore Lake heading up to the backside of Mt. Tallac. You can also venture over to Dicks Peak from Dicks Pass that overlooks Dicks Lake, this is a scramble but very fun. You can also take a side trip here up the back side of Mt. Tallac from Gilmore Lake.
As you head toward Mt. Rose, there are side trips to summit Mt. Rose itself and Relay Peak. Mt. Rose is a super fun side trip and you will have views of Reno and Truckee from the top.
Variations
The best part about this trail is that it really is a choose-your-own-adventure experience. You can hike the trail multiple times and have a completely different experience each time depending on where you choose to start and what direction you choose to hike. I have talked to multiple hikers and I have yet to get the same answer more than twice about where they started and what direction they picked and why.
Many people choose to go clockwise and start at Echo Lakes in order to be certain of the entry to the Desolation Wilderness permitted area. This also starts hikers off in an area with plenty of water so you can gather your trail legs slowly before you have a longer water carry.
Other hikers choose to break up the traditionally drier sections and start hiking at Spooner Summit going counterclockwise so they spend the first night at the Marlette Lake Campground, which is the only place to camp in Tahoe NV State Park. There is no wrong or right choice–I have started at Mt. Rose Summit and gone clockwise for a similar reason. I have also started at Echo Lakes and at Big Meadow trailhead, and they are all wonderful choices.
Gear Strategy

Breaks are important. Photo courtesy Sara Kruglinski.
Tent
I used the Zpacks Duplex on this trip because it has plenty of room for myself and my dog, Ace. My partner carried a Duplex for himself and his dog as well. We found this tent to be easy to carry and set up in most locations around the TRT.
See our Best Backpacking Tents guide for more recommendations our long-term, in-depth review of the Zpacks Duplex based on 9,000 miles of backpacking.
Backpack
My partner and I each used the ULA Circuit on this trip so we could easily carry a bear canister. Bear canisters are required on this trail and many ultralight packs cannot easily carry them. Be sure to check to make sure your bear can fits before you head out.
See our Best Backpacking Backpacks guide for more recommendations or see my in-depth, long-term review of the ULA Circuit.
Sleeping Bag
I used the Zpacks 20 Degree Sleeping Bag on this trip and found it was warm enough for most of the nights at elevation. My partner carried a Western Mountainteering Astralight Quilt 26 which has a sewn in footbox for extra warmth.
See our Best Ultralight Backpacking Quilts guide or Best Sleeping Bags story for more recommendations.
Sleeping Pad
Staying warm is important on this trail. This is true especially if you are hiking it in the fall or early in the summer when there is still snow. I carried a Therm-a-Rest Neo Air XLite sleeping pad, which has a high r-value, and found it worked well at insulating.
See our Best Backpacking Sleeping Pads story for more recommendations.
Trekking Poles
I used the Gossamer Gear LT5 poles on this trip because they are extra light and worked well to set up my tent at night.
For more recommendations, see our Best Trekking poles story.
Cooking System
I used the BRS 3000T on this trip because it is ultralight and simple to use. I paired it with a titanium 550 pot from TOAKS. My partner used a MSR PocketRocket 2.0 with a Vargo 1.0 bottle pot and lid.
See our Best Backpacking Stoves and our Best Cooking Pot guides for our recommendations.
Headlamp
I carried the Nitecore NU25 400, which is affordable, rechargeable on trail, and lightweight. My partner uses a BioLite Dash 450 headlamp, which is bright and rechargeable.
See our recommendations in our Best Headlamps story.
Satellite Messenger
Cell reception is not always guaranteed on this trail. I carried a Garmin inReach Mini in case of emergencies.
See our Best Personal Locator Beacon and Satellite Messenger guide or are in-depth, long-term review of the Garmin inReach Mini 2.
There are huge Trees in the Killebrew Canyon, perfect for a snack break. Photo courtesy Sara Kruglinski.
Food Storage
For this trip we each carried a BearVault 500 in order to safely store our food plus food for our dogs. Proper food storage is required in the Lake Tahoe basin.
Water Filter
I carried a Platypus QuickDraw water filter because I like the slick design and the included endcaps so I can store it in my sleeping bag overnight to prevent freezing and not worry about it leaking inside my bag. My partner carried a Sawyer Squeeze Filter and a Ziploc bag for nighttime storage in the sleeping bag.
Check out our guide to the Best Water Filters and Purifiers for Backpacking.
What to wear
There are lots of pretty open areas along the trail with no trees so sun shirts are helpful. Photo courtesy Billy Pudoff.
Shoes or Boots
I wore the Altra Lone Peak Waterproof Mid boots on this trail because of the snow banks on the trail and to provide extra ankle support on the areas where I carried extra water for myself and my dogs. My partner hiked in Altra Timps for the extra cushion and didn’t seem to mind some wet socks at the end of the days when we had snow and water crossings.
For more recommendations, see our Best Women's Trail Running Shoes story and Best Men's Trail Running Shoes guide.
If you’d feel more comfortable in boots, check out our Best Hiking Boots story or our Best Lightweight Hiking Boots story.
A nice footwear compromise for this trip would’ve been hiking shoes, which are designed to feel like a trail runner but have stability more like a boot. See our Best Men's Hiking Shoes story or Best Women's Hiking Shoes for footwear that has more durability and stability than trail runners. Not sure whether hiking shoes or trail running shoes are right for you? Check out our Trail Running Shoes vs. Hiking Shoes guide.
Rain Jacket
I used the Zpacks Rain Poncho for this trip since rain was not in the forecast but I wanted to have a layer just in case. My partner carries an OR Foray II for when rain is forecasted on this hike.
For more recommendations, see our Best Rain Jackets article.
Rain Pants
I carried a ULA Rain Kilt for this hike. It wasn’t supposed to rain but I wanted something light and small for that just in case of a rain shower. I love the ULA kilts because they come in bright, happy colors and double as wind resistance on exposed areas of the trail, like Dicks Pass and Relay Peak areas. See our Best Rain Pants guide for more recommendations.
Down or Synthetic Insulating Jacket
My partner and I both used a Mountain Hardwear Ghost Whisperer Jacket as our down jacket. We love the warmth-to-weight ratio in this layer and it is reliable for many thru-hikes of use.
If you prefer down for its better warmth-to-weight ratio, check out our Best Down Jackets guide or see our in-depth, long-term review of the Mountain Hardwear Ghost Whisperer Jacket.
Fleece or Midlayer
Depending on the weather I will carry a Smartwool Classic Thermal or an Ortovox Grid Hoody, or both. I like wearing wool layers because they smell nicer after long days on trail and are warm when wet. Learn more in our Best Fleece Jackets and Best Midlayers guides.
Sun Shirt
I wore a Patagonia Tropic Comfort Hoody for my thru-hikes on the TRT, while my partner wore a Patagonia Capilene Cool Hoody for this hike. The Patagonia hoodies have good coverage from the sun. I have also used a Ridge Merino Solstice Sun Hoody in later summer hikes when the weather is cooler. See our Best Sunshirts guide for more recommendations.
Hiking Pants
For later season hikes my partner wears Patagonia Venga Rock Pants because they are lightweight and stretchy. I will layer leggings or thermals, like the Patagonia Capilene Midweight Thermal, under my skirt for extra warmth during colder months.
See our guides to the Best Women's Hiking Pants and Best Men's Hiking Pants for more recommendations.
Hiking Skirt
I wore a Purple Rain Adventure Skirt for my hike—you can’t go wrong with all those pockets! I also love that a skirt works well for layering if it is colder. I can throw my leggings or baselayer pants underneath my hiking skirt to stay extra warm and the skirt helps block any wind.
For more recommendations, see our Best Hiking Dresses and Skirts guides.
Hiking shorts
My partner wore Chubbies 7” shorts which have a nice liner and are quick drying after swimming in lakes.
For more recommendations, see our guides to Best Men's Trail Running Shorts, Best Men's Hiking Shorts, or Best Thru-hiking Shorts.
Base Layer
I used a Smartwool Classic Thermal Merino Crew because they are nice and lightweight and odor resistant with the merino wool. My partner wore Ortovox ROCK’N’WOOL 185 pants because they come in fun colors and are warm and odor resistant. He likes having fun pants to layer under shorts if it is cold for style points on trail. For more recommendations, see our Best Base Layers guide.
Hiking Socks
I used the Point6 Lightweight Hiker ¾ Crew socks. My partner wore Darn Tough Crew Hiker Socks. We liked to have a wool sock for this hike so our feet were warm if they were wet. Check our Best Hiking Socks guide for more recommendations.
Warm Hat
I carried my favorite hand-knit, 100% merino wool beanie that I made for my backpacking trips, and my partner wore a similar hand-knit beanie that I made just for him. If you have someone who can knit you a warm hat, you can’t go wrong. There are plenty of Youtube videos to get you started knitting, and all you need are some #8 needles and worsted weight yarn. Otherwise, any 100% wool hat will help keep your head and ears warm as the temperatures drop at night.
Sun Hat
Patagonia Duck Bill Trucker hat is always a great choice or a Tahoe Big Truck Hat. Check out our Best Sun Hats guide for more recommendations.
Gloves or Mittens
I used the Mountain Hardwear Stimulus Gloves. For more recommendations on lightweight but warm gloves, see our Best Winter Gloves guide.
Miscellaneous Gear Items
Map and Compass
Thomas Harrison Tahoe Rim Trail Map
First Aid Kit
Make your own
Sun Protection
Sun Bum 30 SPF stick for faces and hands
Pocket Knife
My partner loves his Benchmade pocket knife and his mini Leatherman Micra keychain. I carry a Gerber Mini with a serrated edge and a Gerber Mini Multitool.
Backpacking accessories
We have a whole list of smaller backpacking accessories that we recommend. Here are a few I took on this trip.
Kula Cloth and P-Style
Battery from Anker and Nitecore
Down booties from Goosefeet Gear
Down Hood from Zpacks
Backpacking Pillow from Sea to Summit
Rite in the Rain notebook for nature journaling and waterproof pen
Sun Buff
Deuce of spades Backcountry Potty Trowel
TOAKS long handled spoon
TOAKS 550 ml pot with handles and lid
Whistle
Micro light for emergencies
Nalgene 500ml for mixing electrolyte powder on trail and in case it is cold and need to boil to stay warm
About the Author
Sara is a long time Tahoe local and has hiked on or around the Tahoe Rim Trail every summer for the last 15 plus years. If you meet her on trail she will tell you all about the last bird she just saw and how exciting that was. The Tahoe Rim Trail holds a special place in her heart because it was the place where she spent her first solo night backpacking and where she gained confidence in the backcountry as a long-distance hiker.
You can see all Sara's stories on her author page.


