
Great Range Traverse Hiking and Backpacking Guide
Everything you need to plan, pace, and survive the Adirondacks' legendary 23-mile, 11-summit traverse
August 14th, 2026
Home → Trip Guides → Backpacking
The Great Range Traverse is a 23-mile point-to-point hike in New York's Adirondack High Peaks with roughly 10,700 feet of elevation gain. It is a very difficult, technical route with exposed slabs, scrambling, ladders, and steep descents. Most hikers should plan on one very long day or 2–4 days with overnight camping.
Distance: 23 miles
Days: 1–4 days
Elevation gain/loss: 10,700 feet / 10,100 feet
Best season: Summer and early fall
Permits: None
Difficulty: Very difficult
This story may contain affiliate links, which help fund our website. When you click on the links to purchase gear, we may get a commission without costing you an extra cent. This allows us to create reader-supported objective gear reviews. Thank you for supporting our work and mission of outdoor coverage for every body! Learn more.
Background
The Great Range Traverse (GRT) is one of the most difficult dayhikes in the Northeast. Backpacker Magazine lists it as one of their 10 Hardest Day Hikes in America. It’s a 23-mile point-to-point hike with ~10,700 feet of gain, all packed into the first 15 miles.
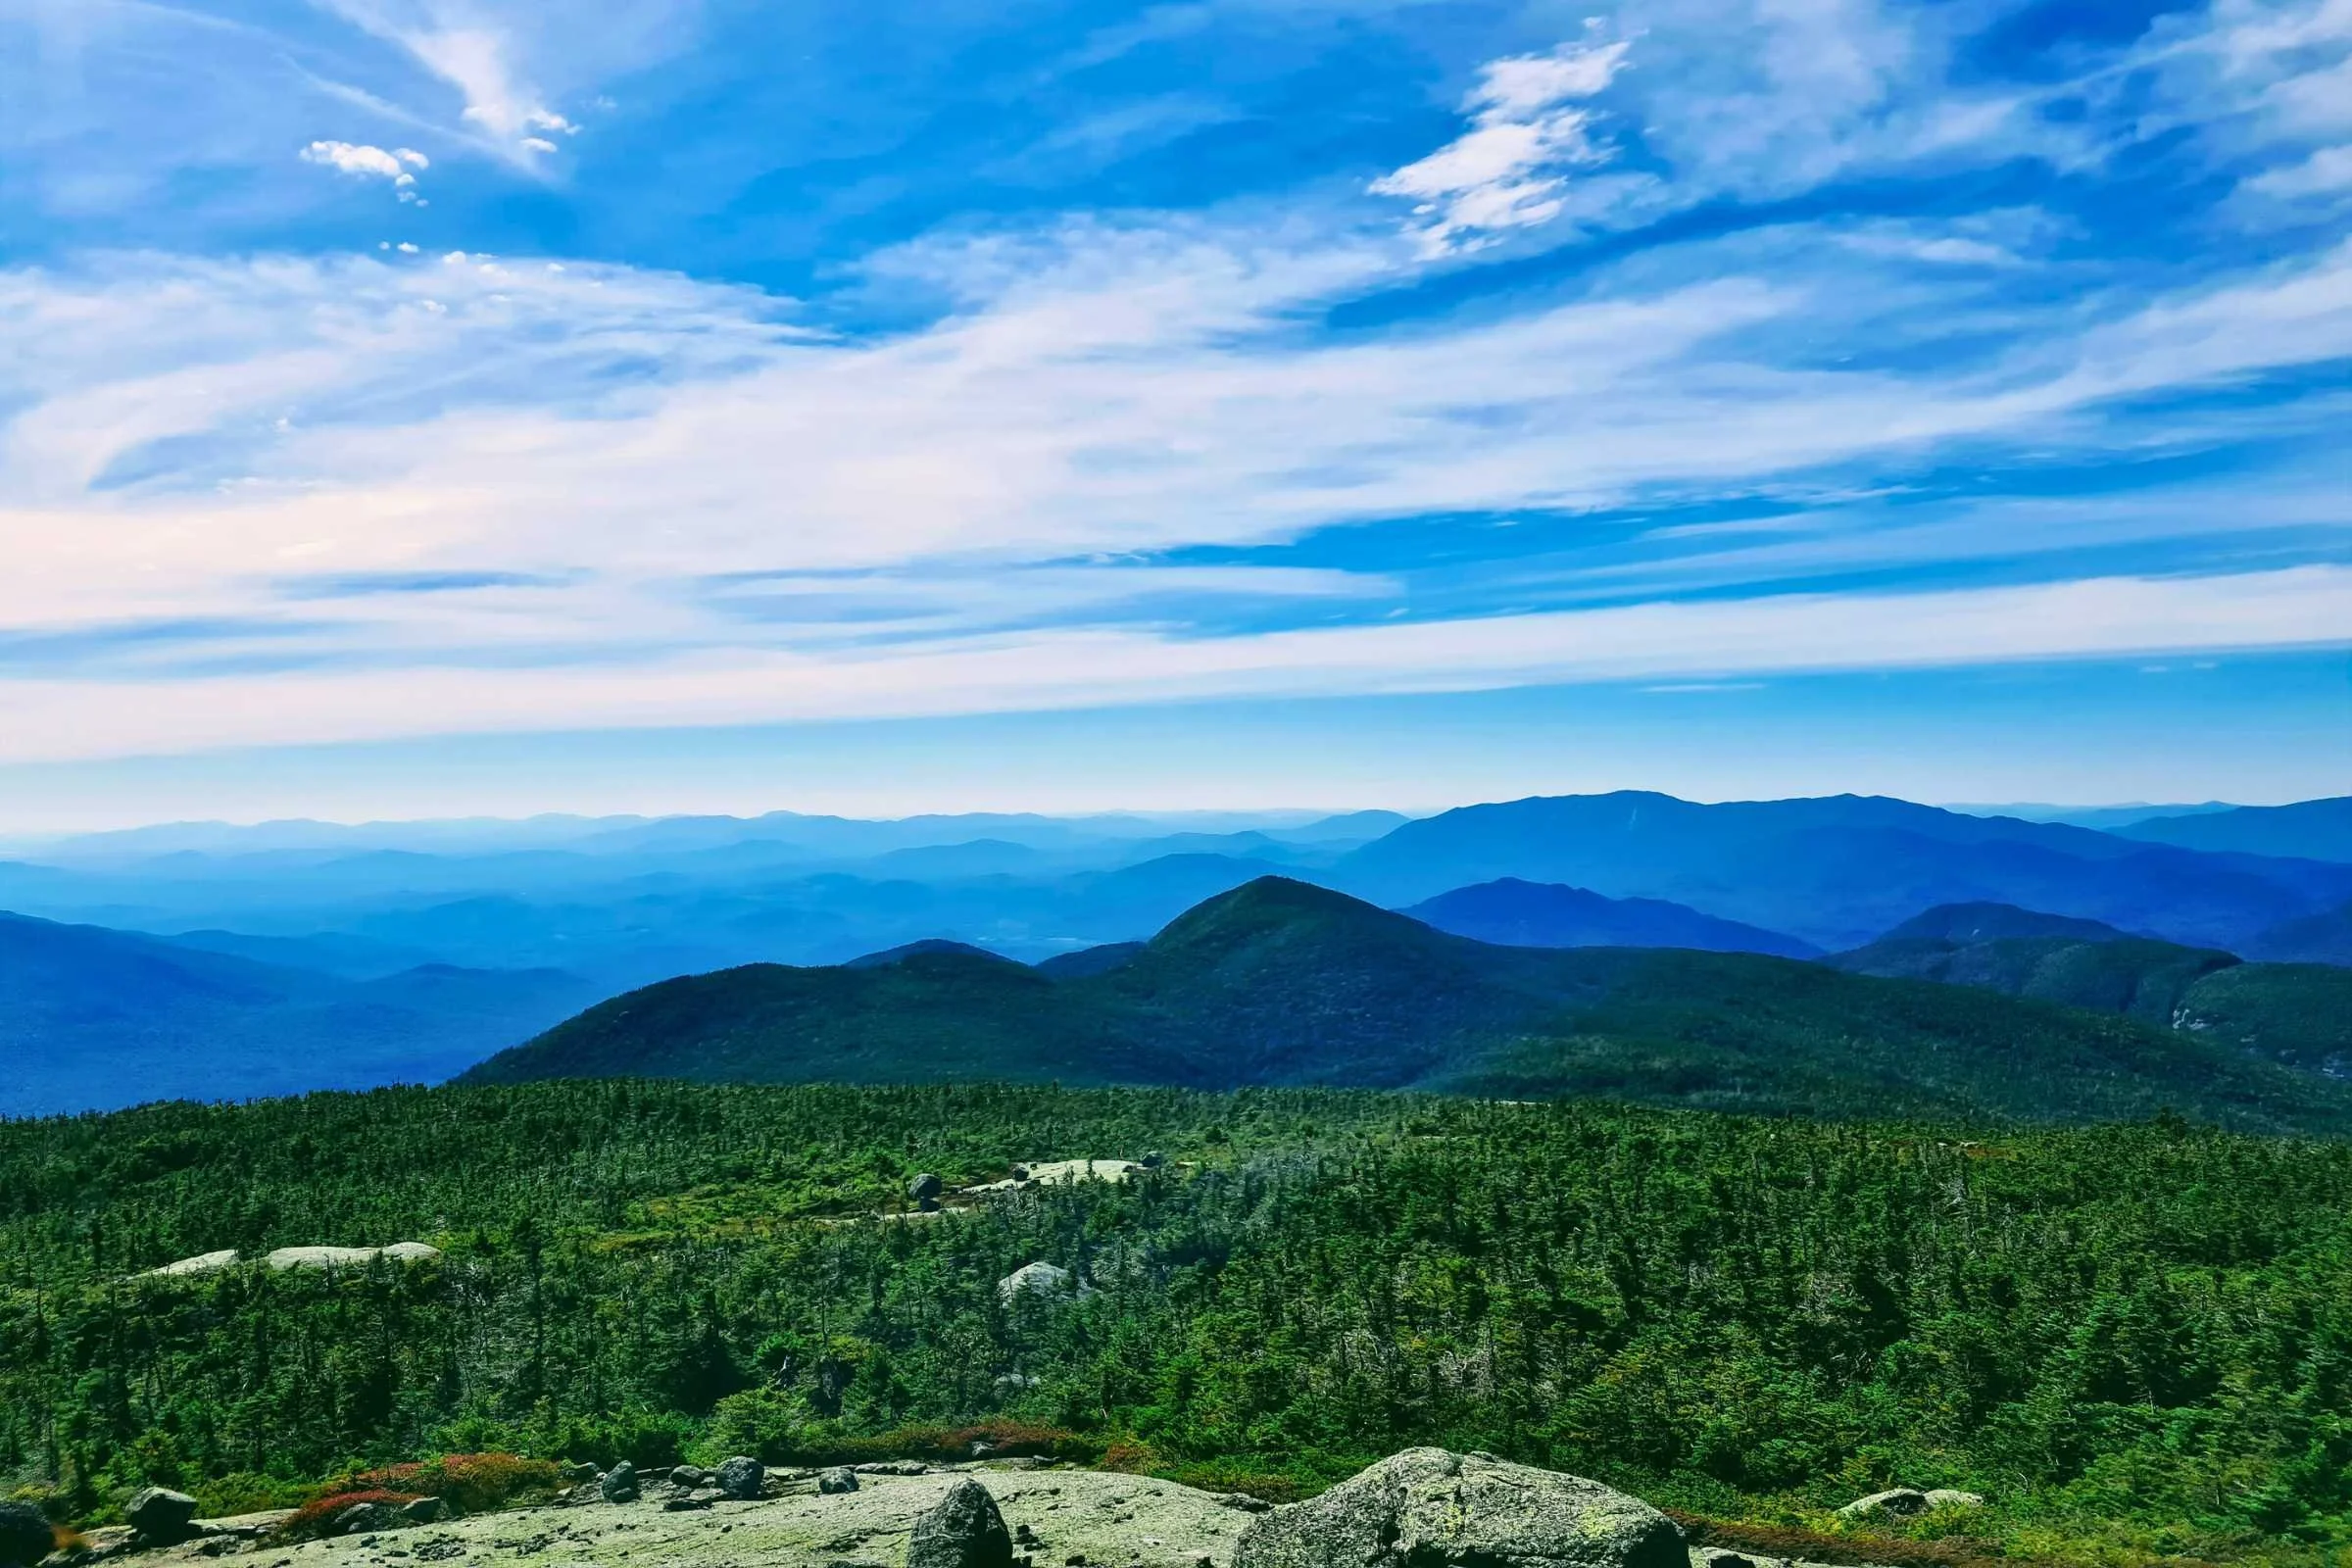
With steep, technical trails and endless wet rock slabs, every mile of this hike is filled with challenges. But the payoff in views and mountain summits is spectacular, particularly for the tree-covered Northeast.
It is possible to complete this route in one day, but it can be split up over 2–4 days if preferred. There are numerous established campsites in the remaining 40% of the hike, with only a few in the first 60%. Be sure to consider the difference in speed between carrying a daypack/fastpack and carrying an overnight backpack with multiple days of food. And be sure to check our guide below for information about water sources.
The GRT hits 11 summits along the way, including the New York State high point (Mount Marcy), with eight of those summits considered Adirondack (ADK) High Peaks and part of the ADK 46ers peakbagging list. There are views at every summit of this traverse—no wooded peaks for this route!
I have completed a standard GRT three times—once in summer during a tropical storm, once in fall with a foot of snow on the ground, and once in winter during snowfall. I have also completed a yo-yo of the Traverse in fall as a very long lollipop, adding Skylight and Panther Gorge. This 28-mile 16,000’ gain variation is deemed an Ultra Tour Great Range Traverse, per the Fastest Known Time (FKT) website.
Land Acknowledgement
We would like to begin by acknowledging that the land on which this hike is located is the unceded territory and ancestral homeland of the Kanien’kehá:ka (Mohawk) Peoples, past and present. We acknowledge and honor with gratitude the land and waterways and the Indigenous peoples who have stewarded these places throughout the generations.
If you want to take material steps to recognize our access to Indigenous land, you may do so through a voluntary land use tax through donation to one of the regional Kanien’kehá:ka organizations, such as the Onkwawenna Kentyohkwa that runs an immersive Mohawk language learning program, or the First Peoples’ Cultural Foundation that supports Mohawk cultural events.
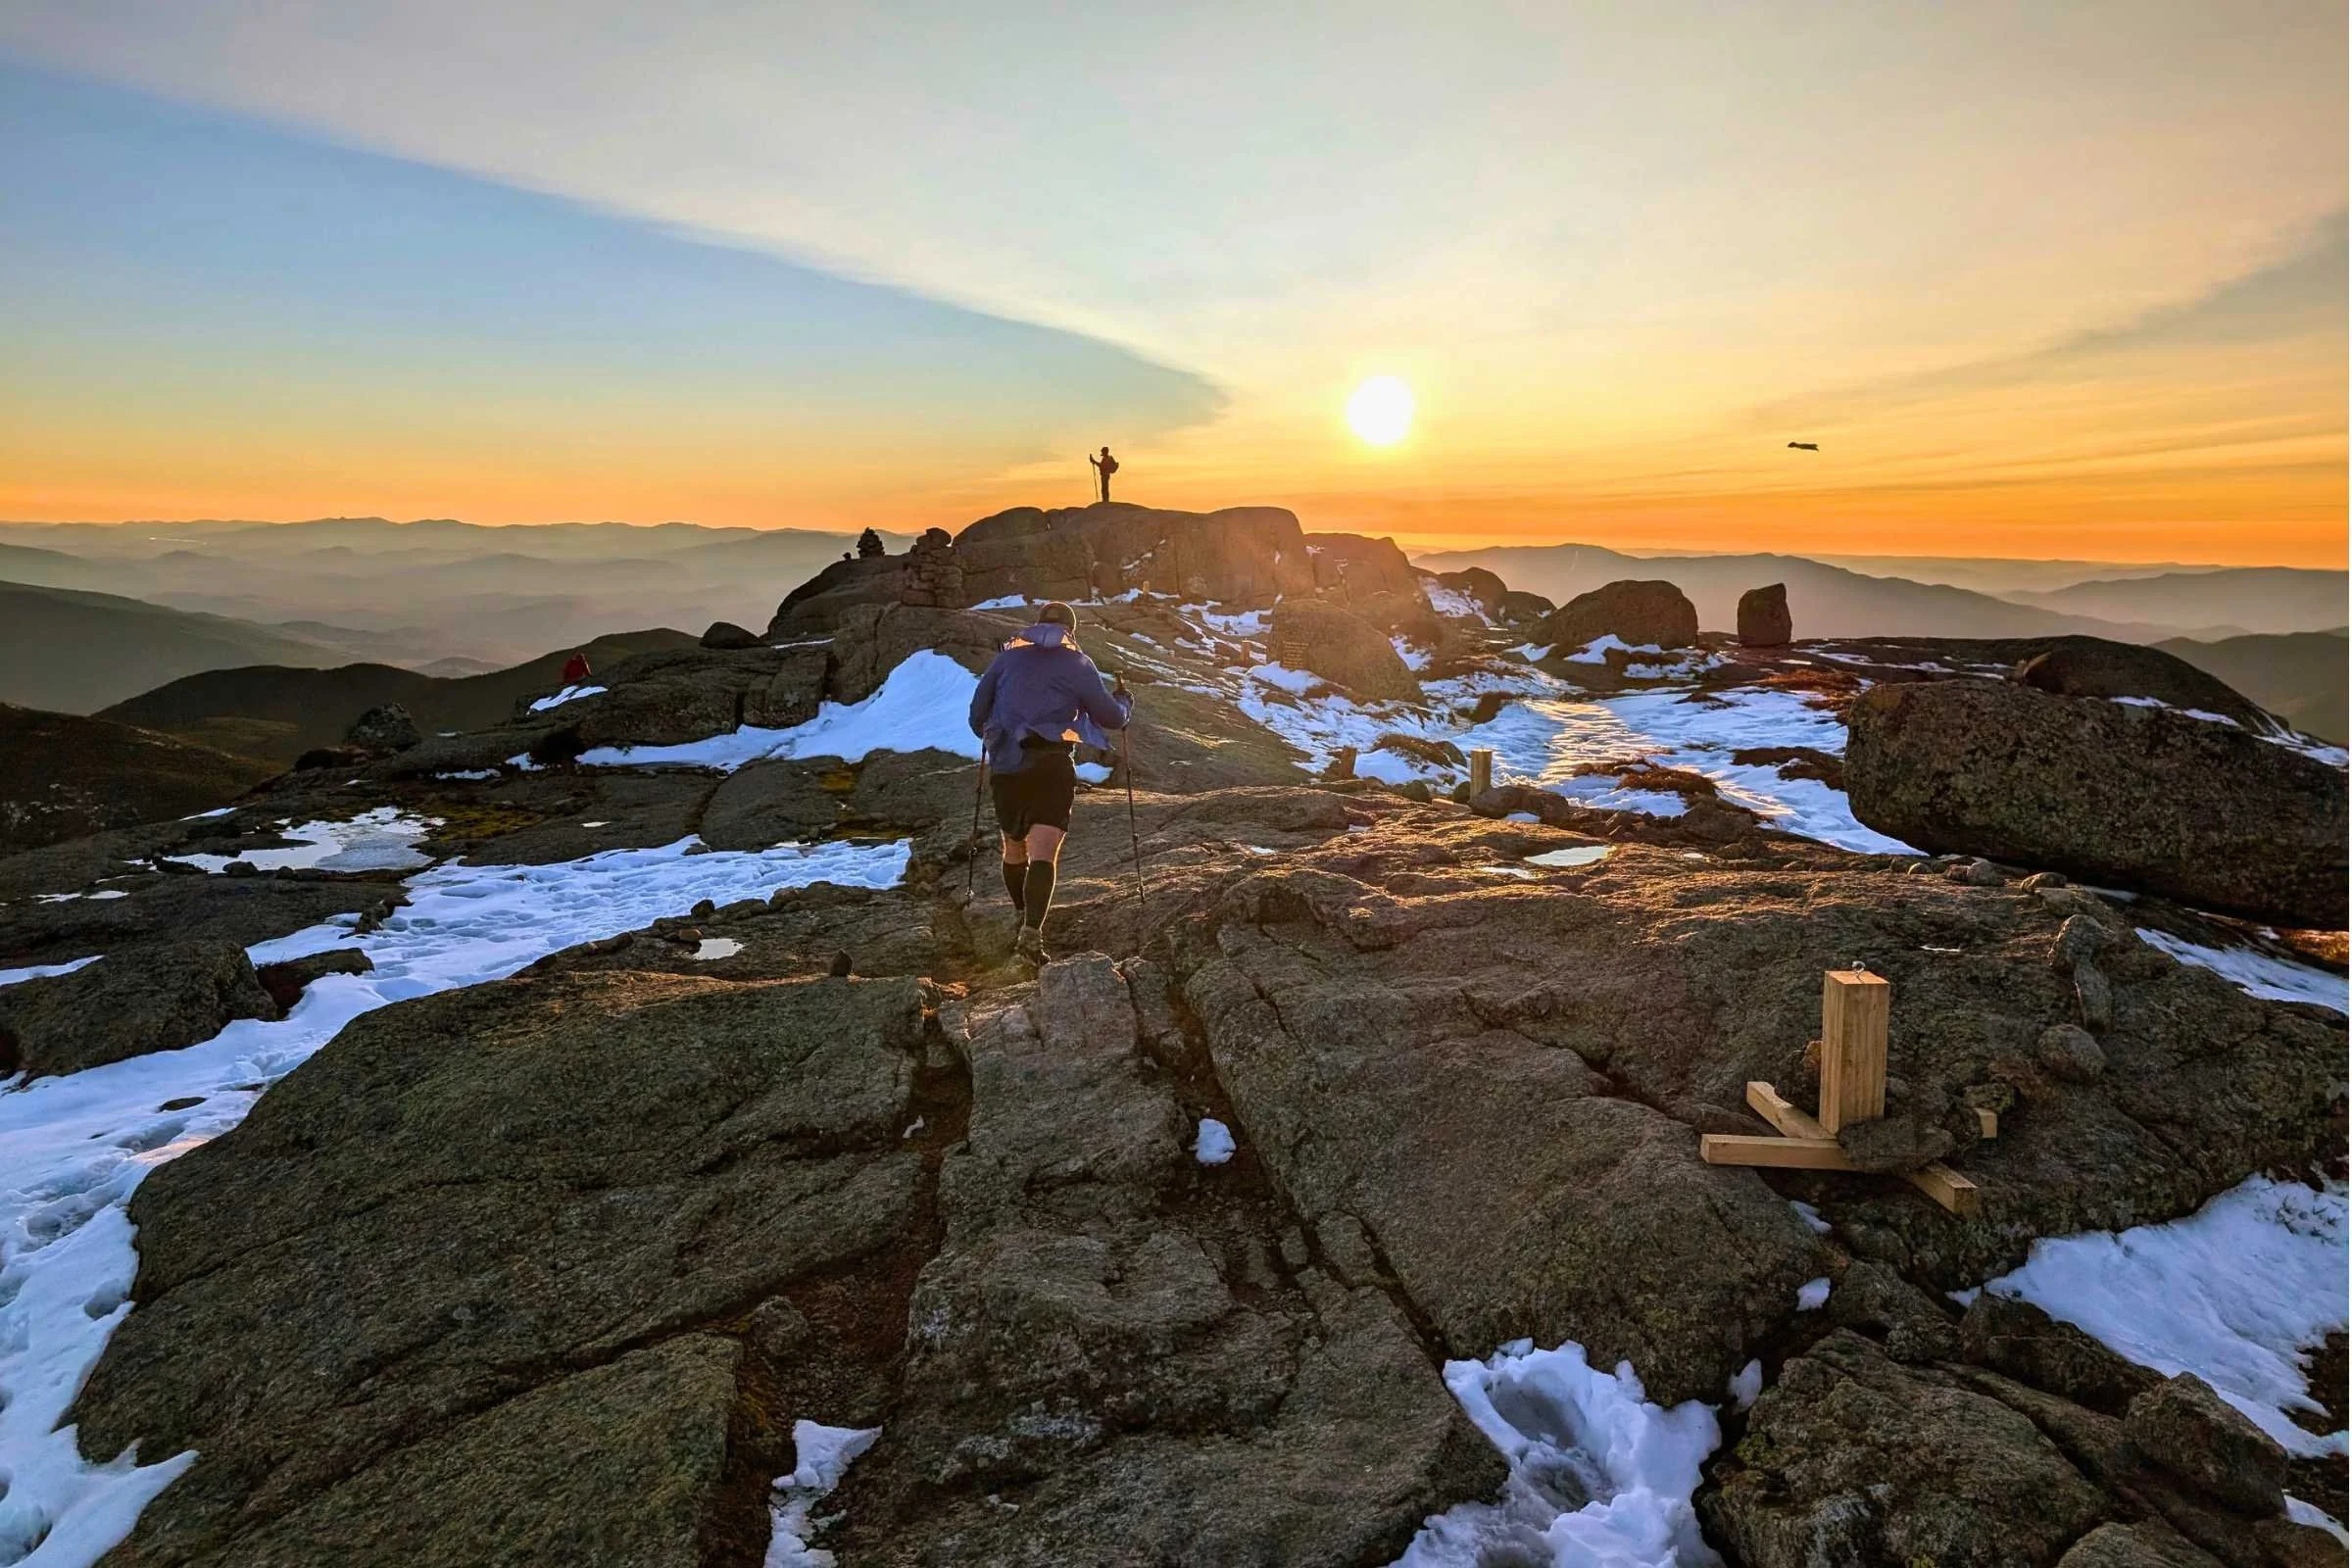
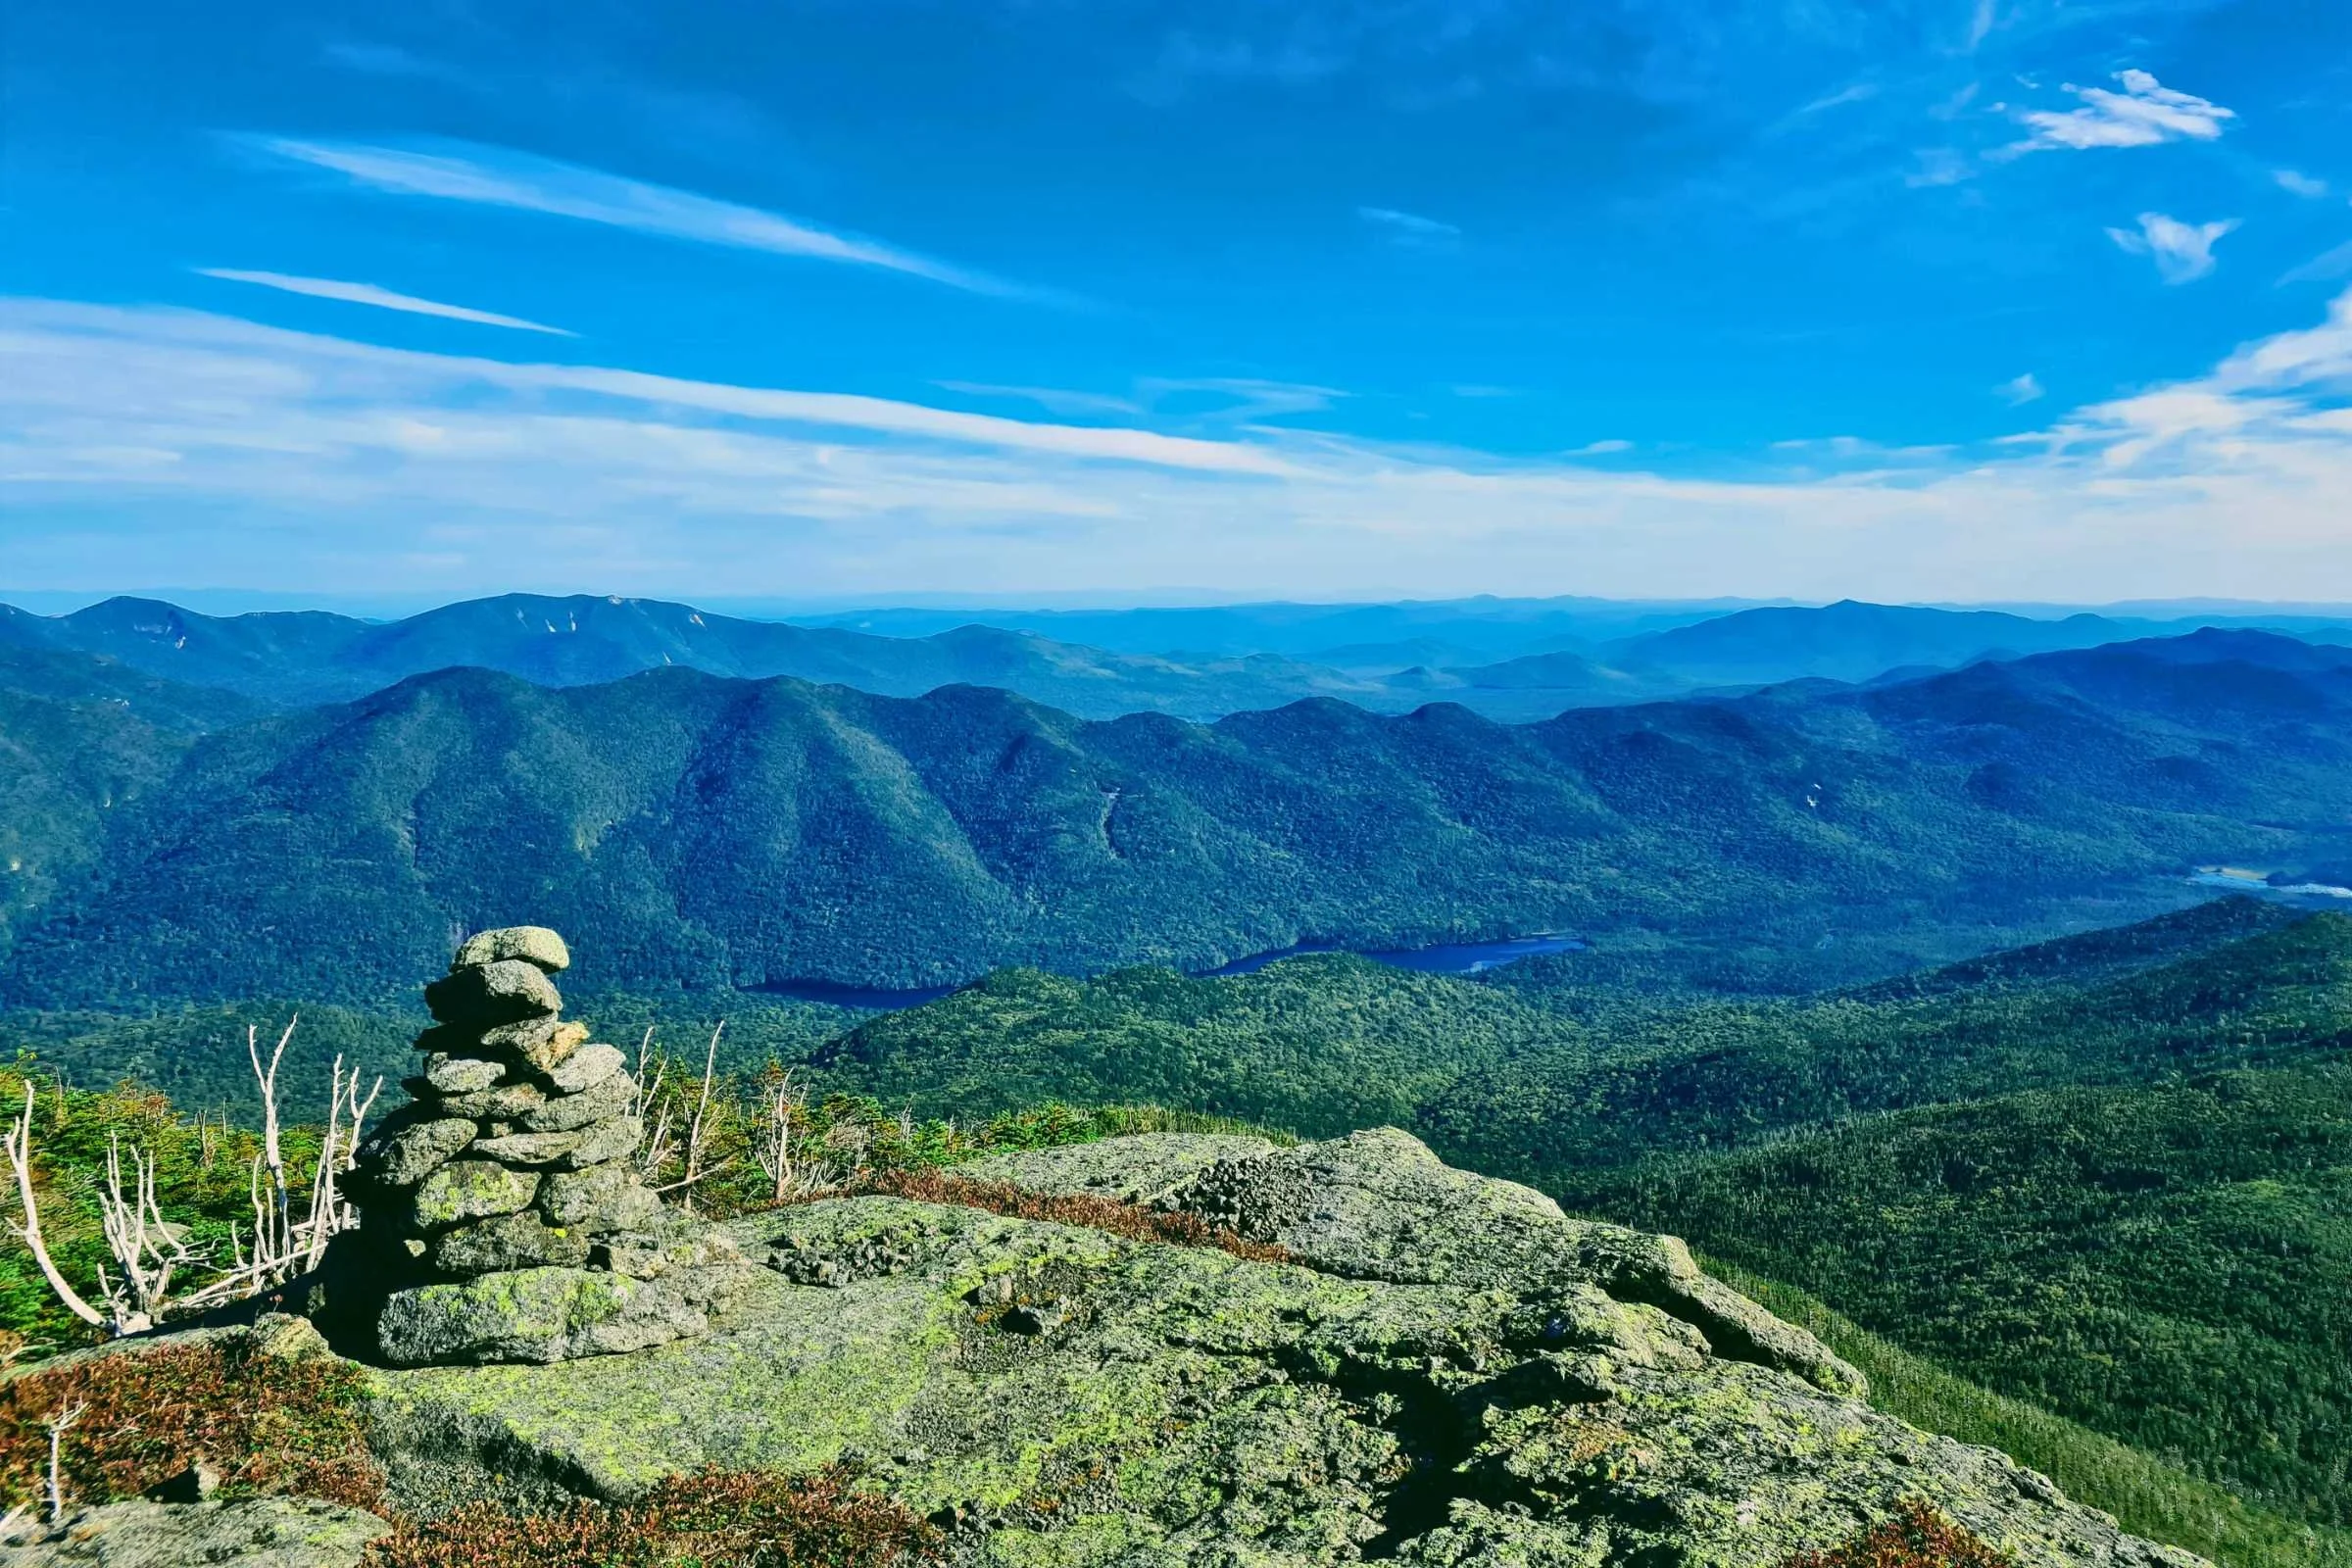
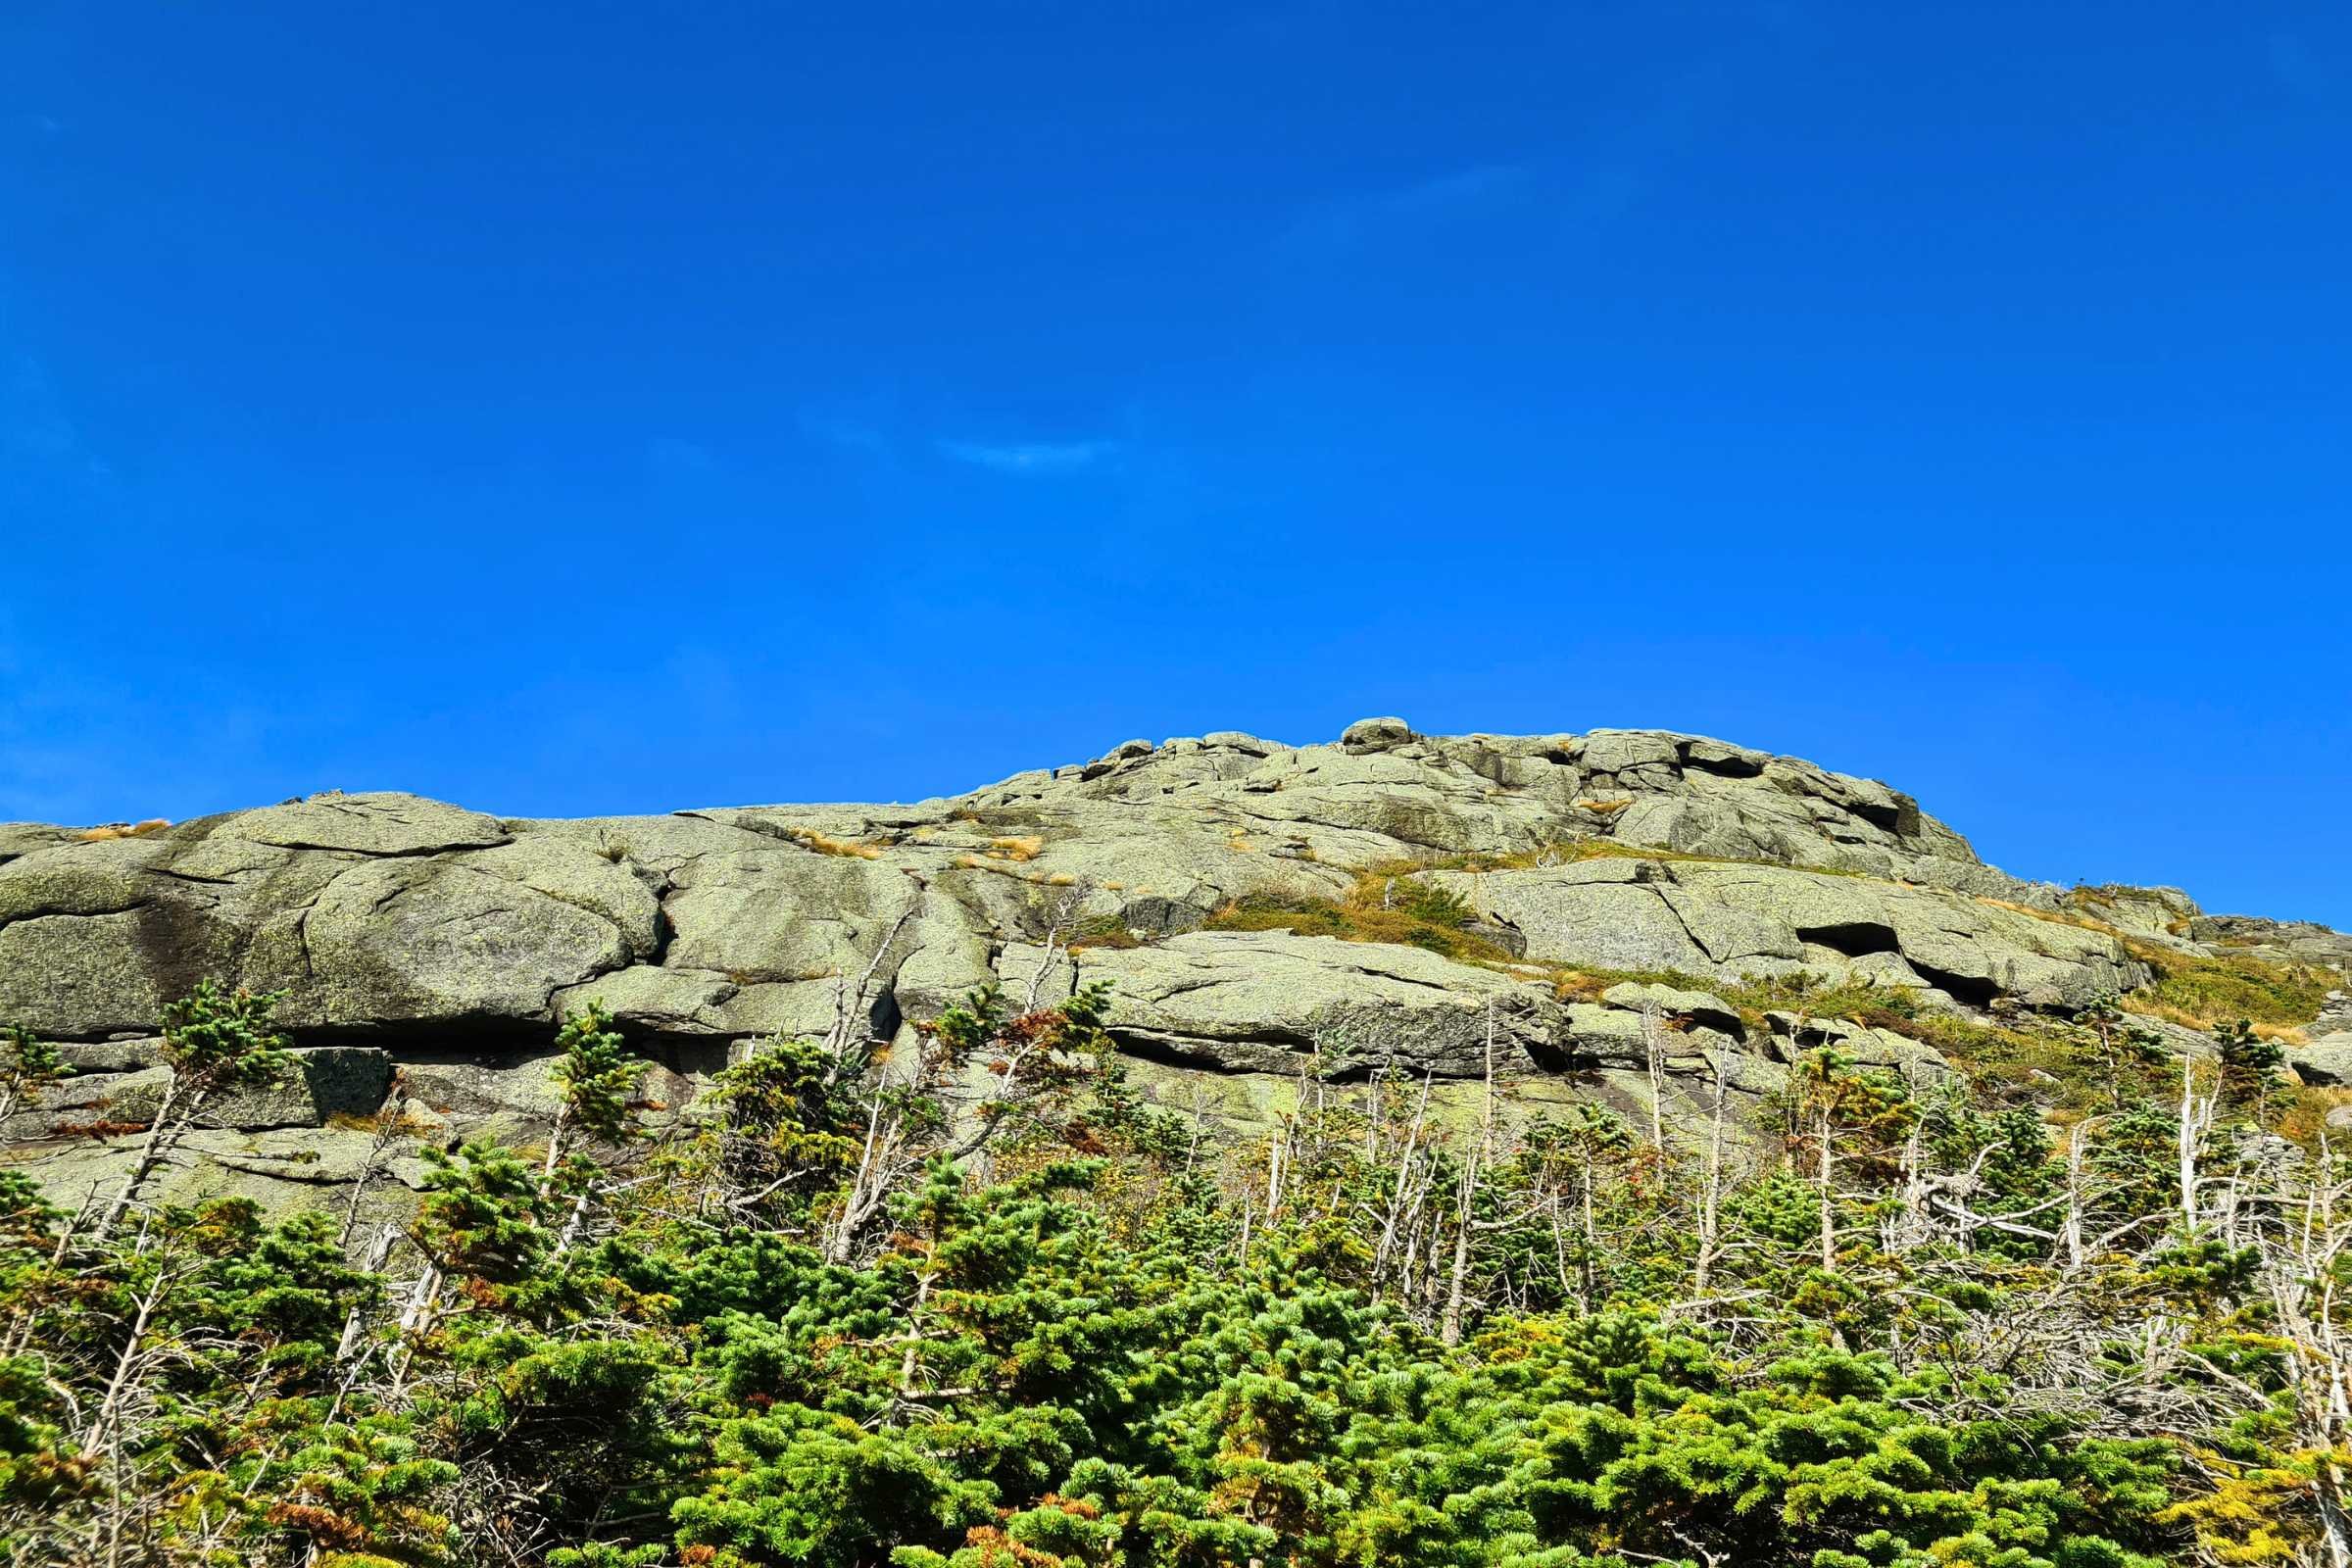
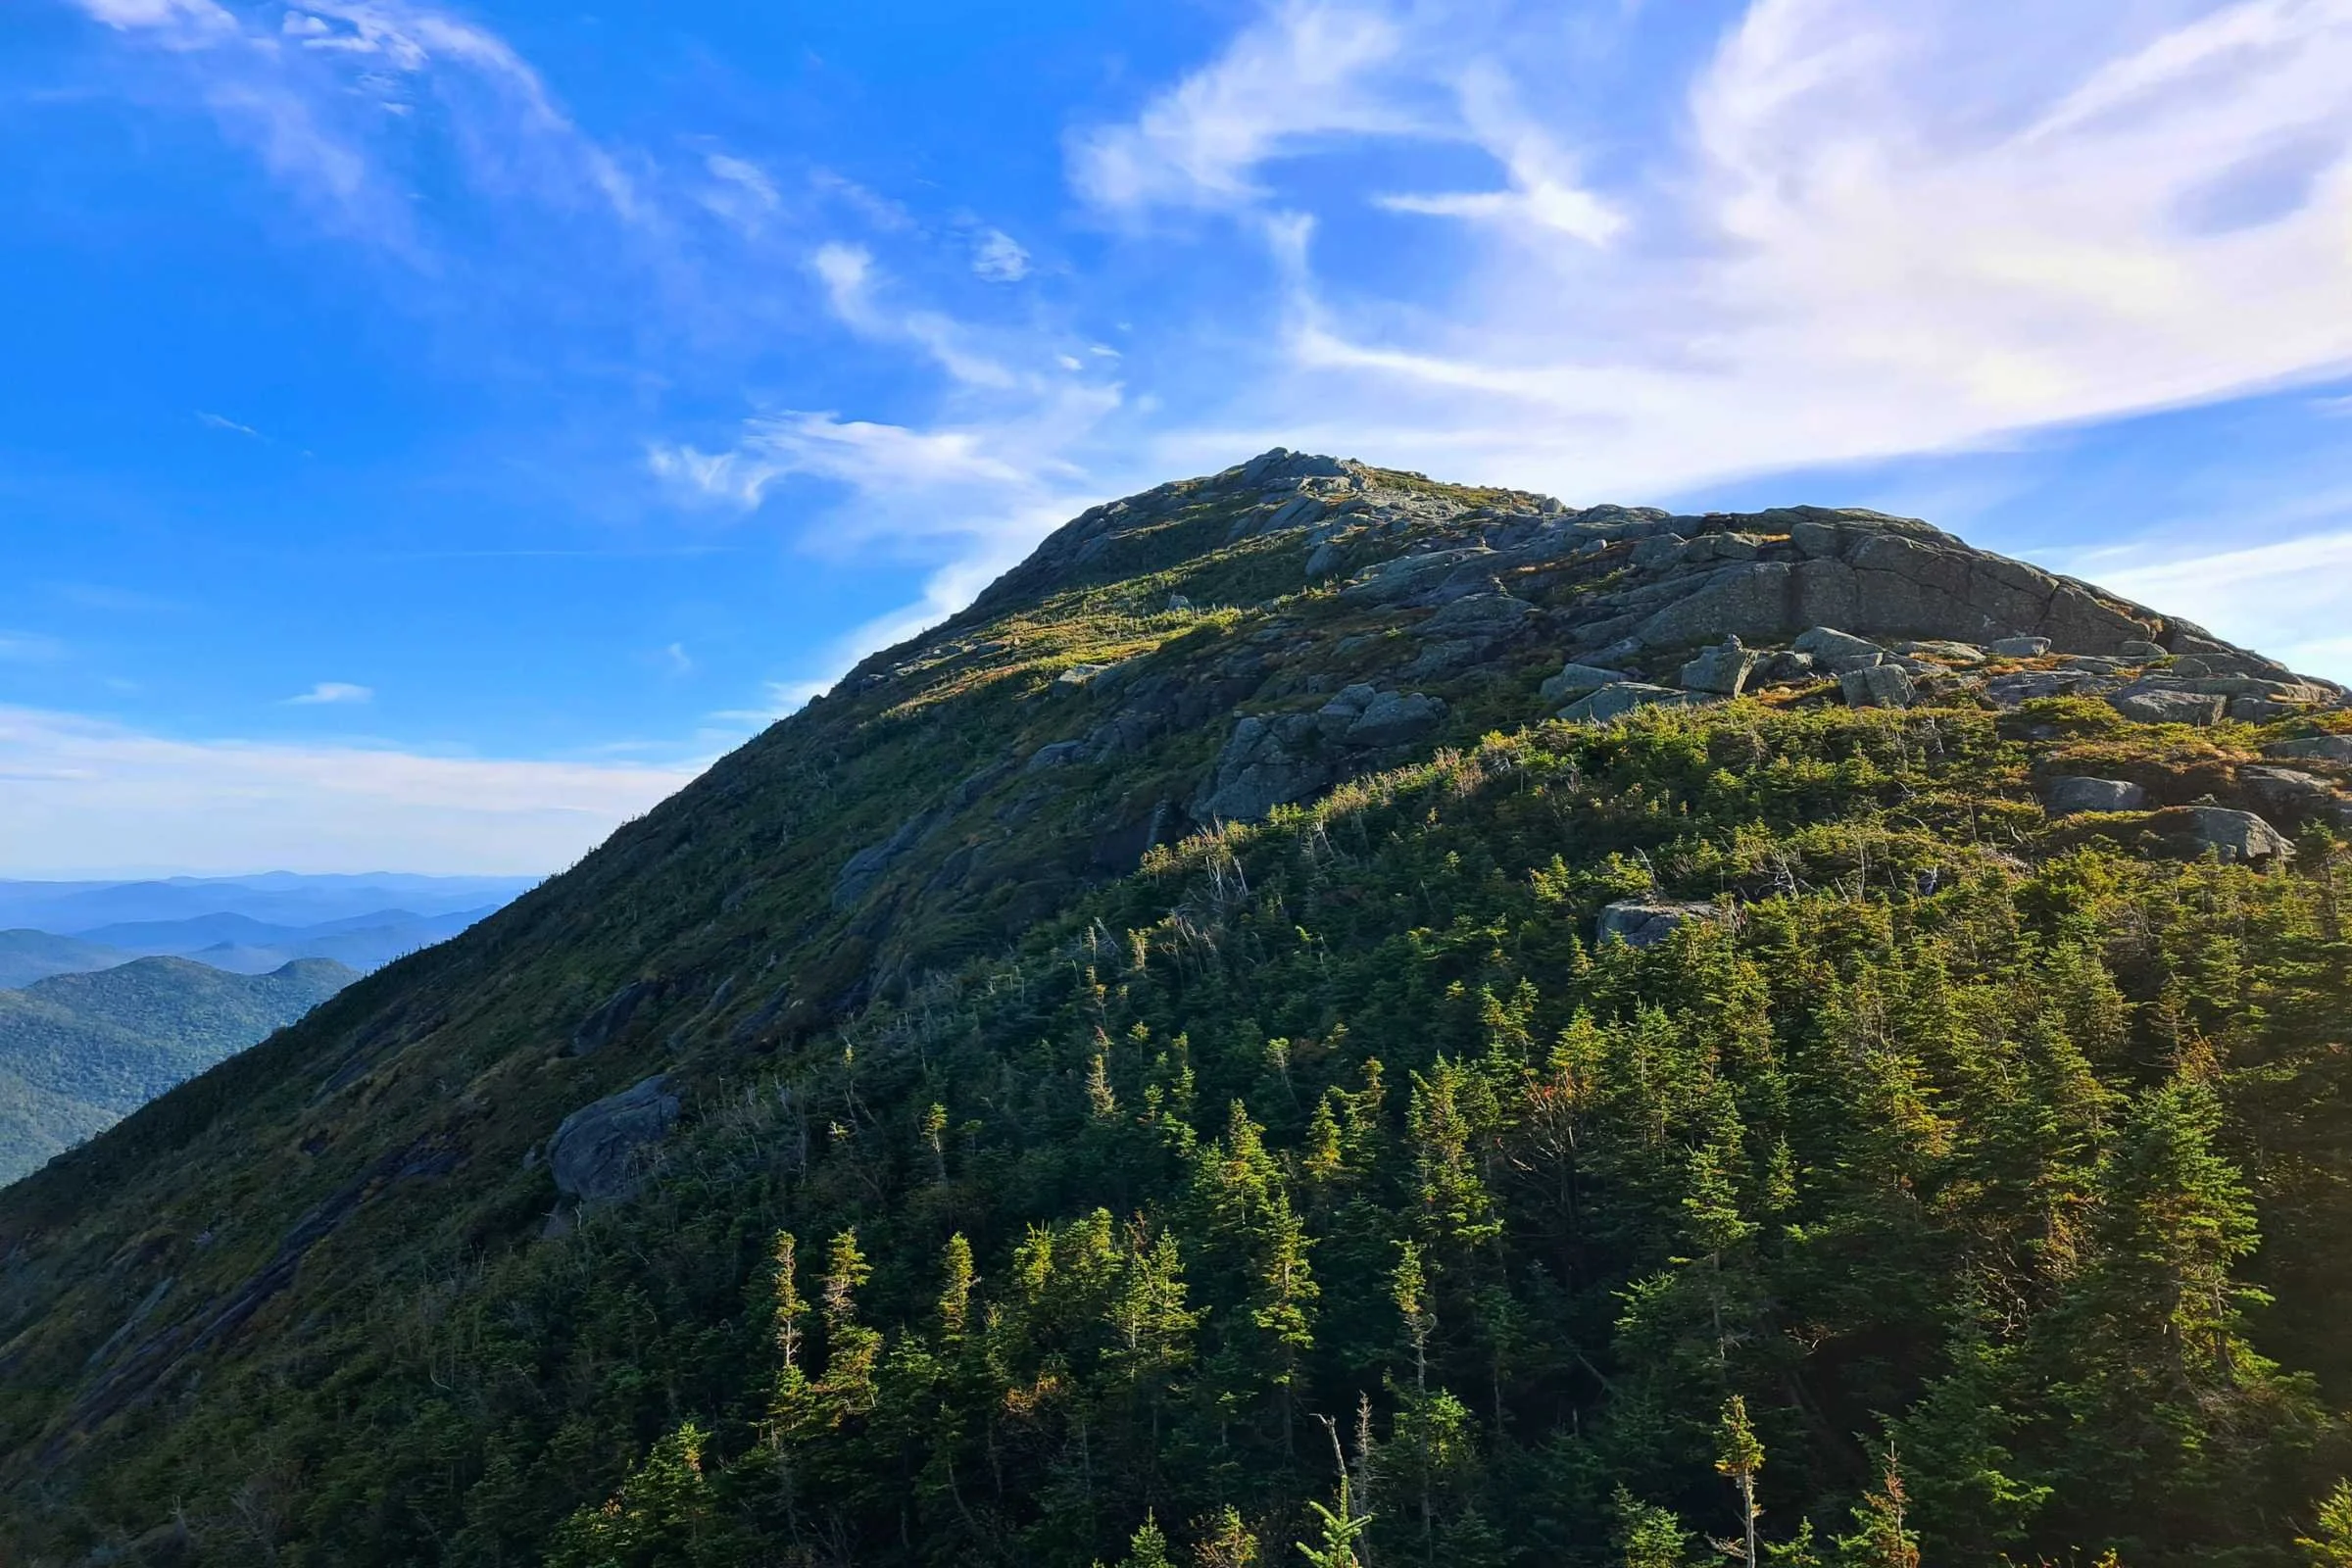
Gallery of photos
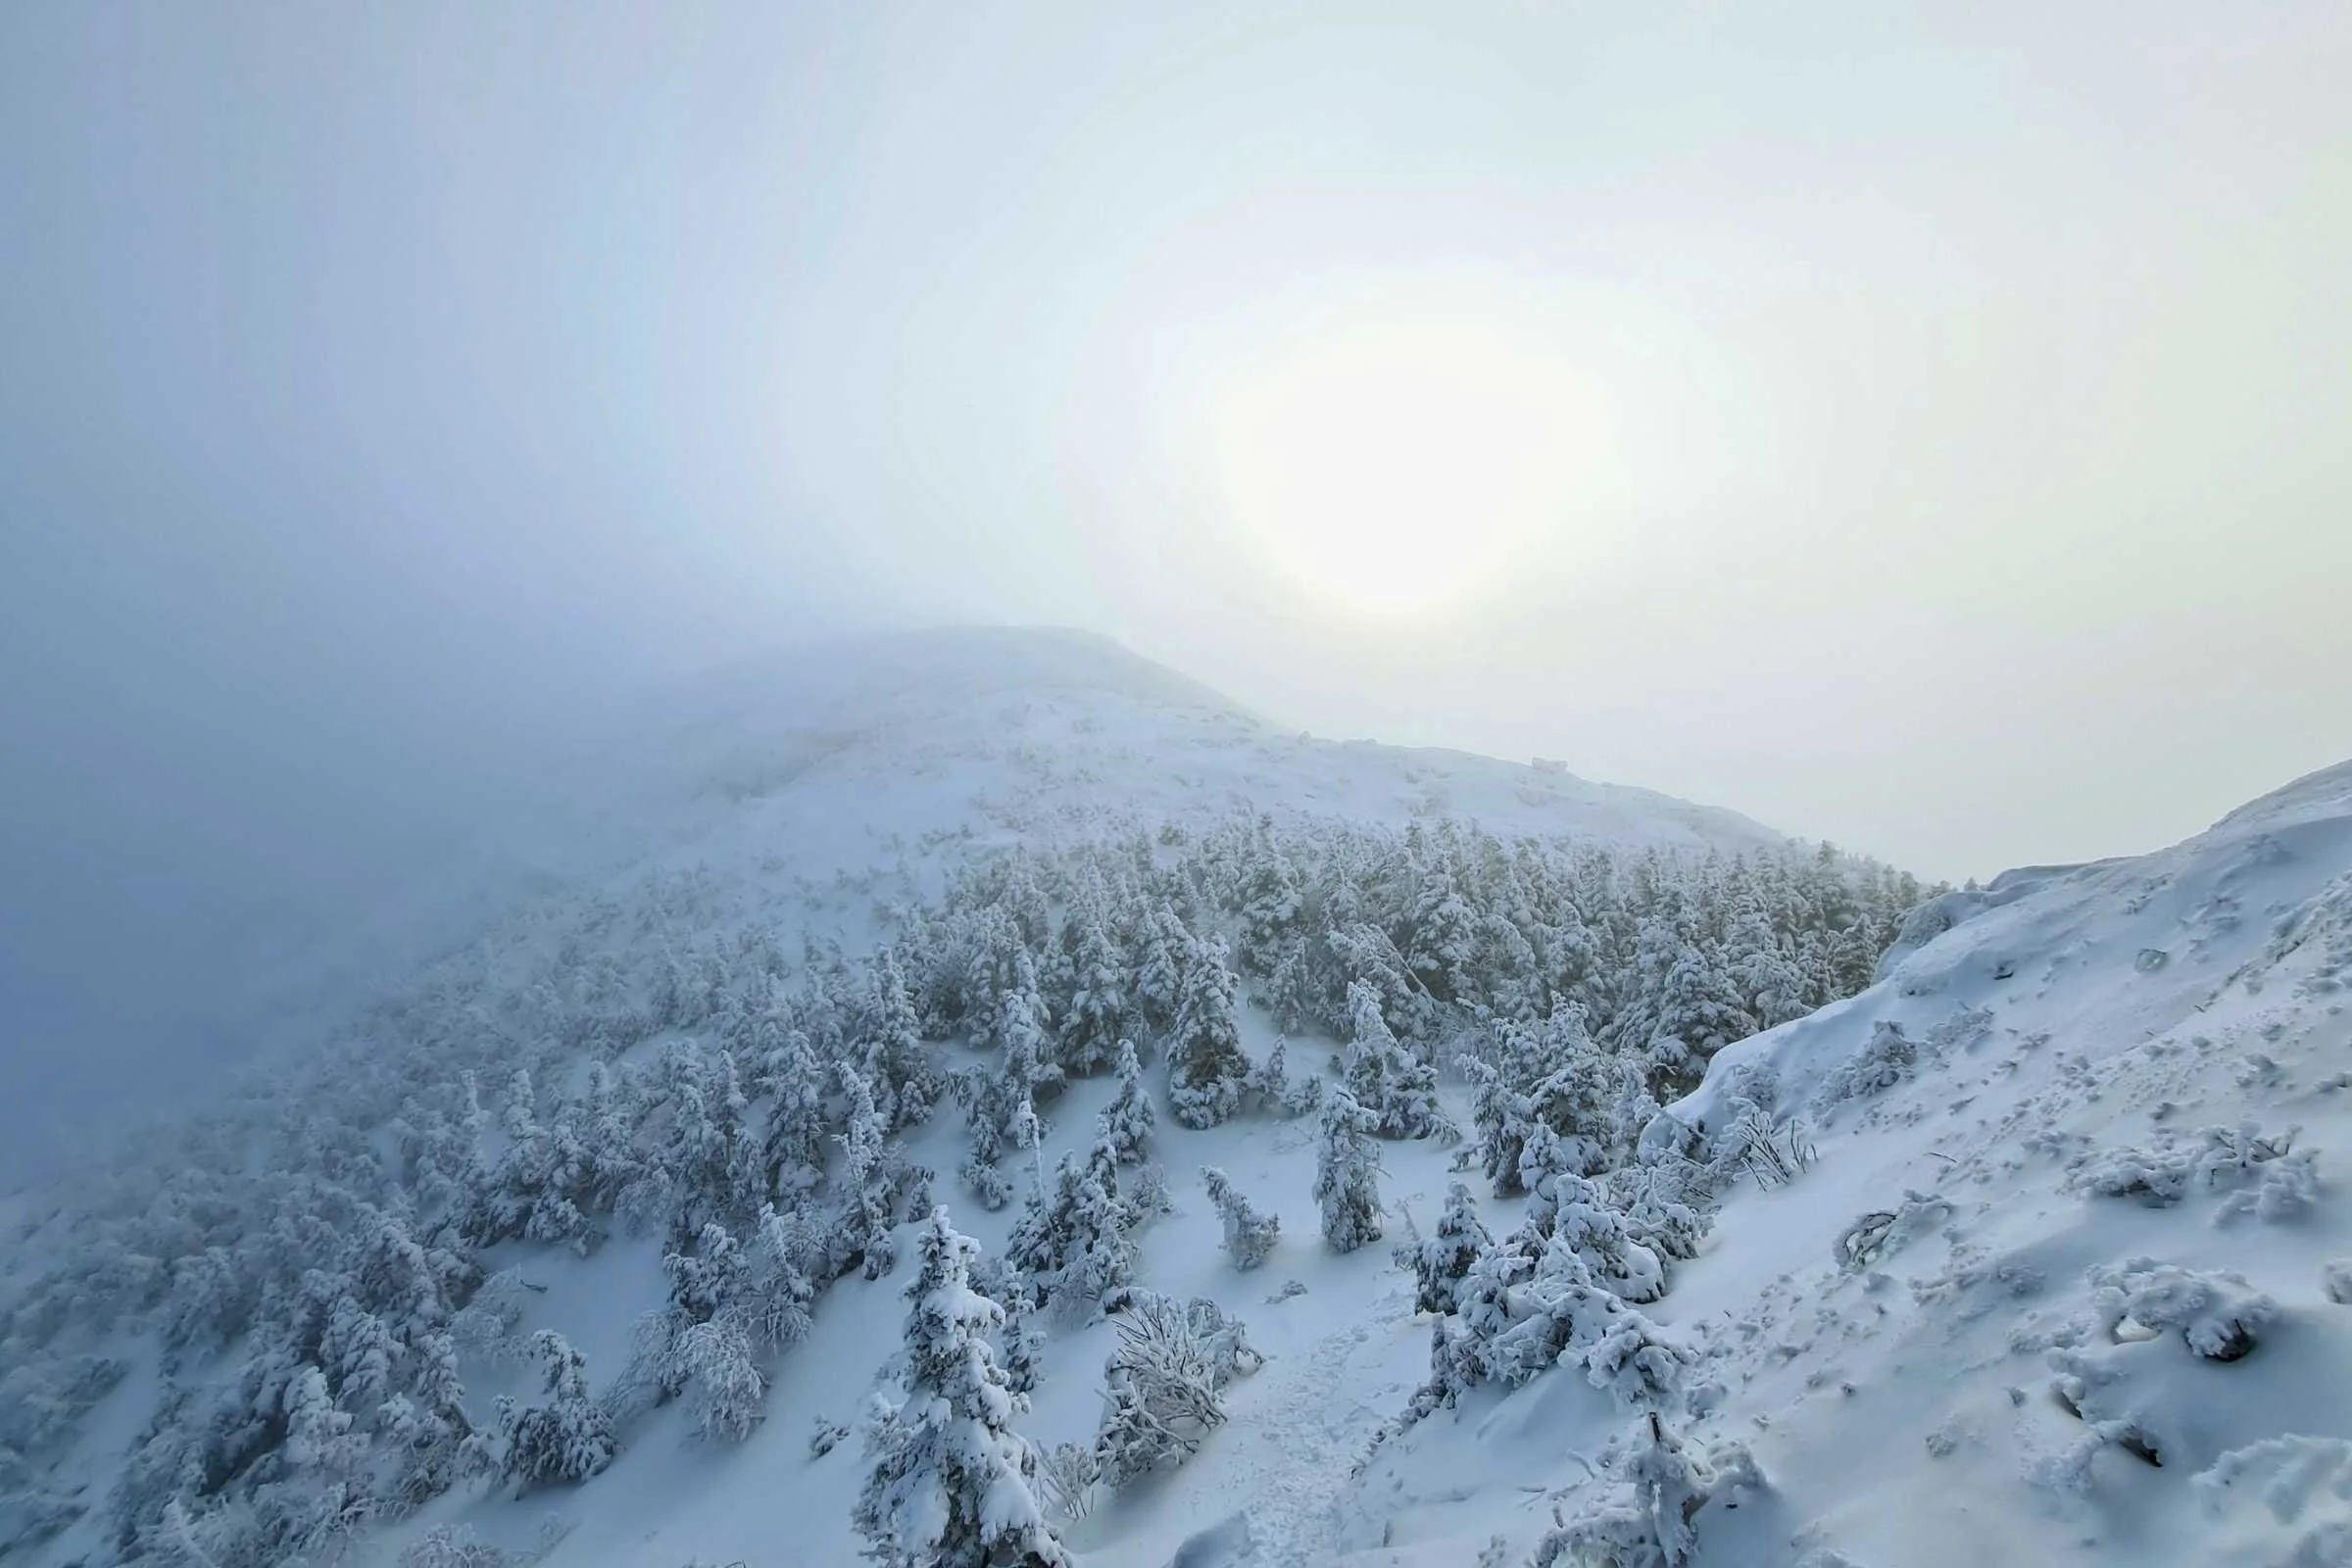
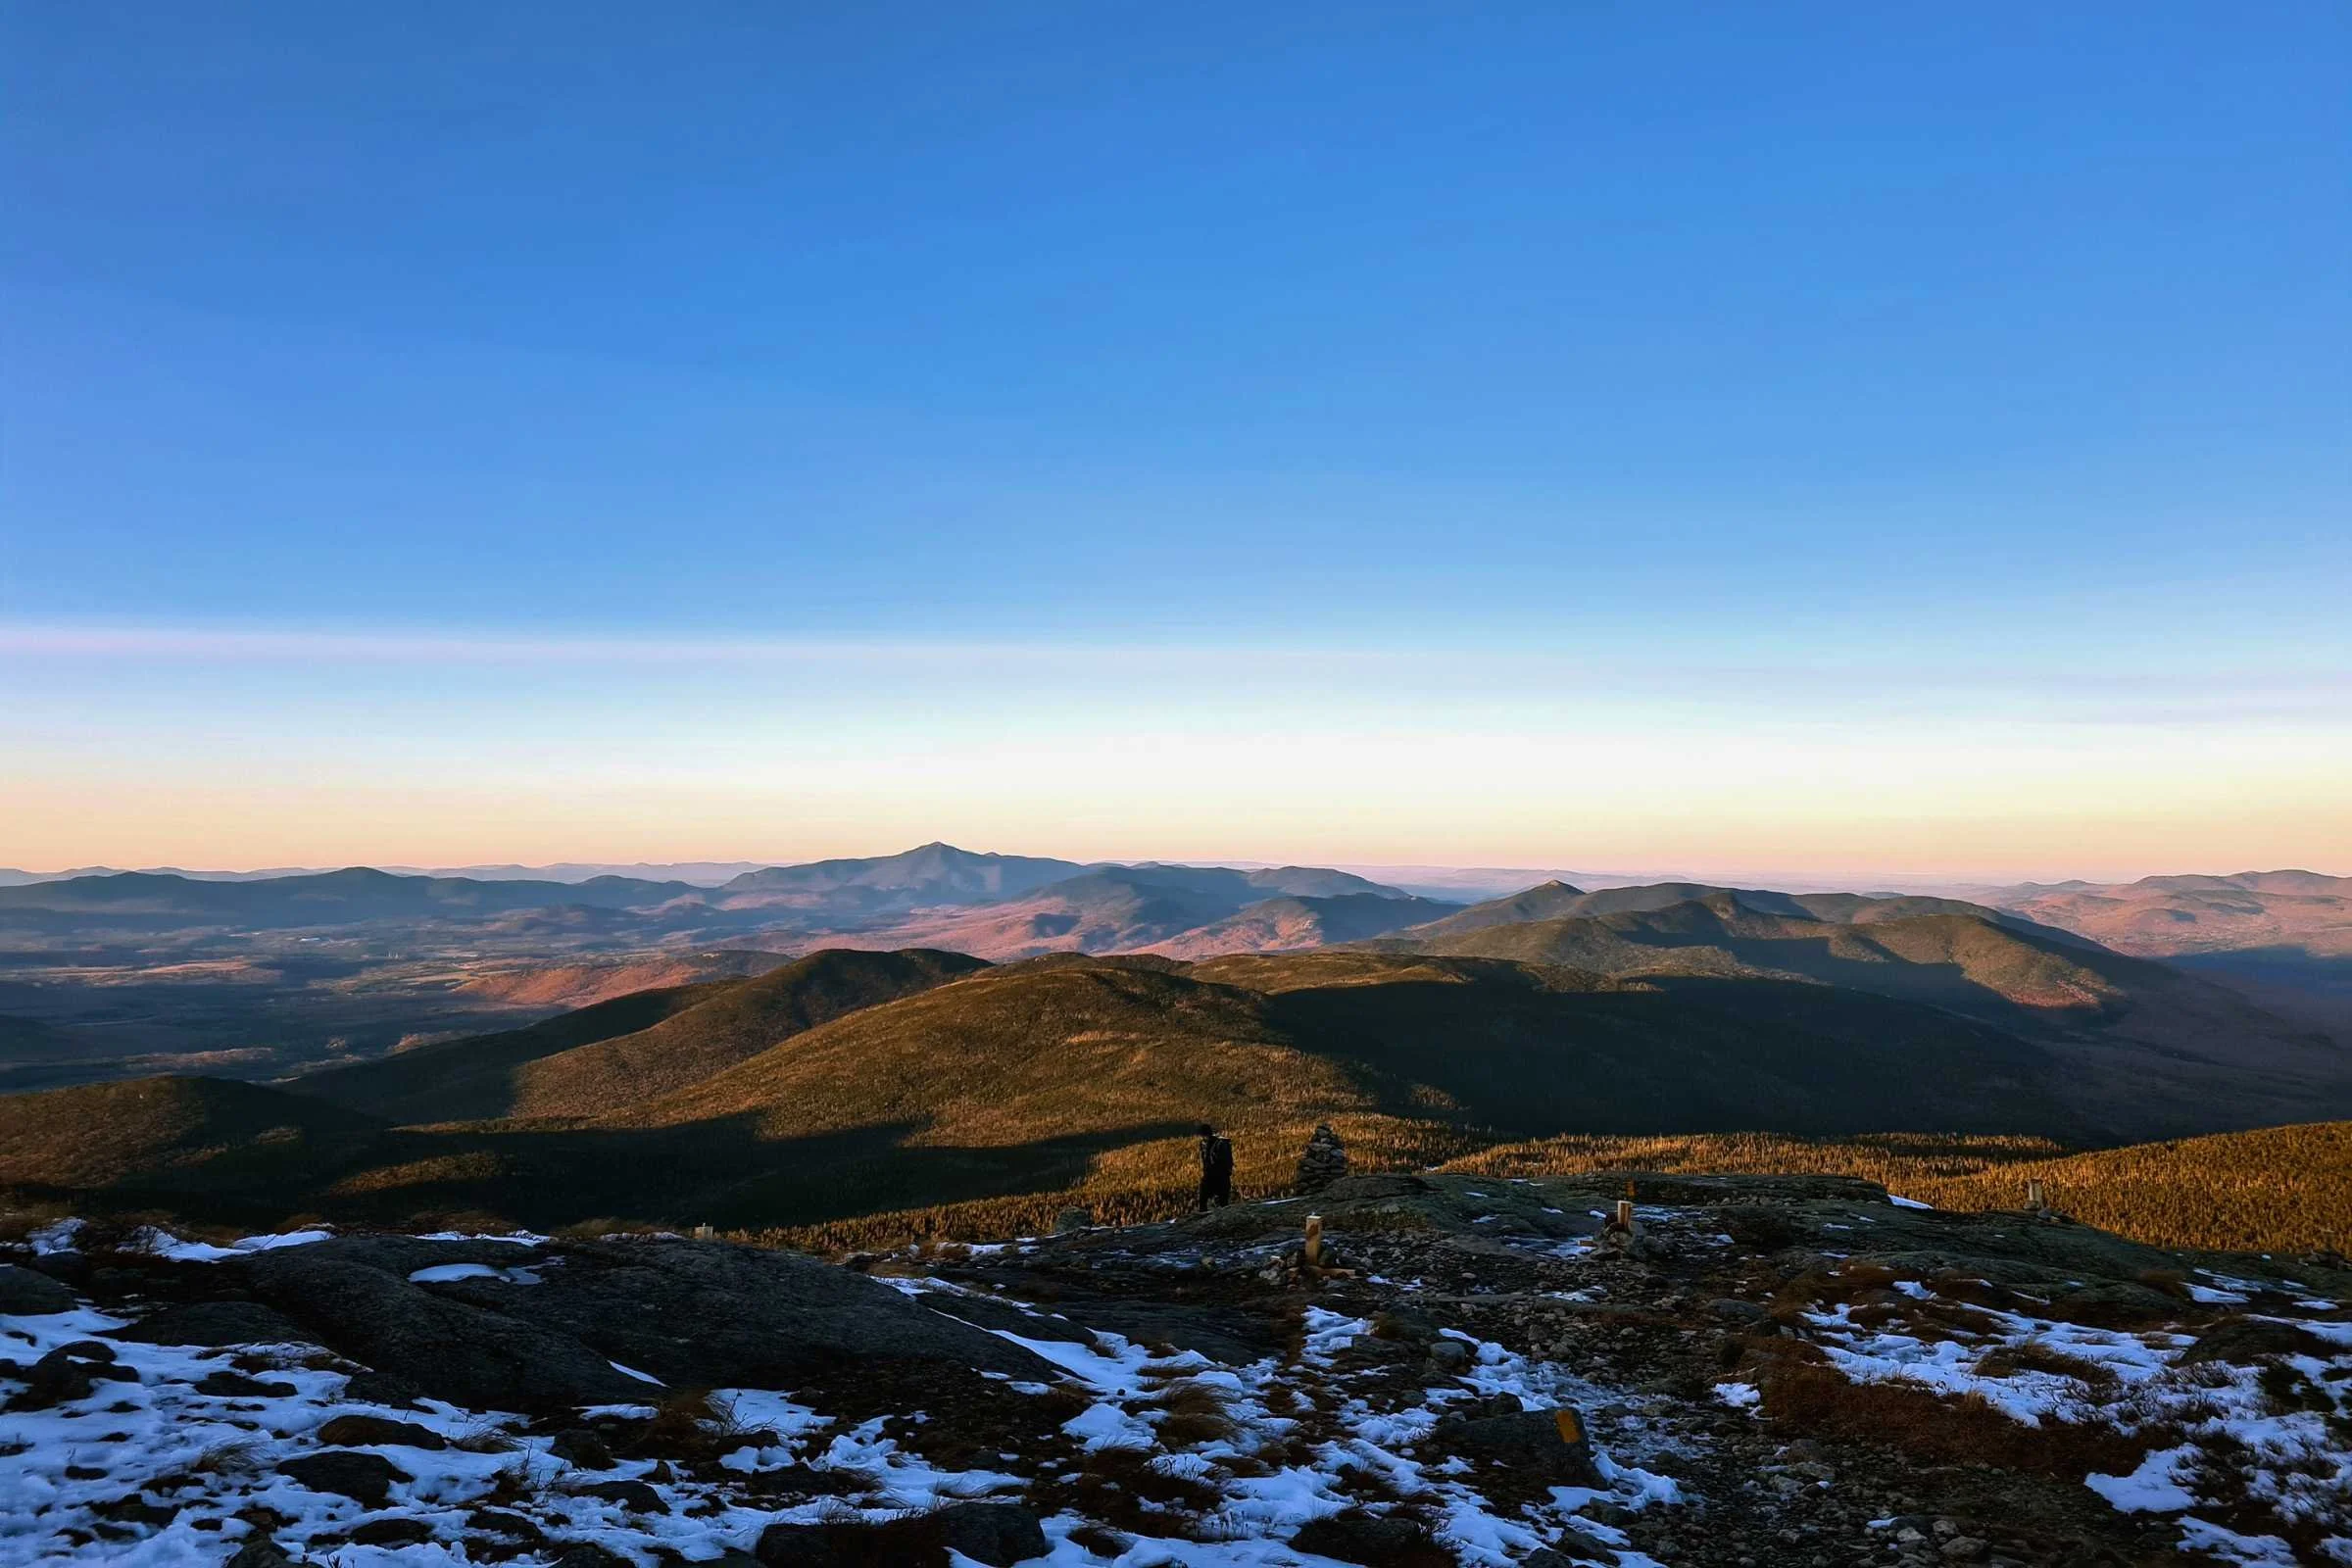
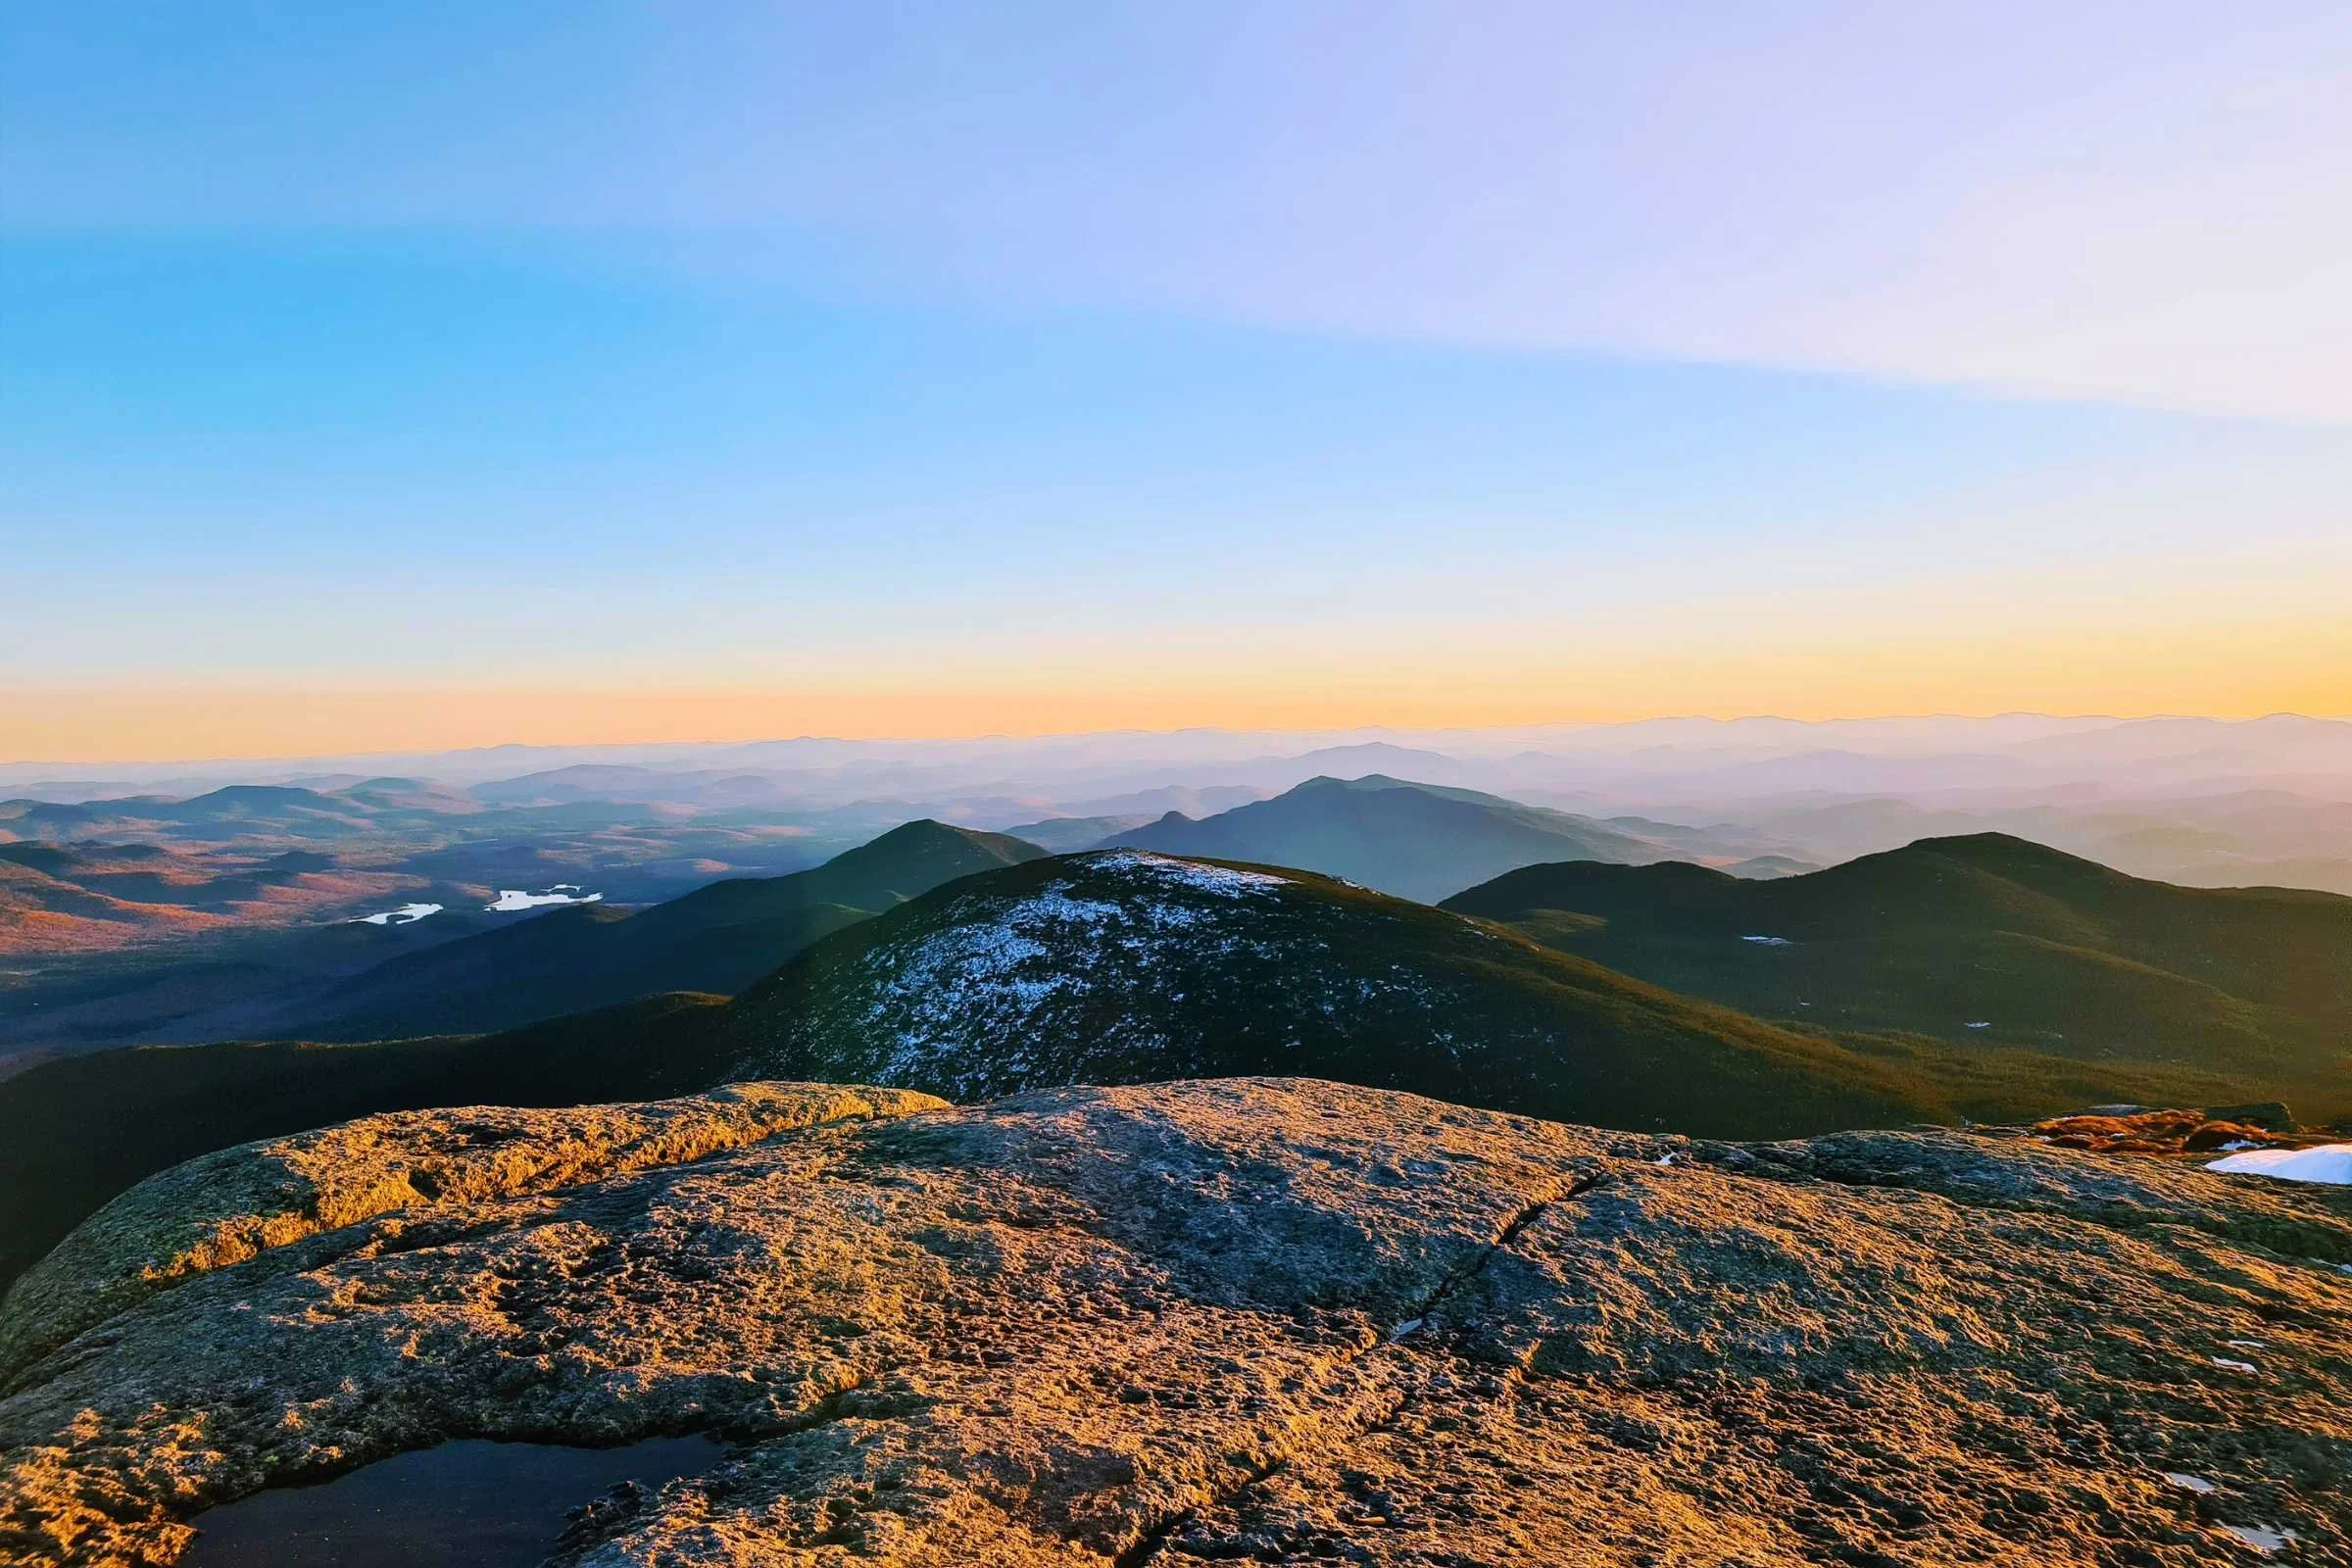
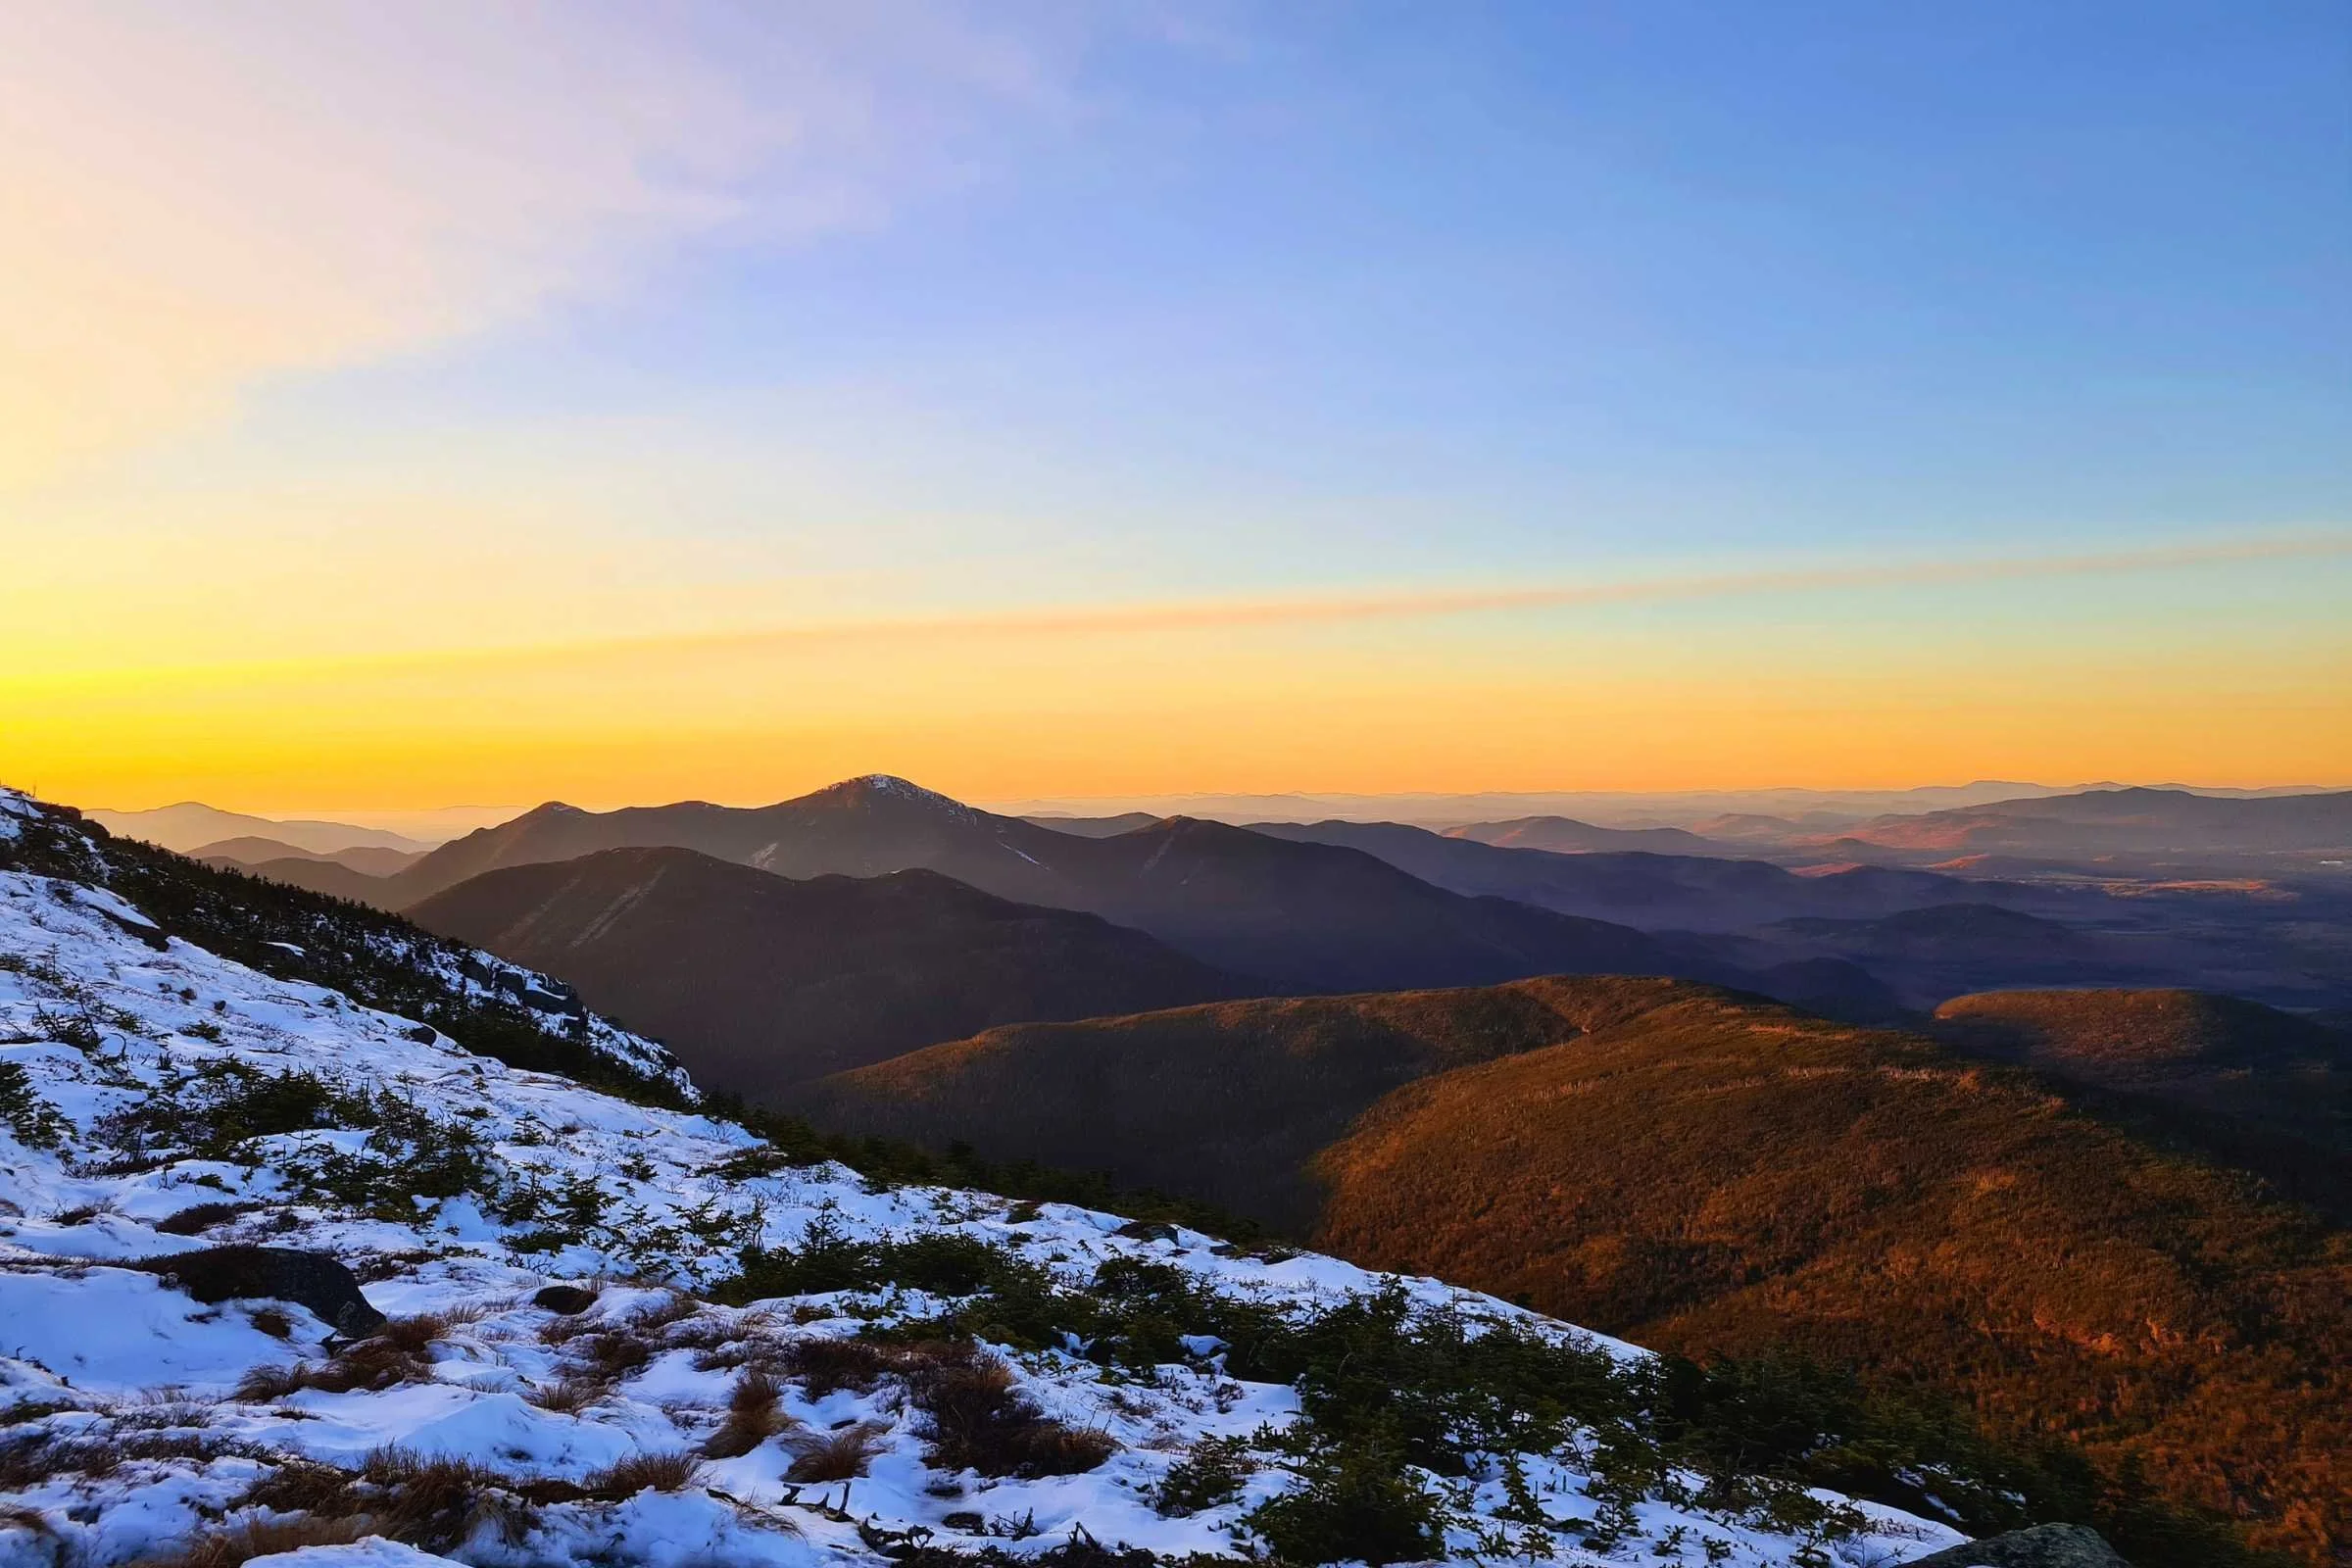
Highlights
Breathtakingly beautiful views along the route
Summiting the NY state high point, Mount Marcy
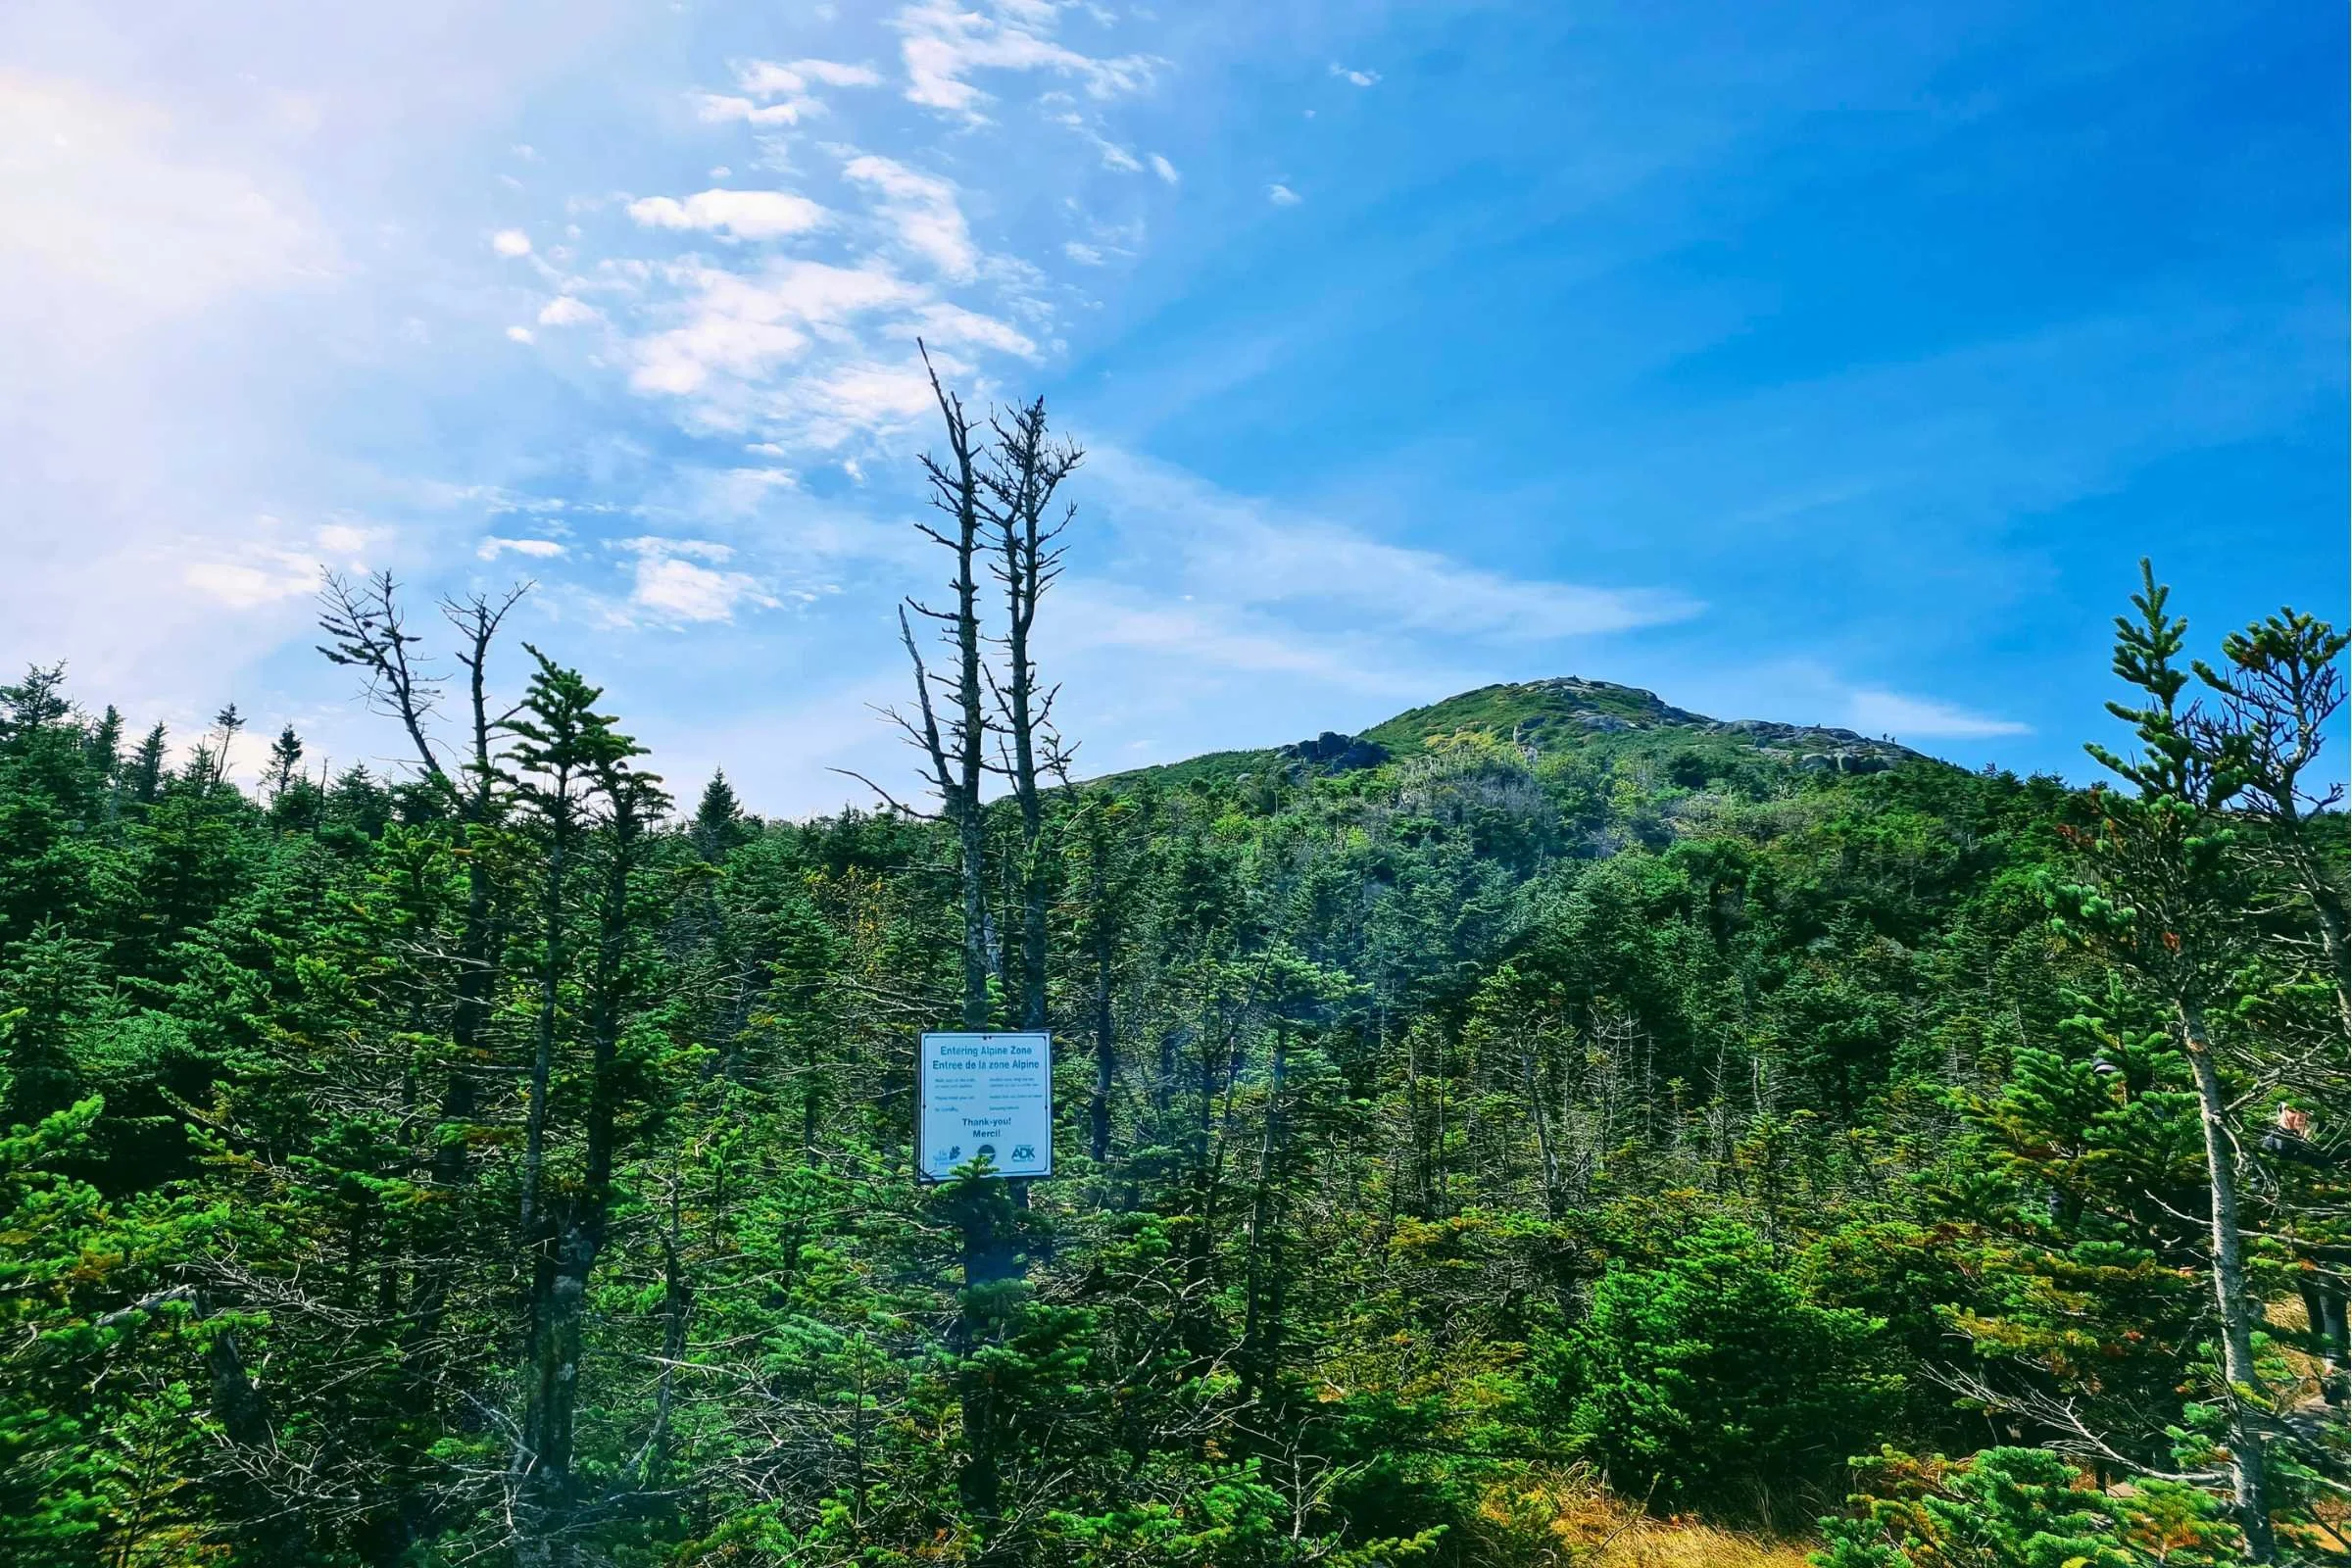
Above-treeline hiking in an alpine environment
The many challenges make for a strong sense of accomplishment
The chance to summit eight of the Adirondack High Peaks (also called the Adirondack 46ers)
The horseshoe-shaped hike can easily be turned into a loop with a 1.9-mile paved downhill walk
Challenges
The majority of the trail is technical terrain, where descending will take longer than ascending
There are extensive steep rock slabs and rock scrambles for the first half that can be wet and/or covered in algae and very slippery
There is only one water source on trail for the first half of the route
There are very limited campsites for the first half of the route
The two parking lots for each end of the horseshoe hike can fill up on weekends
Gear List
Here is a quick list of the gear I used for running and backpacking the Great Range Traverse. For a more thorough discussion about my gear choices, read below.
Best Season
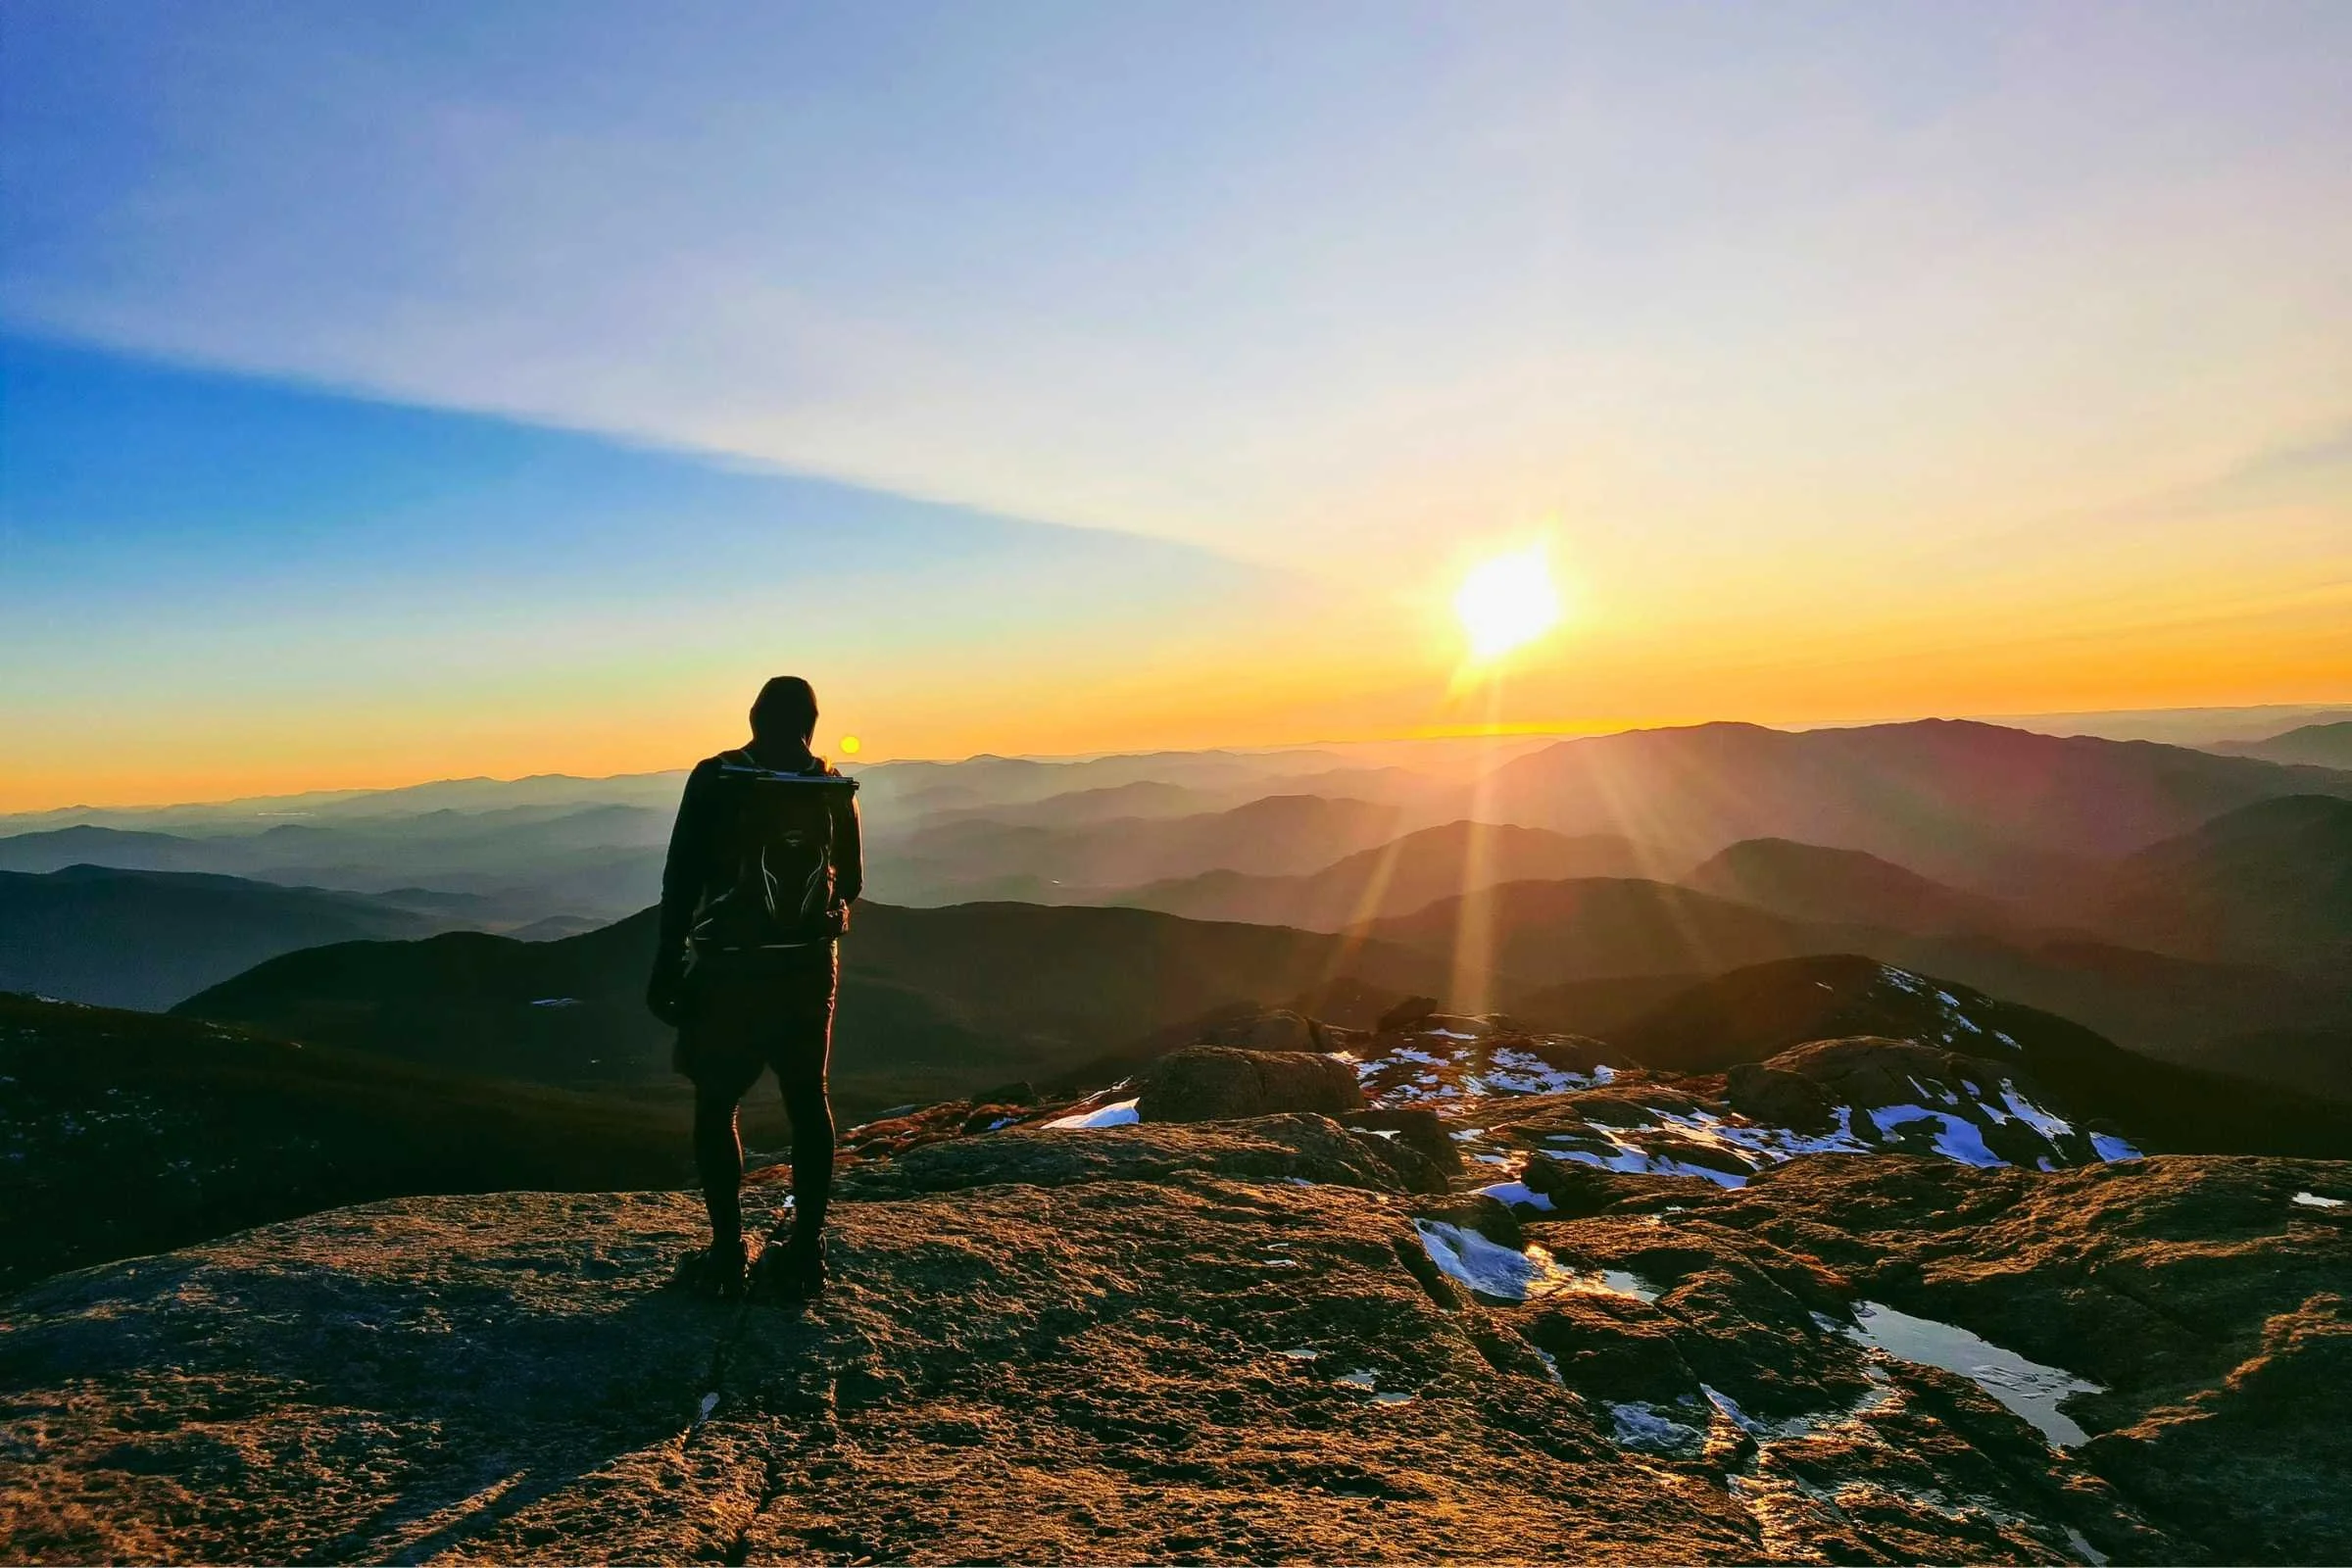
It’s worth waiting for a bluebird day. Photo by Aubri Drake.
The GRT is best hiked July through September. Late May and June are a possibility, though trails in May often still have snow and June tends to have black flies. Typically, August and September have less precipitation than June or July.
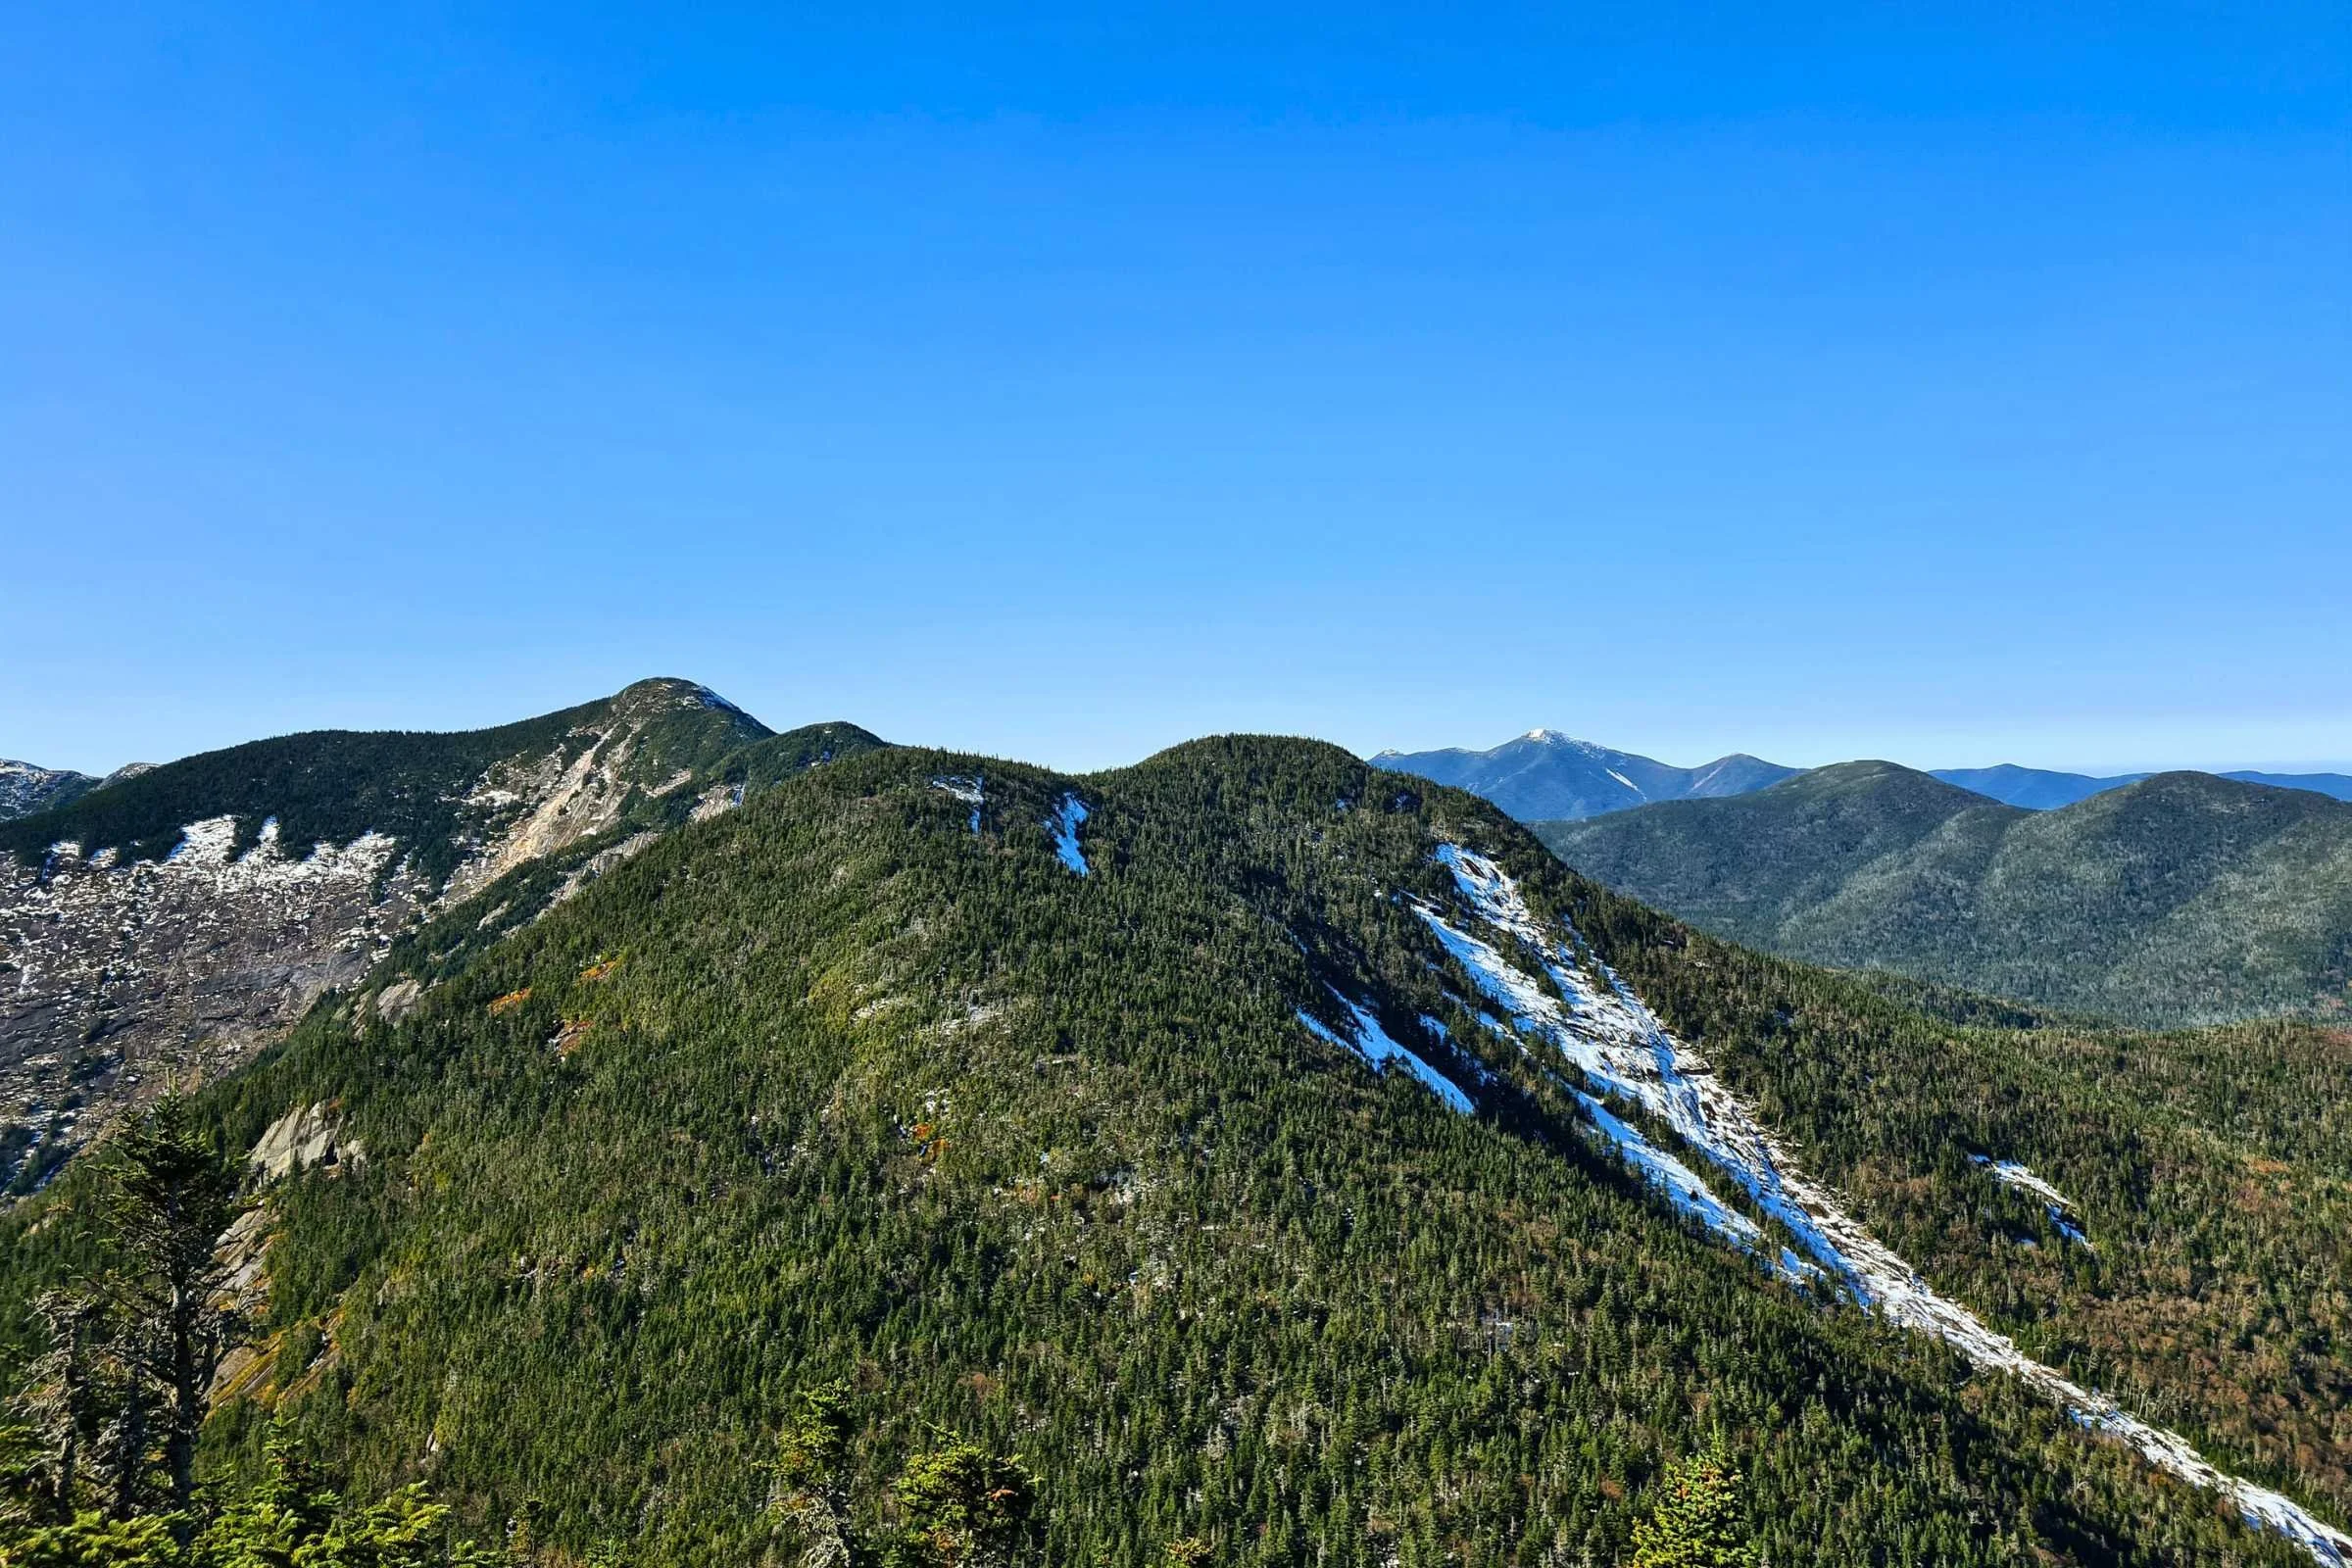
October is a possibility, but the chances of encountering accumulating snow increases as the month continues. When I did a Great Range Traverse in mid-October, there was a foot of melting, slushy snow on the ground above 3,000’.
If there has been significant precipitation recently, these trails don’t drain well. There can be mud and standing water in between peaks for days or weeks until things dry out. These sources of moisture can make footwear wet and slick with mud and impact grip on rock slab and scrambles.
Navigation
Navigation for this route is relatively straightforward. There are no signs for the Great Range Traverse, but there are signs at all intersections indicating which direction to go for different peaks and trails. With a map or a basic GPS app, it’s easy enough to stay on track.
Rough Terrain/Scrambling/Climbing
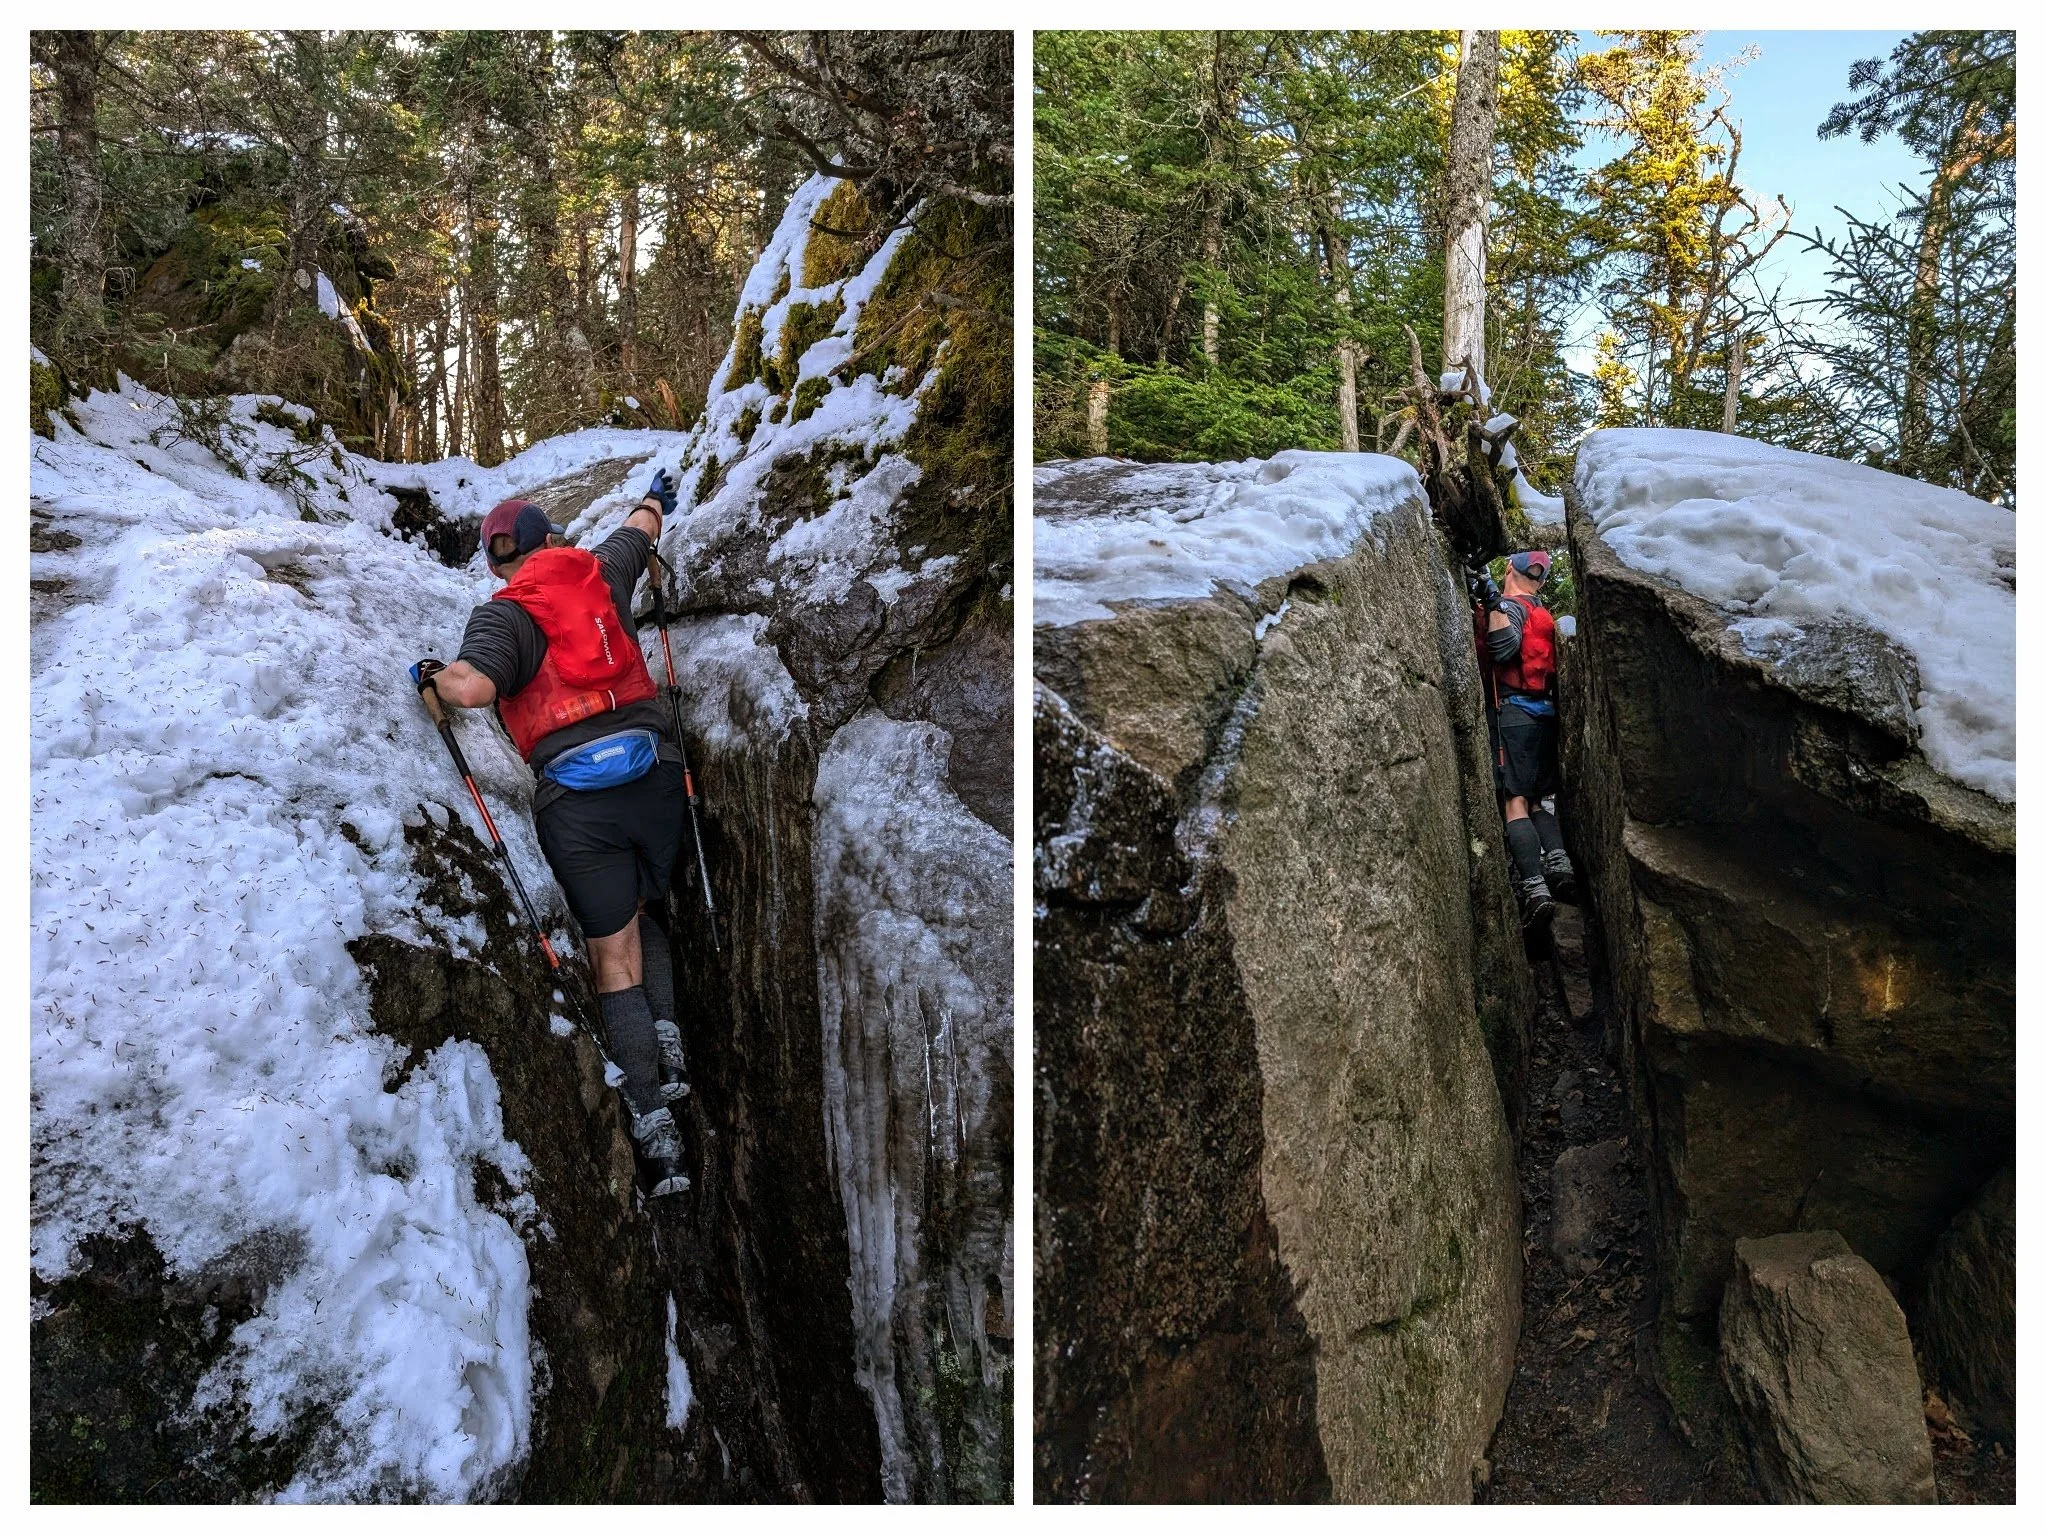
There are many tight squeezes and bouldering moves required of hikers on this route. Photos by Eric Hansen.
This route is a mix of very challenging Class 2 and 2+ terrain, with a lot of rocks and roots in between. There are a few sections of Class 3, most outstanding of which is the Saddleback Cliffs. The only flat and relatively smooth section of trail is the long exit out of the valley, though there are still many rocks to trip tired legs.
Elevation Gain/Elevation Loss
This route makes you work hard for every foot of elevation gained and lost. This is a technical route, with descents taking decidedly longer than ascents. The scrambles up and down the peaks are very steep, requiring hikers to navigate many open rock slabs. Hikers will have to navigate rock slabs with exposure and some fall risk.
Many sections require rock climbing moves, and hikers who are very comfortable bouldering will be at a substantial advantage. There are regularly sections of trail with 50%+ grade, requiring three points of contact to remain stable. There are sections where trees, rock ledges, and roots offer the only hand up, and so some upper body and hand strength is necessary as well.
In good conditions, this is a very challenging hike. In poor conditions, this hike can be a devastating slog.
Weather
The weather in the Adirondacks is similar to that of the White Mountains. It can be perfectly gorgeous and it can be treacherously terrible. This route goes far out into the center of Adirondack Park, far away from roads and rescue services.
Please take the time to truly familiarize yourself with the mountains’ weather conditions in advance of your trip, looking at not just weather in the valley but also weather reports specifically for the mountain summits. These can be accessed through NOAA Mountain Point.
Permits
No permits are required for this route. Parking is the biggest barrier. Please see Trailheads below for more information.
Route Summary
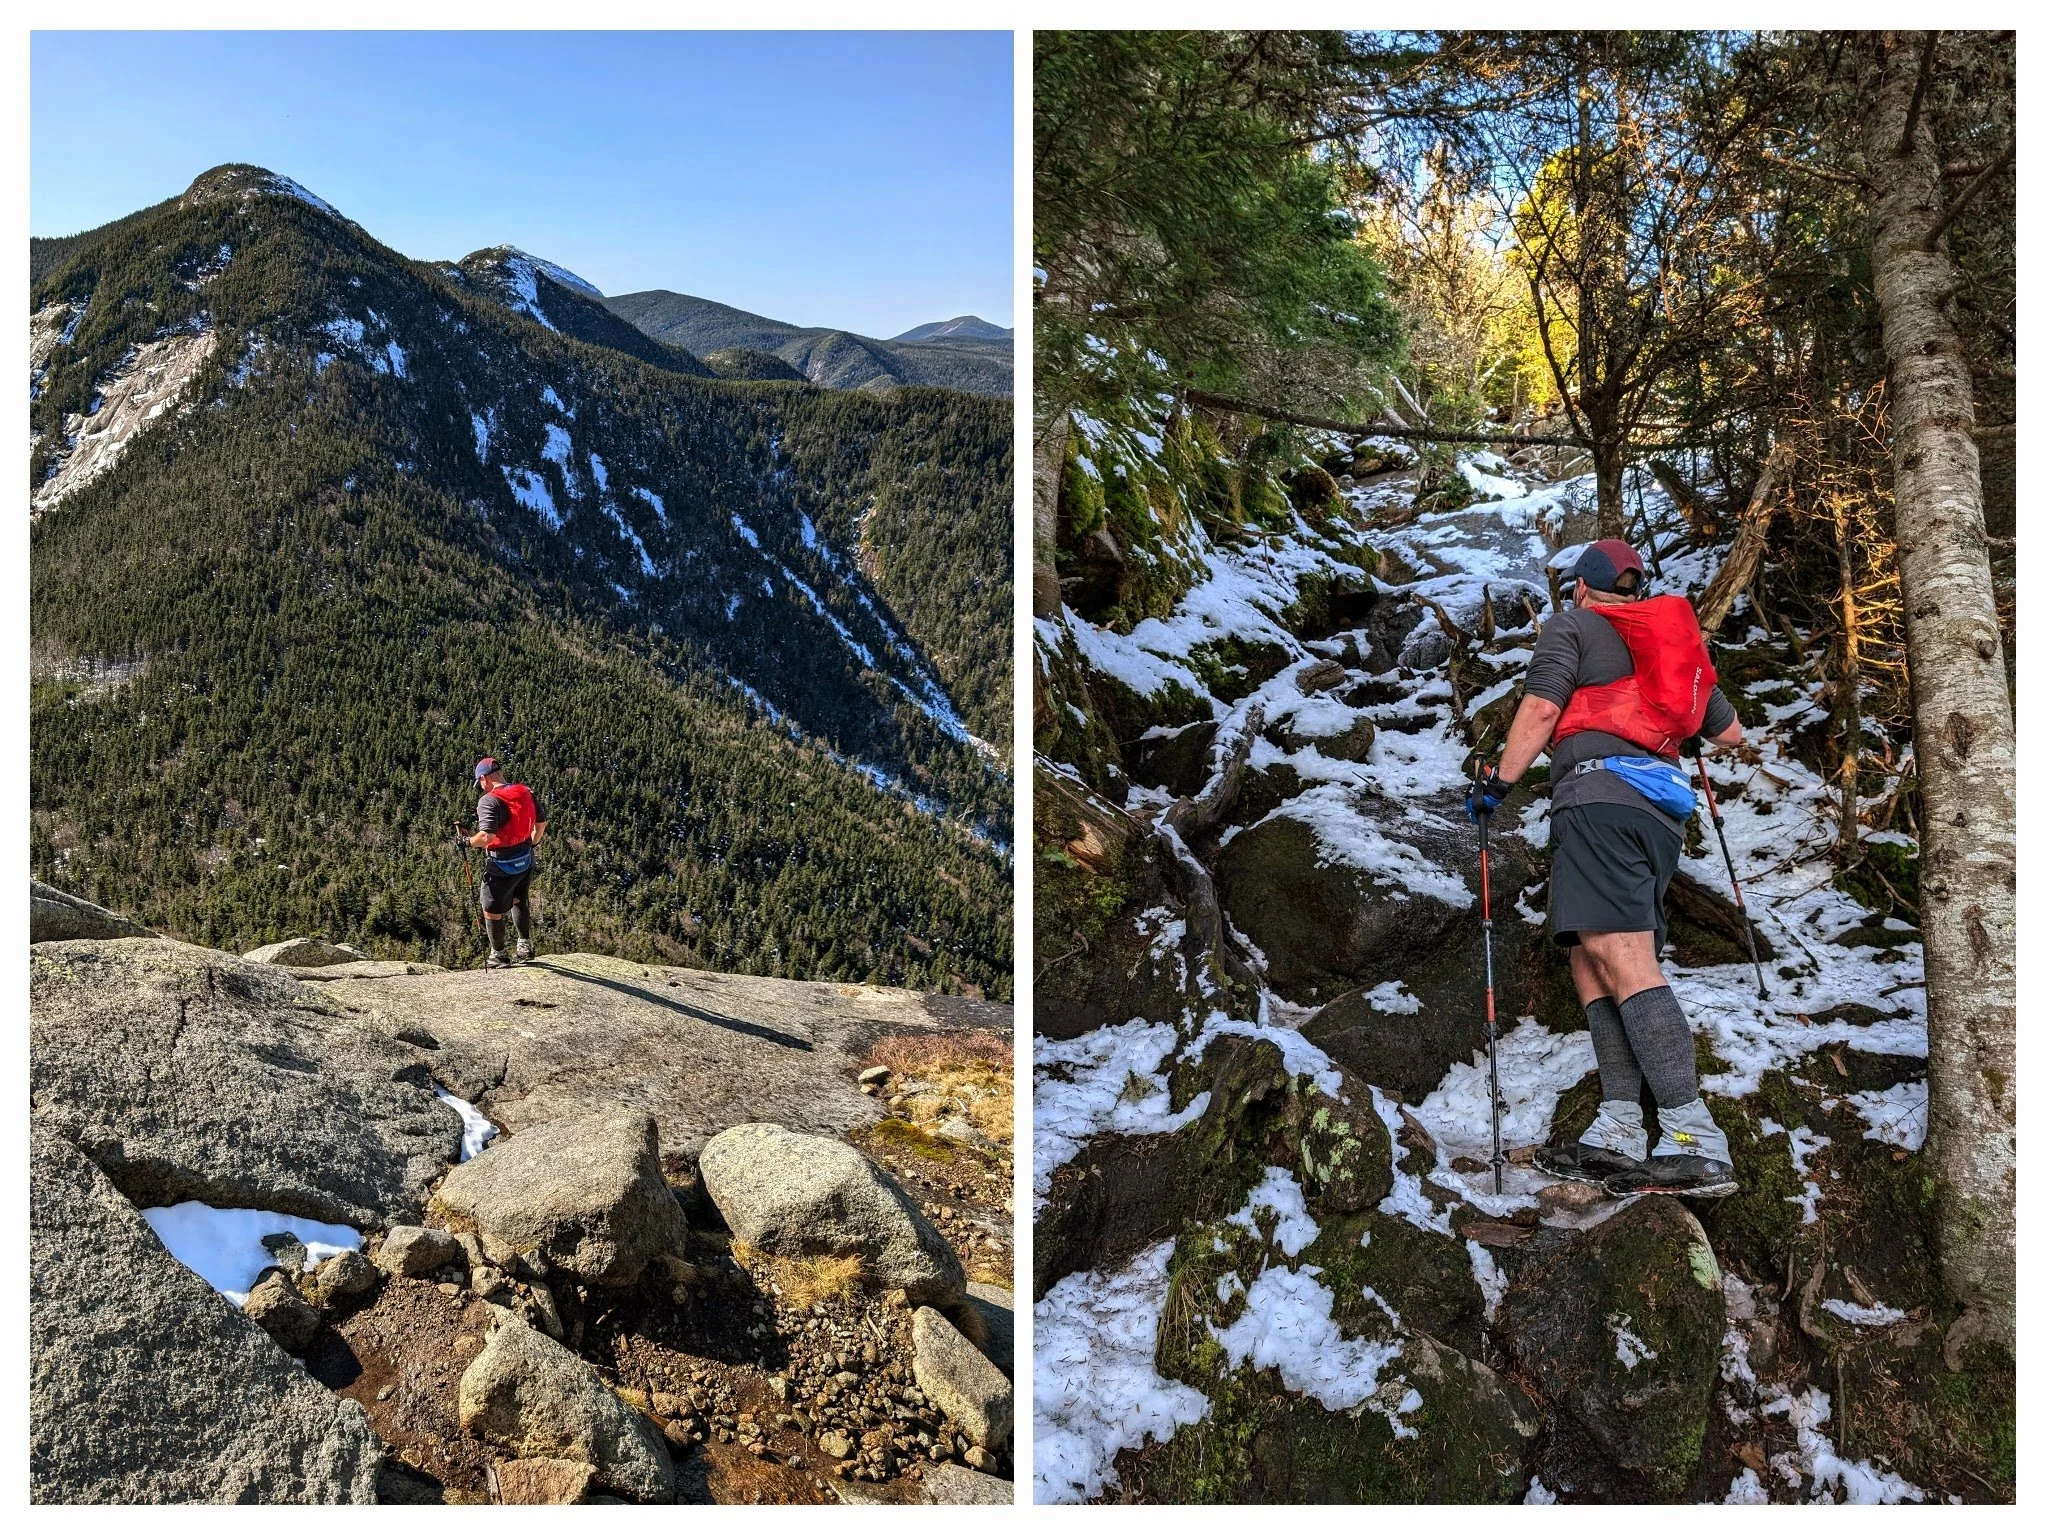
Typical terrain that hikers face on this traverse. Photos by Eric Hansen.
Starting from the Roostercomb parking area, the Rooster Comb Trail crosses a marshy area on a walkway with no railings. The trail loops around a small pond, and then begins the climbing. The trail climbs 1,300 feet over the first 1.8 miles.
At the intersection with Hedgehog and Flume Brook, the route takes a right to do an out-and-back to Rooster Comb. The spur is 0.4 miles long, and when you’re back at the intersection, take a right to continue your climbing on the Hedgehog trail. You’ll arrive at the summit of Hedgehog Mountain at 3.6 miles with 2,700 feet of climbing done.
The route intersects with the W.A. White Trail on the left at 4 miles, with hikers continuing straight. After navigating increasingly gnarly boulder climbing, rock slabs, and rock scrambling, you’ll arrive at the summit of Lower Wolf Jaw at mile 5.2 with 3,800’ of climbing done. At mile 5.6, the route intersects with the Wolf Jaw Trail and the Wolf Jaws Notch Cutoff Trail, leading to Wedge Brook Trail. More scrambling brings you to the summit of Upper Wolf Jaw at mile 6.3.
The route continues to get more challenging as you head towards Armstrong Mountain, with exposed, slanted rock slabs that are often wet, covered in algae, and slippery. There is one log ladder to assist in the climb up towards the summit, but then there is an open slab above the ladder. The Armstrong summit is right about mile 7, with more than 5,000 feet of climbing already completed.
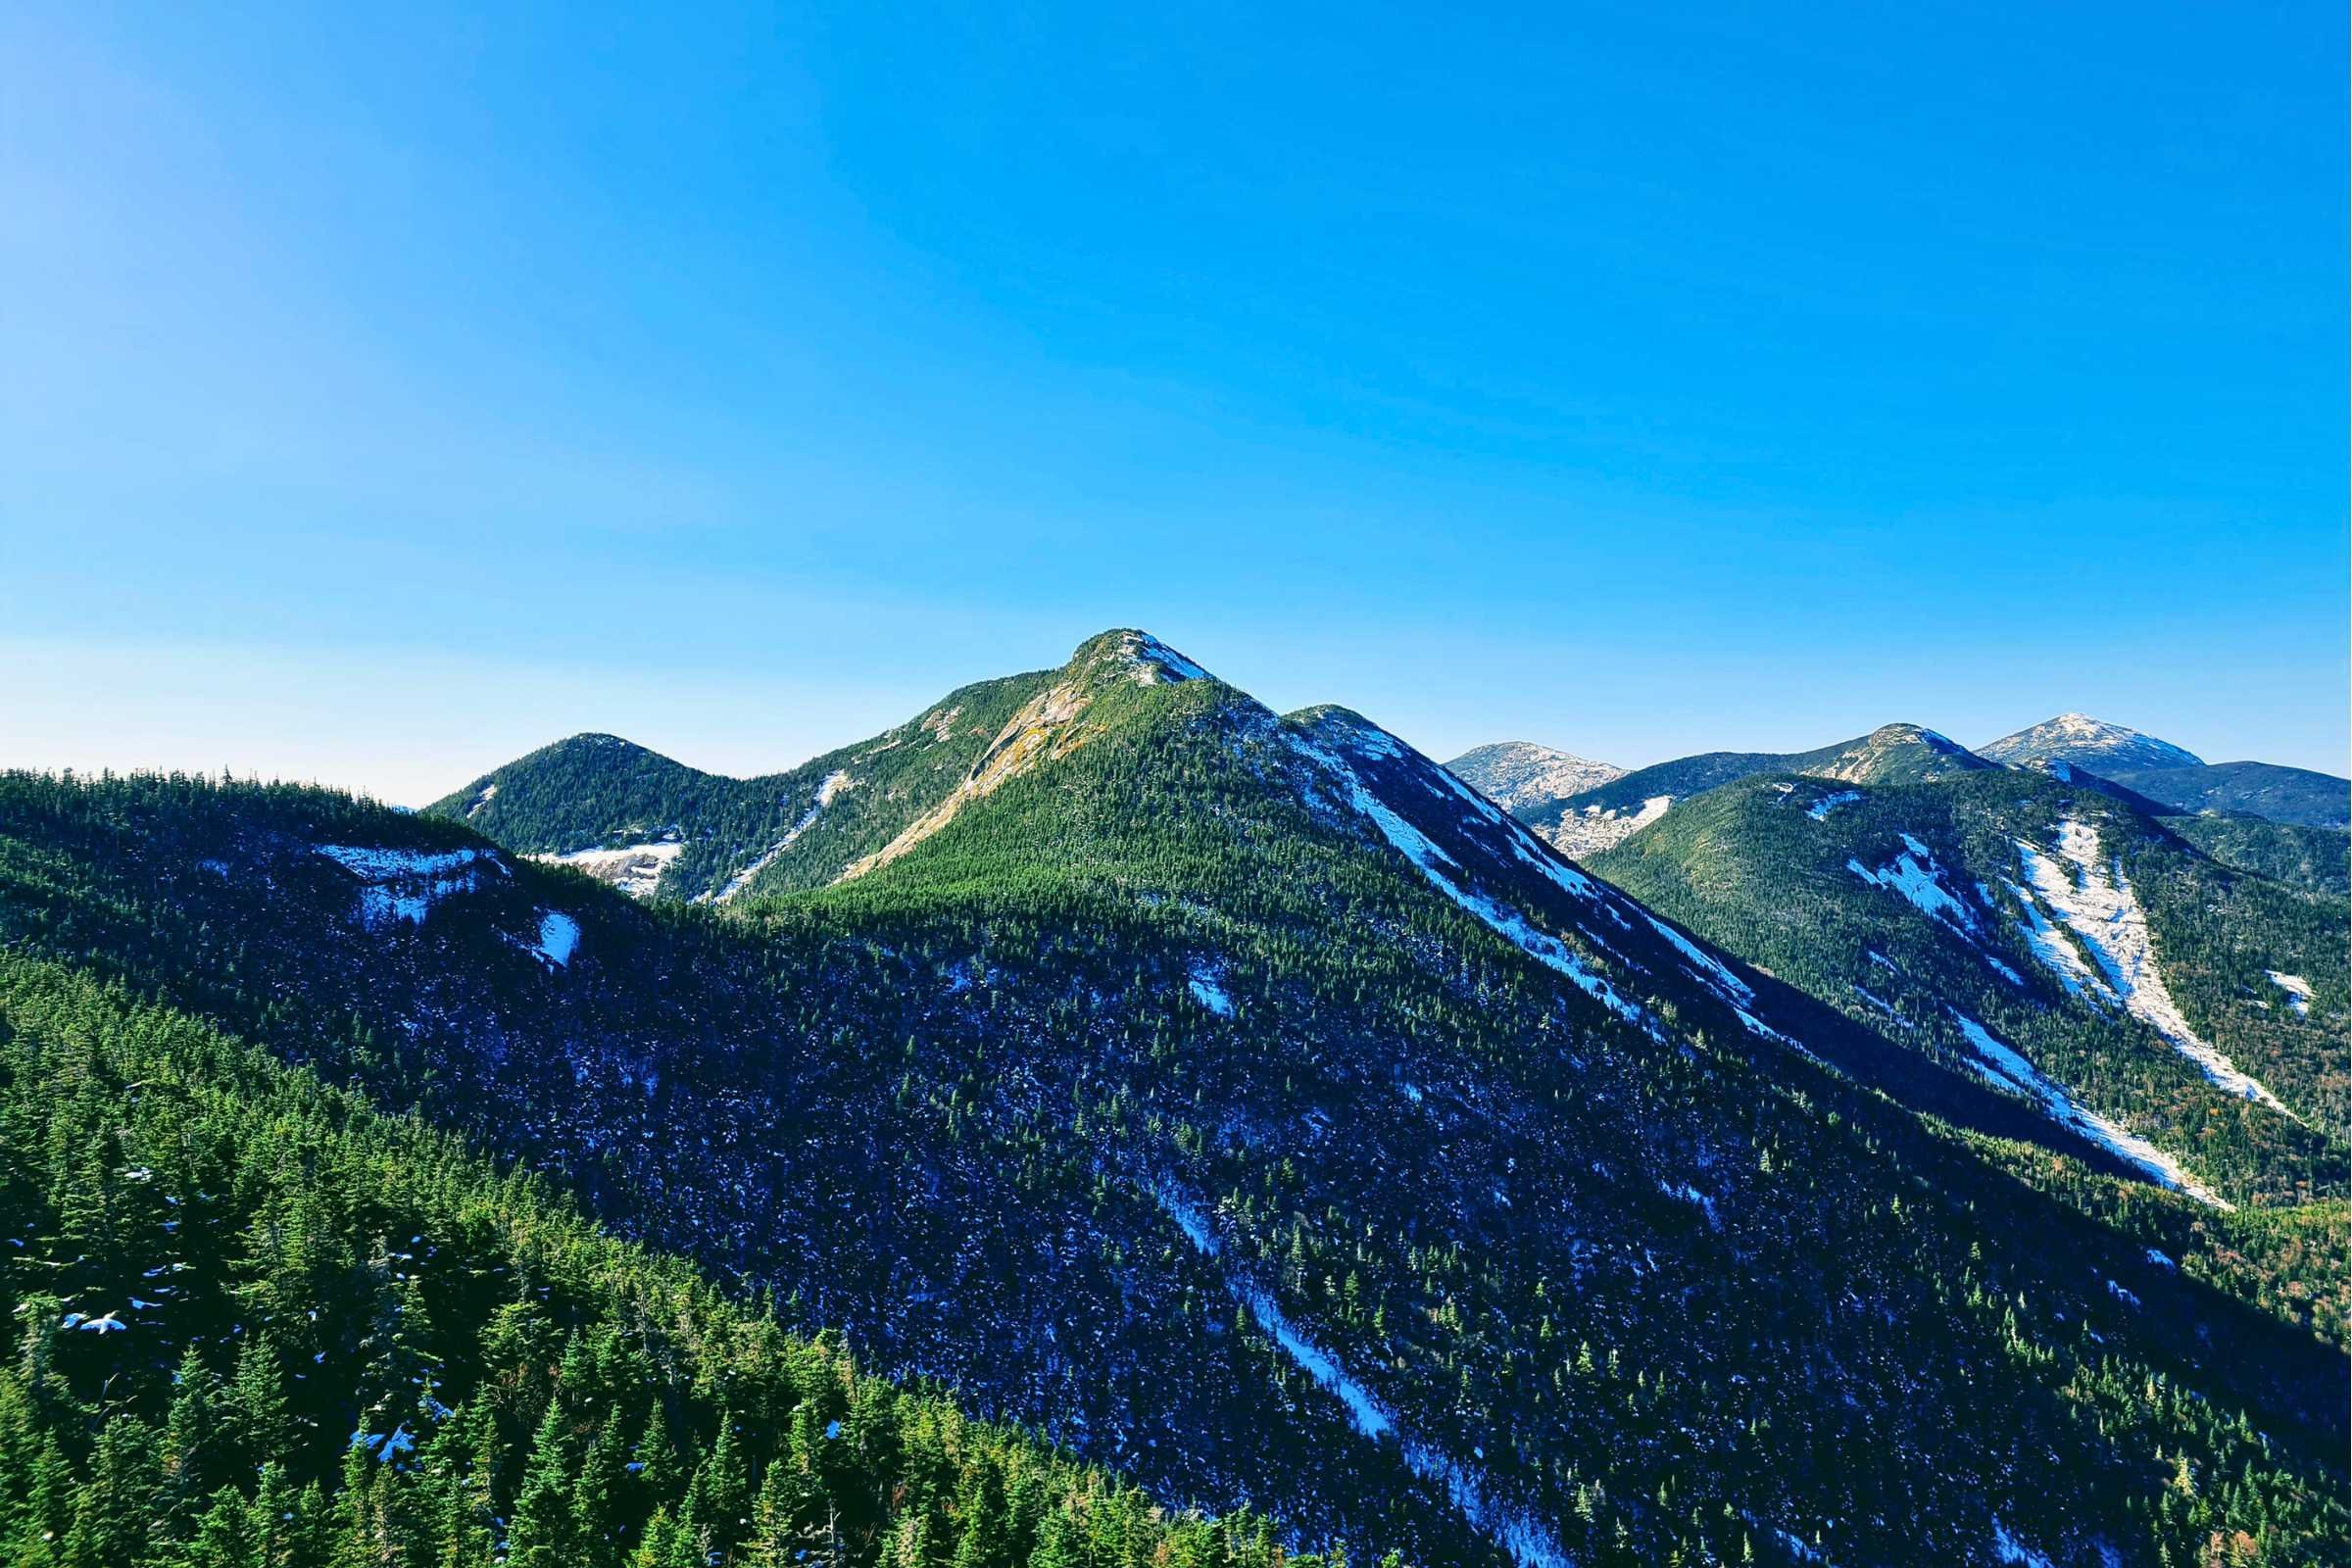
A view of Gothics, Saddleback, Basin, Haystack, with Marcy in the distance. Photo by Aubri Drake.
The trail difficulty eases for a time as you head towards Gothics, mostly on rocky trails. The Gothics summit is achieved around mile 7.7, with only another 500’ of gain from Armstrong. The trail descends through a wooded area for a short time, and then at mile 8.1 brings you to the top of the notorious Gothics descent with steel cables on open rock slab for ~0.2 miles.
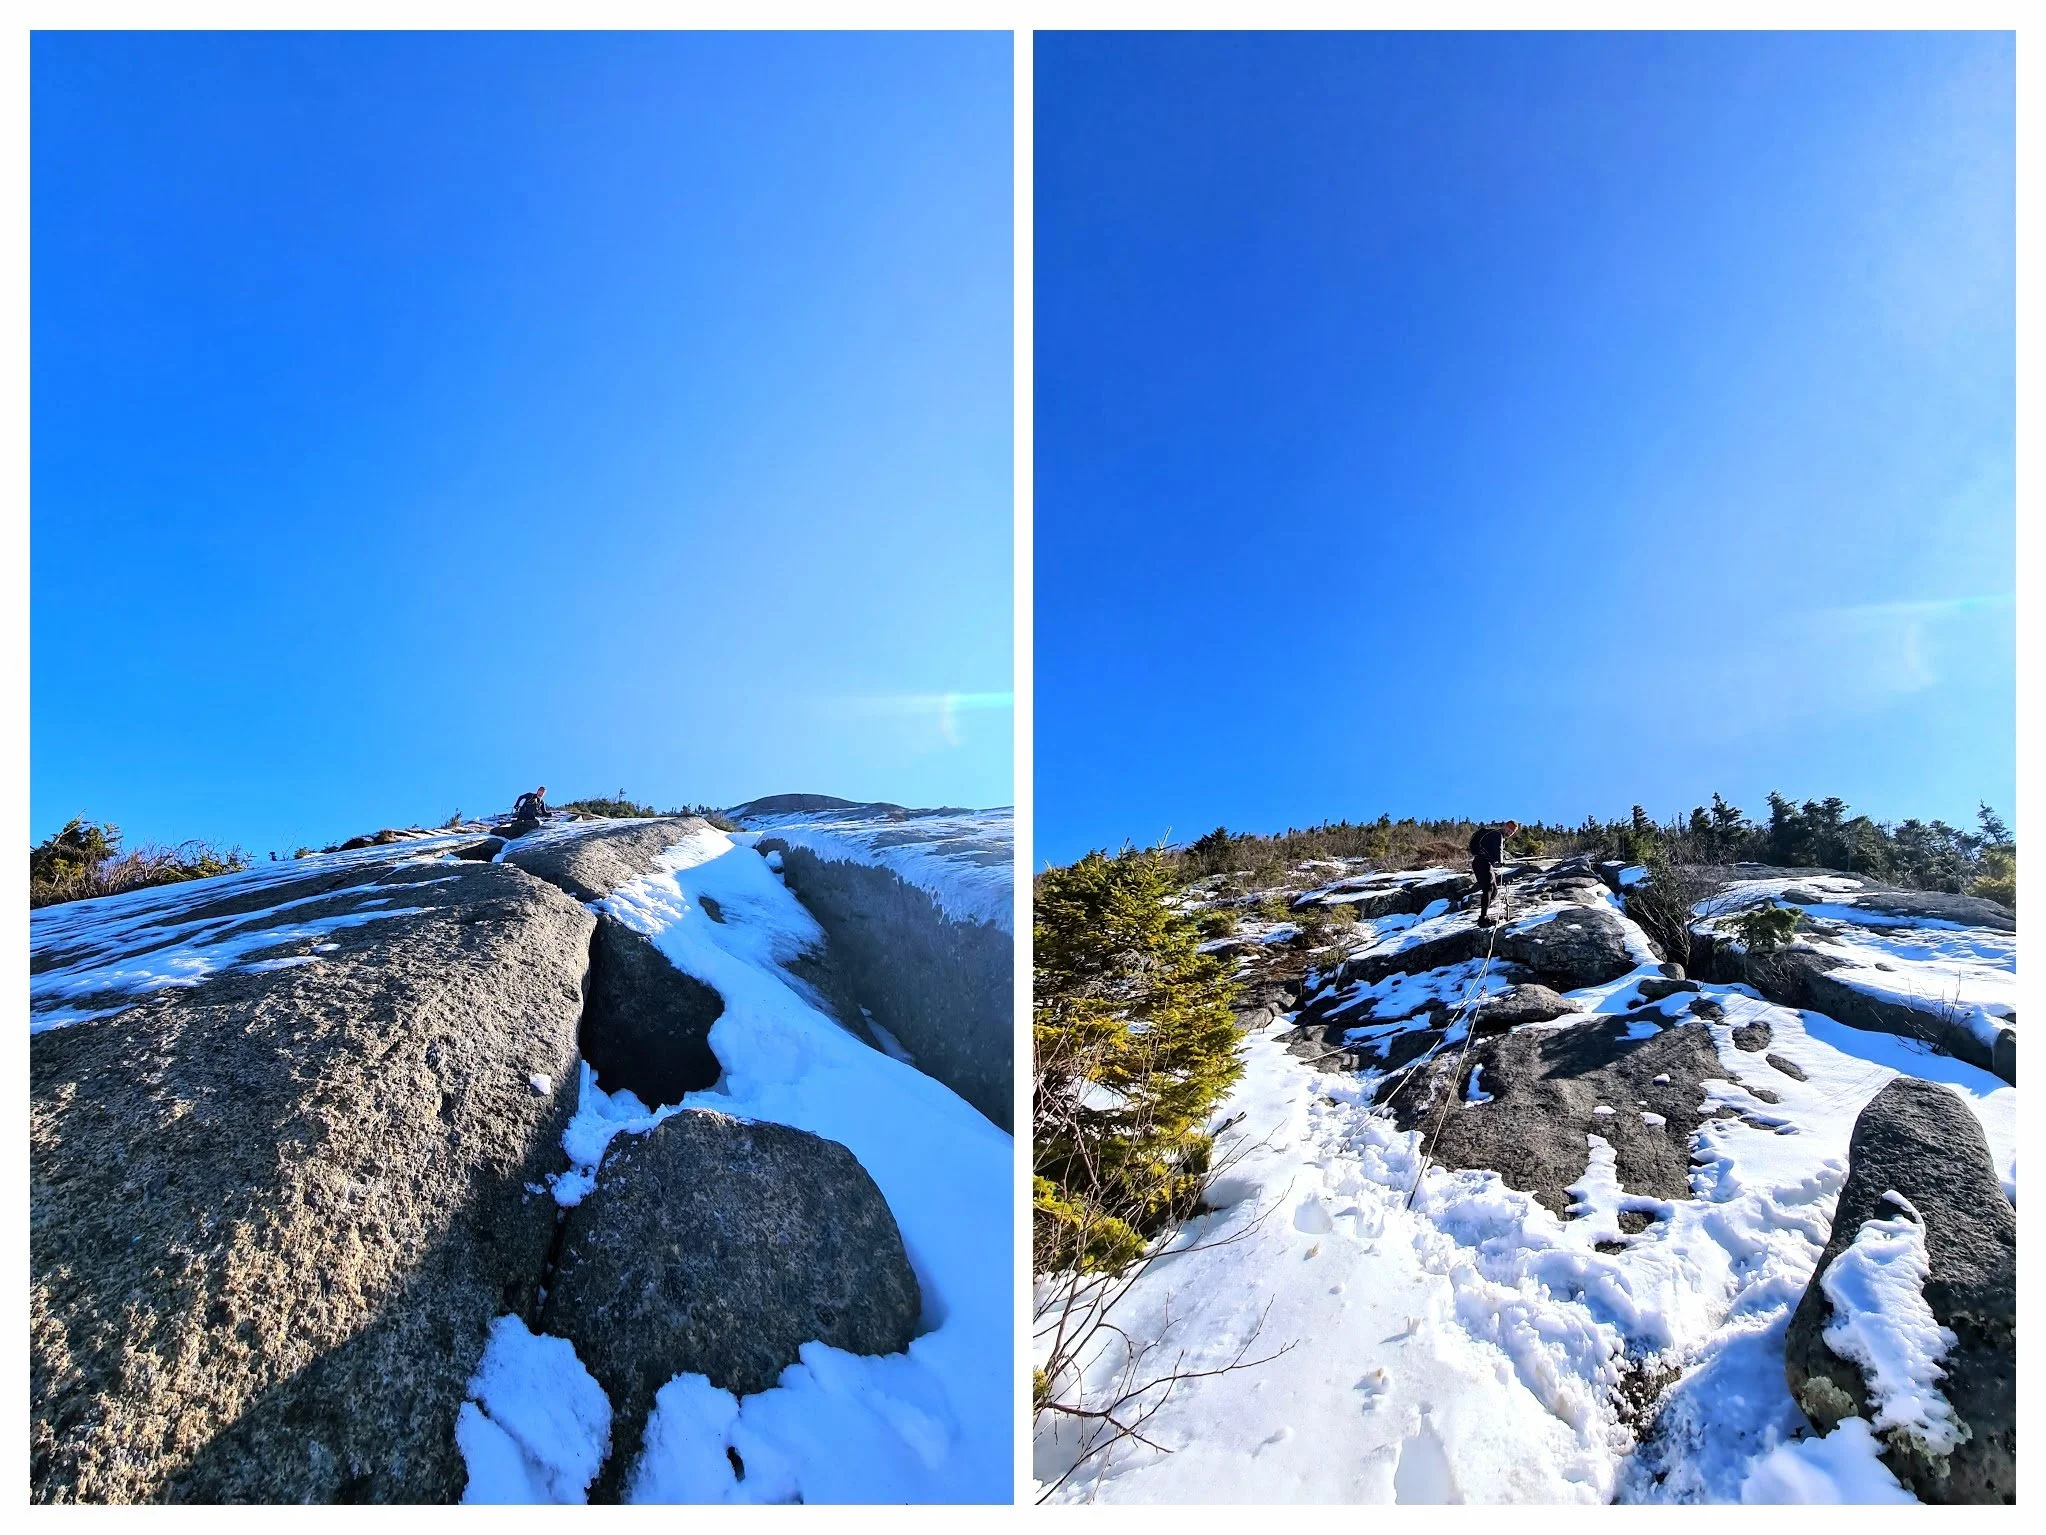
Left: Open slab above the cables on Gothics. Right: Descending cables on Gothics. Photos by Aubri Drake.
This is an area to take your time and be sure of your footing. I have slipped on wet rock slab and uncontrollably slid down a section here. Luckily I quickly ended up in the bushes on a curve in the trail. My recommendation is to go down backwards, using the cables to counter balance. This allows you to put the entire sole of your shoes in contact with the rock, and if you fall, you fall onto your stomach with more friction to slow you down.
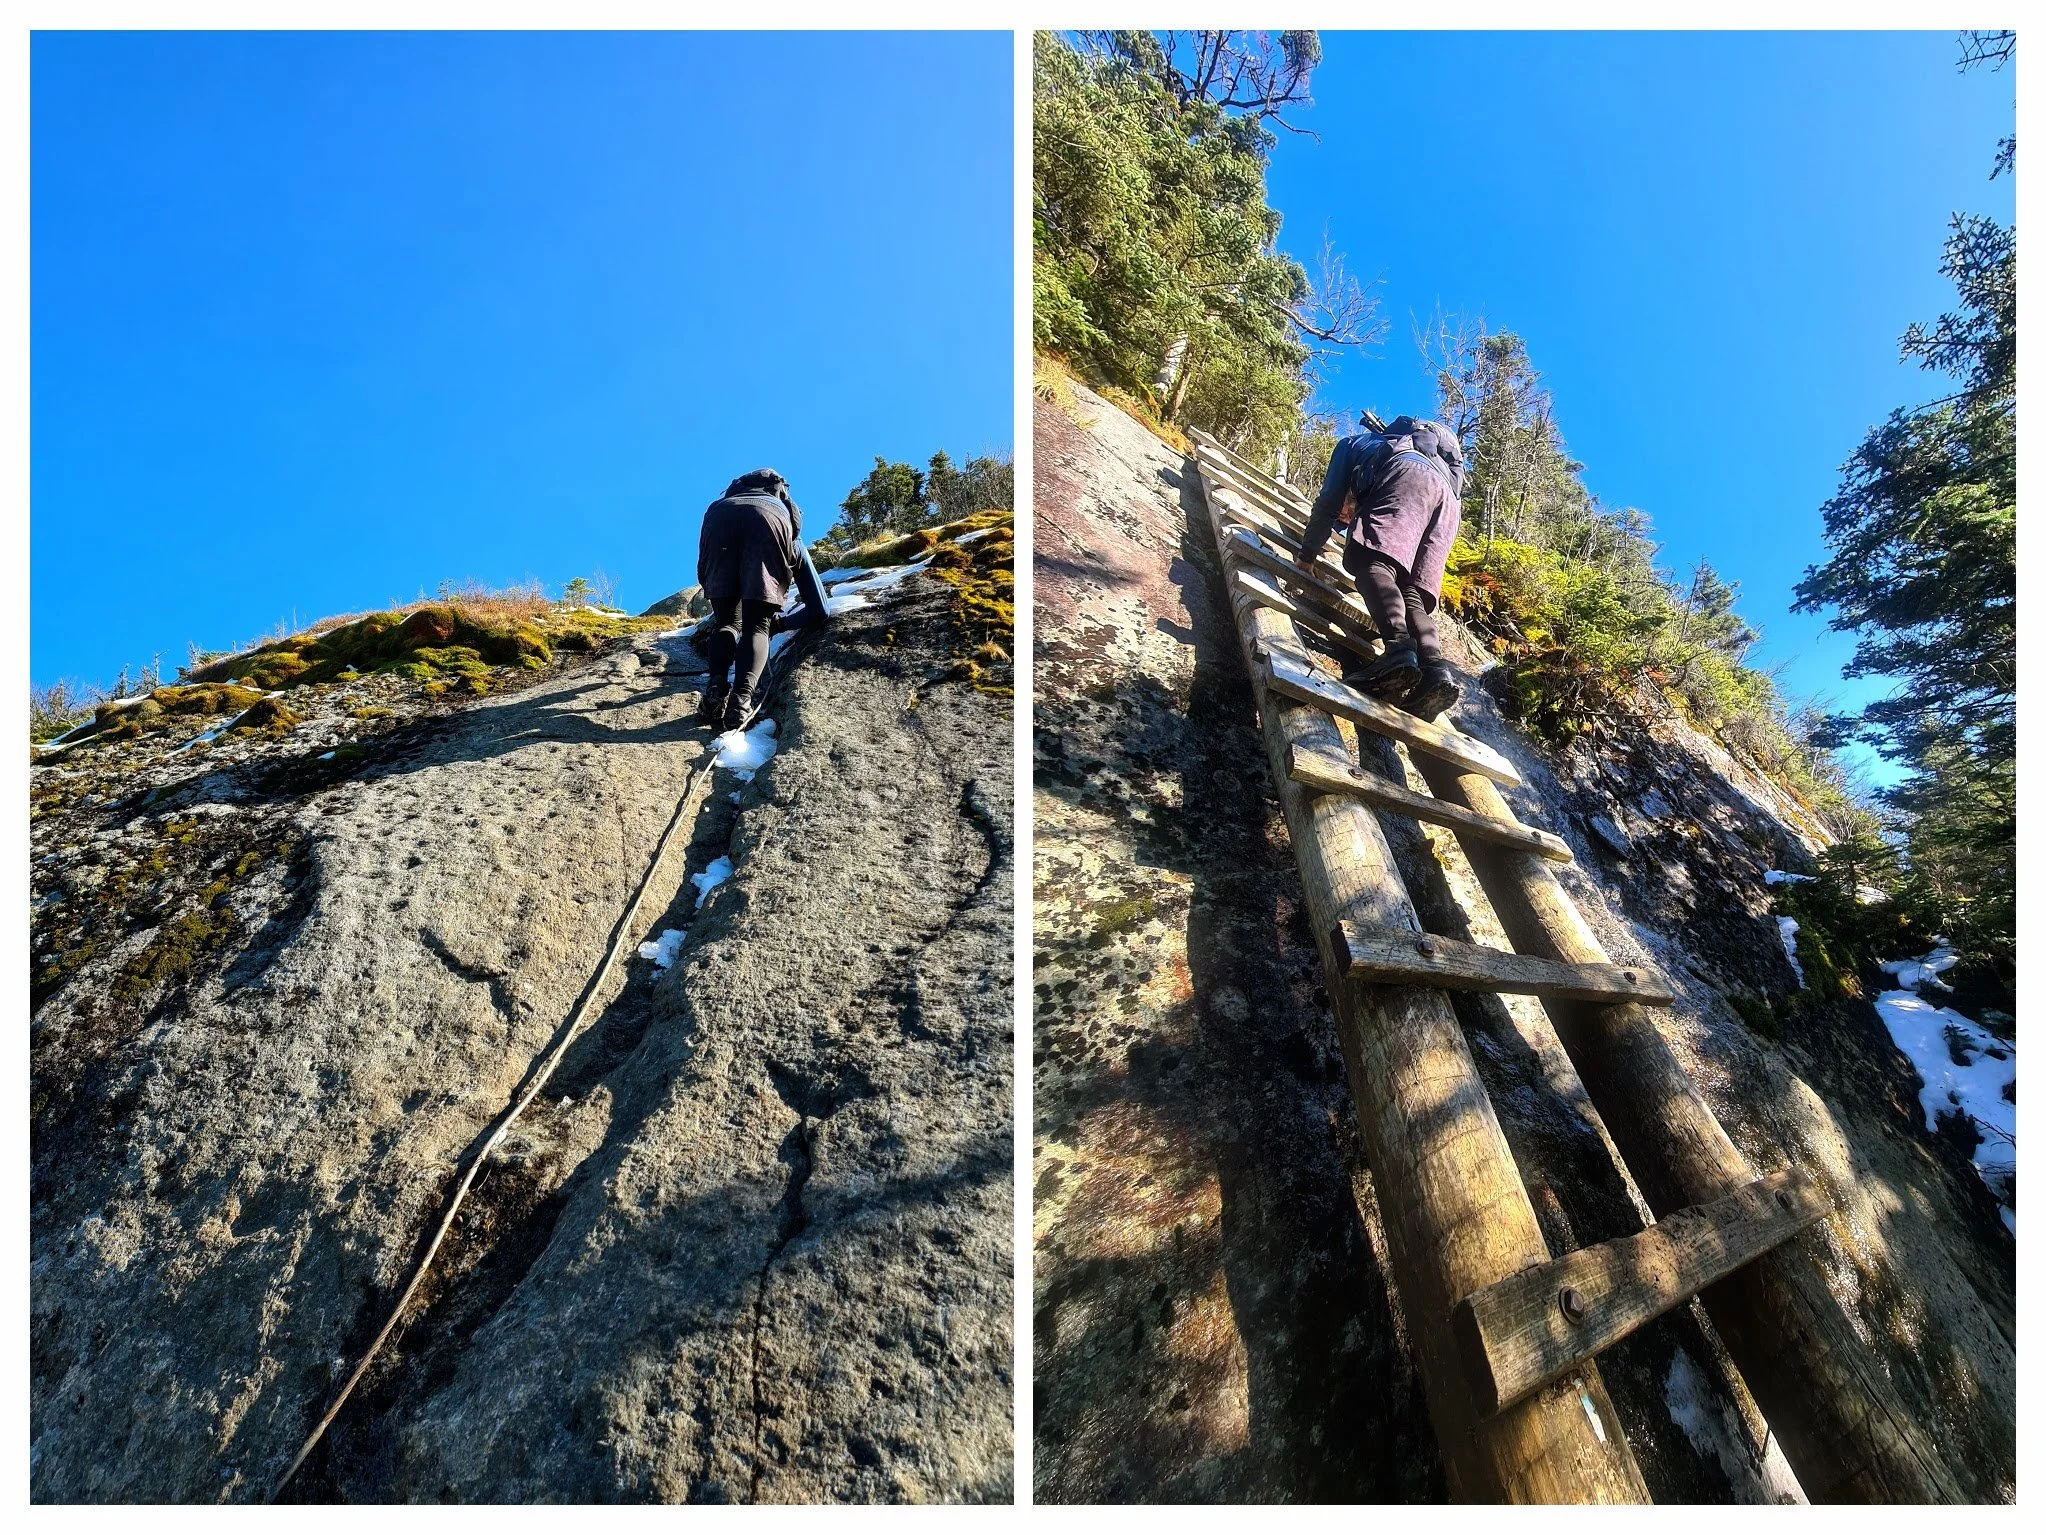
Left: Descending the cables on Gothics. Right: Descending the ladder on Basin. Photos by Aubri Drake.
Once at the bottom, you’re back to more normal, rocky trails as you begin the climb up towards Saddleback Mountain. At the summit of Saddleback at mile 8.8, you will have the unique experience of seeing the trail’s yellow blazes going off the side of the mountain. This section is known as the Saddleback Cliffs, and the trail descends this section.
It is a Class 2+/low Class 3 slab climb, like 4 boulder problems stacked on top of each other. My recommendation is to stay to the right, butt scooting quite a bit, and finding places for foot jams. There are three places in this section where I, a 5-foot-3-inch guy, need to get on my belly and lower myself down to a foothold. The descent further down Saddleback is still very slabby, with challenging Class 2+ sections and only one ladder to help.
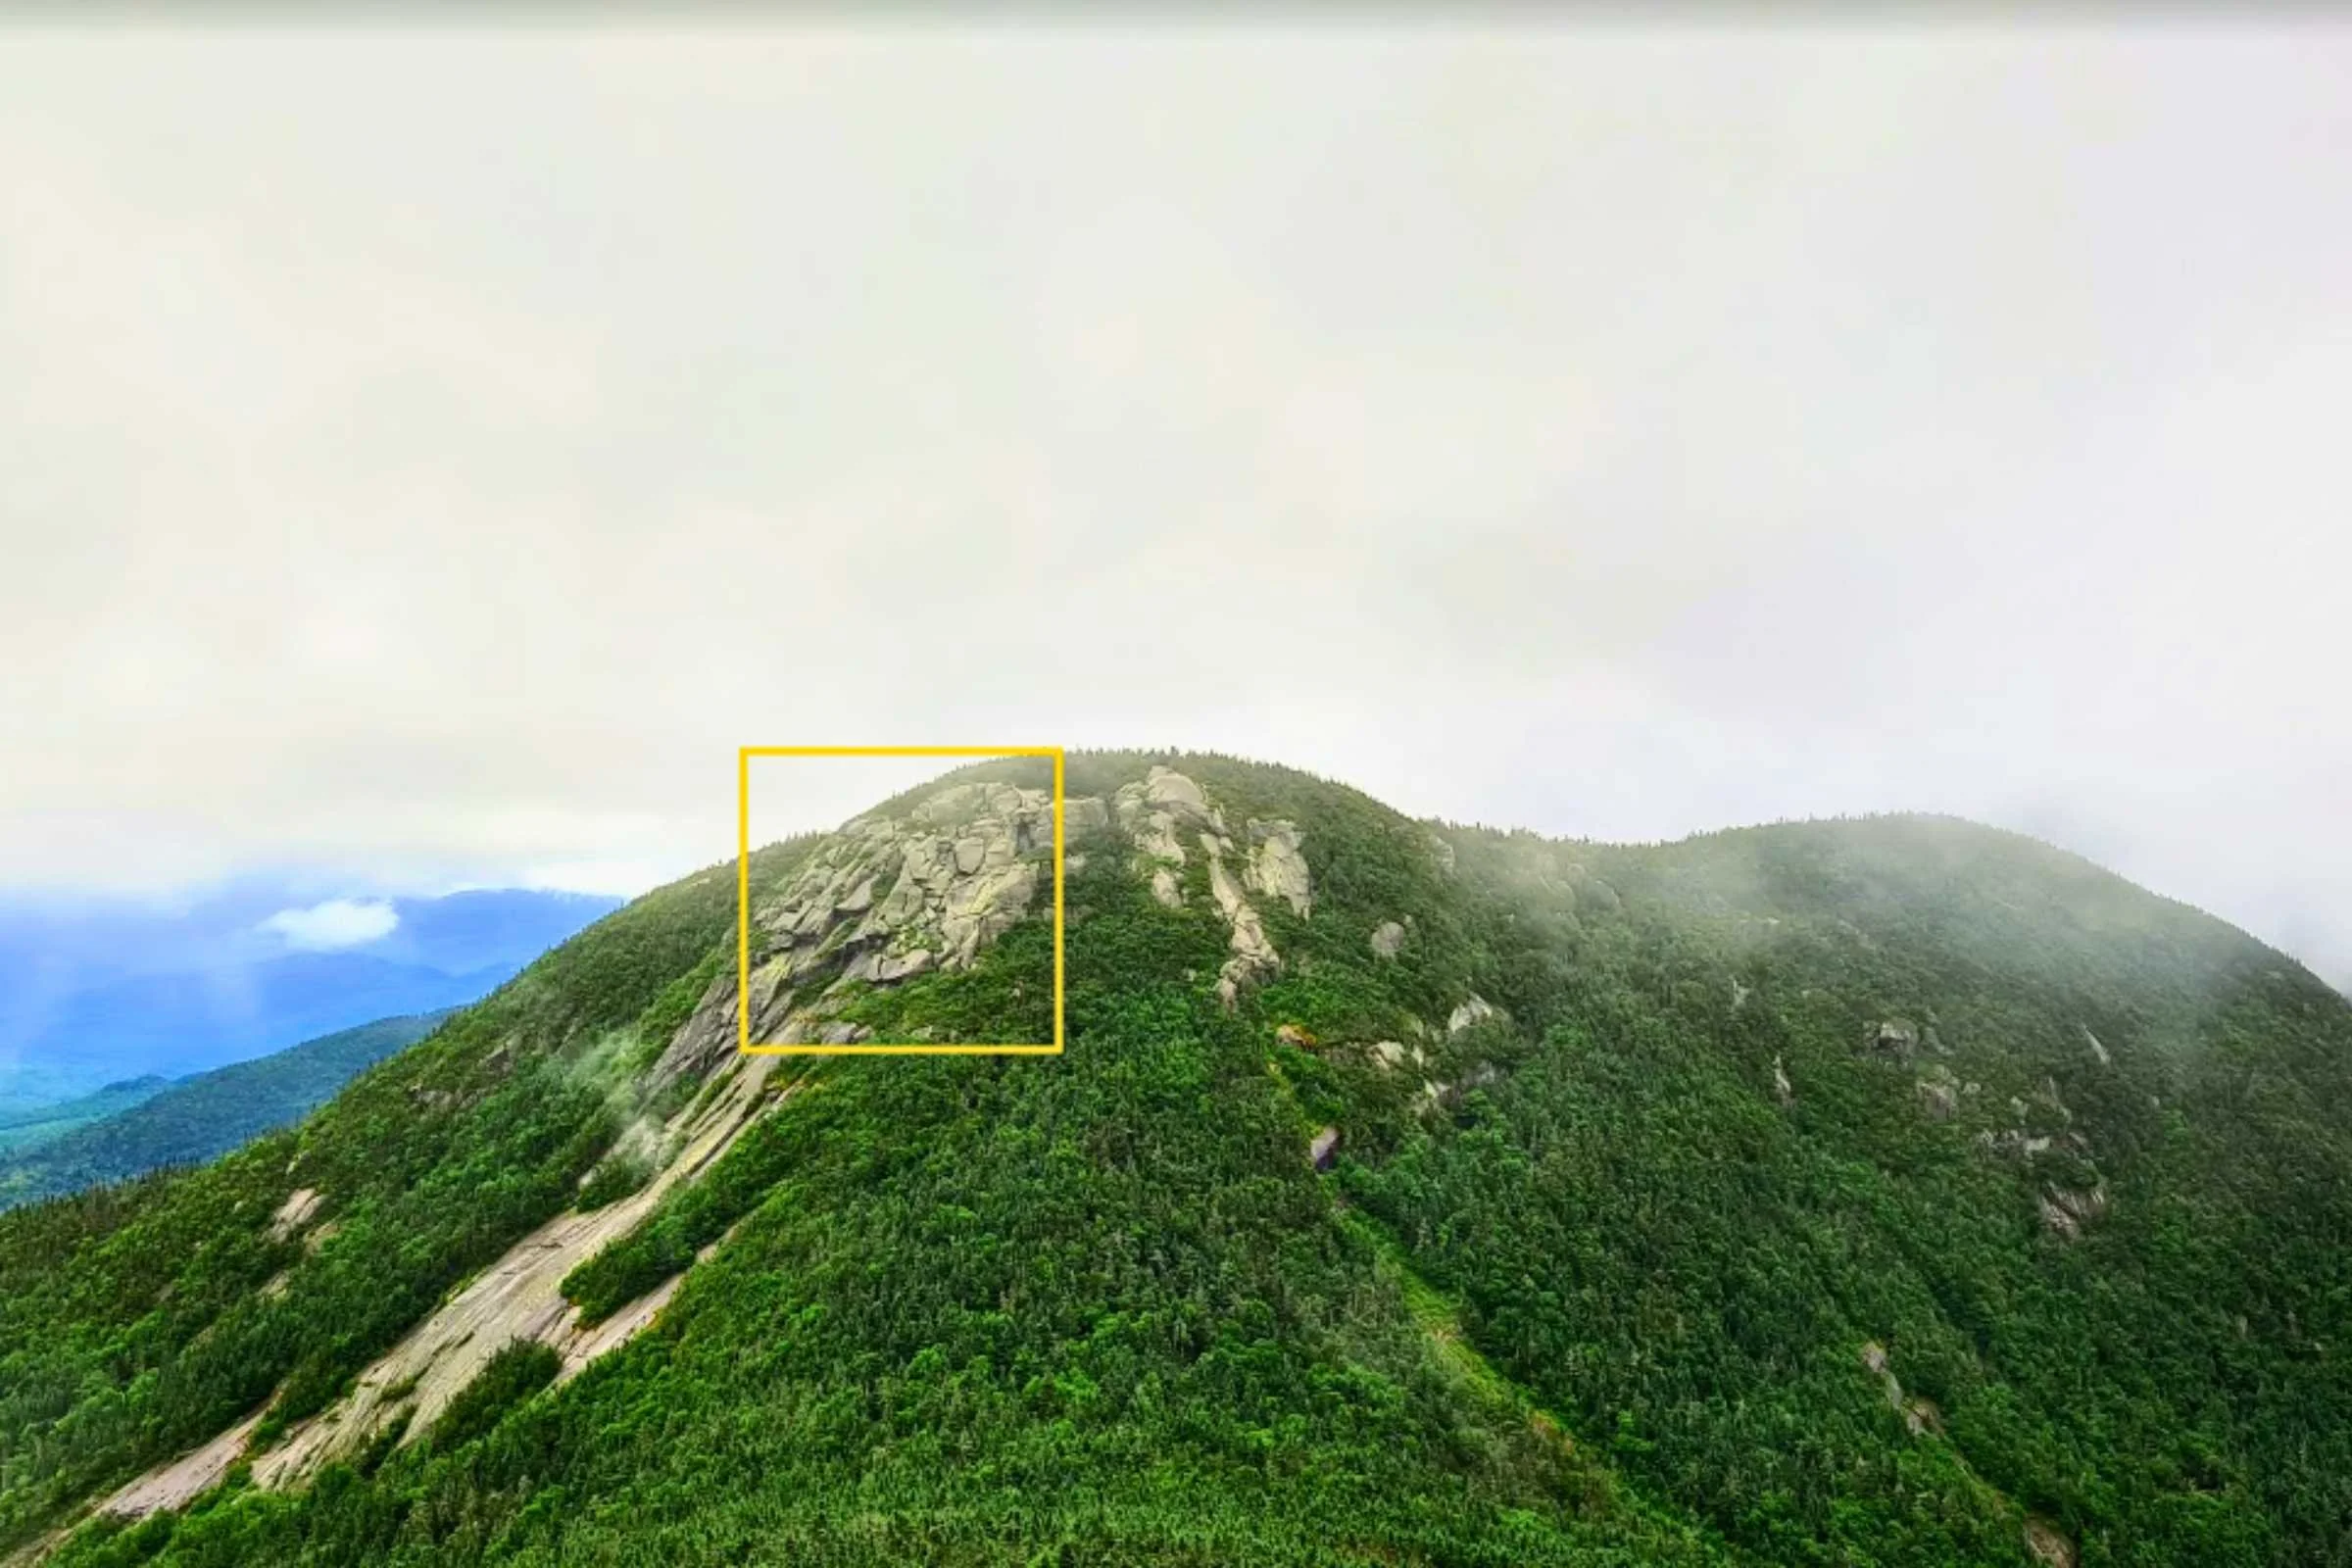
The Saddleback Cliffs are located here, on the upper left side of Saddleback. Photo by Aubri Drake.
You’ll arrive at the col between Saddleback and Basin at mile 9.5. The ~0.1-0.2 mile, 300’ climb up Basin still manages to surprise me with how brutally difficult it is, after all of the other things I’ve already experienced by the time I get here. It’s more challenging than I expect, with many steep wet rock slabs with fall risk.
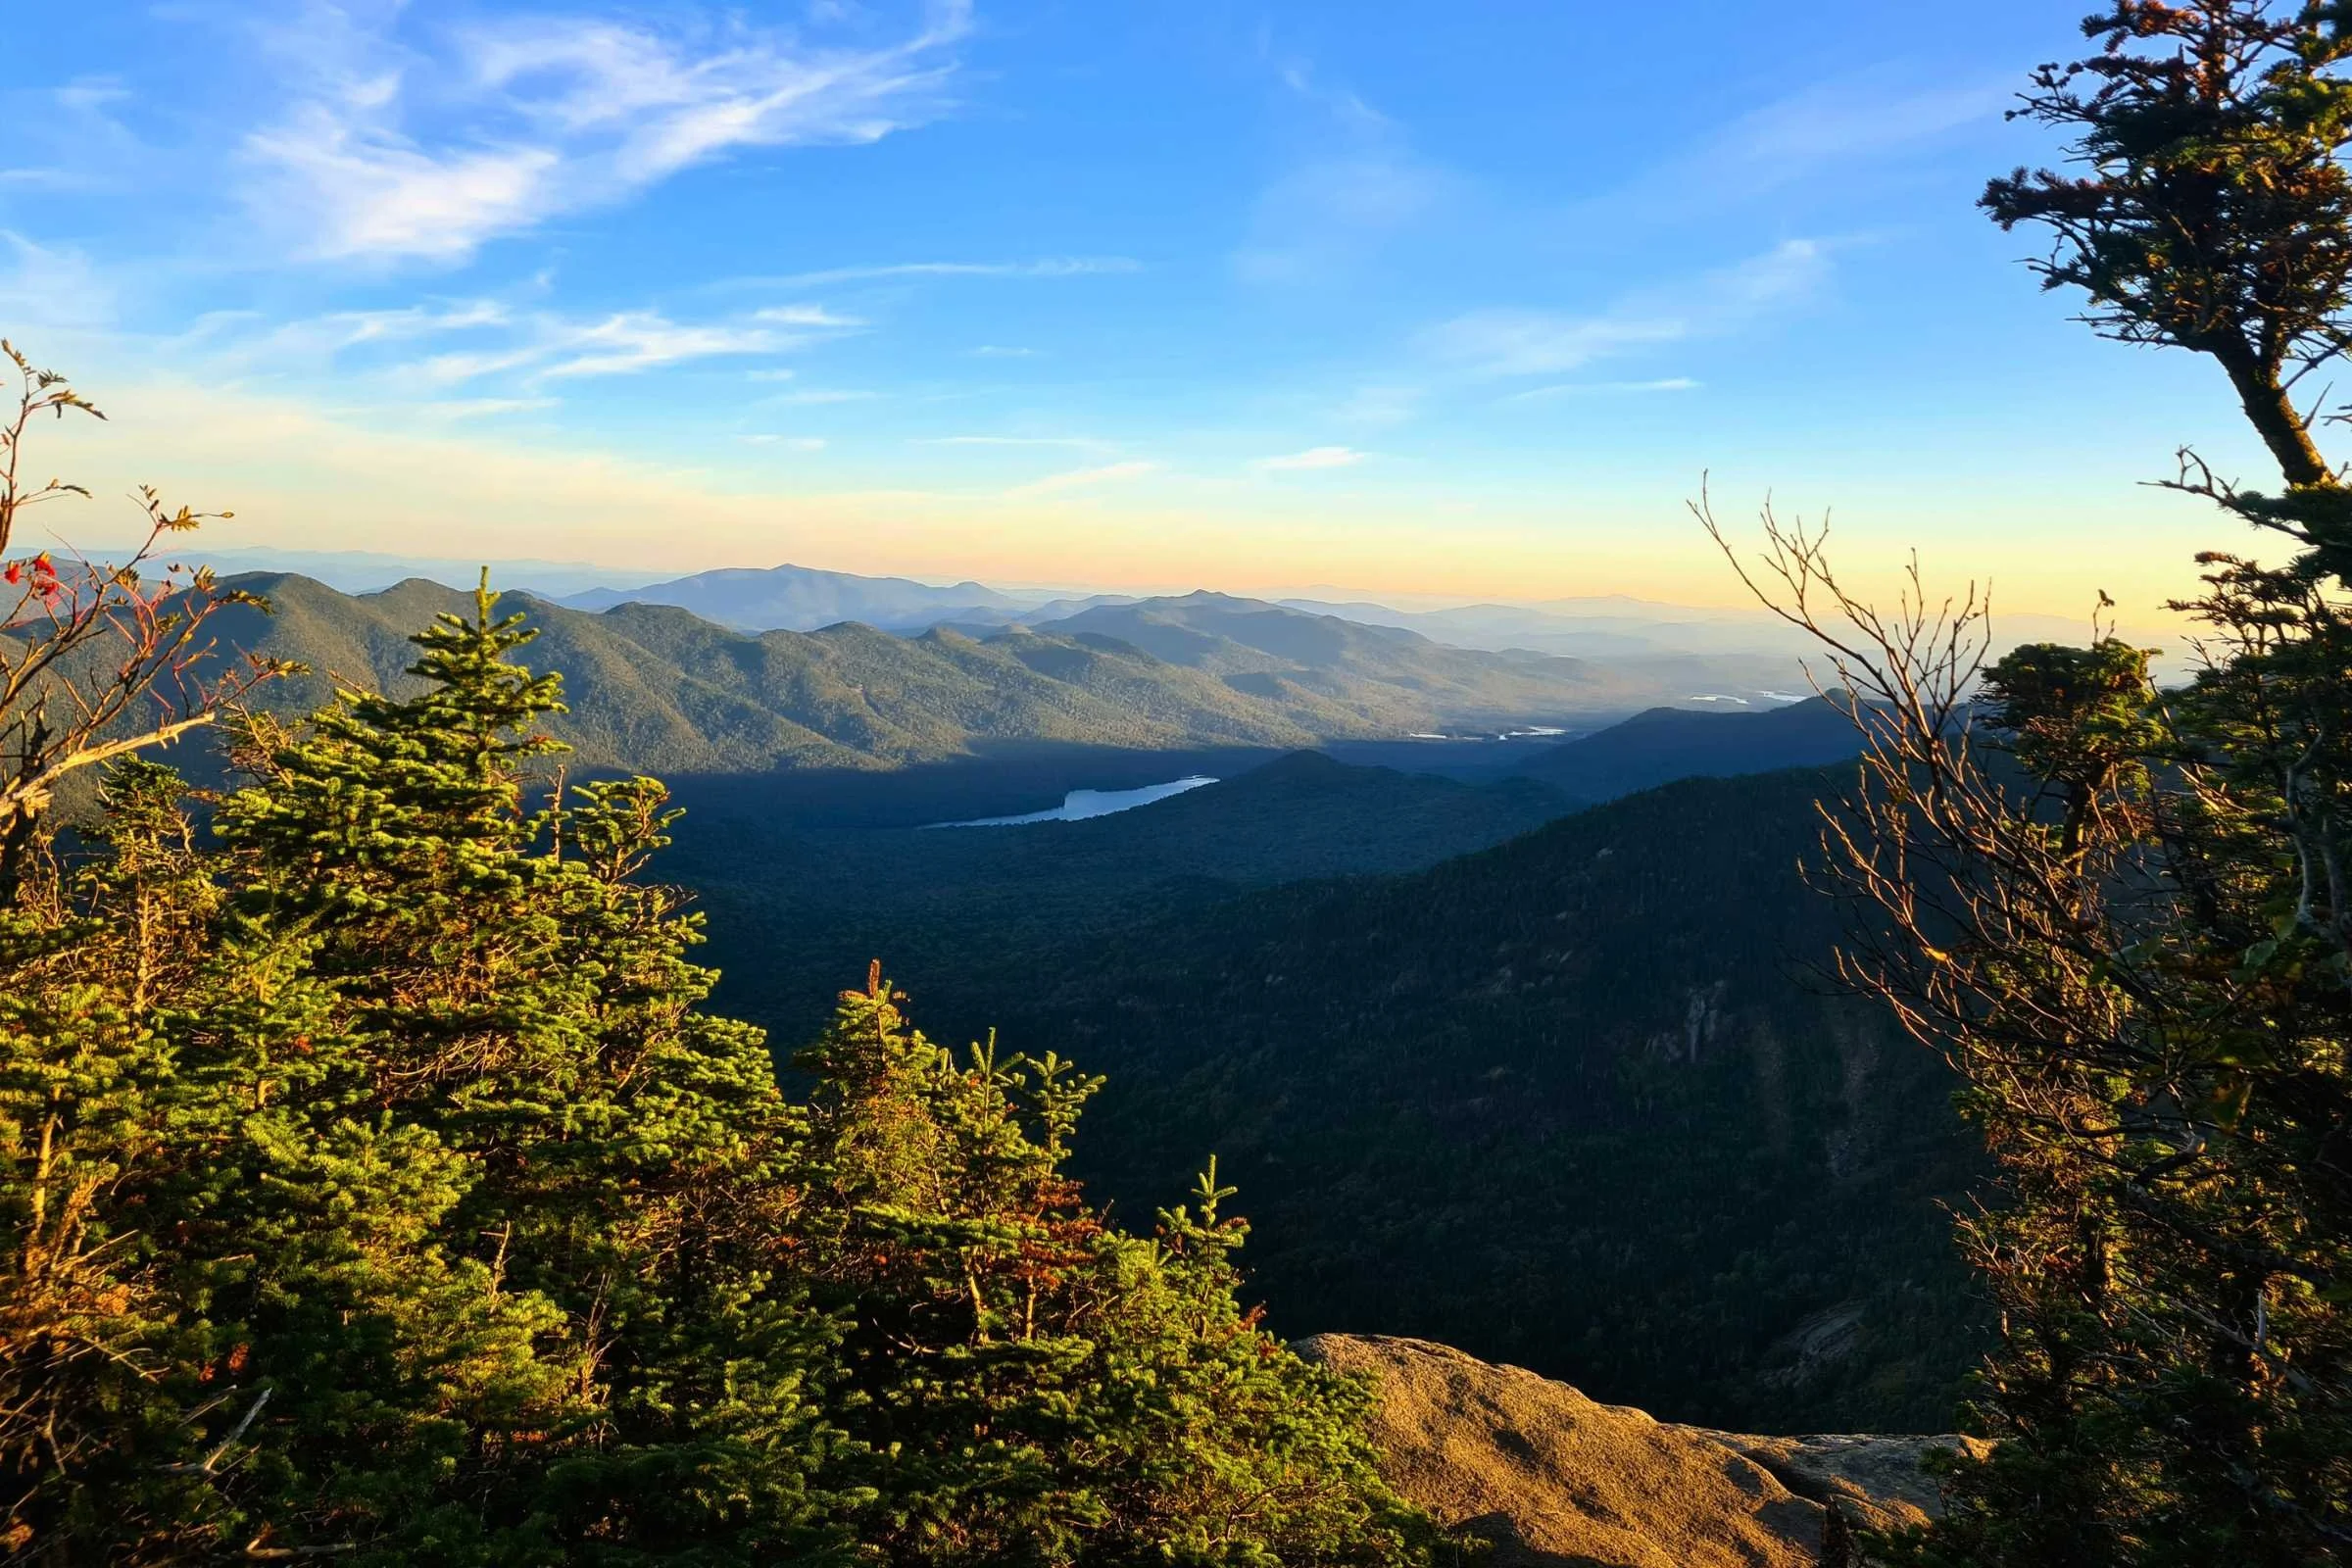
The climb is tough but the views from Basin are breathtaking. Photos by Aubri Drake.
The descent off of Basin is thankfully short but more exciting than I typically want by this point. Take it slow and careful; your legs will be tired and less coordinated. At mile 10.5, you pass by the short spur for Sno-bird tentsite and the first on-trail water of the entire day. It’s never taken me less than 6 hours to arrive here, so please plan your water accordingly.
Climbing up from here is mentally brutal. It’s rocky and often wet, and the trail feels like a treadmill for a little while. Right around mile 11, the route comes to an intersection with the Haystack Trail, leading to Little Haystack and Haystack. For this route, you will have an out-and-back to the summit of Mount Haystack.
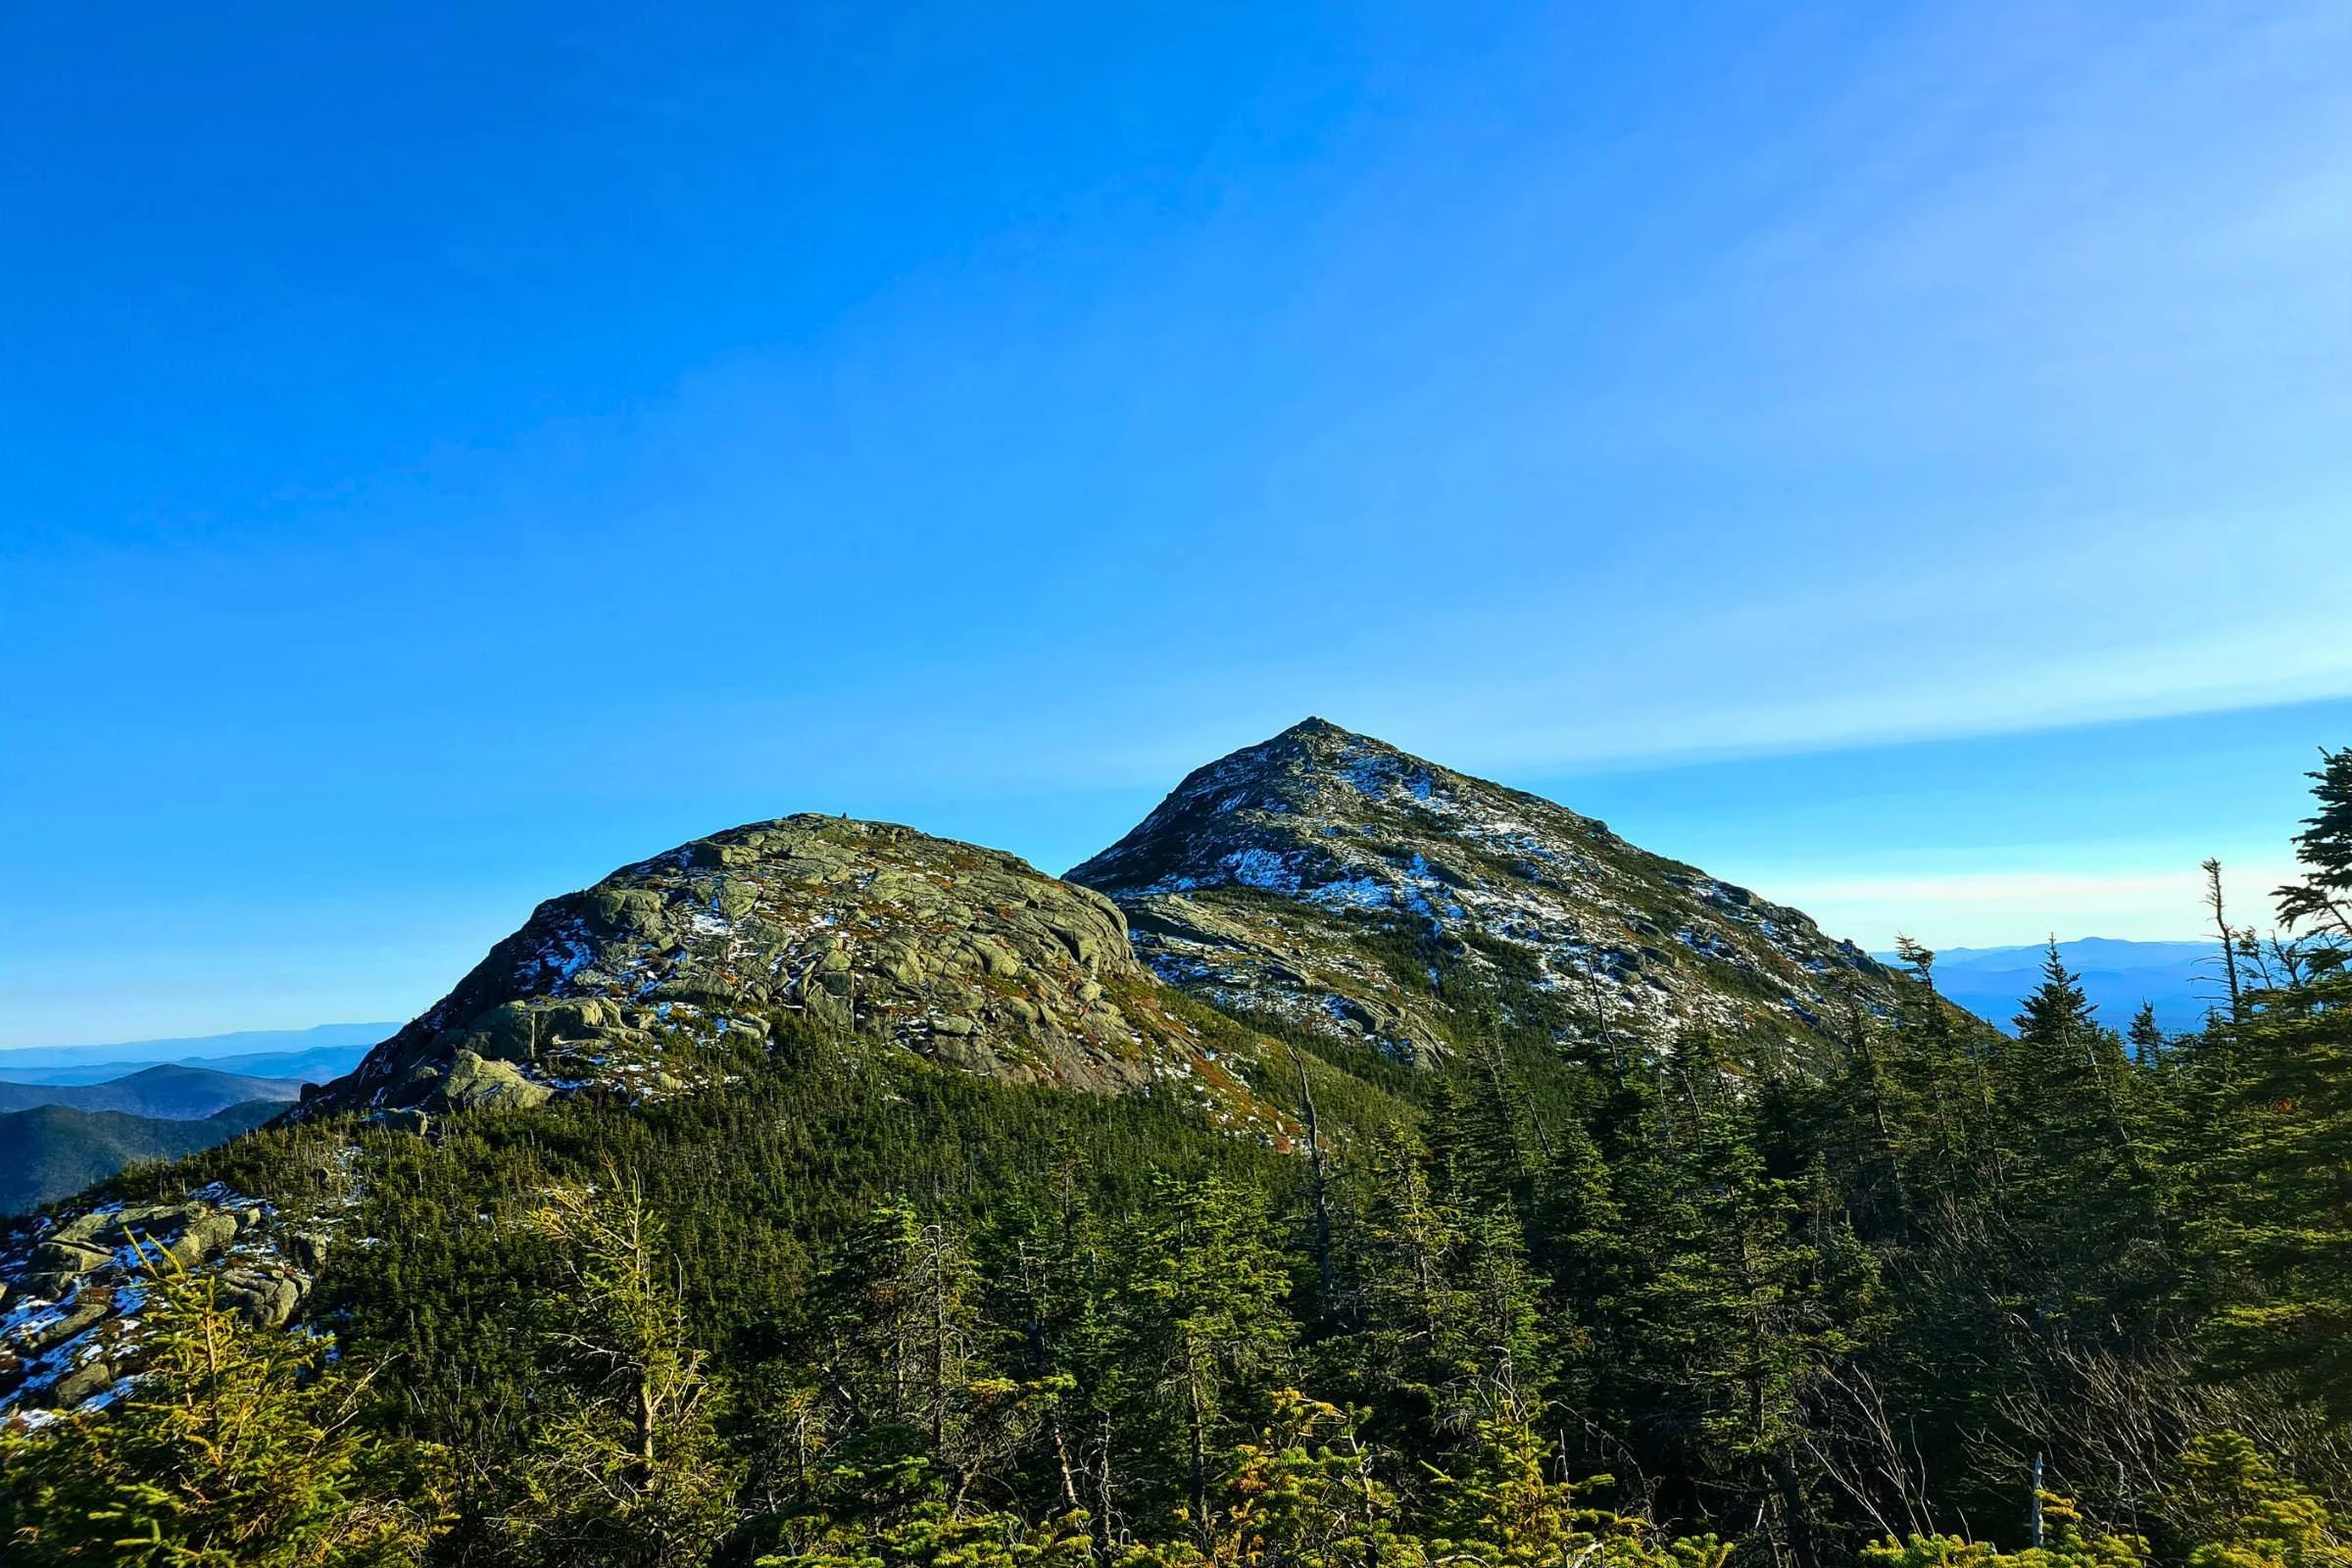
Looking back at Little Haystack and Haystack, heading towards Marcy. Photo by Aubri Drake.
Navigating up Little Haystack is interesting and fun. It makes me feel like I know what I’m doing, and then descending Little Haystack, I realize that this can get a lot harder. The summit of Haystack is only 0.5 mi away from the trail intersection, but it’s a hard mile, navigating exposed slab and frequent high winds (often higher winds than Mount Marcy). The trail can also be somewhat hard to follow as you descend Little Haystack.
There is a group of trees and bushes in the col between the two peaks, offering a windbreak for a quick breather if needed. The scramble up to the summit of Haystack is dynamic but more tame than what you’ve already completed. And the views of Mount Marcy, the highest point in NY, right across the way with Panther Gorge in between is epic!
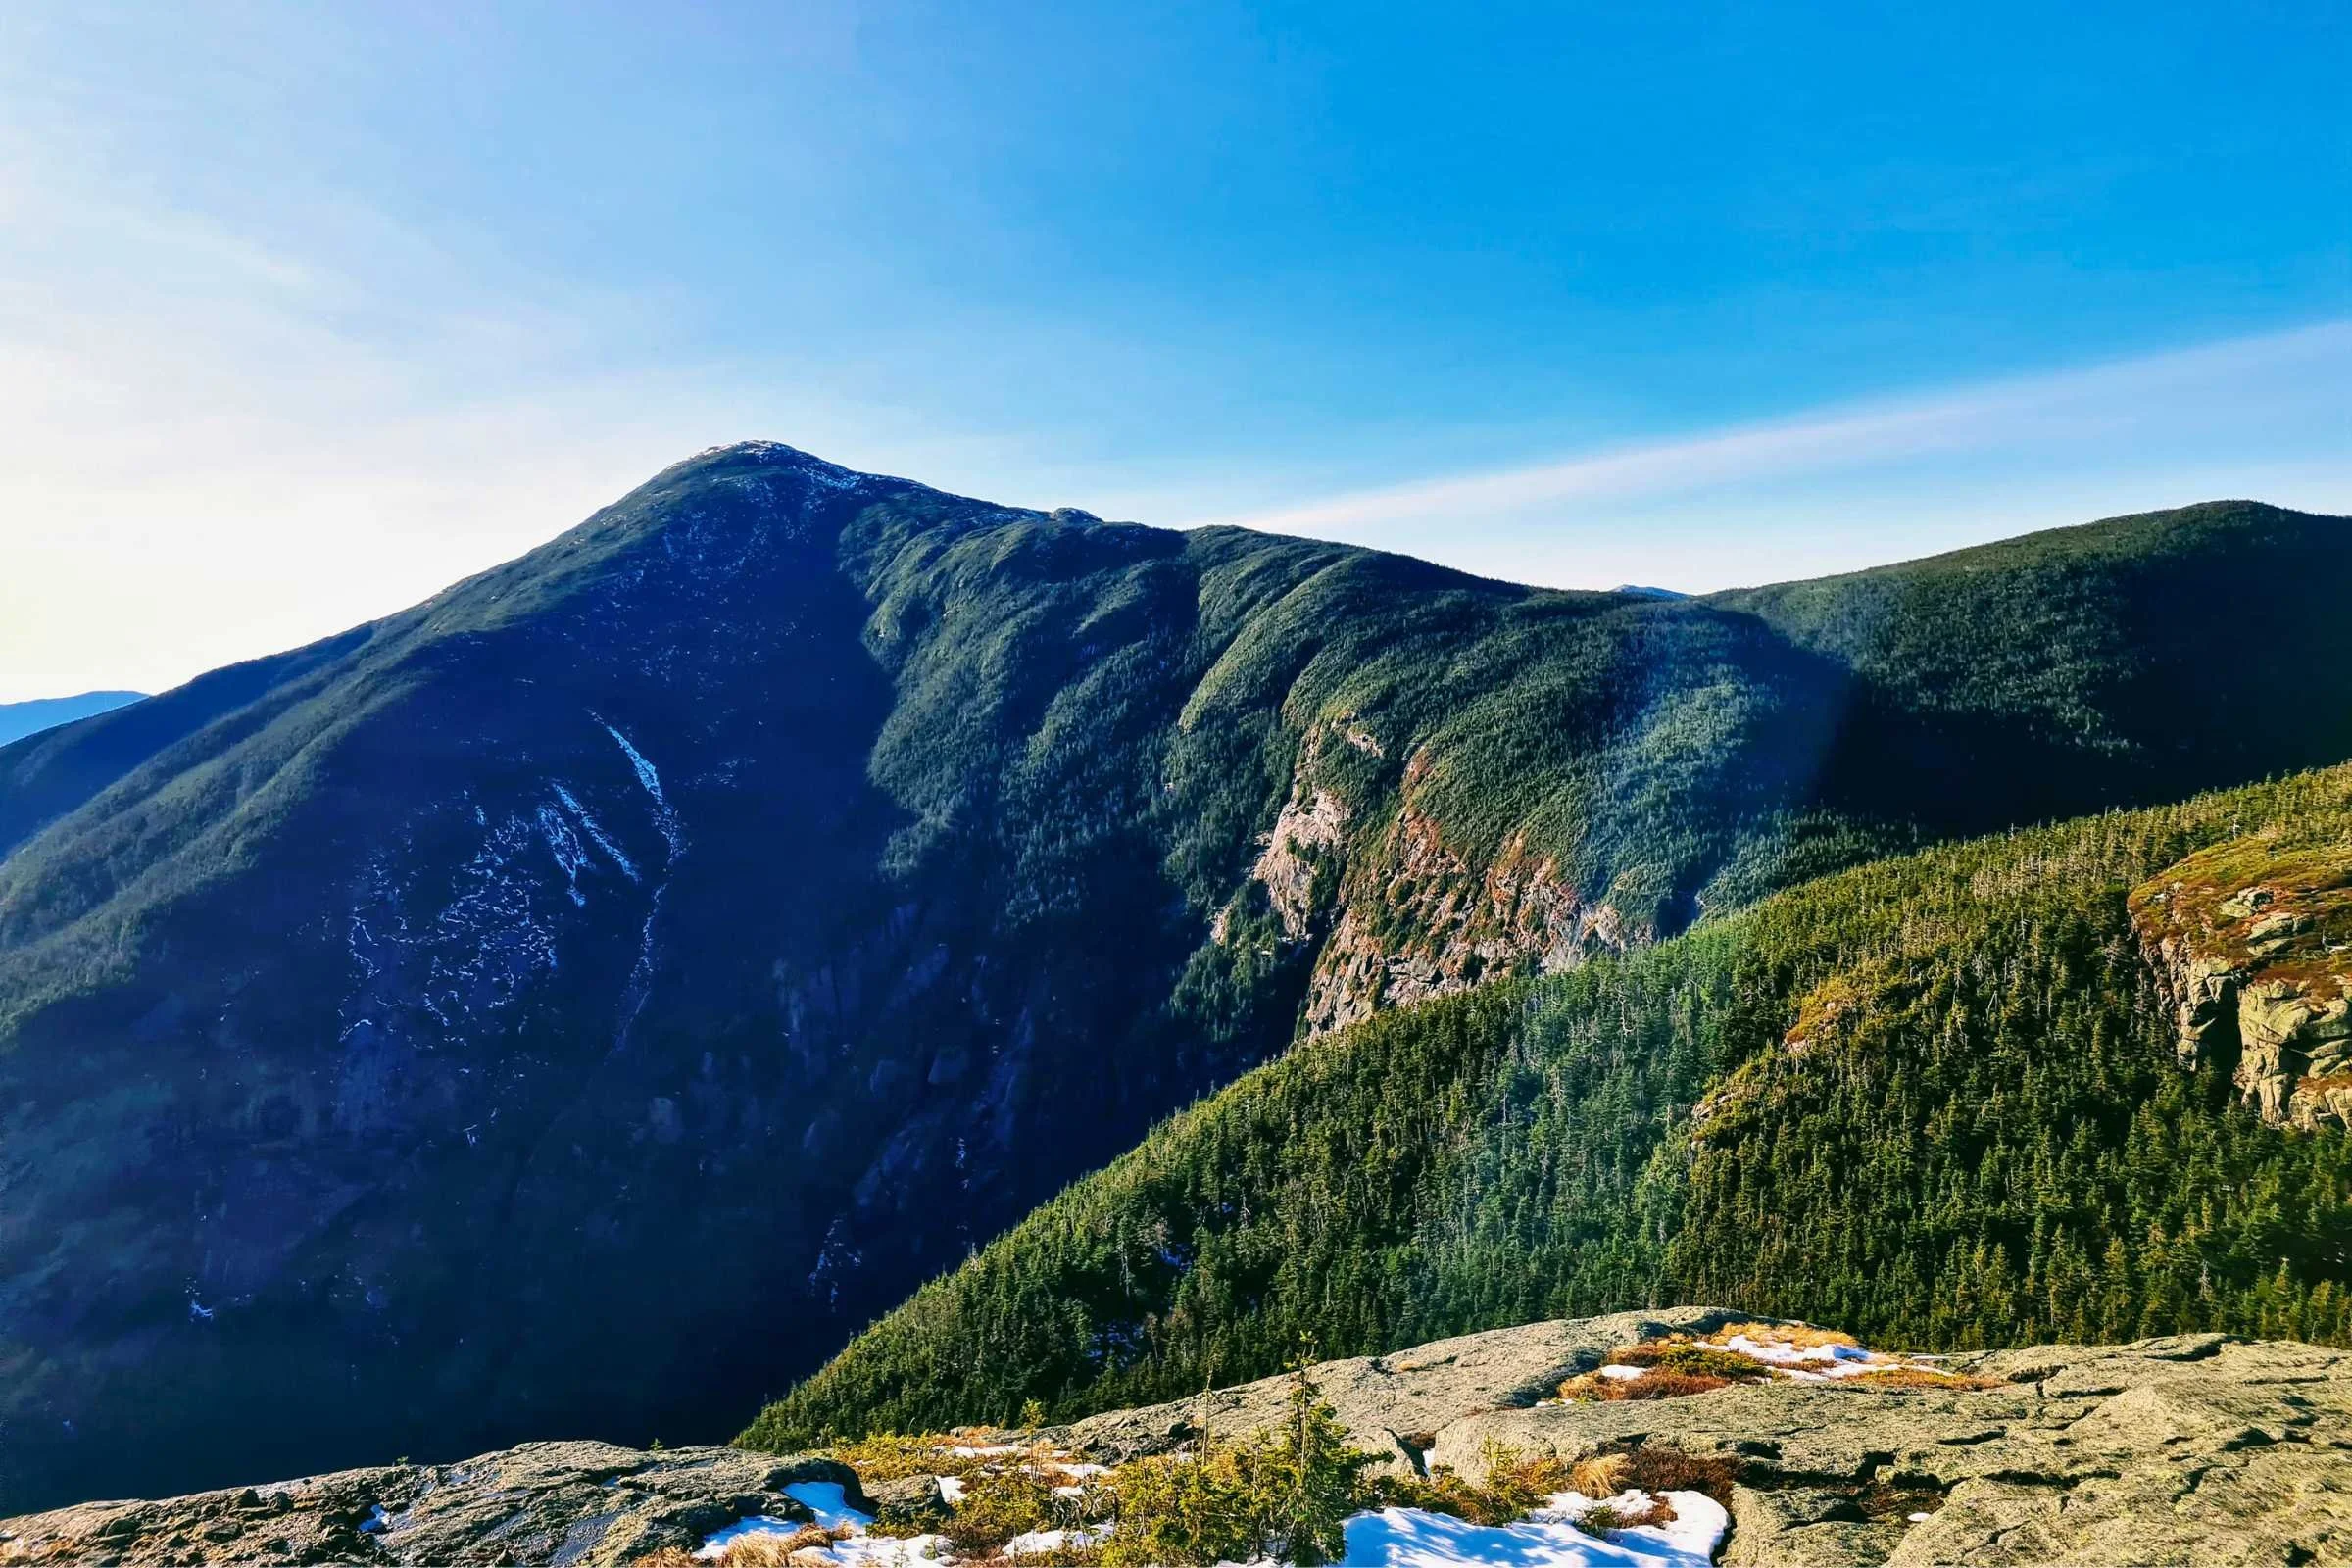
The view of Marcy is amazing from Haystack! Photo by Aubri Drake.
After summiting Haystack and heading all the way back, the route continues on your left. A few tenths of a mile down the trail there is another intersection, with this trail ending and joining the Phelps Trail. To summit the last mountain of the Great Range Traverse, you have to do one more out-and-back.
Take a left and head up the rocky but reasonable Phelps Trail. As you climb, there is a stream running on your right, with easy access for filtering. Around mile 13, the Phelps Trail intersects with the Van Hoevenberg Trail. Take the left to head the final 0.5 miles up towards Mount Marcy! Once at the summit, be sure to take a moment to appreciate that you’ve completed all of your big climbs and descents and you’re now standing on the New York State high point!
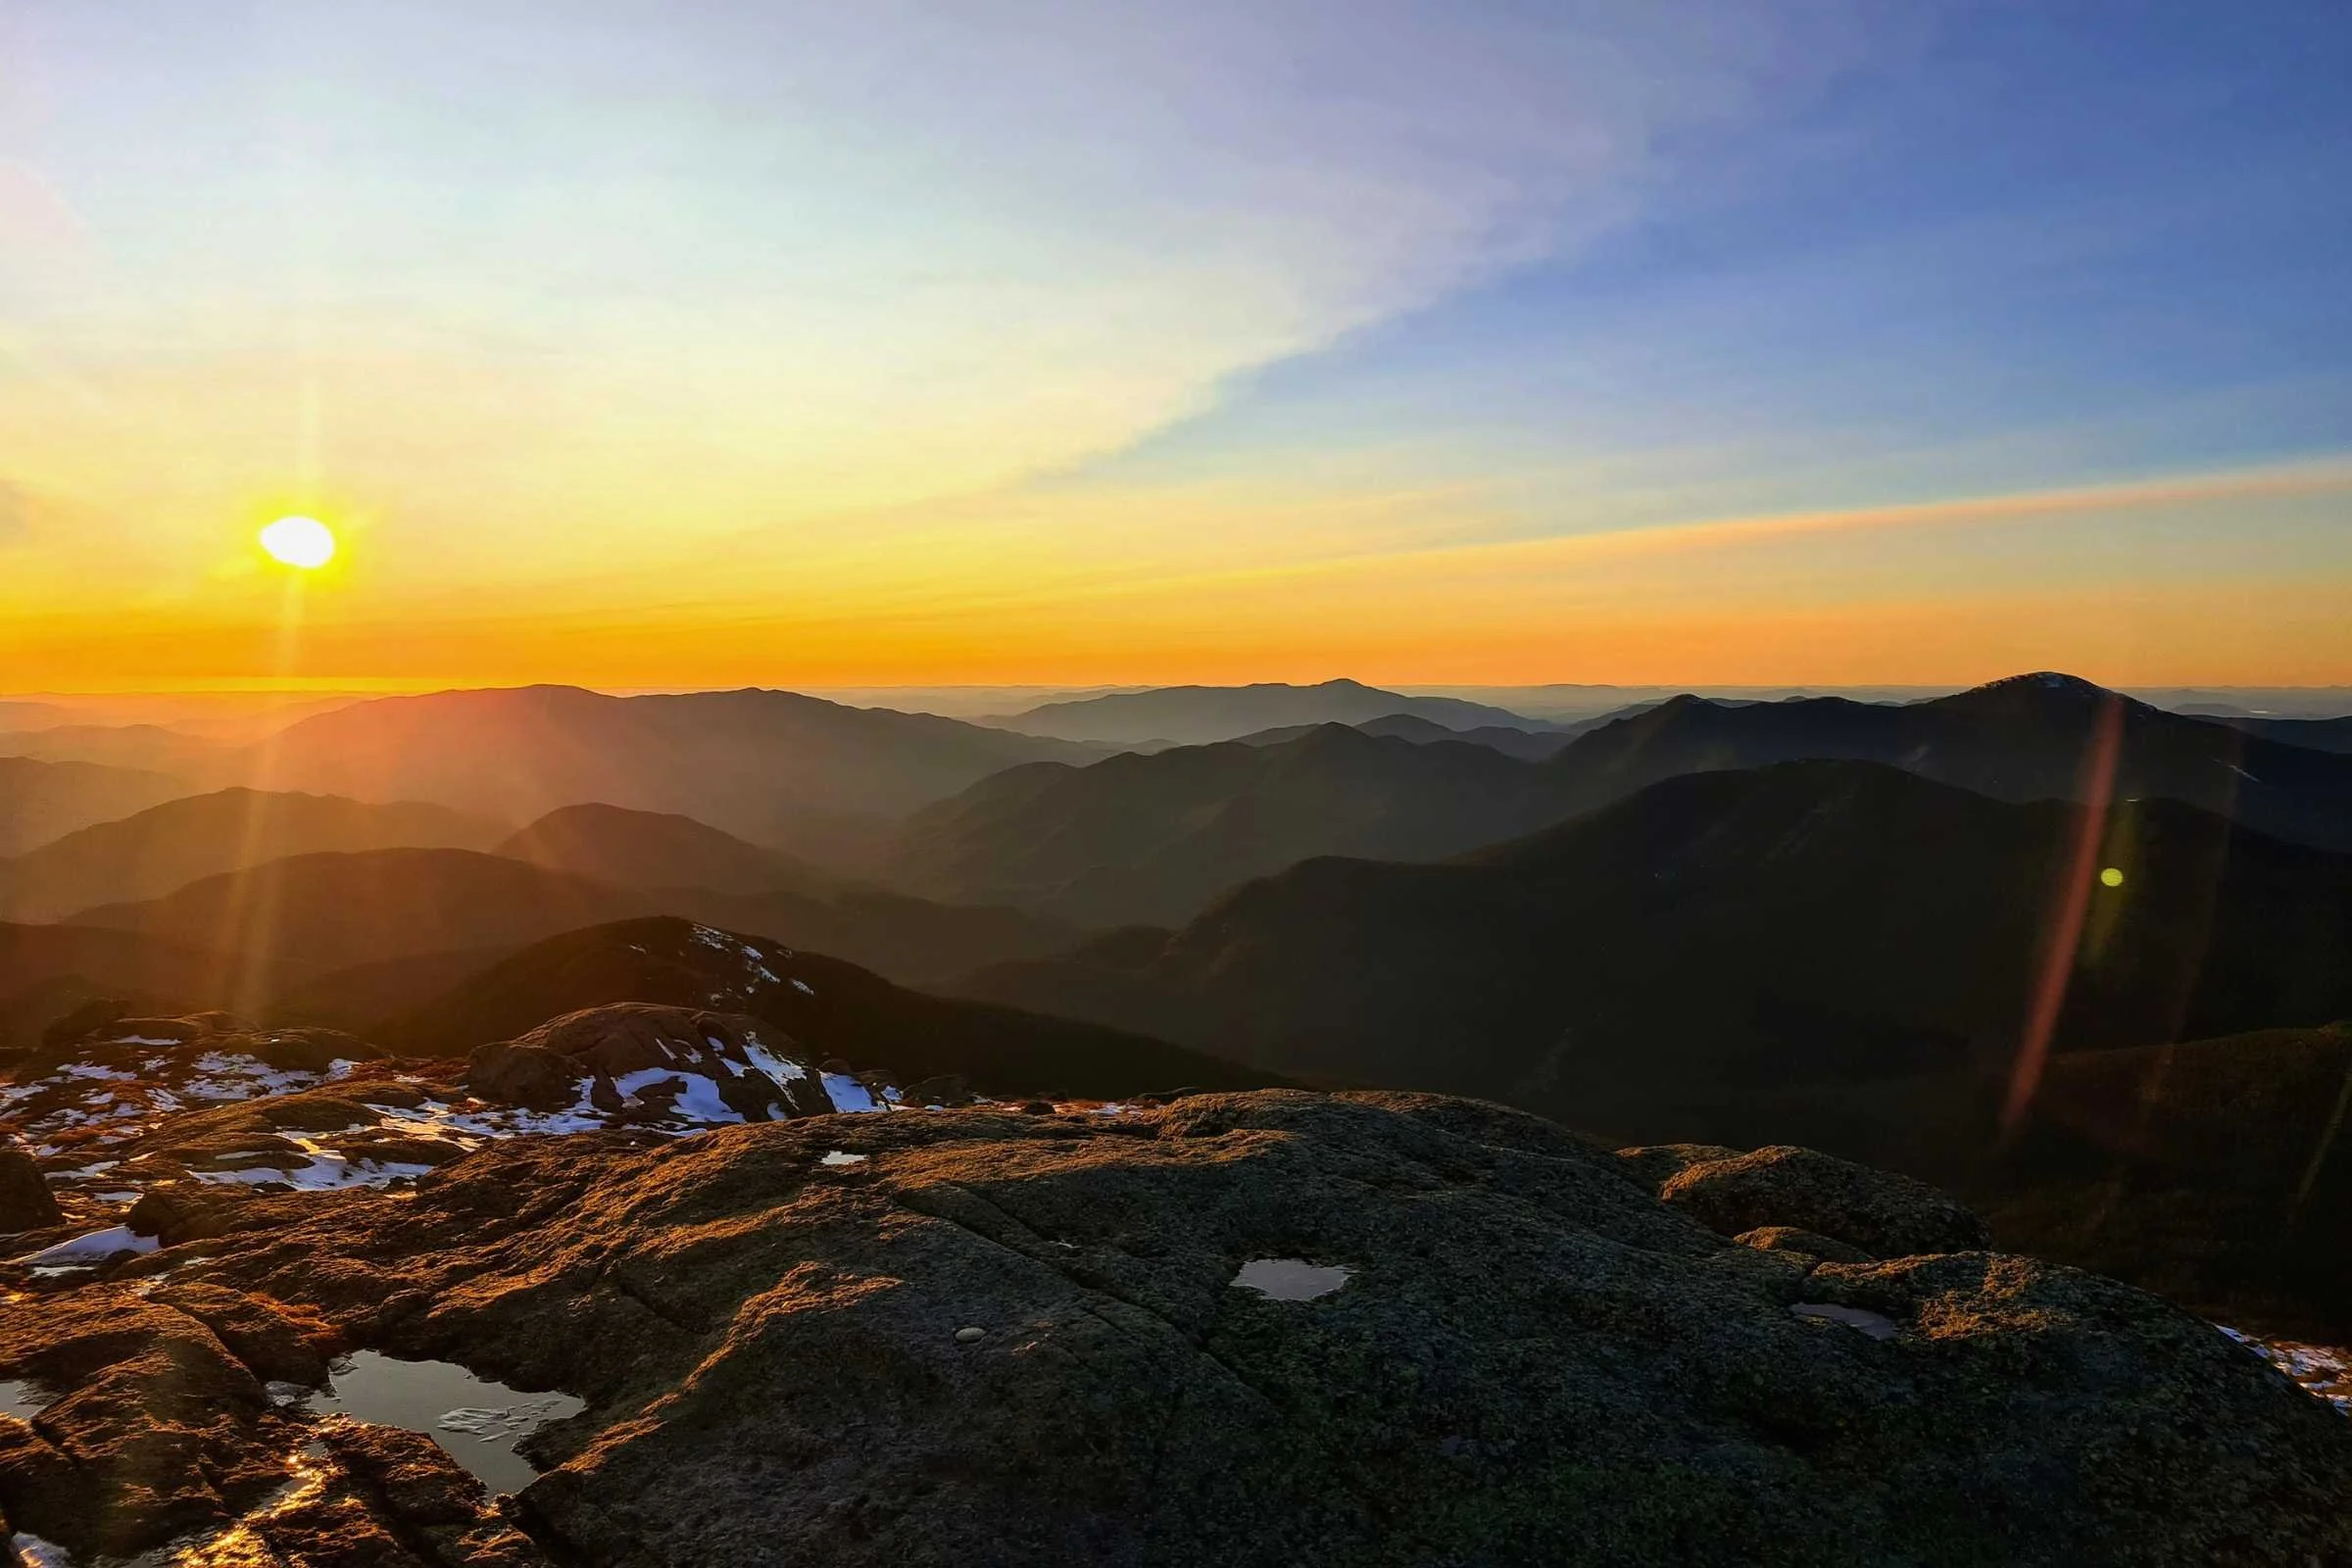
The alpine glow and sharp mountain ranges visible from Mt Marcy. Photo by Aubri Drake.
Once you’re ready, head back the way you came, heading down the Phelps Trail on your right. Now comes a uniquely difficult task—exiting out through the valley on tired legs, often at the end of a long and difficult day. The trail here starts out being very rocky and slowly gets smoother. It can be difficult to find a rhythm. As the trail continues down the valley, it parallels Johns Brook and many small tributaries. It can be a wet trail, especially closer to the spring season and after rain, but at least there’s plenty of water to drink.
The trail passes by five lean-tos and countless campsites and privies as it meanders through the valley towards the Garden parking lot. At mile 19, the trail passes by Johns Brook Lodge, which has a potable water spout out front. However, its services are only accessible for guests so those hiking through are not allowed inside.
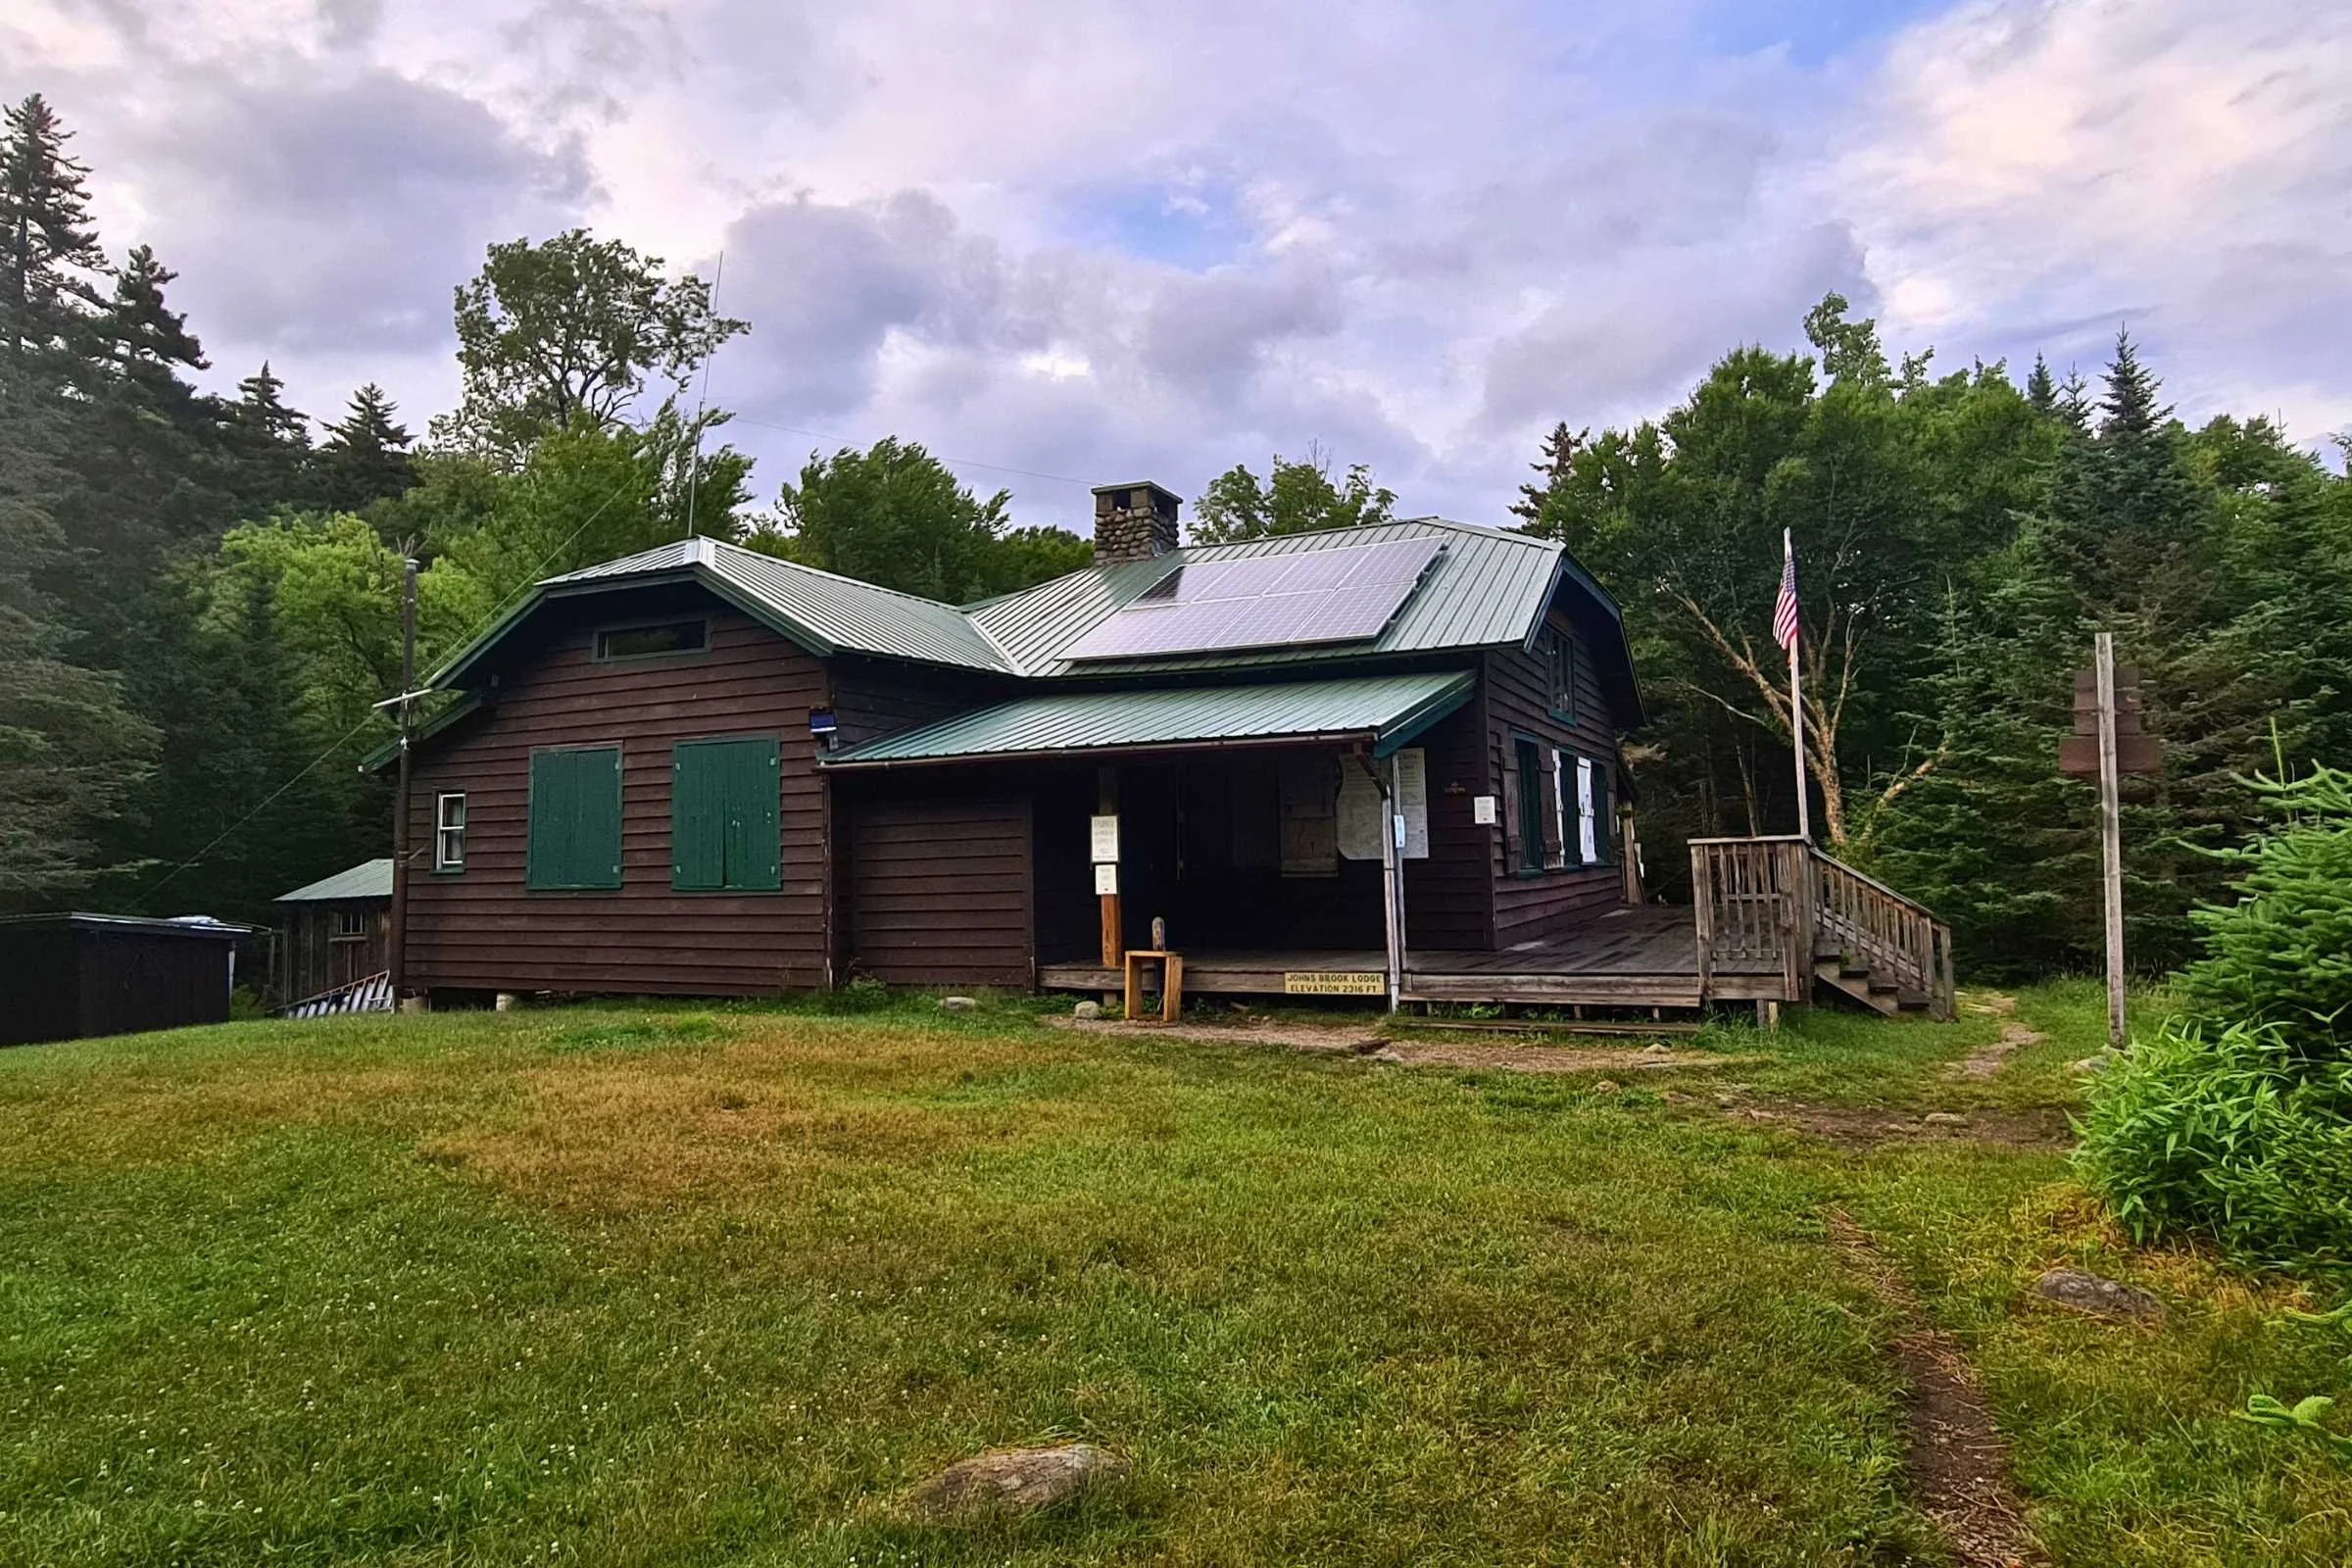
Johns Brook Lodge on the long exit through the valley. Photo by Aubri Drake.
At mile ~23, you’ll arrive at the Garden parking lot! Hopefully, you left some treats in the car to revive yourself after a long, epic adventure!
Navigation Resources
FarOut
FarOut does not provide a guide for this hiking area.
Gaia
GaiaGPS is my preferred navigation app, and it functions very well on the GRT. You will likely have service for the majority of summits and ridge walking, but will lose service once you drop lower down, so be sure to download the route and maps before heading out of town.
Maps
There are two options for a physical map. The first (and preferred) option for a map is the High Peaks Adirondack Trail Map from the Adirondack Mountain Club (ADK). It uses a 1:62,500 scale and folds down to 4.25” x 6.” This is available online from REI and the ADK, and in-person from The Mountaineer in Keene Valley located within a mile of both trailheads.
The second map is the Adirondack Park #742 map from National Geographic. It uses a 1:75,000 scale and folds down to 4.25” x 9.25.” This is available online from Amazon and REI.
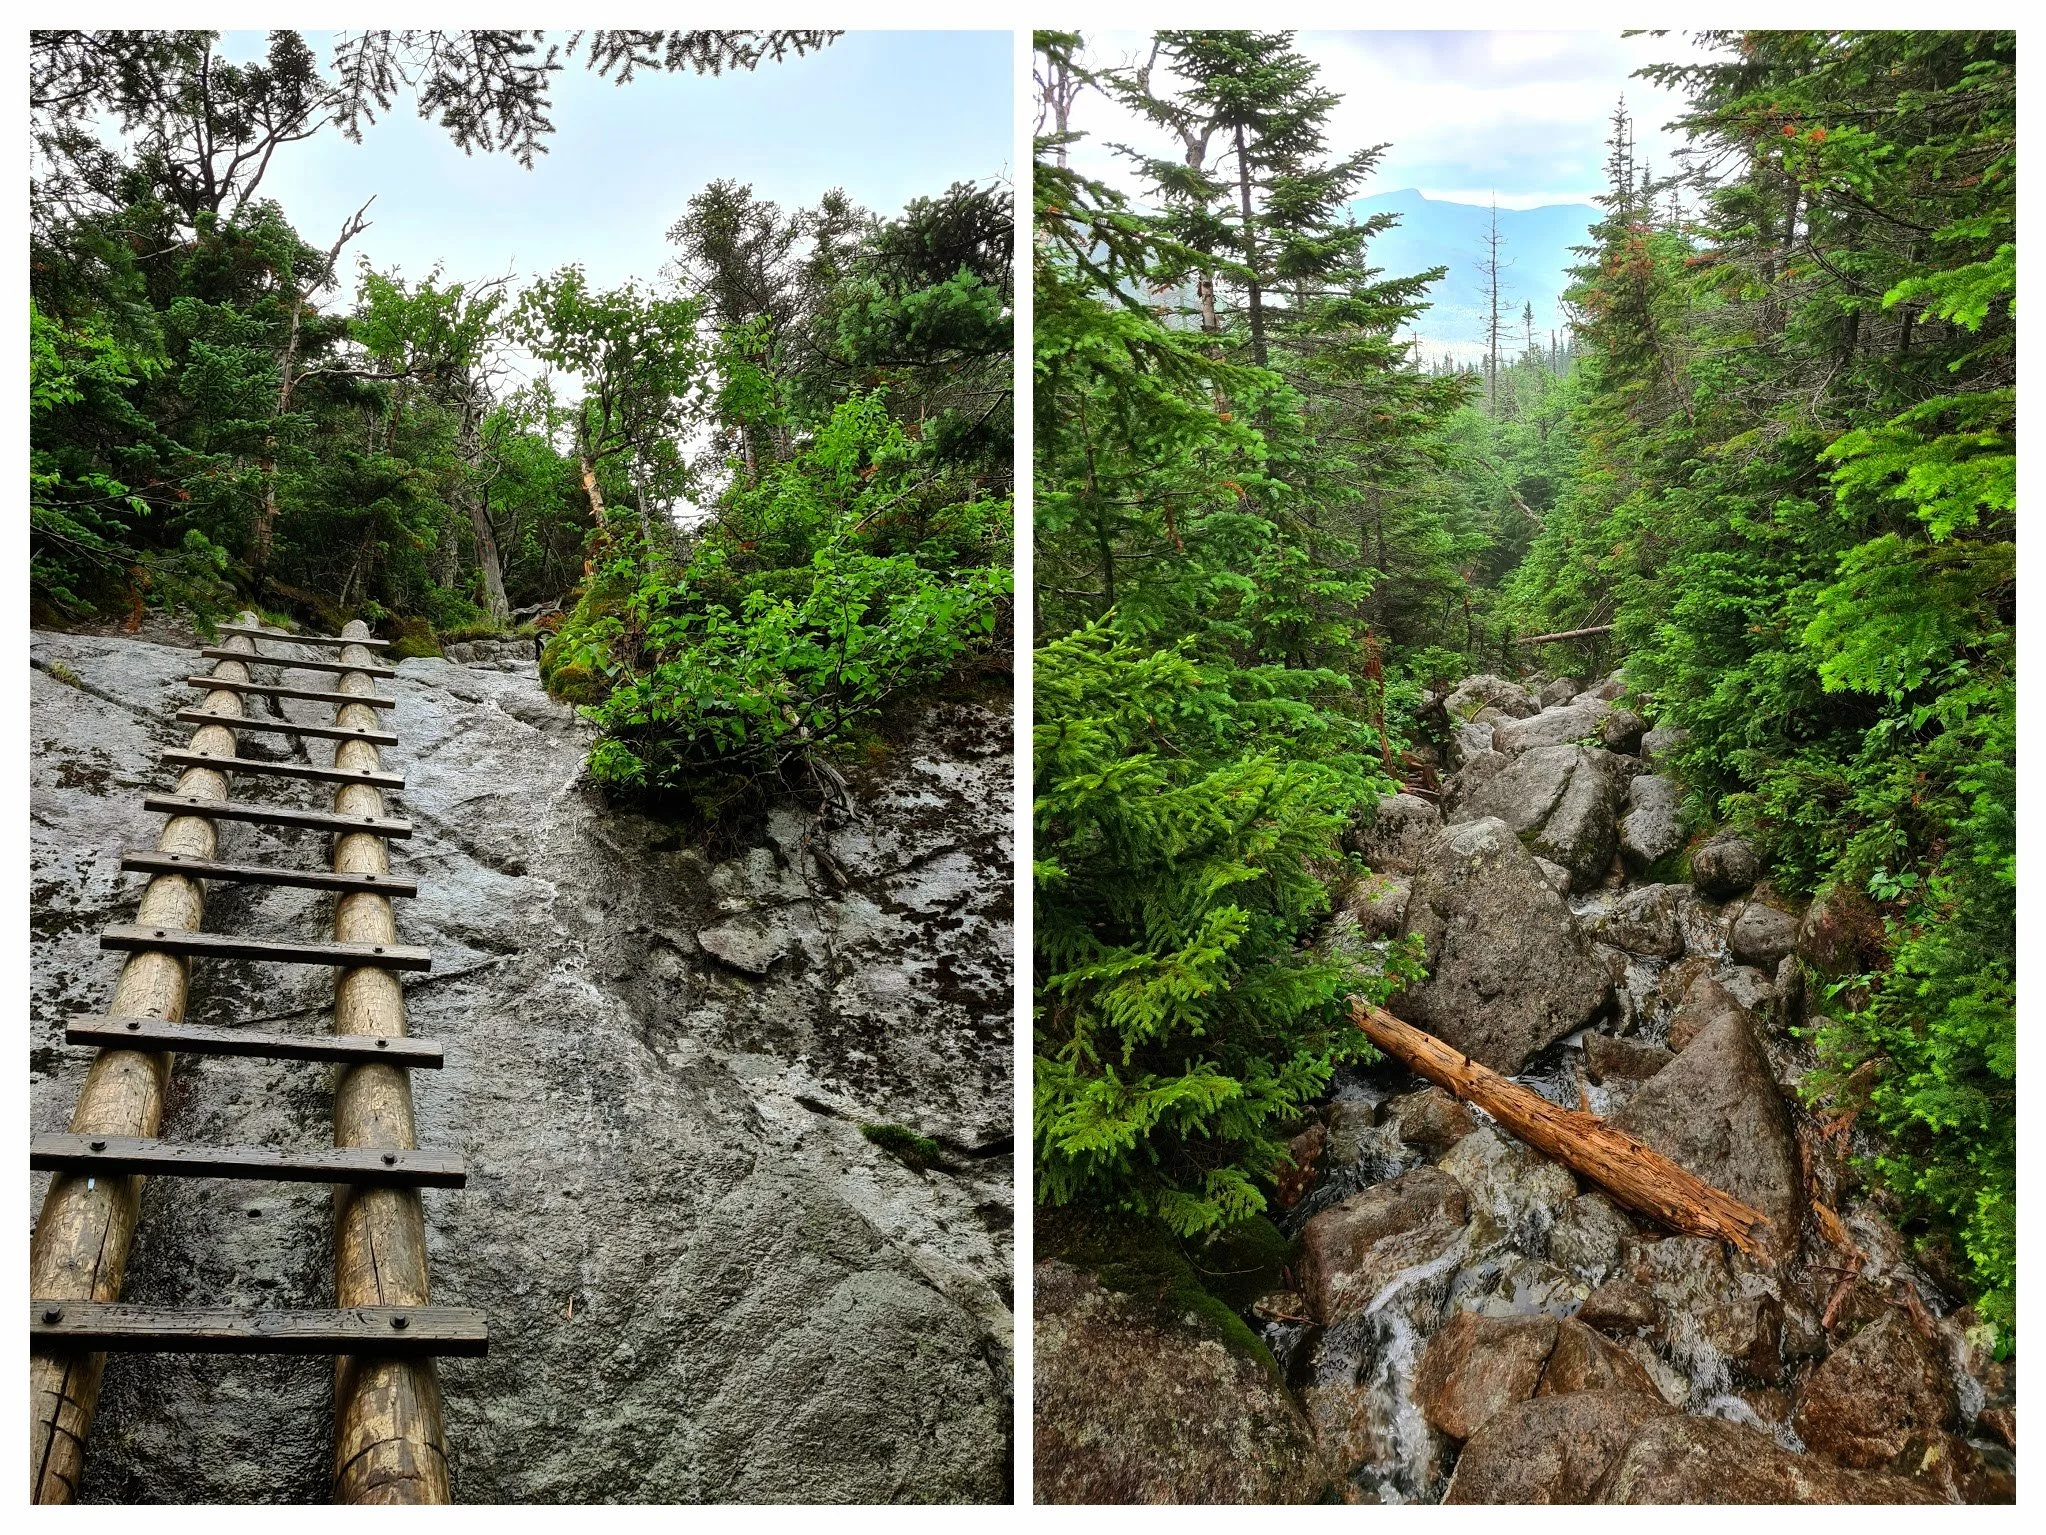
The tough terrain only gets tougher when the trail is wet. Photos by Aubri Drake.
Guidebooks
There is a High Peaks Trails guidebook from the ADK, available from both REI and the ADK. For this particular route, this guidebook is likely overkill but it has a lot of interesting information (such as trail history and identifying views from different peaks on this and other routes in the area) packed into its 312 pages.
Getting There
By Plane
The closest airport is the Albany International Airport. New York City airports, the Syracuse Hancock International Airport, and the Burlington International Airport would also be options. Substantial car or bus travel will be required after arriving at the airport.
By Car
Car travel is the easiest, most straightforward method for arriving in Keene Valley. Aim for Keene Valley, NY and drive to one of the trailheads below.
Bus and Shuttle Services
There are Trailways buses available from the NYC Port Authority, Albany, and Syracuse that all arrive at Keene Valley, NY within a mile of both trailheads.
For those planning to travel by bus, I would recommend flying into Albany International Airport for the direct 3-hour bus ride. All other options are at least 7-hour bus rides.
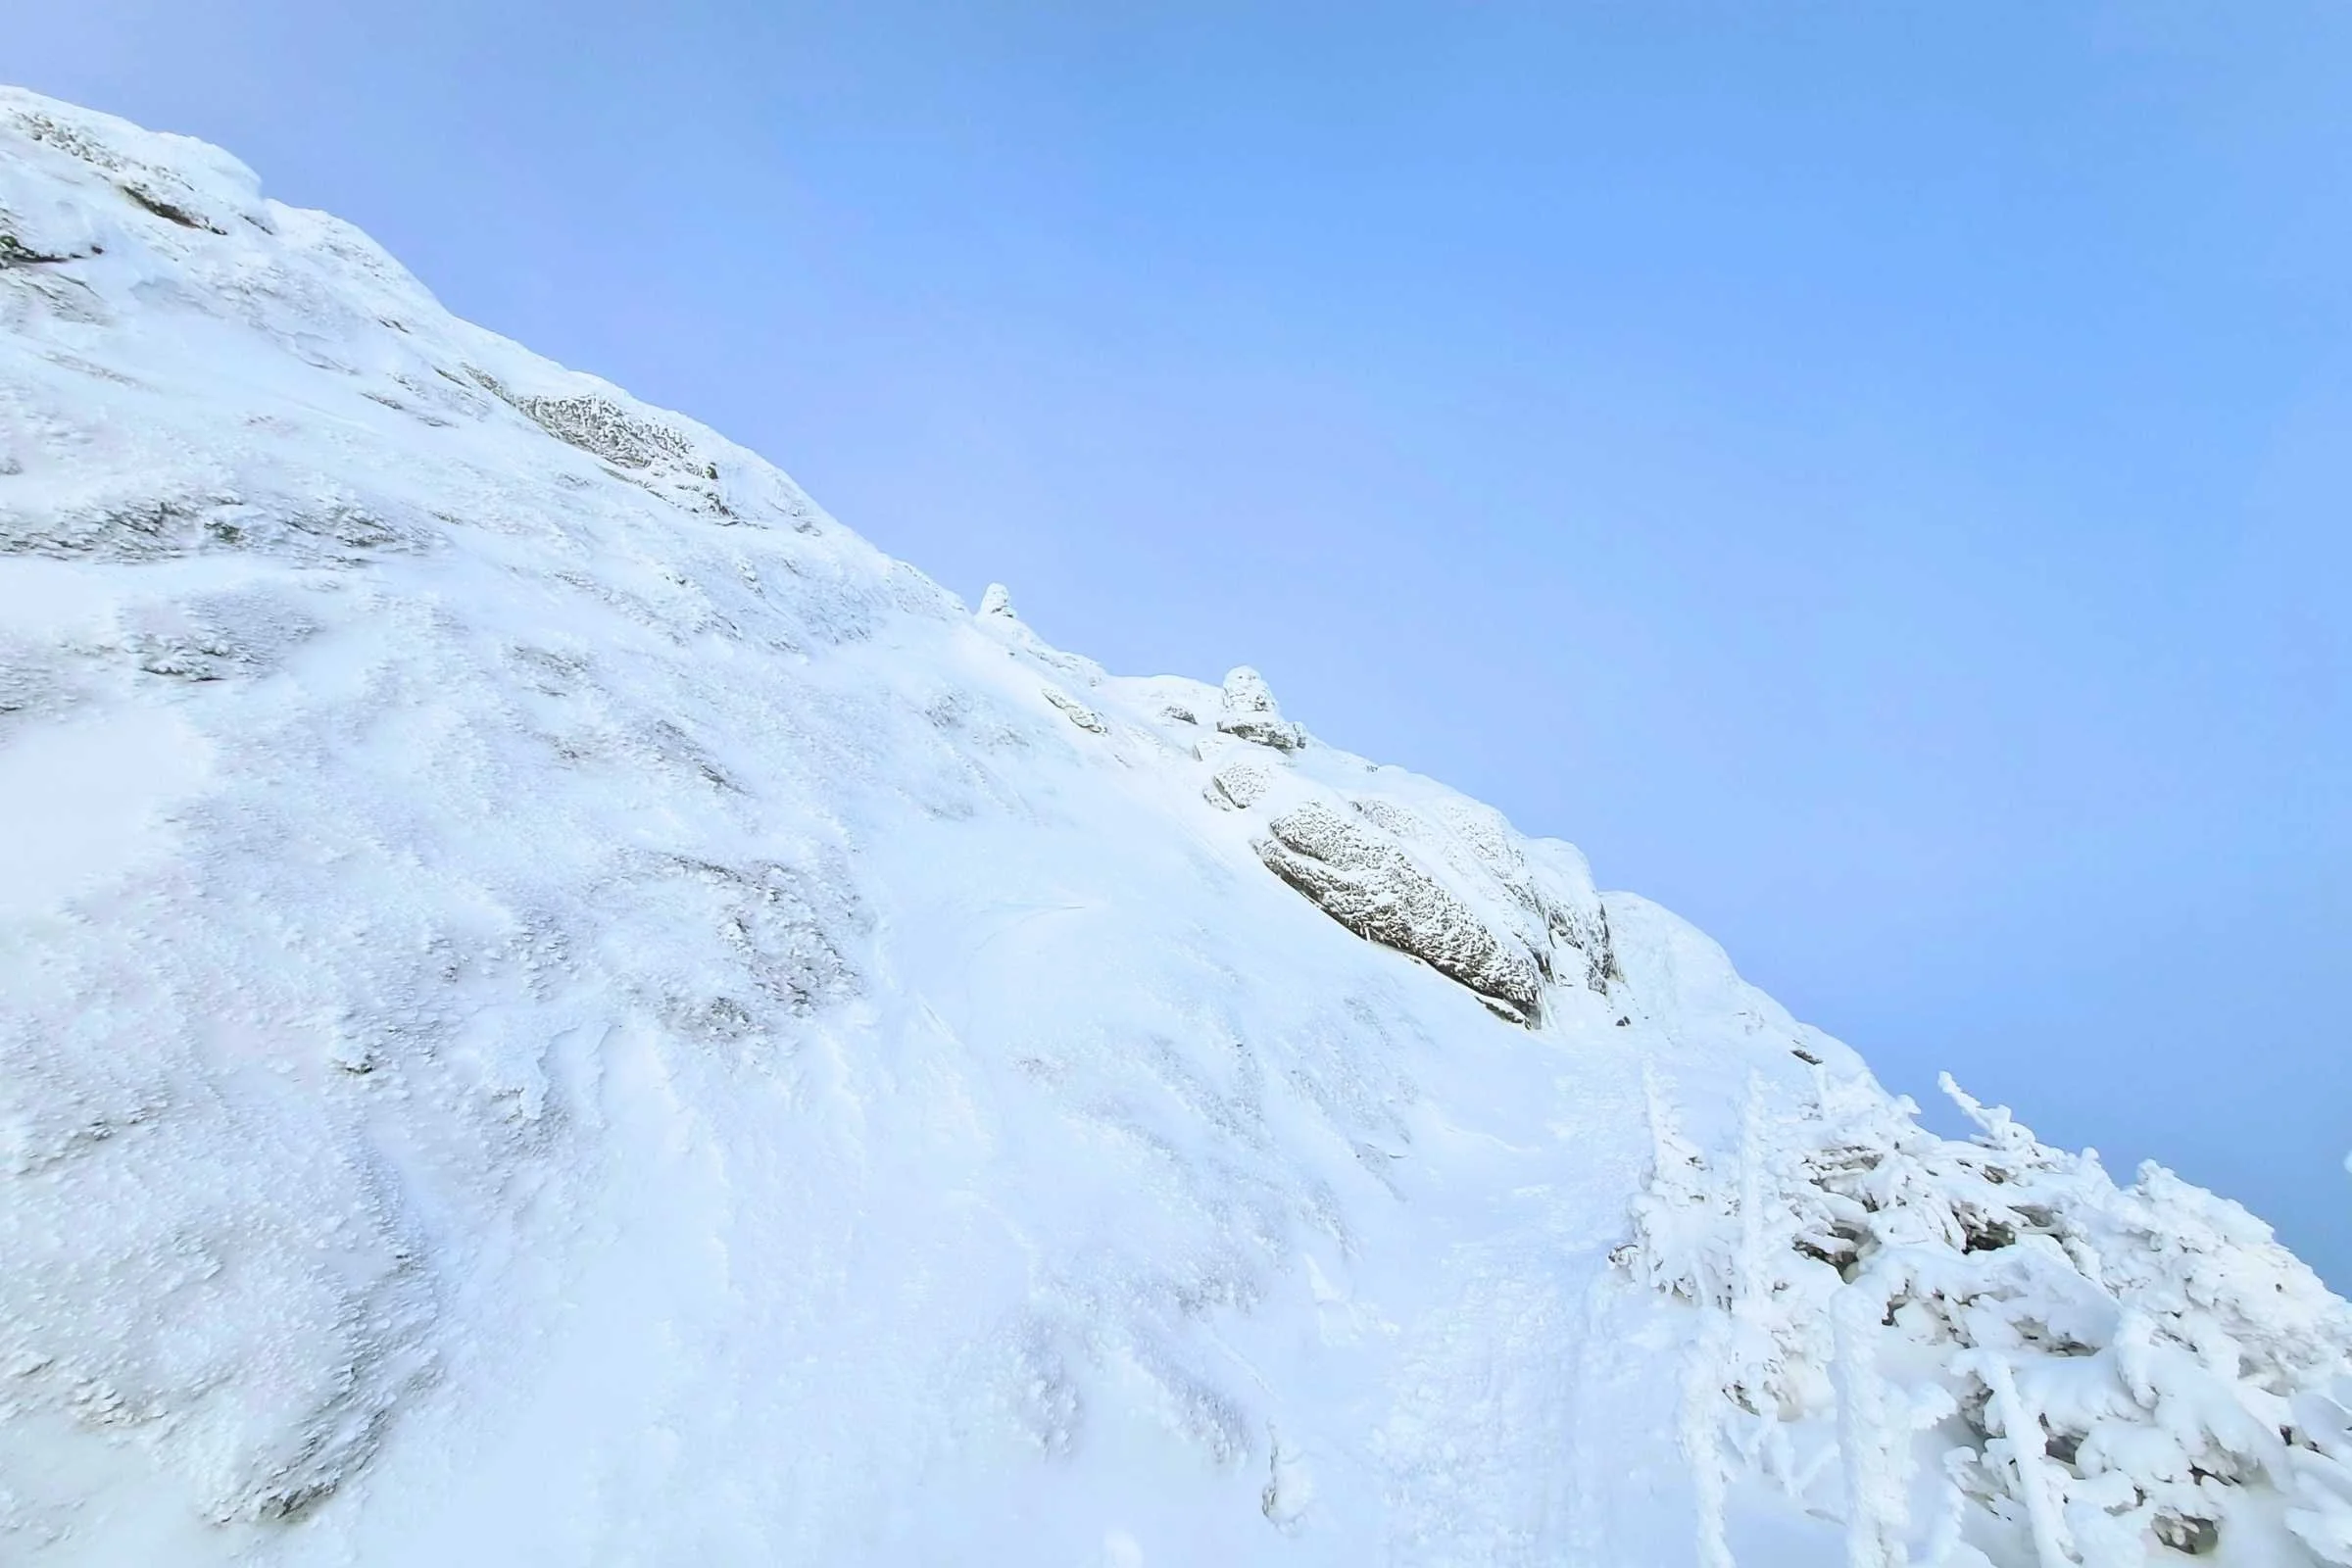
Views of the Saddleback Cliffs in January. Photo by Aubri Drake.
Trailheads
The Garden Trailhead
This trailhead has ~30-40 parking spots and is the second most popular High Peaks trailhead, so it often fills up on summer weekends before 7 a.m. on Saturdays. If you’re able to find a parking spot, it’s $10 cash to park. There are pins on Google Maps for both ‘Big Slide Mountain Trailhead’ and The Garden Trailhead for the same trailhead. There is typically a portable toilet in the parking lot.
If you can’t find a parking spot, the two alternatives will be 1) parking in a legal parking spot in town or at the Roostercomb trailhead and walk the ~1.5–2 mi back to the trailhead at the end of your hike, or 2) parking at Marcy Field and taking the shuttle (SAT–SUN, 7 a.m.–7 p.m., $10 cash for a round trip). The town does tow illegally parked cars, so be careful when picking your parking spot.
My recommendation is to just take one car and start from Roostercomb very early and walk the 2 road miles at the end of your hike to get back to your car if you’re aiming to complete this route on a weekend. If you have two cars, I’d park one car at The Garden the night before your hike, taking advantage of dayhikers who have headed home leaving some spots open.
Roostercomb Trailhead
The Roostercomb trailhead has ~20 parking spots and is also an overflow lot for The Garden. It is free to park here. I’ve only found it full later in the day on weekends, but it is the official start of the Great Range Traverse which is a fairly popular route. So if it’s good weather, there are often at least a dozen cars present early on weekend mornings. There is typically a portable toilet in the parking lot.
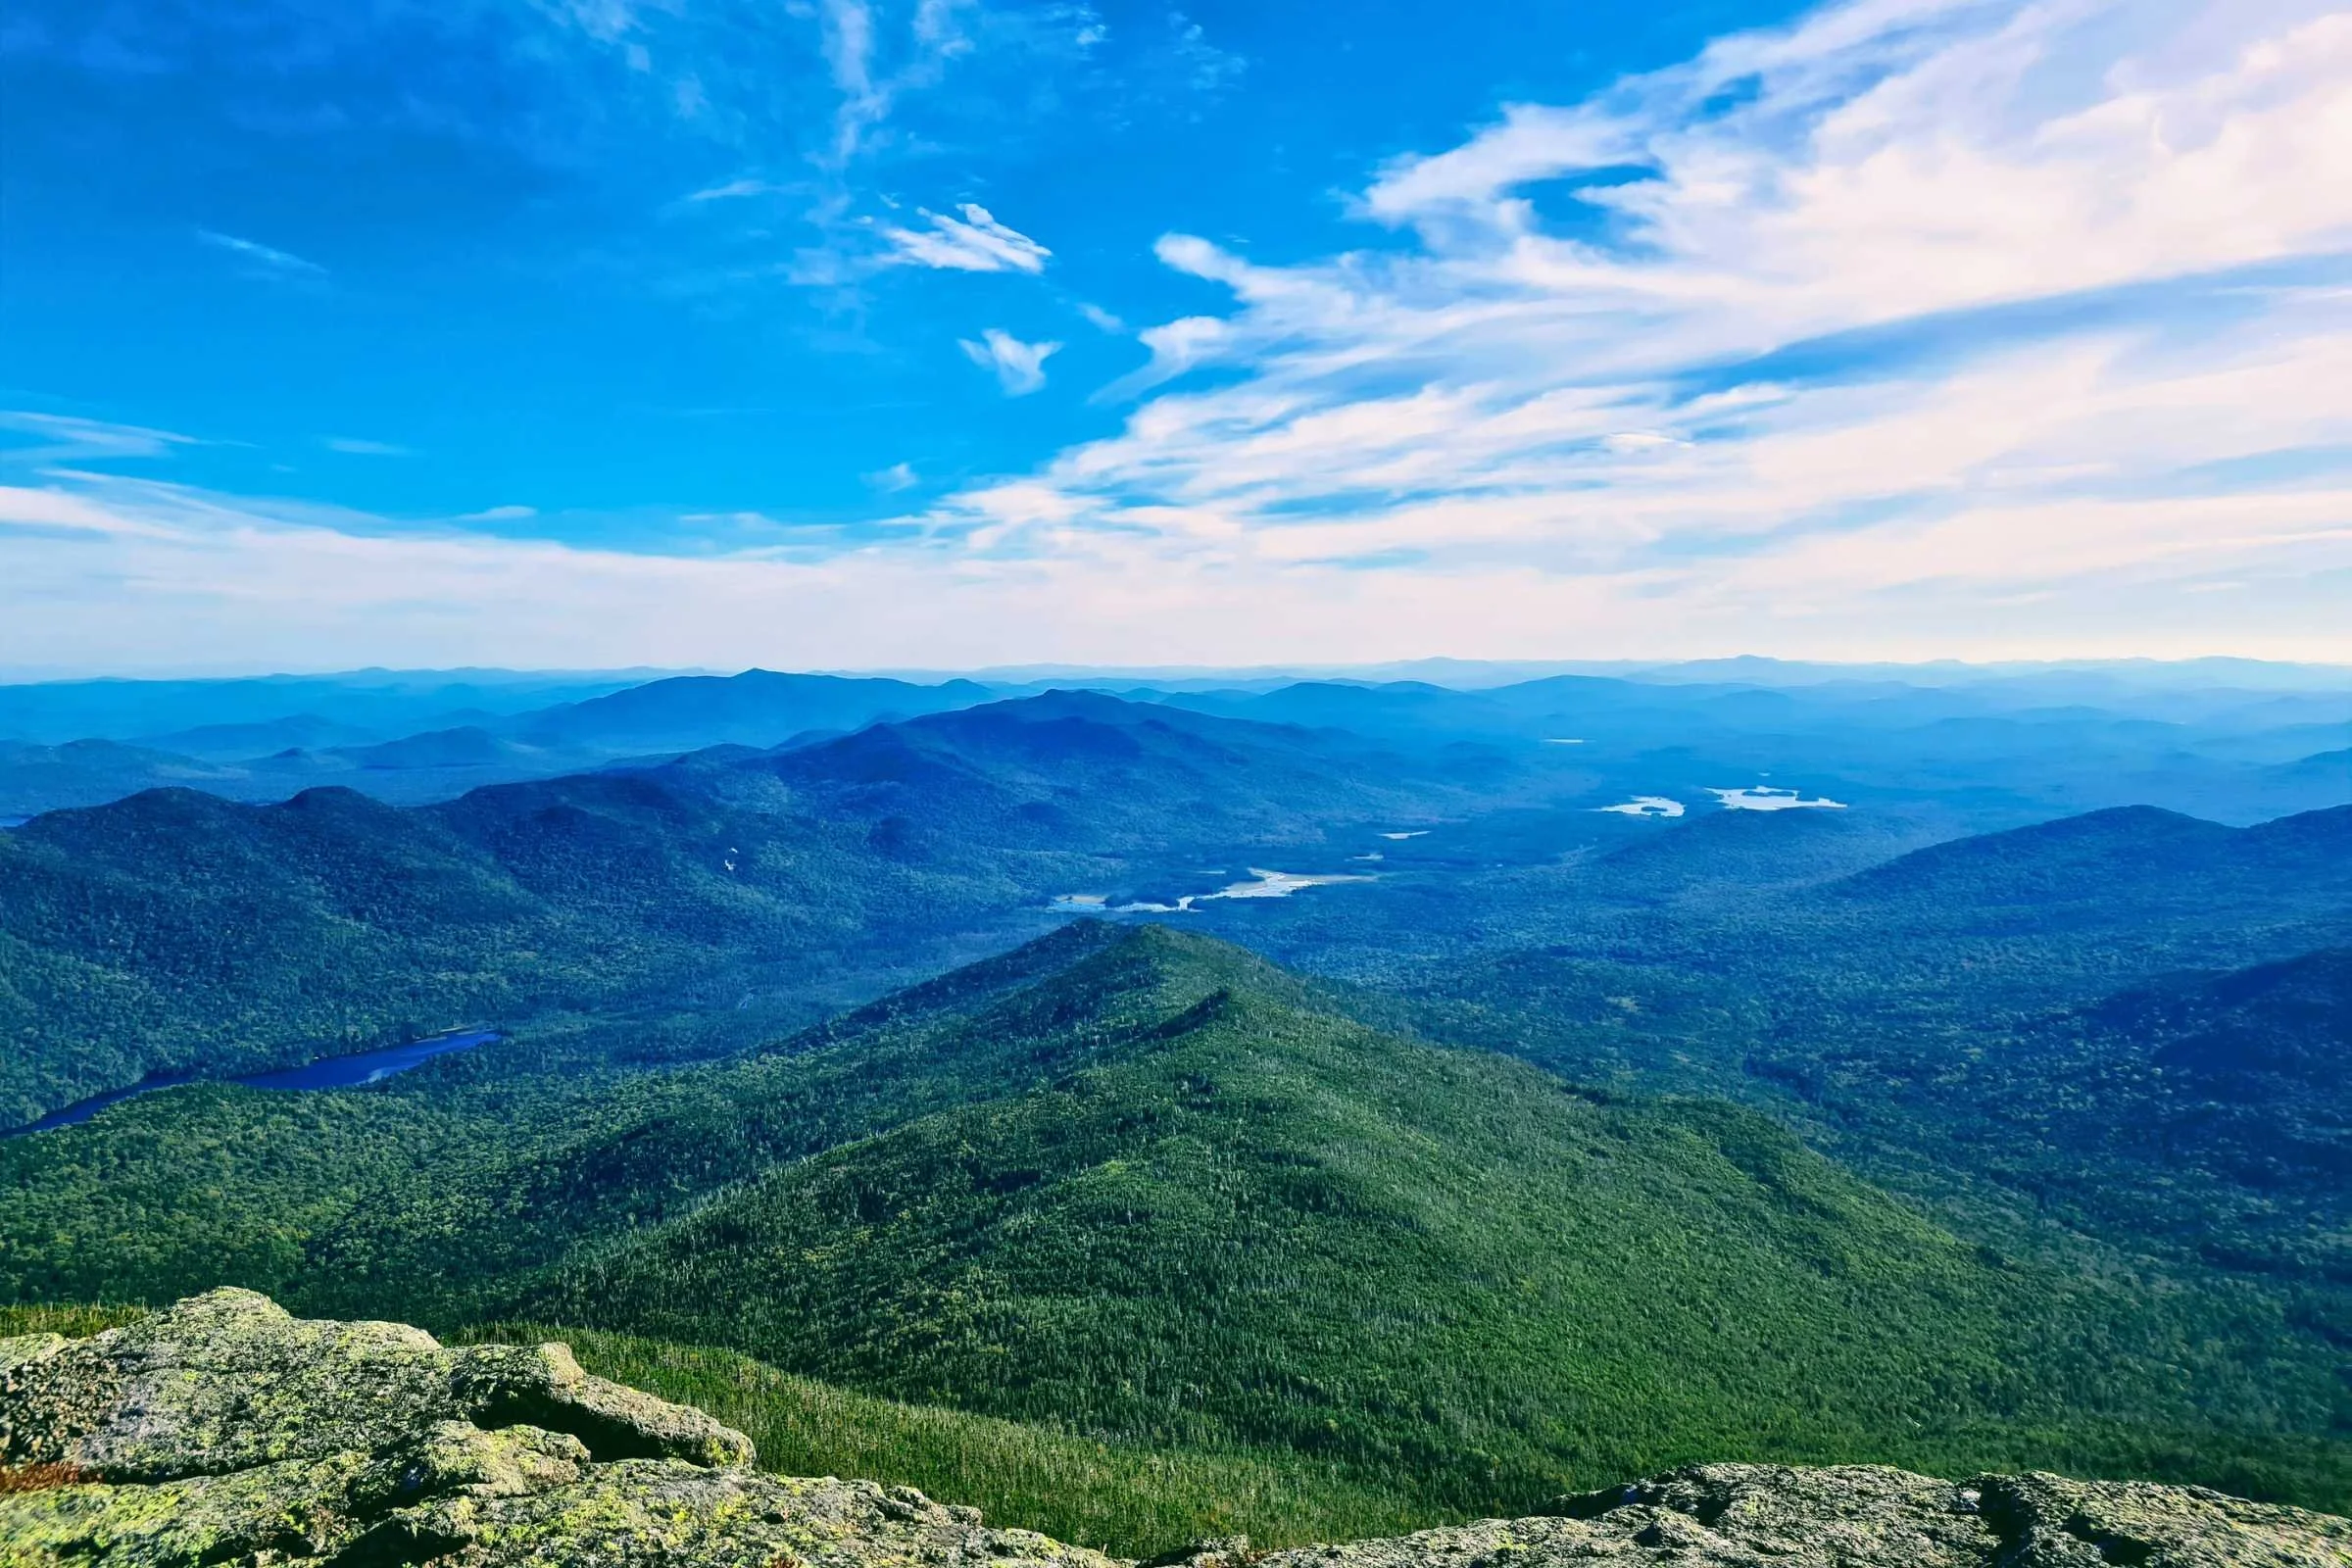
On a good weather day, the views on this route are phenomenal! Photo by Aubri Drake.
Post-Trip Favorite Restaurant/Bakery/Brewery/etc.
Keene Valley, NY is a very small mountain town with only ~250 full-time residents. There are limited but vibrant options for outdoor enthusiasts from out of town.
One classic option is the Noon Mark Diner directly in town. They’re open for breakfast and lunch every day and serve classic diner fare, alongside homemade pies, jams, and breads.
Another great stop in town is the Valley Grocery Store. Their prices definitely reflect how far the food travels to get here, but they have a great selection of food and drink (and make sandwiches and coffee) and are very friendly.
However, if I’m completely honest, I’m generally hiking before these places open and long after they close. For this particular route, it’s unlikely you’ll be in town during their open hours. My eternal go-to for early morning and late night food near Keene Valley is the Stewart’s Shops gas station 5 miles up the road in Keene. They’re open 5 a.m.-11:30 p.m. every day and have a make-your-own coffee bar, fresh baked goods, hot sandwiches and pizza at all hours. They have booths available for sitting down to eat your haul, and their ice cream counter is almost always open.
If you really want more options than this, it’s a 25-minute drive to Lake Placid. The local pickings are slim and these small towns rely on tourism for the majority of their revenue so please be considerate, even if service might be a little slow.
Trail Regulations
Follow Leave No Trace Ethics
Dogs must be leashed at all times within the Eastern High Peaks Region (where this route is located), including at trailheads, campsites, and above 4,000’.
Aside from the regulations, please be sure this route’s class 2, 2+, and 3 scrambling is something your dog can safely and happily complete.
Bear canisters are required for all overnight stays between April 1 and November 30 in this region. See below for more details about this requirement.
No camping is allowed above 3,500’, except at designated sites.
No camping is allowed within 150 feet of a trail, waterway, water body, or road.
Group size must be limited to 15 people for dayhiking and eight people or less for overnights.
No campfires are allowed.
Stay on trail in alpine areas. This regulation is most relevant near the summits of Haystack and Mount Marcy.
Camping
Camping regulations for the Eastern High Peaks Region (where this route is located) are very strict. The Region is regularly patrolled by New York State Forest Rangers, who are sworn State Police Officers. They all carry service weapons, and are willing and able to levy substantial fines for violating rules and regulations. They are pejoratively known as the “snowshoe police” for their ability to fine winter Adirondack hikers $250+ per person per offense for being caught not wearing snowshoes. Keep this in mind when selecting your campsites.
Since this route is almost entirely above 3,500’, backpackers will need to stay exclusively at designated sites. Beyond the camping regulations, there just isn’t flat ground available on this route. Plan your campsites in advance and have backup plans in case your desired site is full.
Mile ~5.75
At mile ~5.75 of the GRT the trail intersects with the Wolf Jaw Trail. There is an off-trail campsite 0.7 mi and a 700-foot loss down the Wolf Jaw Trail to the left. It is worth noting it is a small site that can accommodate 4-6 small tents and there is no water source or privy.
Mile ~10.75
Directly on trail, Sno-bird campsite is near the route’s very first water source. There is a privy and 5-7 small dirt tent pads intended for small backpacking tents. This is the only campsite above 4,000’ in the Adirondack High Peaks, and it’s available first come first served at no cost. This is a solid option for breaking up the GRT into two pieces.
Mile ~16
Directly on trail, Slant Rock has a lean-to and three designated campsites with room for multiple tents at each site. There is a privy and easy access to Johns Brook for water. This campsite can also be reached at mile ~12 as a 0.7 mi 700’ loss detour.
Mile ~18.25
Directly on trail, Bushnell Falls has two lean-tos and two designated campsites with room for multiple tents at each site. There are three privies and easy access to Johns Brook and Chicken Coop Brook for water.
Mile ~20
Very close to the trail and nearby Johns Brook Lodge, there are three campsites and a privy, as well as the Crandell Lean-to on Woodsfall Trail on the other side of Johns Brook. Johns Brook is nearby for water and the Lodge has an outdoor potable water spigot.
Mile ~20.5
Directly on trail, there is the Howard Lean-to, as well as two privies and three designated campsites. The water source is a short walk away at either Slide Mountain Brook or Johns Brook.
Mile ~22.5
Directly on trail, there is the Deer Brook Lean-to as well as one privy and one designated campsite. Deer Brook is the water source.
Lodging In Town
For the night before or after your trip, I’d highly recommend staying at the Rooster Comb Inn right in town. They have private rooms but shared bathrooms and a full-size shared kitchen for guests. It’s a mix of a BnB and a hostel, and for me, it has been the best of both worlds. If you’d prefer a classic hostel experience, TMax-n-Topo’s Hostel is a 20-minute drive up the road towards Lake Placid.
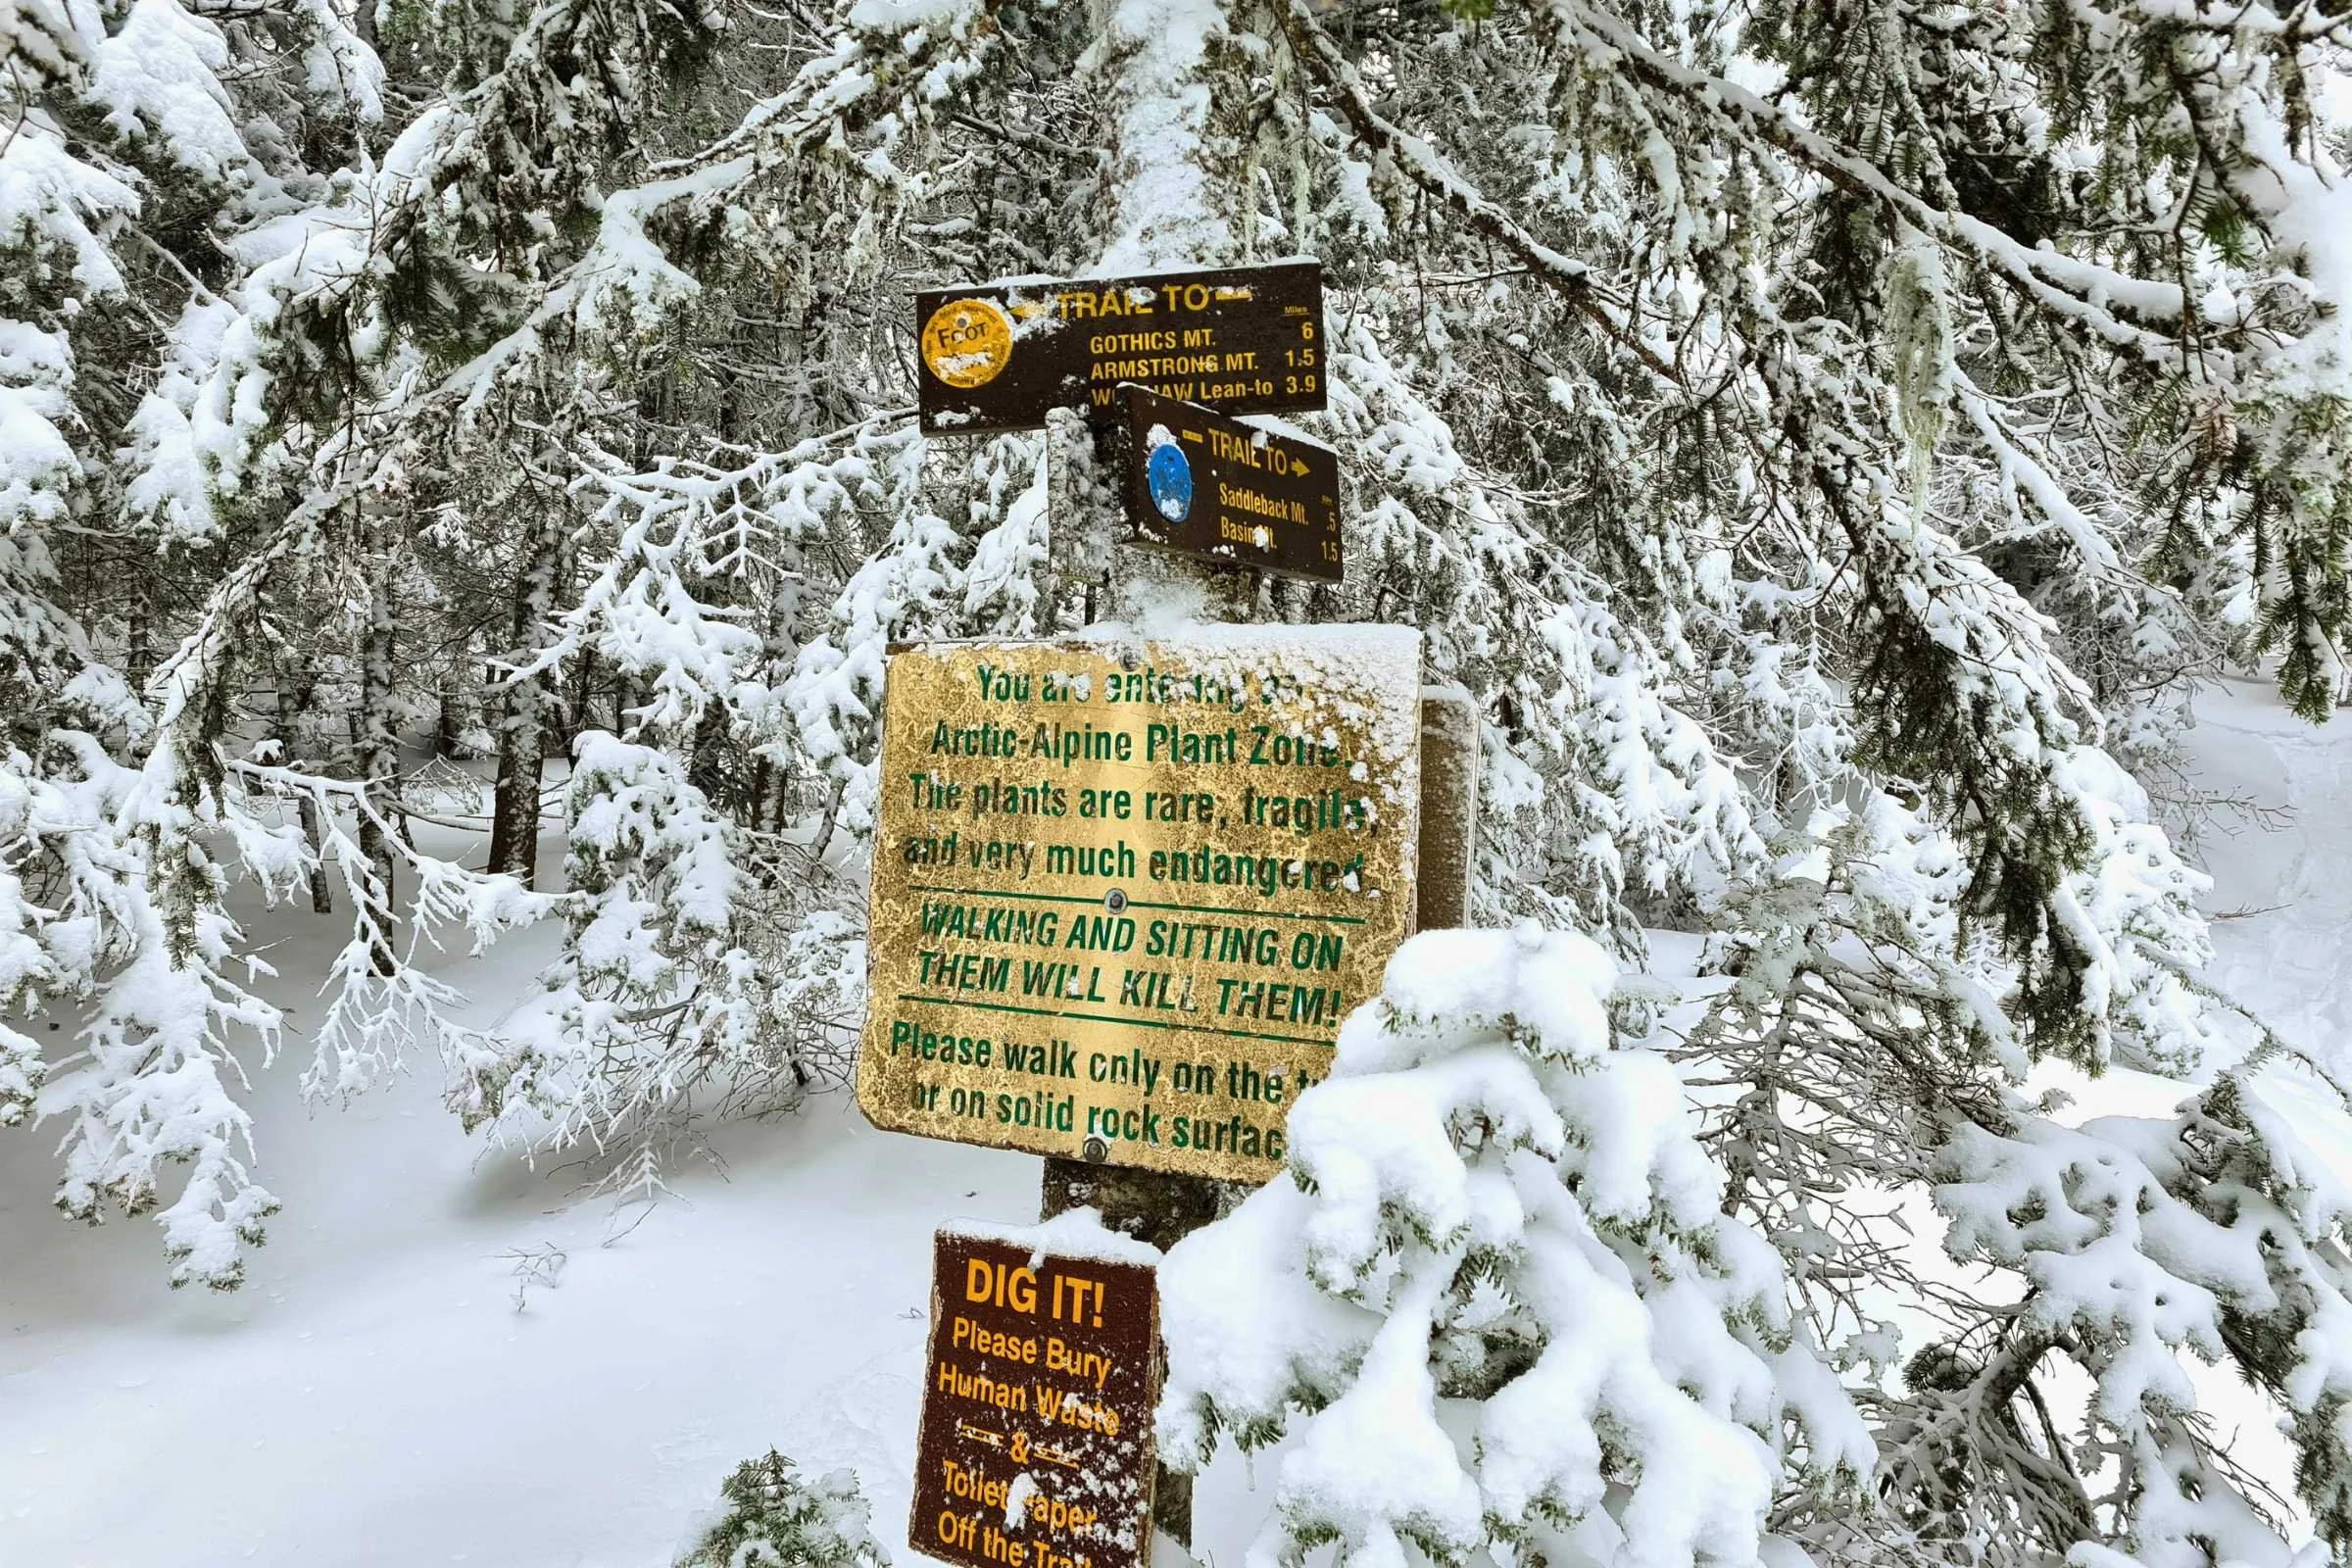
The GRT’s intersections are all marked with signs and the trails are all marked NYDEC discs. Photo by Aubri Drake.
Water Planning
Water is available on this route around miles 10.3, 12.5, and then frequently from mile 15 to the end (see Camping above for more details). I’d recommend starting with at least 3L, and potentially more depending on temperatures and expected speed. I’ve never arrived at the first water source any faster than 6 hours, and they’re hard miles.
Bears and Food Storage
Bear canisters are required for all overnight stays in this region between April 1 and November 30. Designated campsites and lean-tos do not provide bear boxes.
Please know that Forest Rangers and volunteer Summit Stewards check for bear canisters frequently, and Forest Rangers can fine overnight hikers without one and demand they exit to the trailhead.
It is critical to note that clear plastic bear canisters (like BearVaults) are not recommended, as some ADK bears have figured out how to open these. The High Peaks Information Center has a display of broken BearVaults if you’d like to see the evidence!
Acceptable, ADK-bear-resistant canisters are available to rent at The Mountaineer in Keene Valley and at the High Peaks Information Center at the ADK’s Heart Lake Program Center; they both offer after-hours returns.
Variations
The standard GRT starts at the Roostercomb Trailhead and ends at The Garden Trailhead. This puts all of the climbing in the first half, with more frequent water and smoother trails in the second half. It would be possible to start at The Garden and end at Roostercomb, putting smoother trail first. However, this would then require hikers to navigate the challenging and technical descents of Lower and Upper Wolf Jaw at the end of their day with no water access for the second half.
Bailing
Up to Hedgehog Mountain, it’s likely best to turn around and head back the way you came. If you find yourself in need of bailing out after Hedgehog Mountain, be sure to bail to the north, towards Johns Brook. All northern trails off of the Great Range lead there eventually. Bailing to the south results in a lot of extra miles and ends at a trailhead three miles out of town.
For bailing around Lower and Upper Wolfjaw Mountains, Wolf Jaw Trail leads to Johns Brook. After Armstrong but before Gothics, there’s Orebed Brook Trail. After Basin but before Little Haystack, there's the Shorey Short Cut Trail. None of these are easy or quick ways to bail, but they all quickly lose elevation and head down towards smoother trails. However, it is better not to start if needing to bail is a strong possibility.
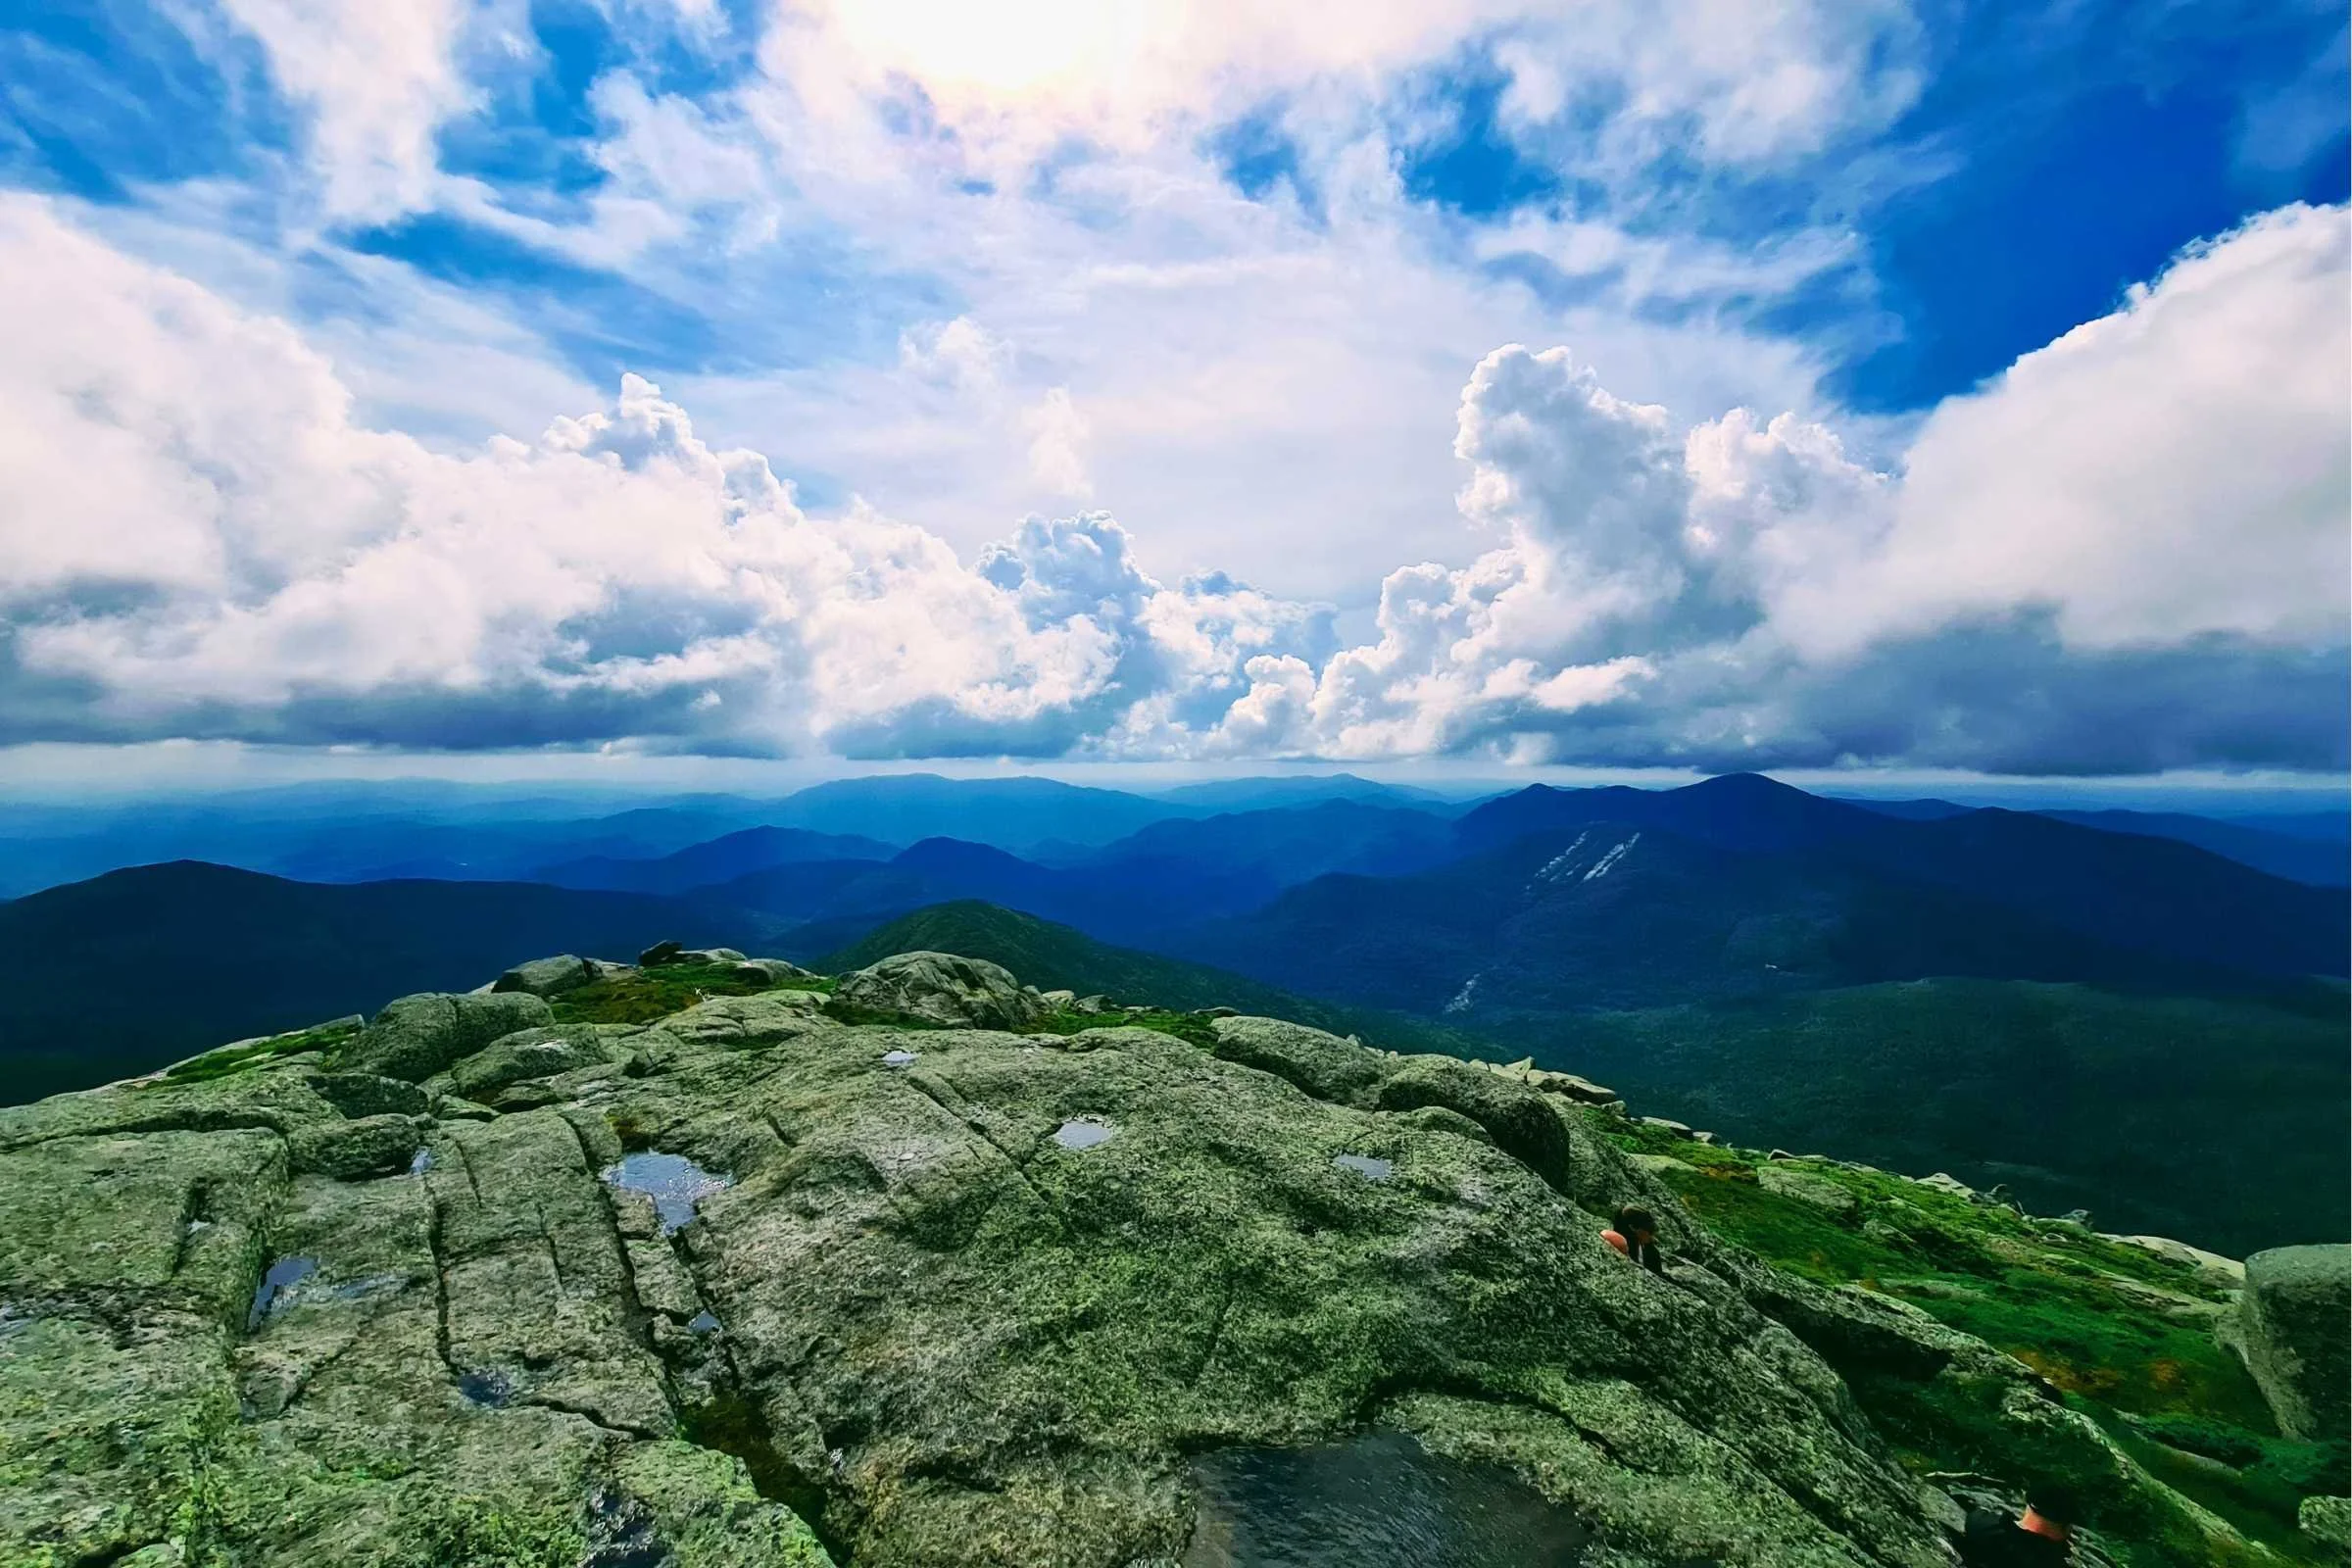
The Great Range Traverse is a very rewarding route with enchanting scenery. Photo by Aubri Drake.
Gear Rentals
Gear rentals are available at The Mountaineer, an experienced outfitter in town.
Gear Discussion
For my single-day hikes of the GRT, I wore the Salomon ADV Skin 12 hydration vest, and carried a Katadyn BeFree 1L filter, a Black Diamond Storm headlamp, a Garmin InReach Mini, an Outdoor Research Helium UL rain jacket, and an emergency bivy sack.
Tent
For backpacking, I would use the Big Agnes Fly Creek UL2 (former Treeline winner for Best Roomy Tent for One Person) for this trip because the campsite areas on the GRT use dirt pads very tightly together, making it difficult to pitch a non-freestanding tent, and the weather and humidity in the Northeast typically require a double-walled tent.
See our Best Backpacking Tents guide for more recommendations.
Backpack
I used my Gossamer Gear Mariposa, Treeline’s pick for Best Backpack for Thru-hiking, since it carries a heavy load well and has a light frame.
Sleeping Bag
I would use my Katabatic Gear Alsek (a variation of Treeline’s Best Overall pick for Best Backpacking Quilts) for this trip since it’s my favorite 3-season quilt/bag hybrid, in the short and wide variety to comfortably accommodate my wide shoulders. The weather can shift quickly, and I always want a way to stay warm in my tent regardless of the temperatures.
See our Best Sleeping Bags story for more recommendations.
Sleeping Pad
I would use my Therm-a-Rest NeoAir XTherm, wide pad (winner of Treeline’s Best Backpacking Sleeping Pad for Cold) for its excellent cushion and comfort and its warmth and high r-value. Mountain nights can get very cold, even in summer. If I’m sleeping in a shelter, I’ll bring a 3-mil plastic dropcloth to place underneath my sleeping pad to protect it from punctures.
Trekking Poles
I used my Black Diamond Trail Ergo Cork trekking poles for this trip (a previous version of Treeline’s best overall trekking poles pick), because they’re light, mold to my hands, and don’t grow slick when I sweat. The Adirondacks are very hard on trekking poles, and these aluminum poles are light but also hold up well despite everything I ask of them. For more recommendations, see our Best Trekking poles story.
Cooking System
I would use my MSR PocketRocket 2 stove on this trip because it’s simple, inexpensive, and hard to break, the GSI Soloist cook set, and my beloved TOAKS titanium long handle spoon.
See our Best Backpacking Stoves story for more recommendations and our Best Cooking Pot guides for our recommendations.
Headlamp
I have carried either the BioLite Range 400 (our pick for Best Overall headlamp) or the Black Diamond Storm because they’re waterproof, comfortable, and bright.
Satellite Messenger
Cell reception is not always guaranteed on this trail. There is typically cell service on the summits and ridgeline but no service below high points. I carried a Garmin inReach Mini to be sure I could contact search and rescue if needed for myself or other hikers around me.
See our Best Personal Locator Beacon and Satellite Messenger guide.
Water Filter
When I backpacked the GRT, I carried a Sawyer Squeeze (the Best for Thru-hiking winner in our Best Water Filters guide) for filtered water from streams.
Check out our guide to the Best Water Filters and Purifiers for Backpacking.
Potty trowel and toilet kit
There are backcountry privies available at almost all designated campsites along this trail. We highly recommend using those during your traverse when possible.
If you must dig a hole below treeline, dig 6” deep (this will be very difficult due to roots and tight-packed trees) and pack out all toilet paper, as the alpine environment does not allow it to degrade. The area is also highly trafficked and cannot absorb many backcountry catholes, particularly with toilet paper. As an alternative, consider carrying a Backcountry Bidet to avoid the need for toilet paper.
What to Wear
Shoes or Boots
I wear Saucony Peregrine trail running shoes (the Best Affordable winner in our Best Women’s Trail Running Shoes guide) on this route because they are available in 2E/men’s wide sizes and provide excellent traction. On this route, I’d strongly recommend that whatever shoe you select has softer rubber to allow for better grip on rock slabs. It’s one of the few routes where I’d consider wearing approach shoes intended for getting close to a rock climbing route since they’re very sticky and have good grip on rock slabs.
If you’d feel more comfortable in boots, check out our Best Hiking Boots or Best Lightweight Hiking Boots guides.
A nice footwear compromise for this trip can be hiking shoes, which are designed to feel like a trail runner but have stability more like a boot. See our Best Hiking Shoes guide for footwear that has more durability and stability than trail runners.
Rain Jacket
I either wear the Outdoor Research Foray or the Outdoor Research Helium jacket, depending on the likelihood of rain. If it is very unlikely, I’ll bring the Helium. If there is a possibility of rain, I’ll bring my 3-layer Foray. Rain/wind protection is critical above treeline to prevent hypothermia.
For more recommendations, see our Best Rain Jackets guide.
Rain Pants
If rain and colder temperatures are expected, I wear a baselayer legging underneath my Patagonia Wind Shield Pants, which is our pick for Best Running Pants for Rain.
Fleece or Midlayer
I run warm so I used the Smartwool Merino 250 long sleeve shirt, our best base layer pick for extreme cold) as my midlayer.
Hiking Pants
If it was cold enough for pants, I used the Zpacks Ultralight Trail Cool Joggers.
See our guides to the Best Women's Hiking Pants and Best Men's Hiking Pants for more recommendations.
Hiking Shorts
I used MIER 5” men’s running shorts, because they’re inexpensive, quick-dry, and do not have a liner.
For more recommendations, see our Best Men's Trail Running Shorts, Best Women's Trail Running Shorts, Best Men's Hiking Shorts, or Best Thru-hiking Shorts guides.
Gaiters
I used my Dirty Girl Gaiters, our Best Thru-hiking Gaiters pick, to keep rocks, grit, and dirt out of my shoes.
Base Layer
I used the Smartwool Classic All-Season base layer T-shirt because it fully covers my upper arms, dries quickly, doesn’t smell, and provides great temperature control.
Hiking Socks
I typically wear the Darn Tough Hiker Cushion socks because they dry quickly, provide good temperature control, and hold their shape.
Warm Hat
I used my Turtle Fur fleece hat because it’s light, comfortable, and covers my ears.
Gloves or Mittens
I typically used the Minus33 Merino Wool Glove Liner, paired with the lightweight waterproof and windproof Salomon Bonatti Mitten shells, since I most often only need a light pair of gloves for the morning chill until the day warms up. However, the wind in the Presidential Range can cause debilitating windchill so a waterproof, windproof layer for my hands is necessary. For more recommendations on lightweight but warm gloves, see our Best Winter Gloves guide.
Miscellaneous Gear Items
First Aid Kit Recommendations
Leukotape
Ibuprofen
Emergency bivy sack
Adhesive bandages
Hemostatic gauze
Safety pins
Gold Bond Friction Defense Stick (or your choice of chafing cream)
Hot Hands
Sun Protection
Sunscreen isn’t needed for the majority of this below-treeline hike, though you’ll want sunscreen when climbing Mt. Marcy since there will be some time spent above treeline without shade.
You can check out our Best Body Sunscreens and Best Face Sunscreens guides.
Why you should trust us / About the author
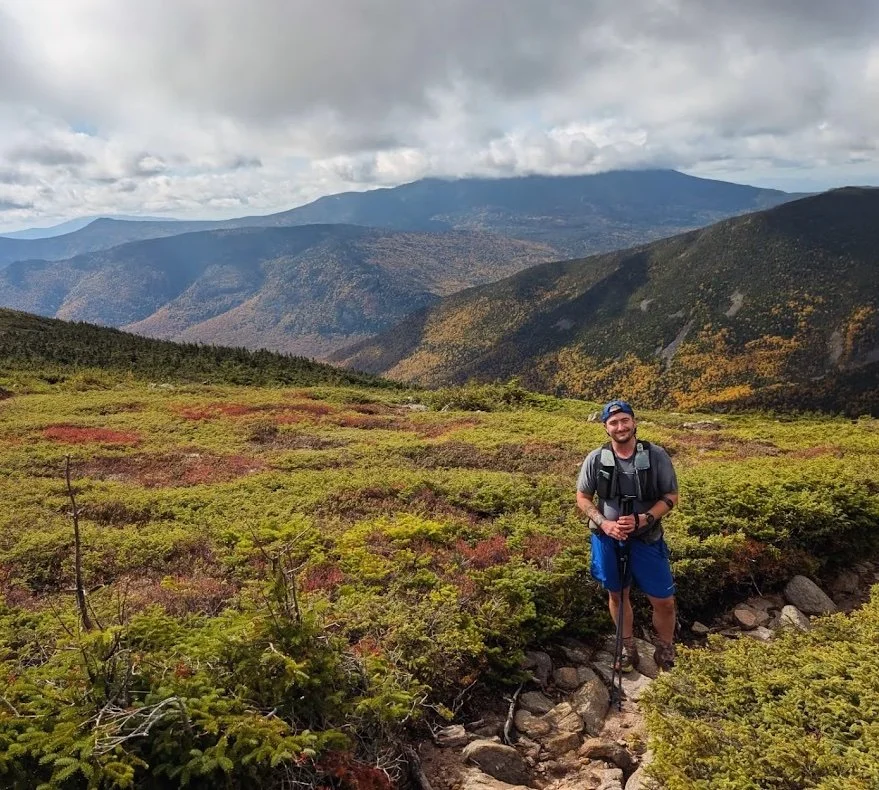
Aubri ('Data') Drake (he/him) is a white queer and transgender hiker, backpacker, ultrarunner, and writer passionate about making the world a better place. He discovered long-distance backpacking in 2013 and has been running off to the woods ever since.
He’s always looking forward to his next big outdoor adventure, in between working full-time in research administration. He’s hiked the Appalachian Trail, Pacific Crest Trail, Arizona Trail, Colorado Trail, Vermont's Long Trail, Nüümü Poyo (twice), Europe’s Tour du Mont Blanc, Tahoe Rim Trail, New England Trail, and New Hampshire's Cohos Trail, and is 55% done with the Continental Divide Trail.
Because 75 mph winds, waist-deep unbroken snow, and ice eyelashes have a strange appeal, Aubri has also completed numerous Northeast peakbagging lists in both winter and summer seasons, including the Northeast 111 4,000 Footers and the New England Hundred Highest, as well as the New Hampshire 48 4,000 Footers Grid (48 peaks x every month of the year = 576 peaks).
For reasons unknown, he’s also started running ultramarathon distances up to 100 miles, and set more than 20 Fastest Known Times. Aubri has logged more than 9,000 miles on his feet in the last three years, and in addition to this publication, his writing has been featured in Trail Runner Magazine, Long Trail News magazine, and five research journals.
Website: https://transcendikngmountains.blog/
Instagram: @genderqueer_hiker